Create a New Project
- Let’s start working with MAXQDA. First start up MAXQDA. I’ll be using version 26 for this tutorial.
From the main screen, you will see that there are example projects you can explore to get a feel for MAXQDA. We will look at one of these in part 2 of this tutorial. There are also several links to training and tutorials to learn more.
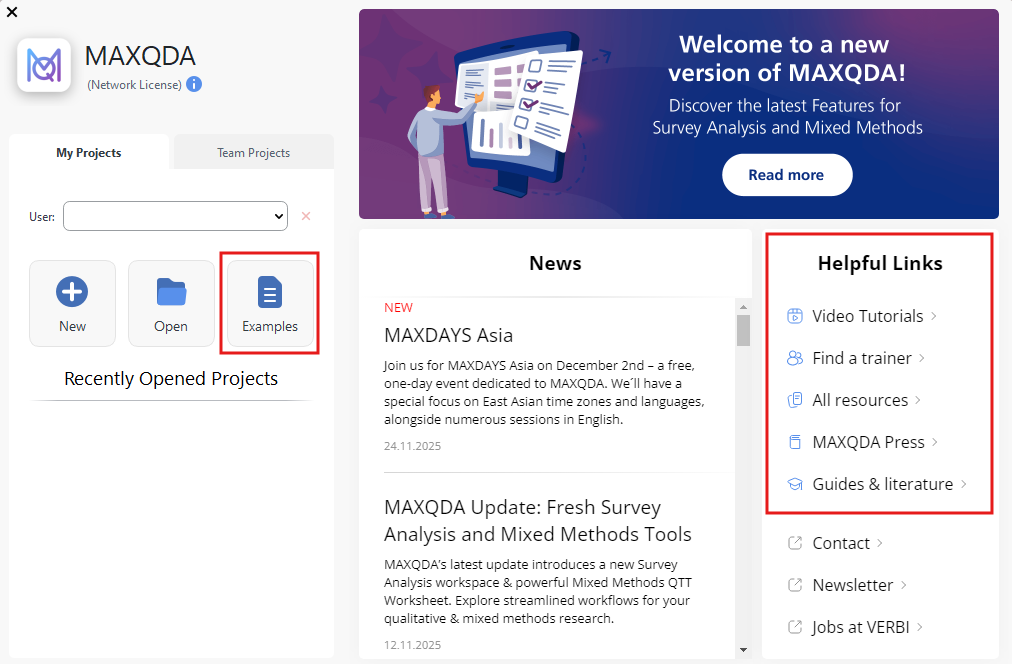
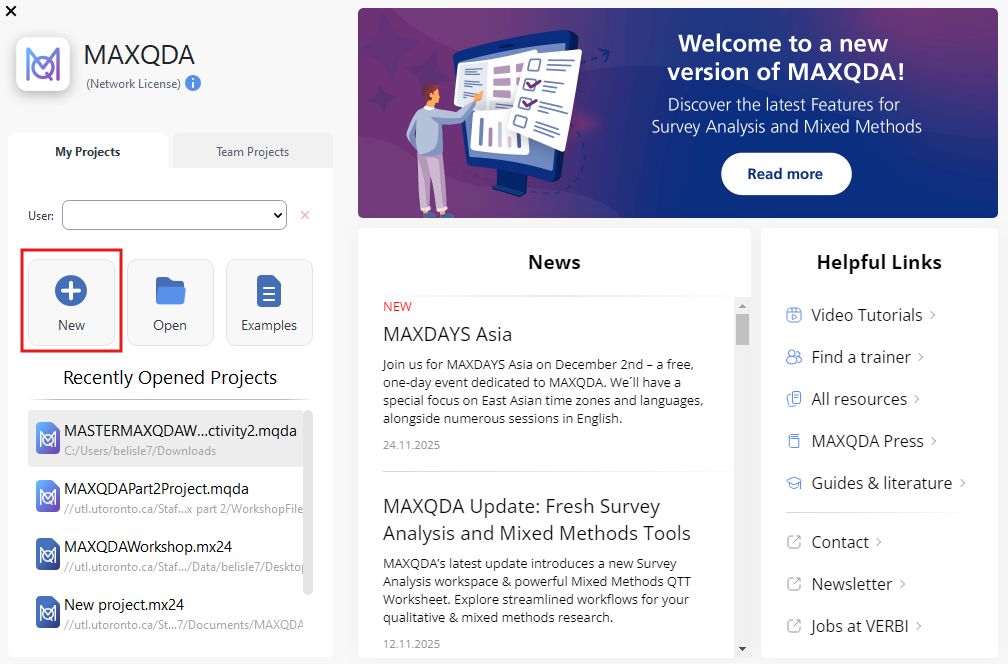
If you’re working on a team and want to keep track of your changes, it is important to set your User name or initials (you can just type something in or select from past entries). But for us, there’s no need to worry about it, so let’s click on the New icon to get started.
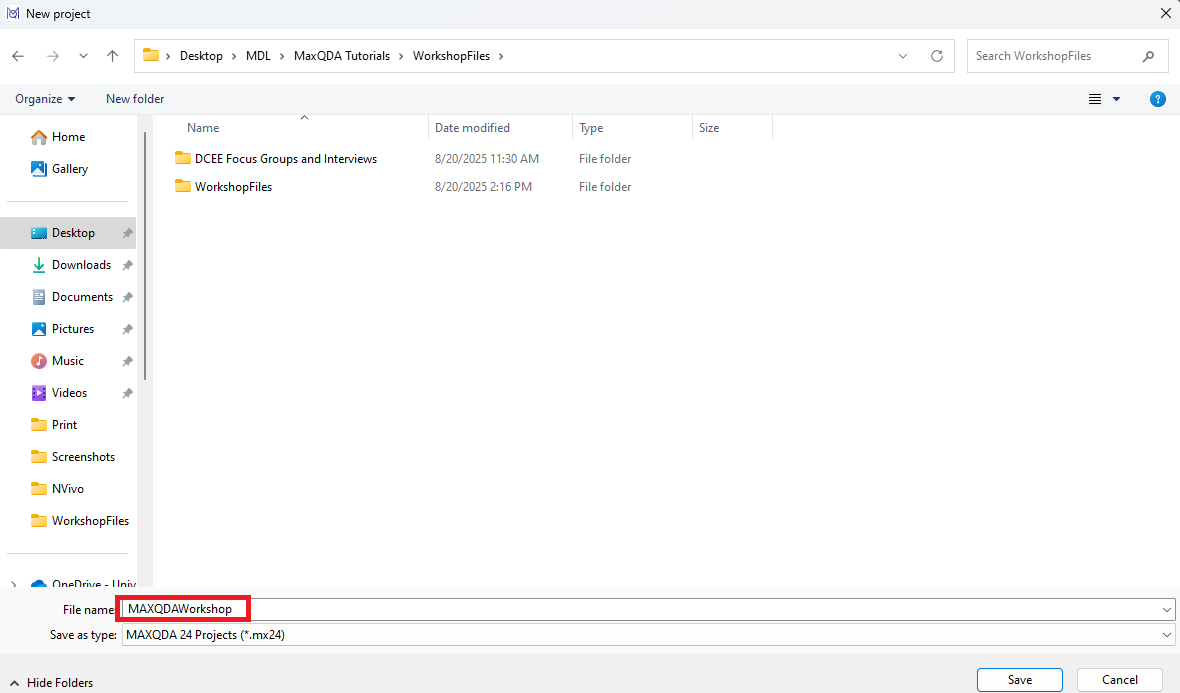
You must give your project a name, so let’s call it “MAXQDAWorkshop” and choose where we want to save it. It is important that you always make note of where you are saving your project file.
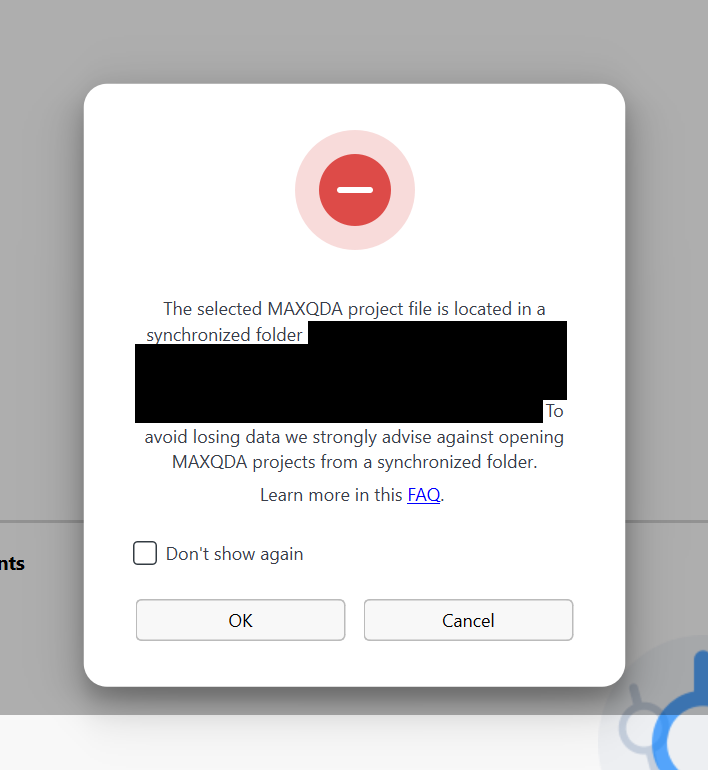
Depending on where you save your project file, you may get a warning saying that you’re saving it in a synchronized folder, which is not recommended. This is because if the file tries to sync while MAXQDA is also trying to do something with the file, you could have a conflict that could corrupt the file. Generally, you should save your project file locally on your computer, not in a synced folder, such as a folder that syncs with OneDrive. For this tutorial, it doesn’t matter too much, so you can just click on OK if you see the message, and you should be fine in the short term. When working on your own projects, if you really want to save to a synced folder, you could turn off your syncing, while working in MAXQDA to protect from loss. This issue is common to other tools as well, such as NVivo, but MAXQDA is more upfront about what’s happening and warns you.
If you want to make a copy of your project file, you can go to the Home menu, and select Save Project As. If you do save a copy, MAXQDA will then ask you if you want to open this new saved copy and continue working with it. Again, it is very clear about what you’re doing with your files, which is really helpful.

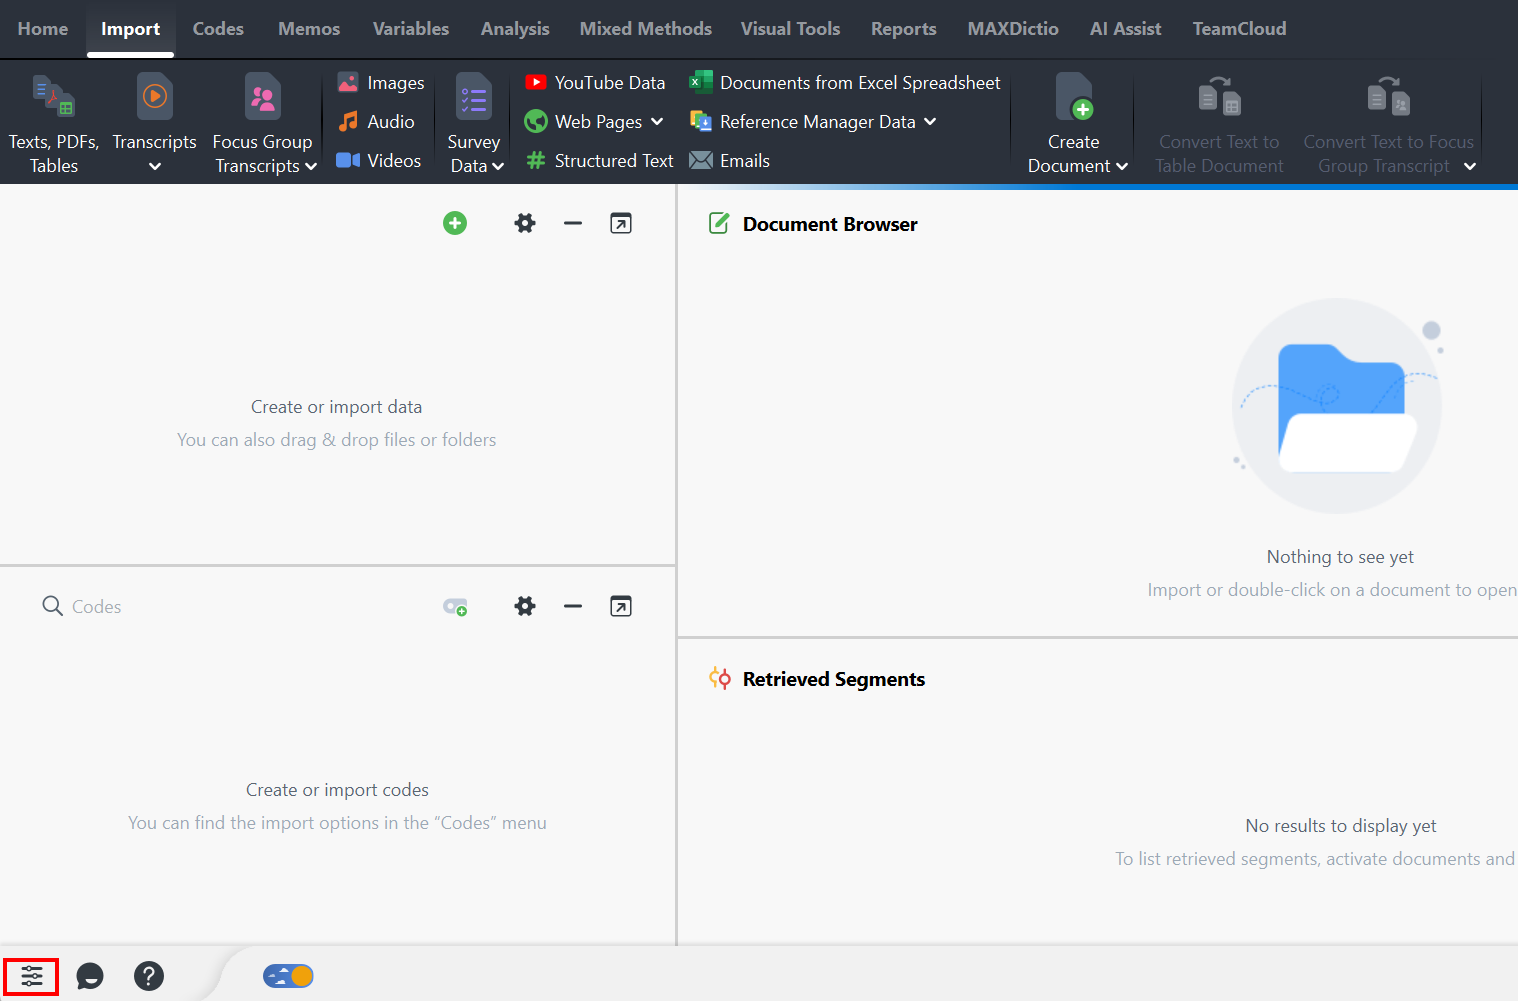
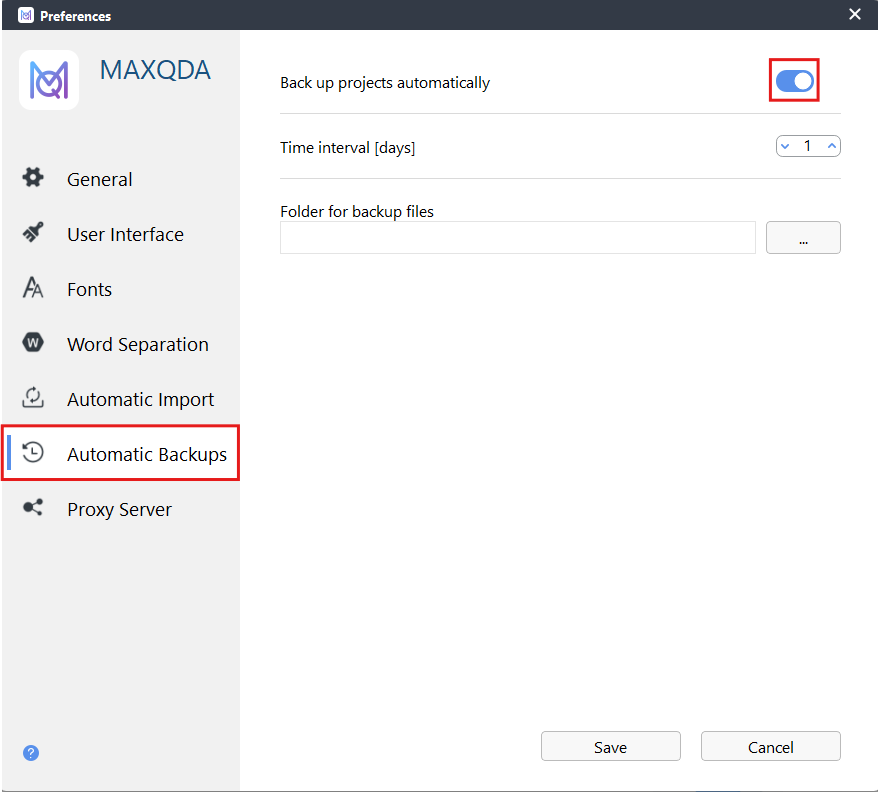
MAXQDA automatically saves all the time, so you don’t have to click on Save. MAXQDA also has an automatic backup feature, and it will prompt you when it is time to create a backup. If you click on the Preferences icon at the bottom left of the screen, and then select Automatic Backups, you can see the frequency of the backups (default once a day) and select the folder where you want to store them. You should take a look, so you know where your backup files are in case you need them later. If you do a bunch of work, but then wish you could roll back to earlier point in the project, you will have a backup copy from an earlier date that you could go back to.
Technique: Qualitative Data Analysis | Tools: MAXQDA