Document Variables
- Let’s start working with MAXQDA. In your downloaded files, I’ve given you a ready-made project based on some of the files and codes we were working with in Part 1. We’re going to continue working on that project now. Double click on the project file called “MAXQDAPart2Project” to open up MAXQDA.
- So just a reminder, we have some questionnaires, focus group and interview transcripts, and some codes we’ve been using. The first feature we are going to look at is Document variables. If you have attributes about your documents, you can assign them to your documents. Once this is in place, you can use these attributes to filter your data for segment retrieval, analysis, and visuals. In our case, as an example, we have a number of interview transcripts. When conducting our interviews, we might have also collected demographic or other relevant information about our participants. It would be great to include that in our project file, so we can filter based on that information. If you’re familiar with Cases and Case Classifications in NVivo, this is similar, but in my opinion, much more straightforward and intuitive. Let’s take a look at how this works.
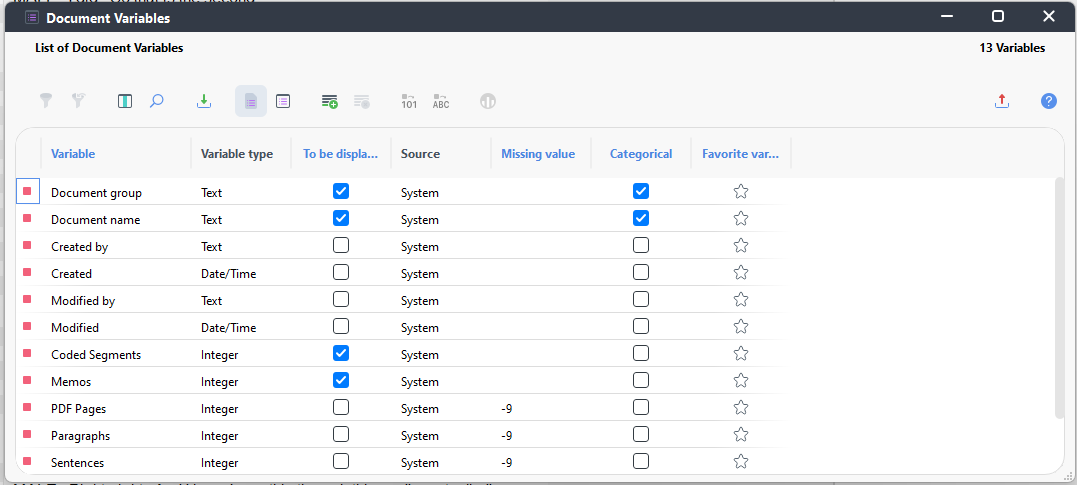
- If we go to the Variables menu, let’s select List of Document Variables.

- Here you can see that currently our documents only have a few default variables associated with each document, displayed in a list. Some key ones are the document group or folder that the document is in, the document name, how many segments are coded in the document, and how many memos are associated with the document. If we wanted, we could create a new variable or attribute manually from this window, and then use the Data Editor for Document Variables window to type in the data for that attribute for each document. But in practice, it is much more common and easier to create a spreadsheet of our attributes and upload them.
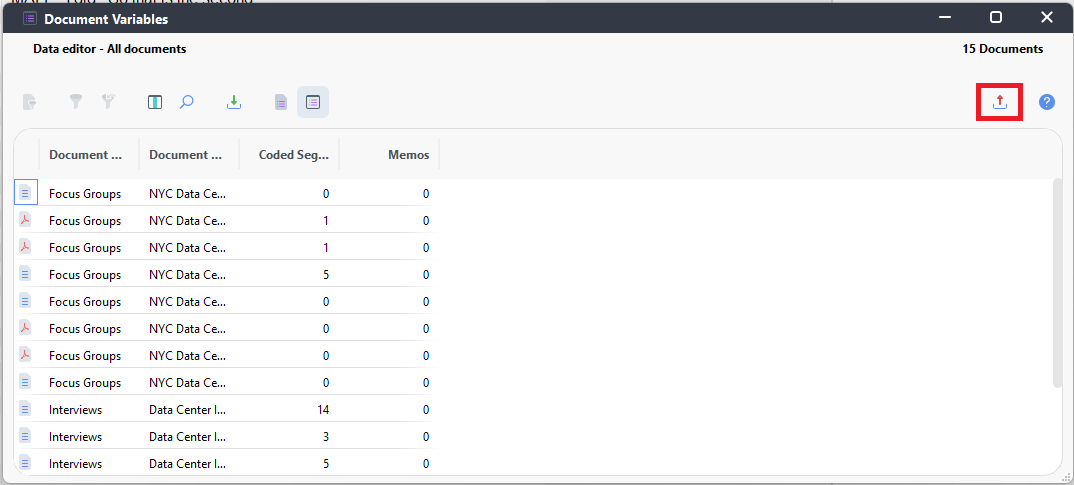
- An easy way to get started creating a spreadsheet is to work from a template that you can get from MAXQDA. Close this window and select Data Editor for Document Variables.

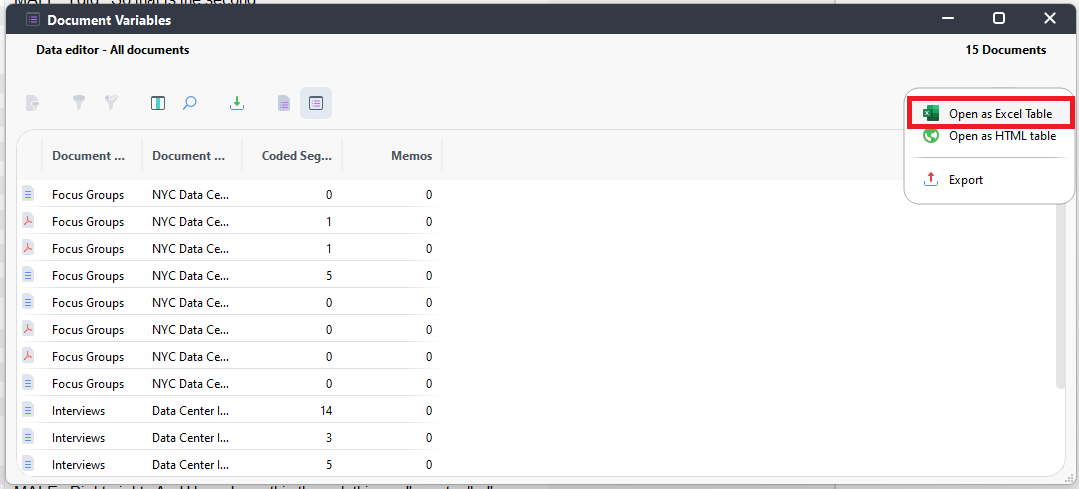
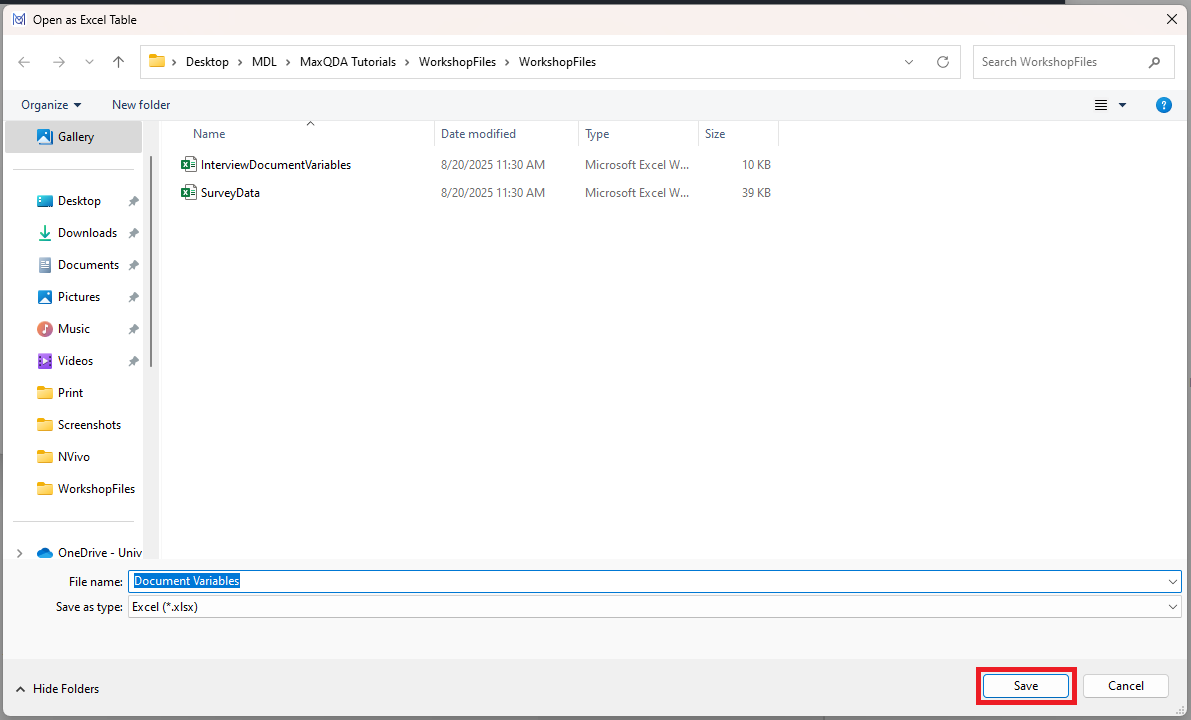
- This displays a table with each document listed in a row, and each variable with information about the document displayed as column headers. To get an Excel template that we can set up, hover over the Export icon on the far right (looks like a red arrow pointing up), select the option to Open as Excel Table. This will prompt you to save your template. Let’s keep the file name as Document Variables, and save it somewhere you can find it. I’ll save mine with my other workshop files.
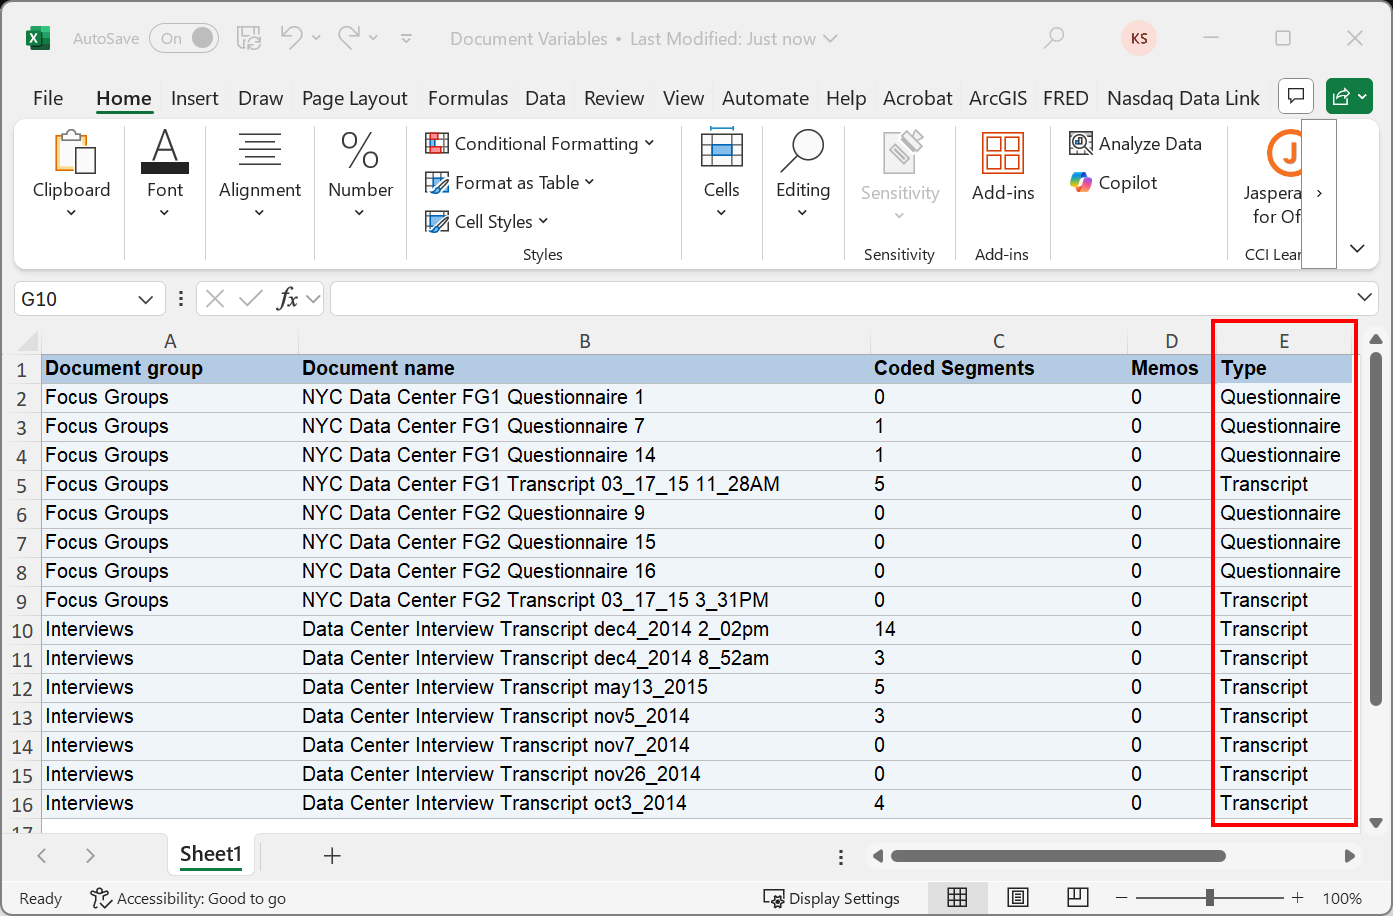
This should open up the file in Excel. It looks exactly like the table displayed in MAXQDA. Now we can add columns to the table and add extra information. For example, if I added a column called Type, I could then fill in the column as appropriate, save the spreadsheet and import it back into MAXQDA.
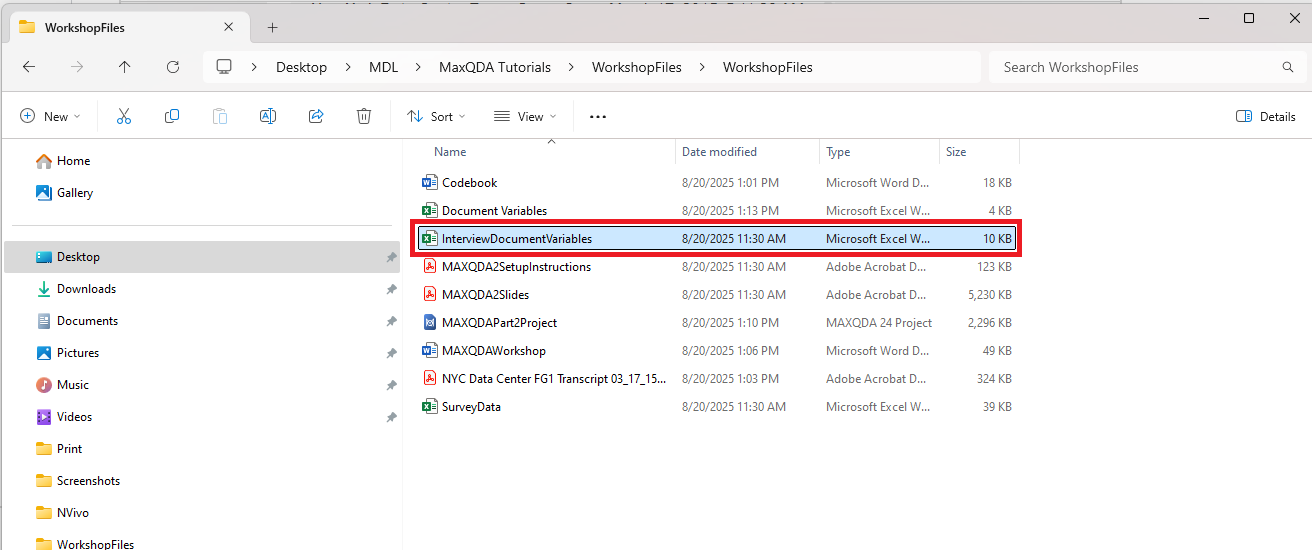
- To save us time, we’re going to take a look at a ready-made spreadsheet I’ve prepared based on this spreadsheet that we will use to reimport. Open up InterviewDocumentVariables.xlsx.
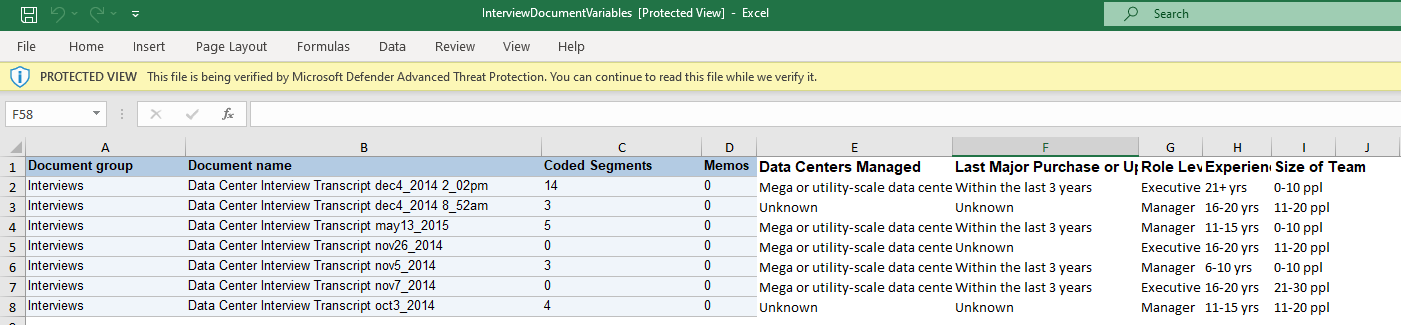
- Here you can see that I’ve added information about the different people who were interviewed – what data centers they manage, last major purchase or upgrade, role level, experience, and size of team. It is important to note that for any additional variables you add, if they contain numbers, make them categorical. For example, I put ranges for size of team instead of a specific number. This makes it easier to work with the variables in various analyses and visualizations. However, it is fine to include non-categorical information here as well, if you just want to compile all your information in one place.
- Okay let’s import this back into MAXQDA to create additional document variables. Close the spreadsheet and go back to MAXQDA. You should still have the Document Variables window open. If you don’t, just select Data Editor for Document Variables from the Variables menu to reopen it.

- Click on the import icon (looks like a green arrow pointing downwards) above the table.

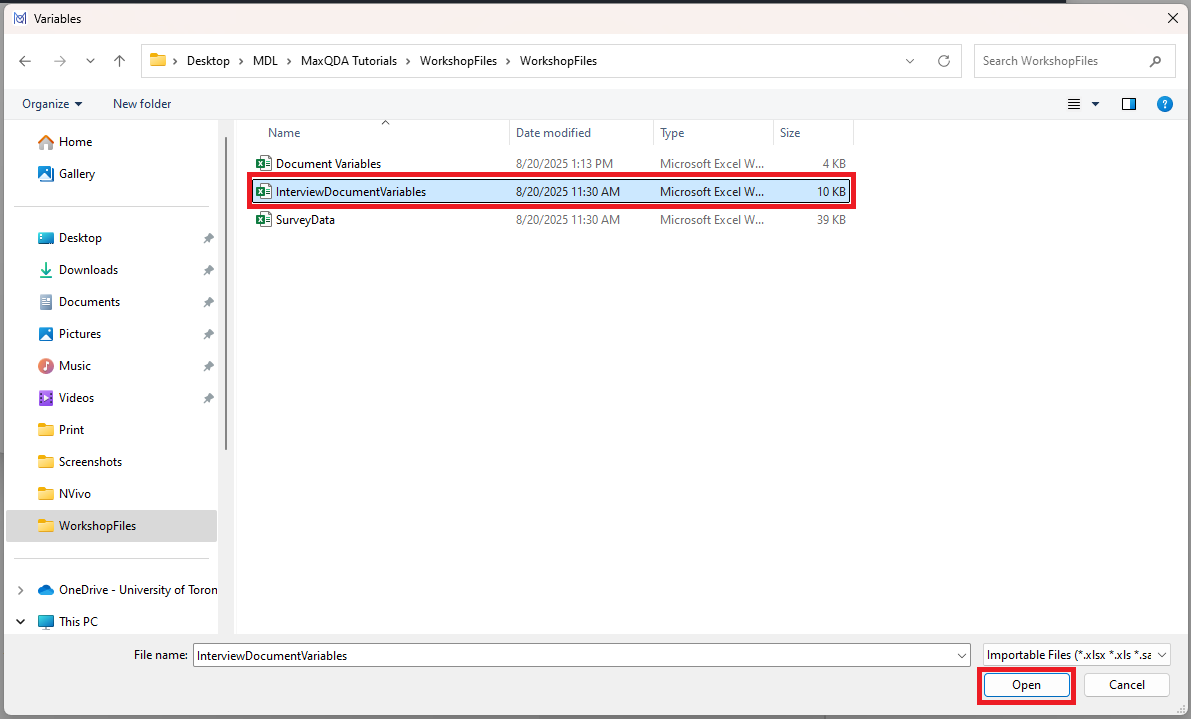
- Choose the InterviewDocumentVariables.xlsx file and click on Open.
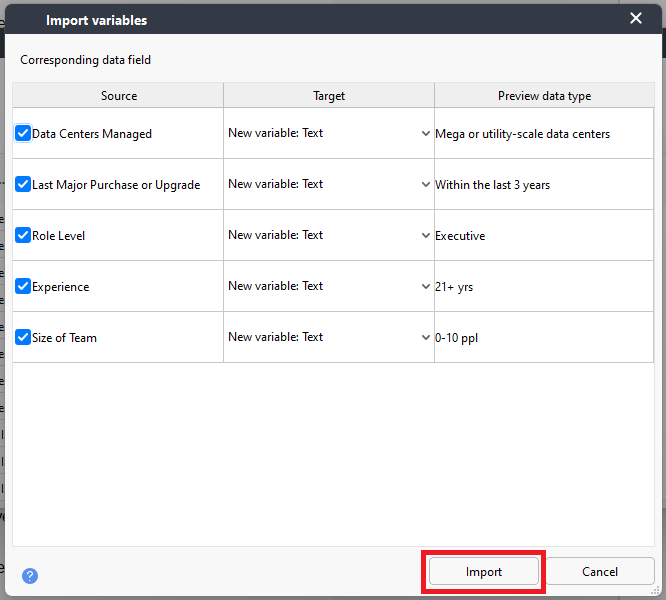
MAXQDA will display the variables to import. It also tries to detect what type of variable it is – numbers, text, etc. and display that in the Target column. All of our new variables are text variables, so we can keep the defaults as it has detected the type correctly. So click on the Import button.
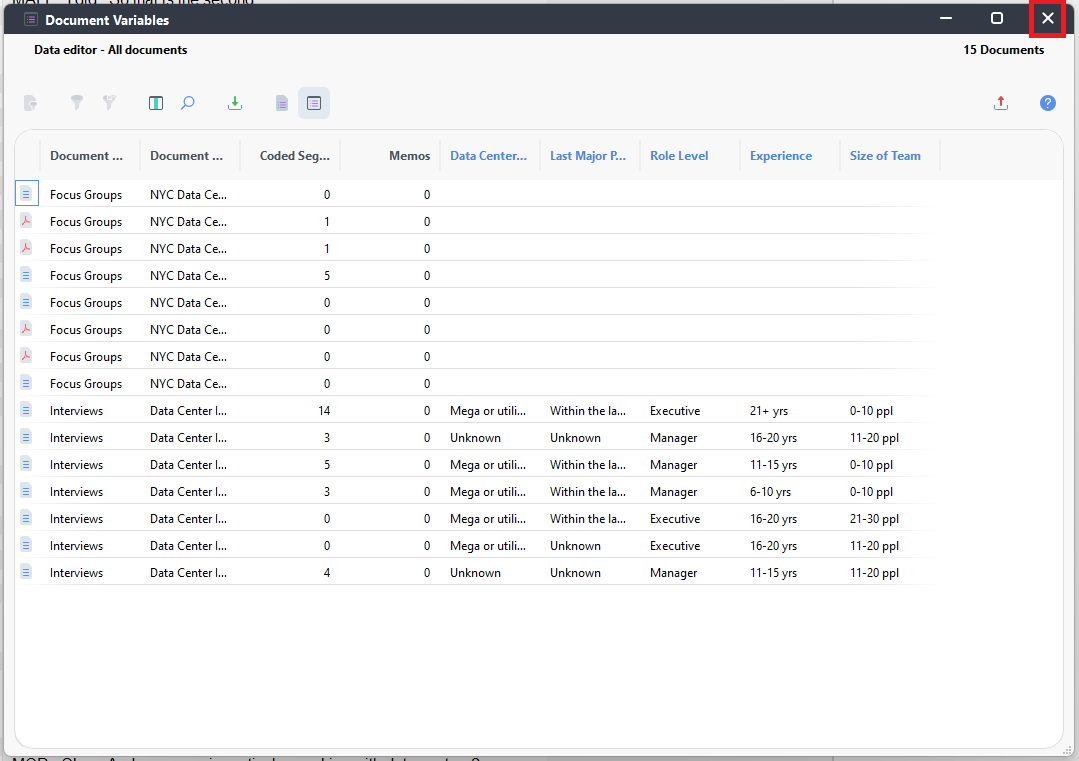
- Now you can see that our information has been added to the table for the Interviews. We didn’t add information for the Focus Groups here, so they are not updated. Close the window.
Technique: Qualitative Data Analysis | Tools: MAXQDA