Focus Groups
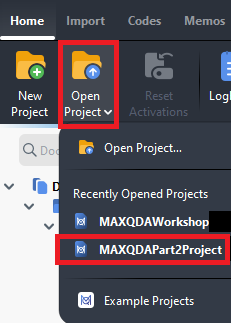
Finally, let’s talk about two common types of data, and some of MAXQDA’s special features to help analyze them. For this, we need to go back to our other project file that we were working on at the beginning of the workshop. Go to the Home menu and select Open Project. You should see a list of recently opened projects, including our “MAXQDAPart2Project” file in the list. Select it.
- Okay we’re ready to get started. The first one to look at is Focus Group transcripts. We actually already have one in this project file called “NYC Data Center FG1 Transcript.” Double click on that to open it up in the Document Browser panel.
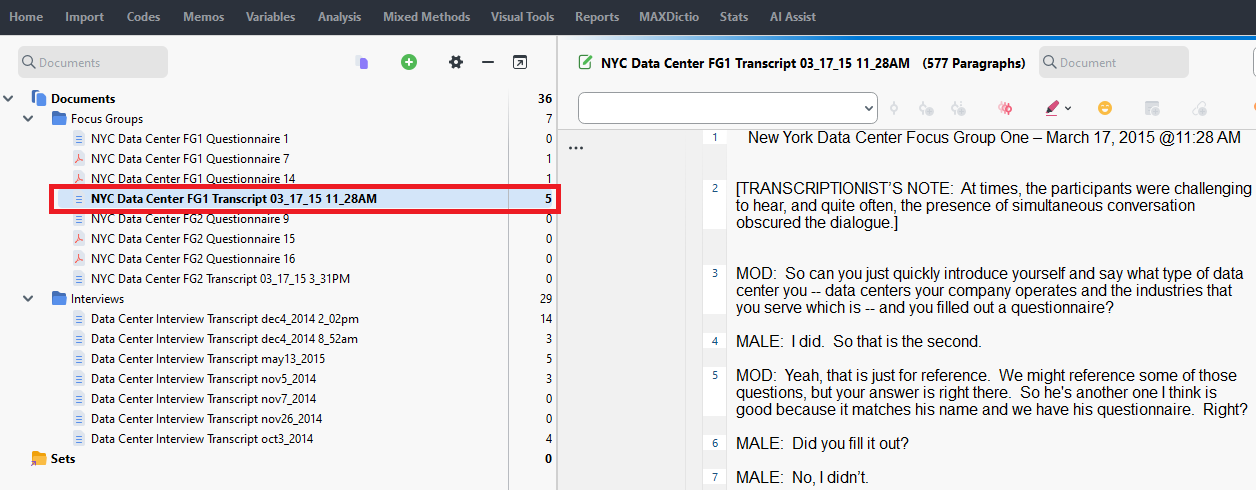
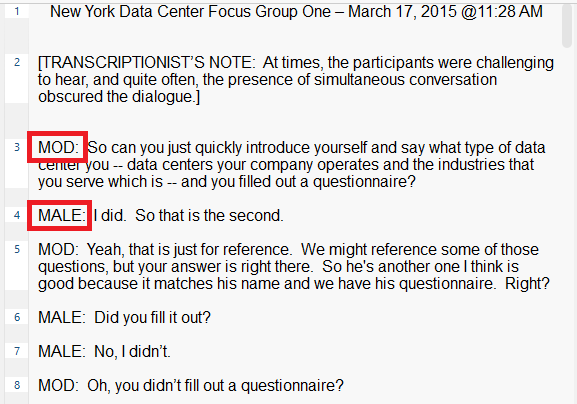
You can see that to denote who is speaking in the transcript, we have all cap labels, such as MOD, MALE, MALE2, and FEMALE. When you have transcripts where you might want to isolate what someone has said, or exclude what the interviewer or moderator has said, you might want to use the Focus Group functionality in MAXQDA. Just to note, this will also work on our interview transcripts as well.
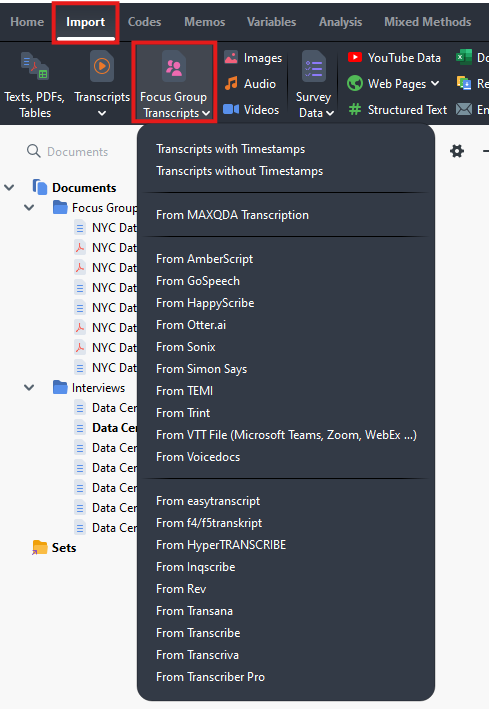
In Part 1 of the tutorial, you might recall that we imported these Word documents from the Import menu using the Texts, PDFs, Tables option. Instead we could have used the Focus Group Transcripts option from the Import menu. If you click on the drop-down arrow for that option, you will see that MAXQDA can bring in transcripts from a number of tools and will understand their formatting. This is actually a great list to see transcription tool options! The first two items in the list are when your tool isn’t listed or you did your transcription manually. You have the option to select with or without timestamps. When you import something with timestamps, it will also ask for the associated audio or video file and match the two together. In our case, we only have text transcripts, so we don’t need to worry about that.
- As we’ve already imported in the file as a regular text file, we don’t need to reimport it using the Focus Group Transcripts options. Instead, with our focus group transcript highlighted in the Document System panel, we can just select Convert Text to Focus Group Transcript from the Import menu (the option is to the far right on the menu), and then select Convert Displayed Document.

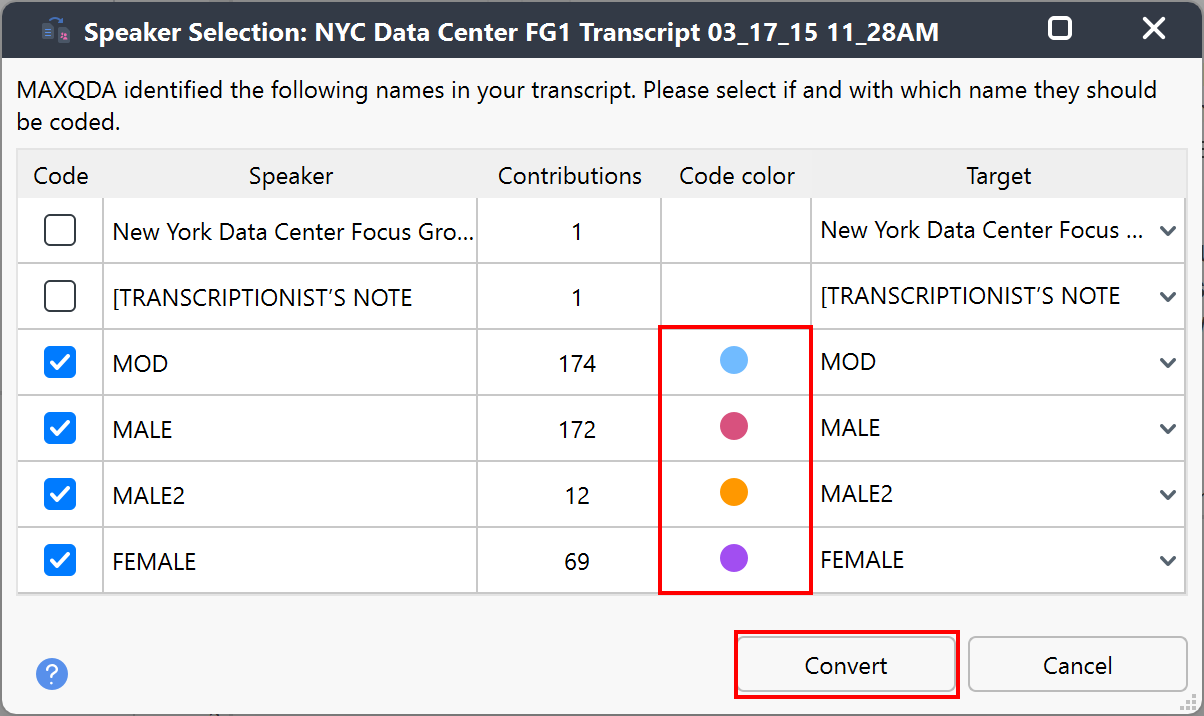
Here MAXQDA shows us a table where it has identified all the unique speakers in the document. It was confused by the title and transcriptionist’s note and picked those up as speakers as well, but we can deselect the first two items to ignore those during the conversion.
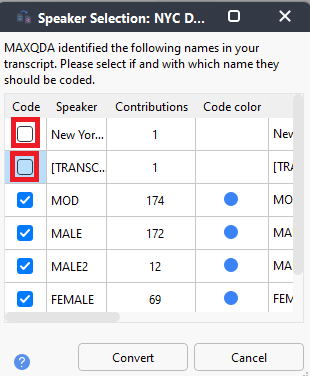
Also, click on the code color icons to set unique colours for each speaker that make sense to you. Then click on Convert.
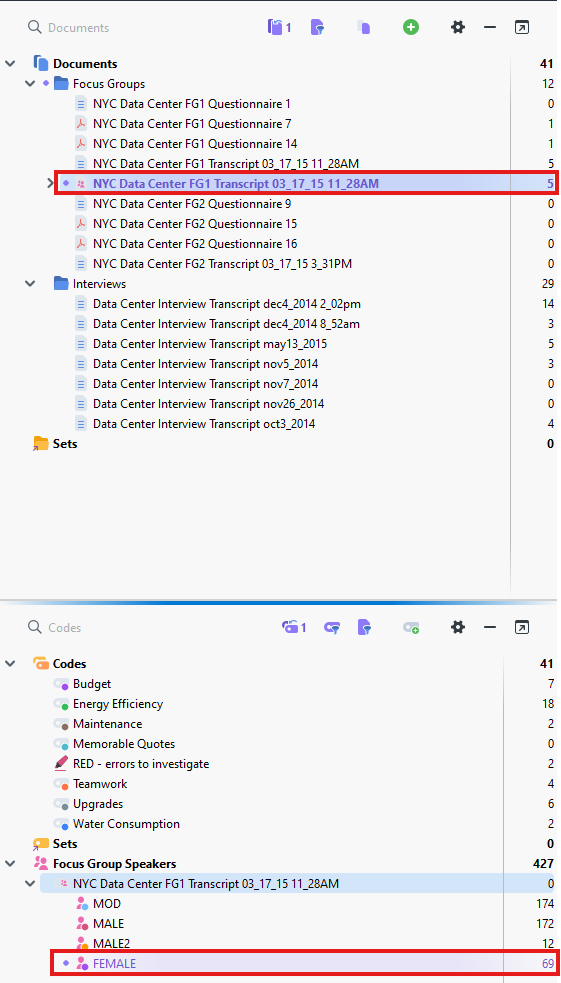
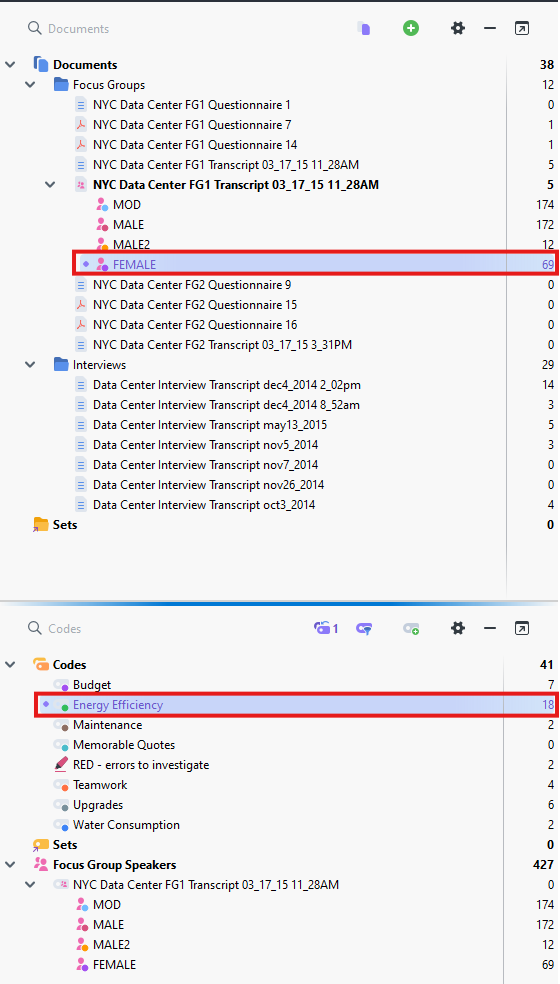
You’ll see that the document’s icon has changed in the Document System panel and now you can expand it to see a listing for each speaker. If you look at the Document Browser with the transcript open, you will see that the content has now been coded by these special focus group speaker codes. These codes also show up in a special section in the Code System panel.

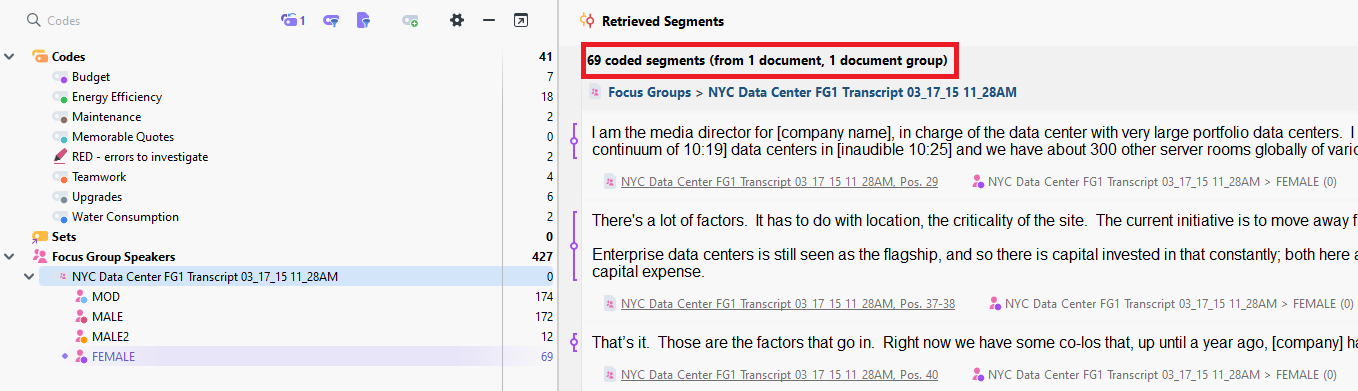
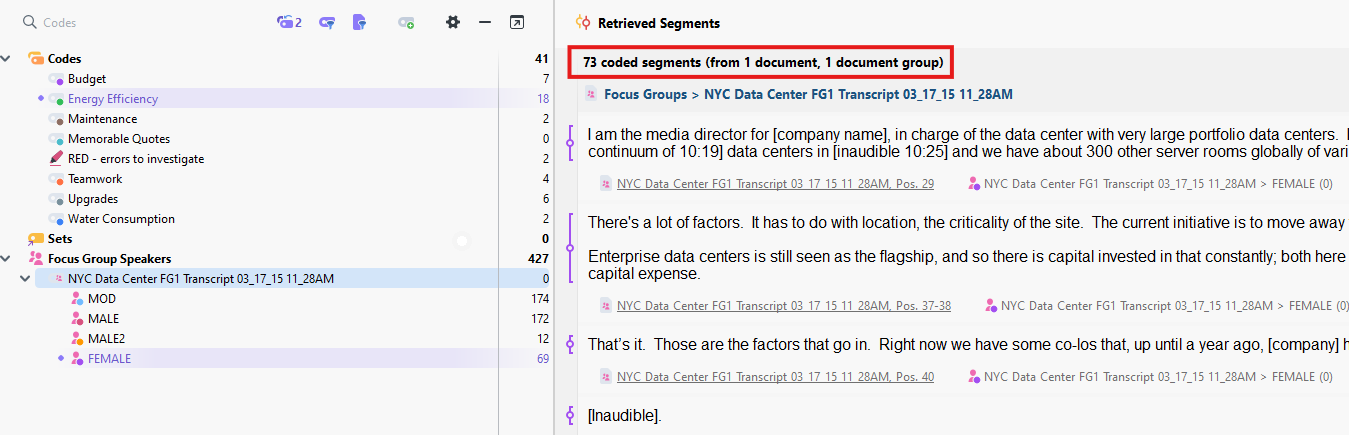
Now you can use these special documents and codes to filter your data. For example, activate the Focus Group transcript we have been working with in the Document System panel (NYC Data Center FG1 Transcript 03_17_15_11_28AM). And then activate the FEMALE code in the Code System panel. If we open up the Retrieved Segments panel, we can see only statements made by the FEMALE participant in that focus group.

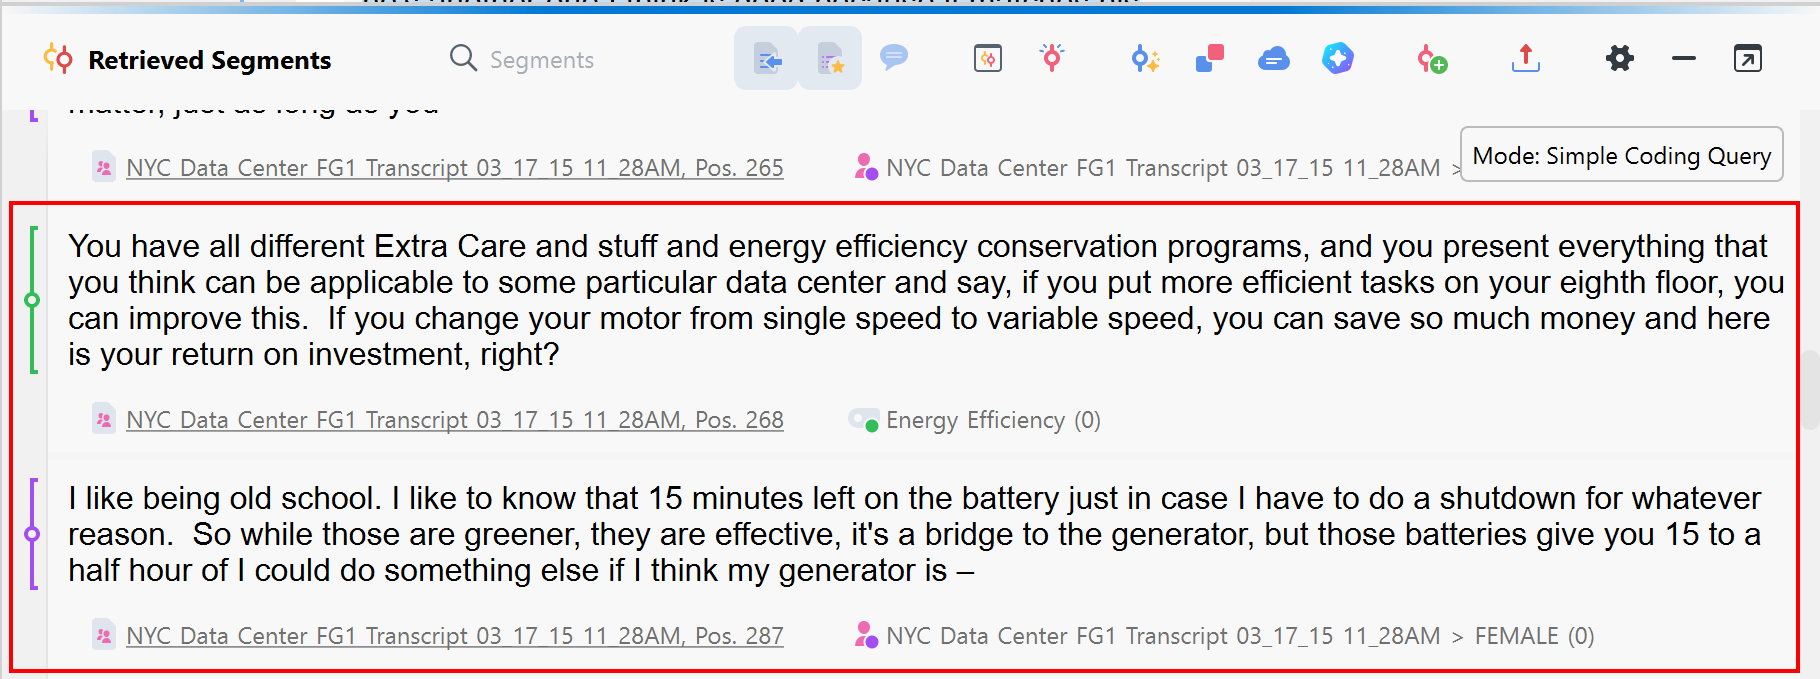
Now let’s say that you want to only see what the FEMALE participant has said about Energy Efficiency specifically. You might think that you should activate Energy Efficiency from the Code System panel, but this then just adds all of the Energy Efficiency segments to the Retrieved Segments panel. You can see that the segment count increased from 69 to 73.
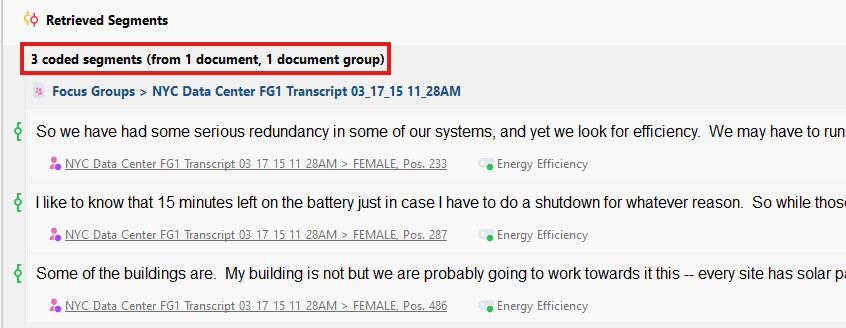
Instead, if you want the intersection of the two, activate only the FEMALE document in the Document System panel and only Energy Efficiency in the Code System Panel. Now you should see only the three segments from the FEMALE participant that were coded with Energy Efficiency.
Technique: Qualitative Data Analysis | Tools: MAXQDA