Digital Scholar Lab - Collections
Return to the main Gale Digital Scholar Lab tutorial
This tutorial shows you how to create a collection in the Digital Scholar Lab, both by searching Gale Primary Sources and by uploading your own texts.
Please note that Gale is periodically adding new documents to their collections, so your document counts and results may look slightly different from our screenshots and examples below.
Table of Contents
Build a Collection
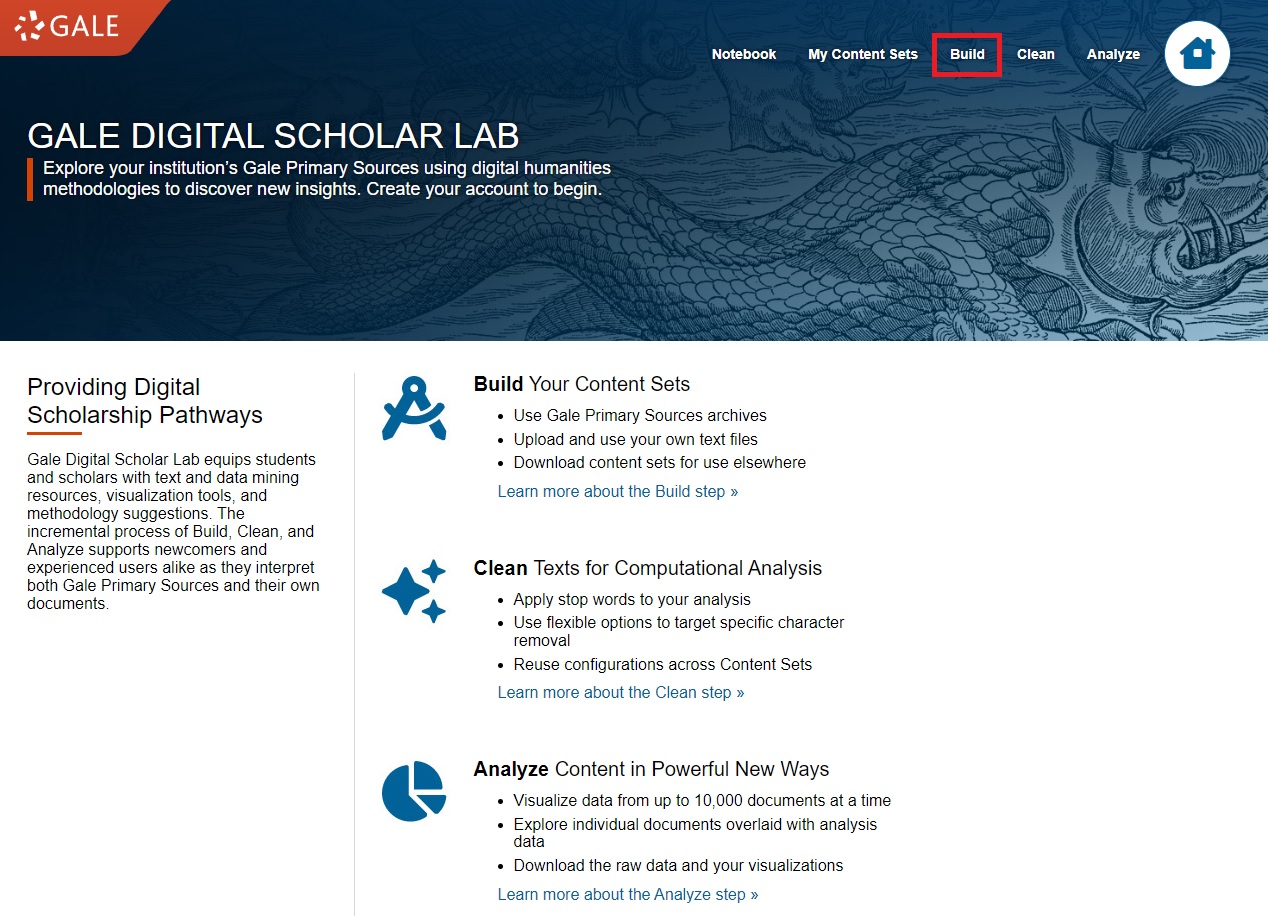
The DSL has access to Gale’s extensive digital collections of newspapers, books, and other archival material. In this tutorial, we will focus on texts by and about an early twentieth-century scholar named Sir Aurel Stein, who travelled throughout South and Central Asia and China as an agent of the British Empire. There are many materials related to him - works by him, newspaper articles about his expeditions, etc. - available in the DSL, mostly ranging from the 1920s to the 1940 from a variety of newspapers (The London Times,Illustrated London News,The Daily Mail,The New York Times) and other digitised holdings from libraries and archives (the British Library, the Smithsonian, the American Antiquarian Society, the National Library of China).
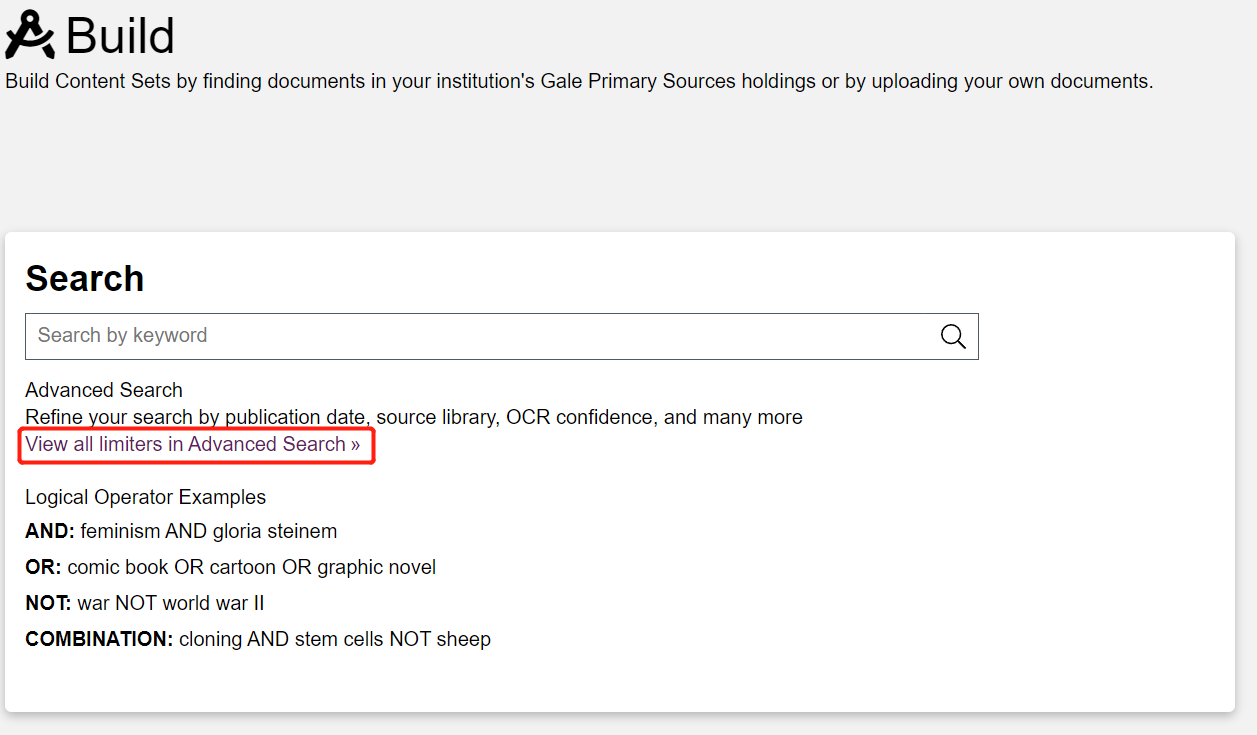
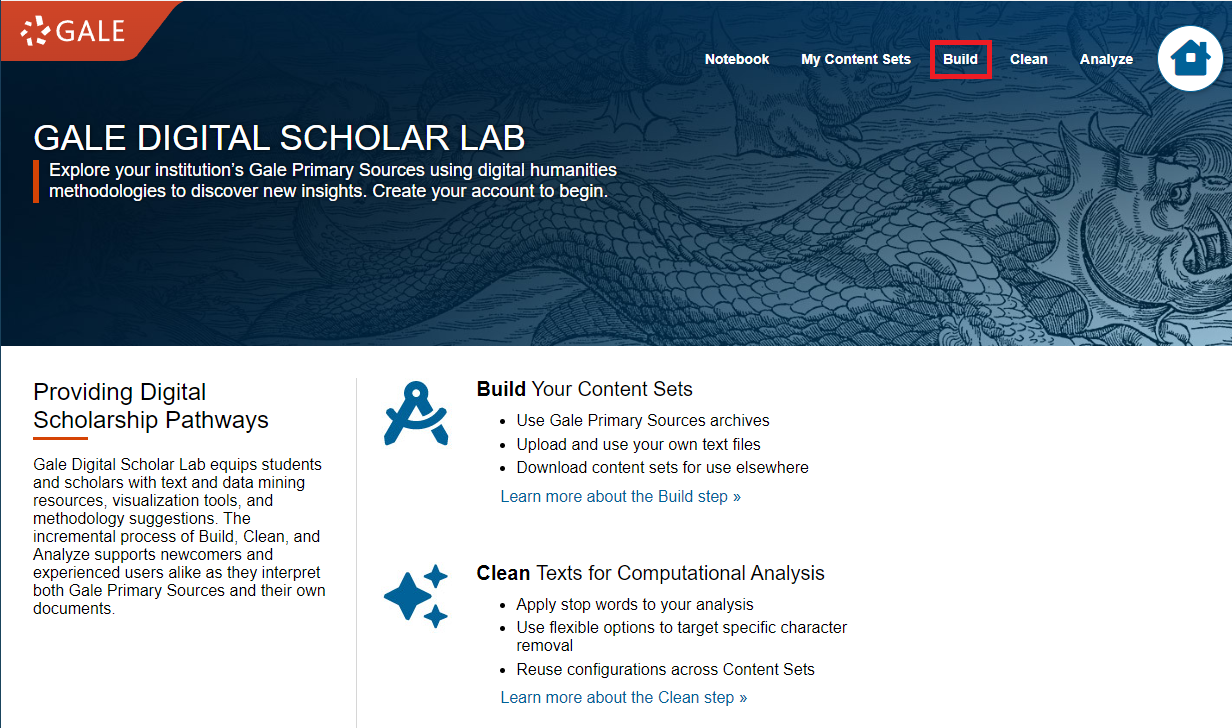
When you’re logged in (instructions for logging in), you will need to create your corpus (the collection of texts on which you will run statistics on and create visualizations). To access the search bar, click on Build in the top-right navigation bar.
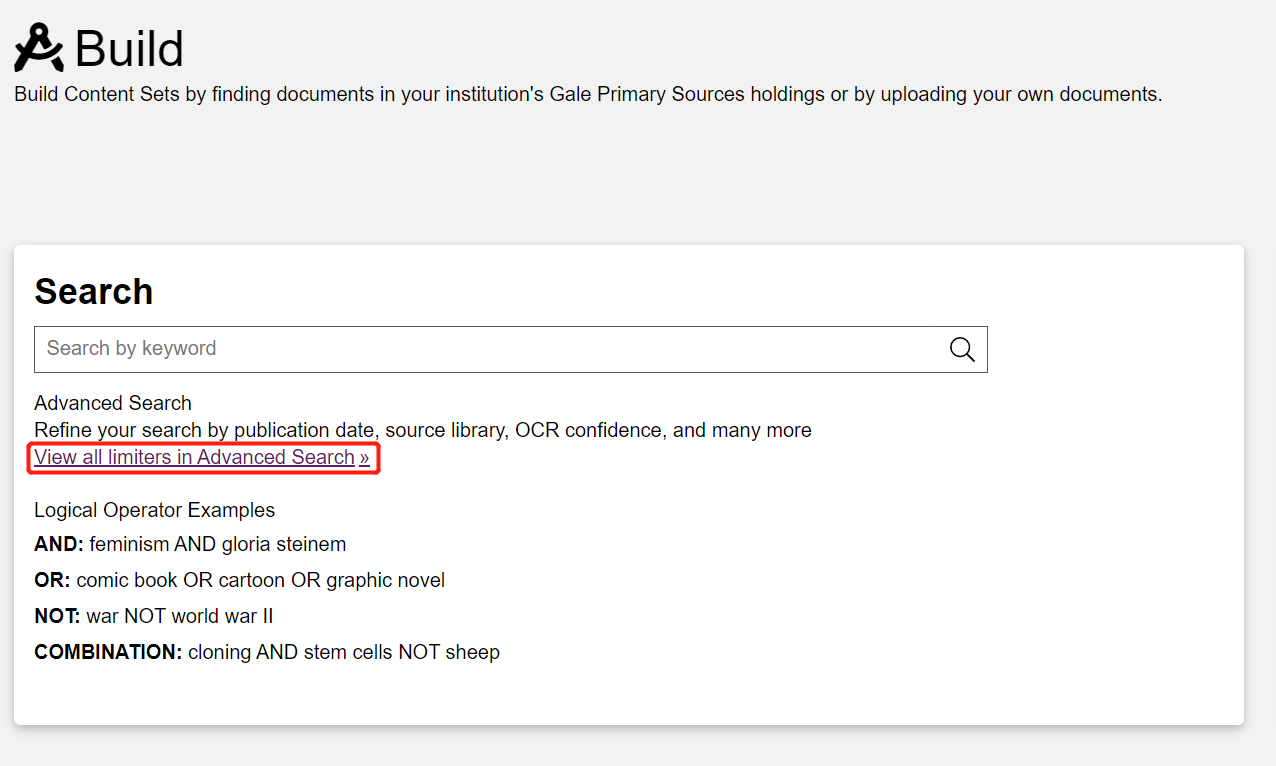
Although you can use the search bar on the left of the page to get started with a basic search, let’s use the advanced search for a little more precision. Click on View all limiters in Advanced Search under the search bar.
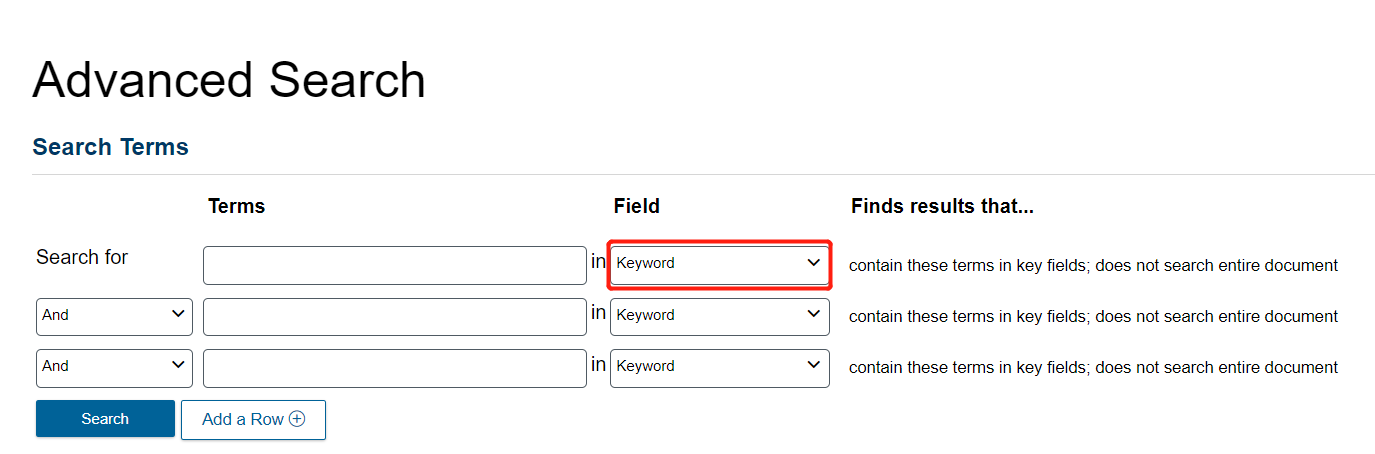
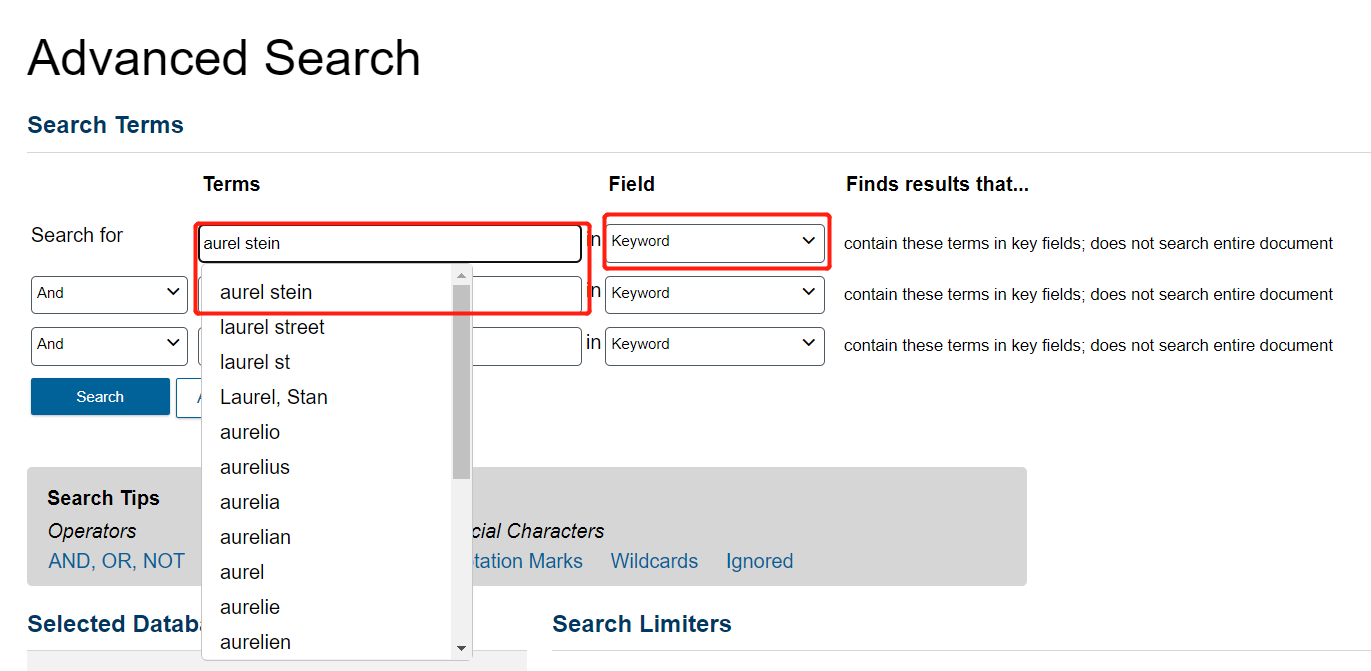
You will arrive at the Advanced Search page.
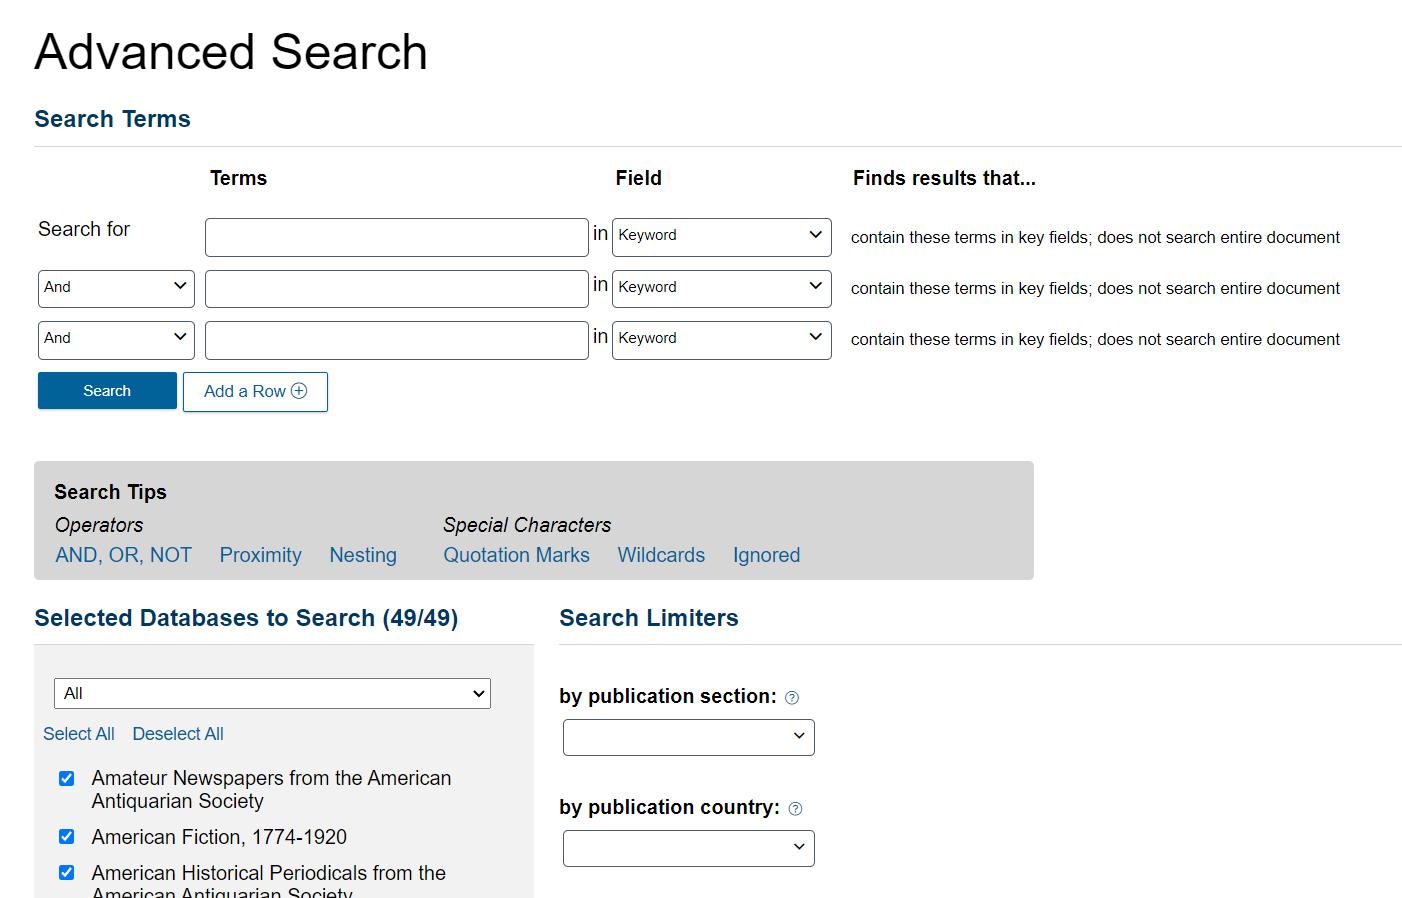
It is structured like a library catalogue search page. You can use Boolean operators like AND, OR, and NOT to create complex search queries. Gale also automatically suggests metadata (e.g. authorship, publication date, language) from their collection as you type.
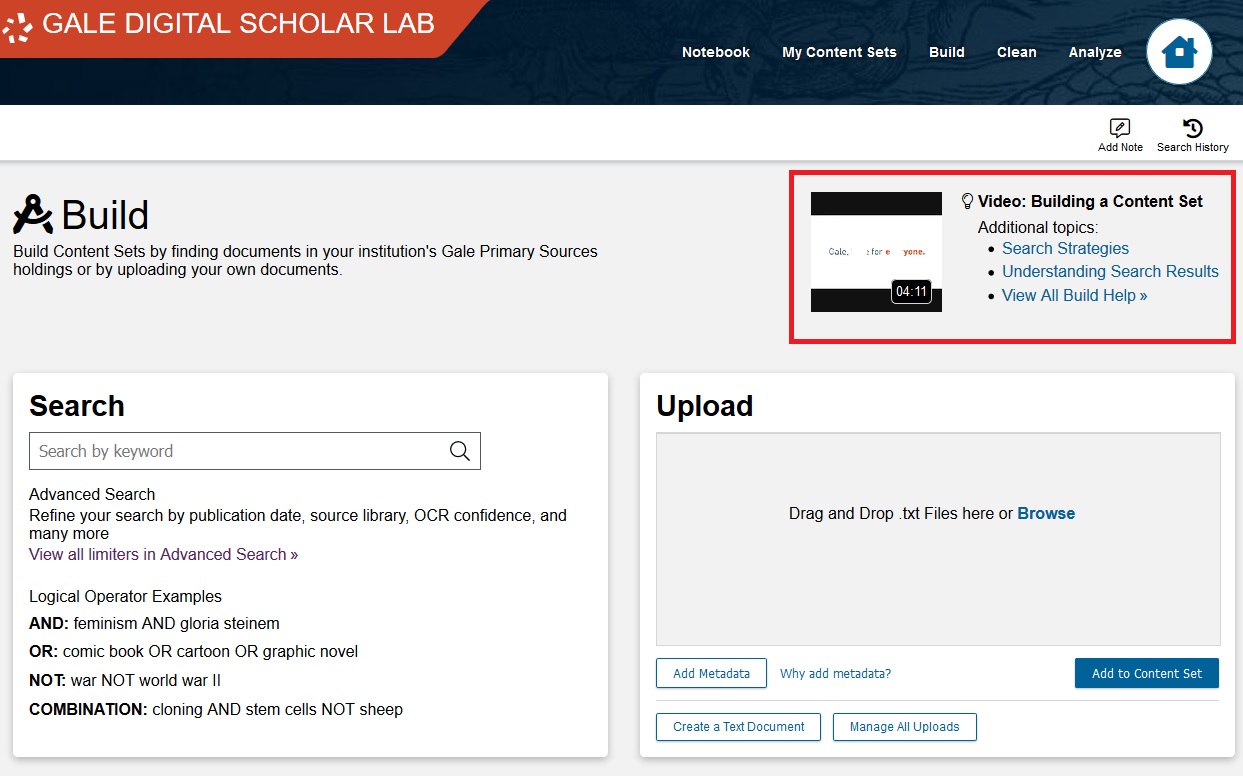
The build page is the first screen where you can view DSL’s learning videos. Feel free to watch these as you complete these steps to get an introduction to the features available on that page.
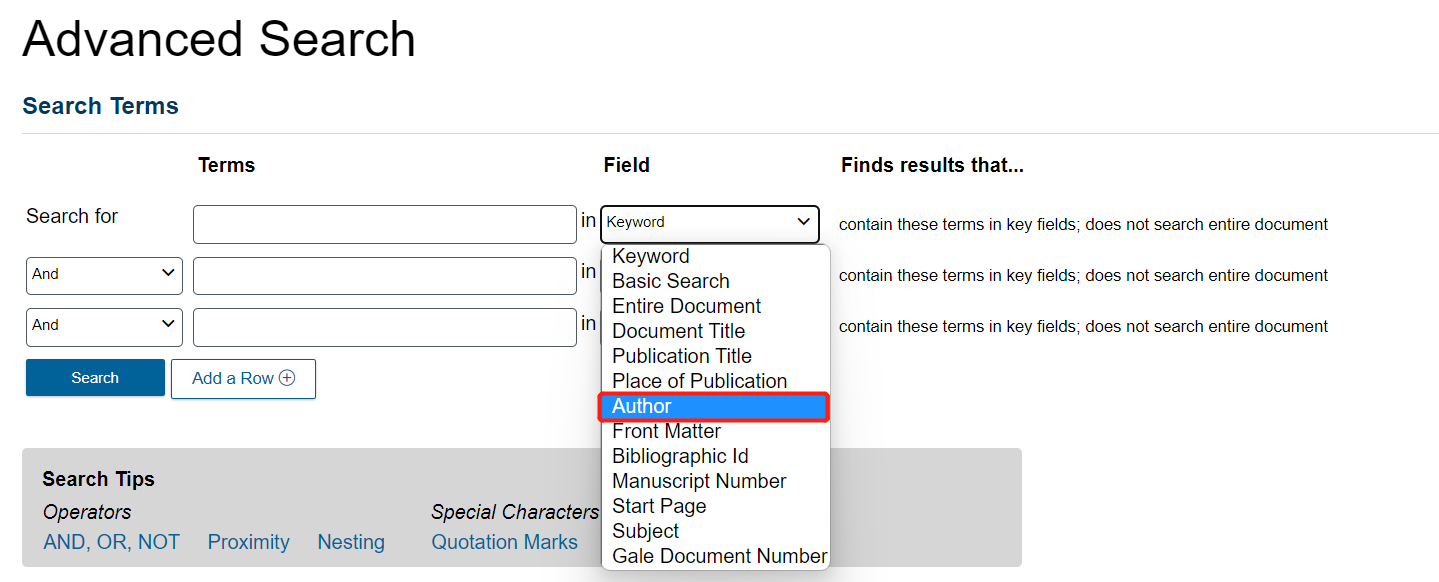
Let’s search for Aurel Stein as an Author. Begin by clicking on the dropdown menu on the right of the first field.
Change it from Keyword to Author.
Then, click in the search bar and type Aurel Stein.
Once you start typing his name, if you have “Author” selected as the search field, you will see at least four different variations of his name appear.
Select the first option, “Aurel Stein K. C. I. E.”.

Note: DSL automatically suggests metadata like author names from its collections, but only if the correct field (e.g. author, keyword) is selected first. Because different databases have input Stein’s name differently, there are four variations of his name and thus four different “authors” when searching. Although this is not ideal, it is common when working with data aggregated from many places. Let’s say that we want everything written by Stein, regardless of how his name appears in the various databases.
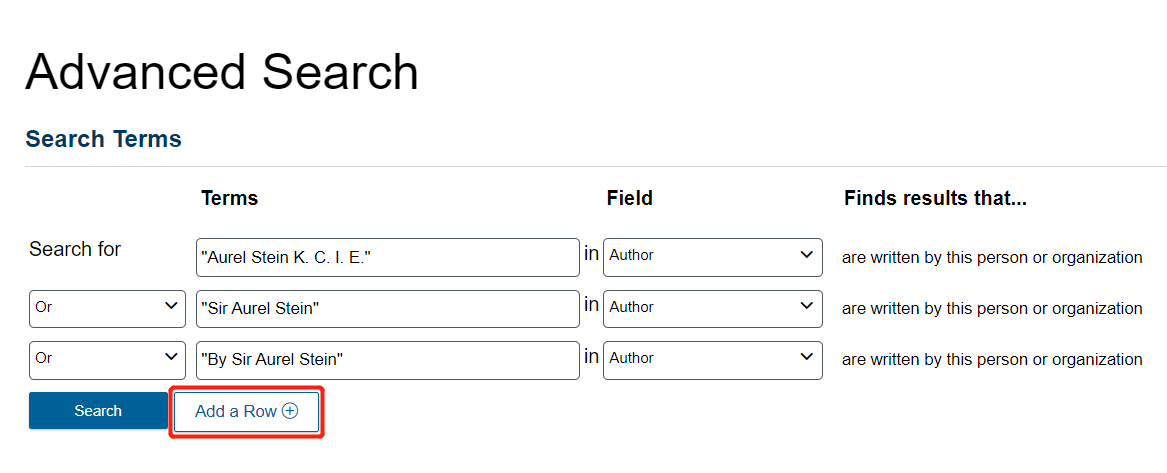
Because are four variations of his name and we want texts that are attributed to any of them, we will use an OR operator. Click on the left dropdown menu and select OR.

Then, repeat the above steps, first changing Keyword to Author, then typing Aurel Stein, and selecting the next variation on his name.
Since there are four variations of his name, we need more than three search terms. Click on Add a Row at the bottom to add a fourth row.
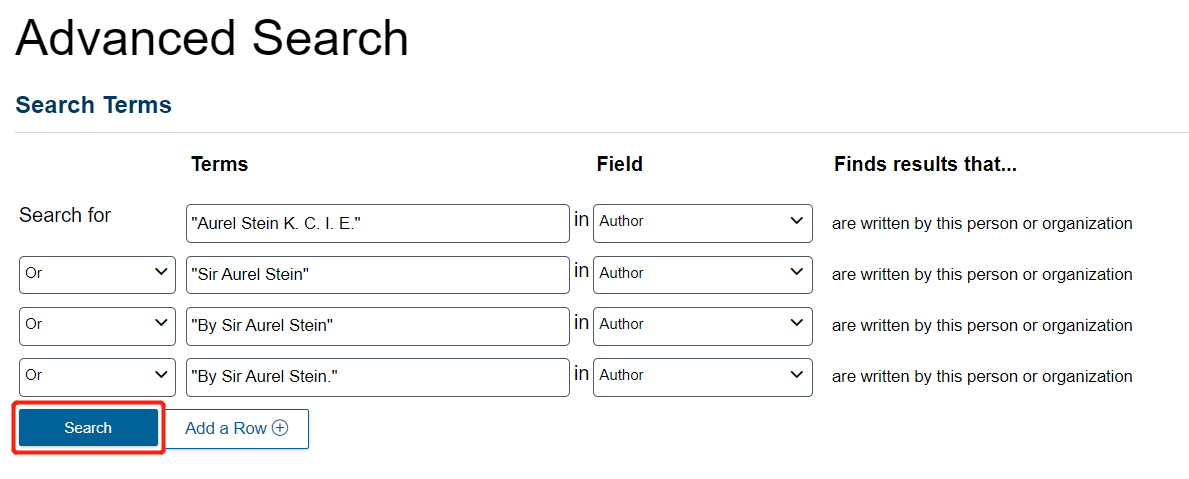
Once you are done, there should be four lines joined with OR. Click Search.
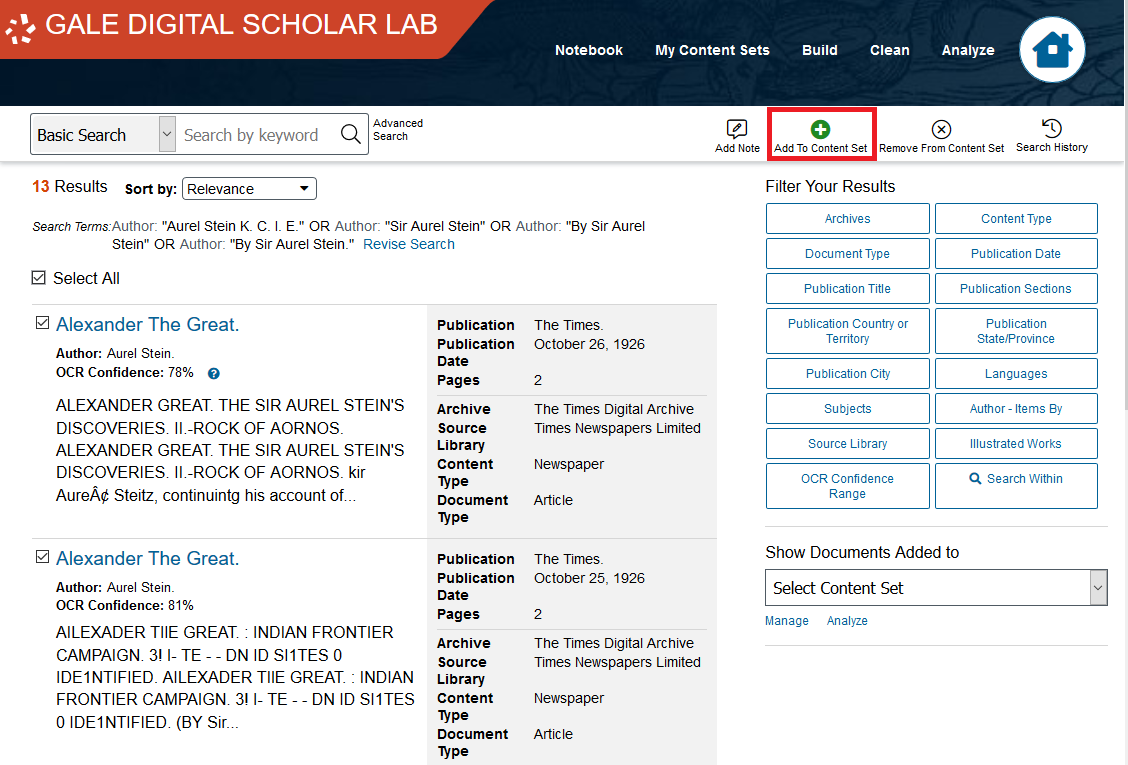
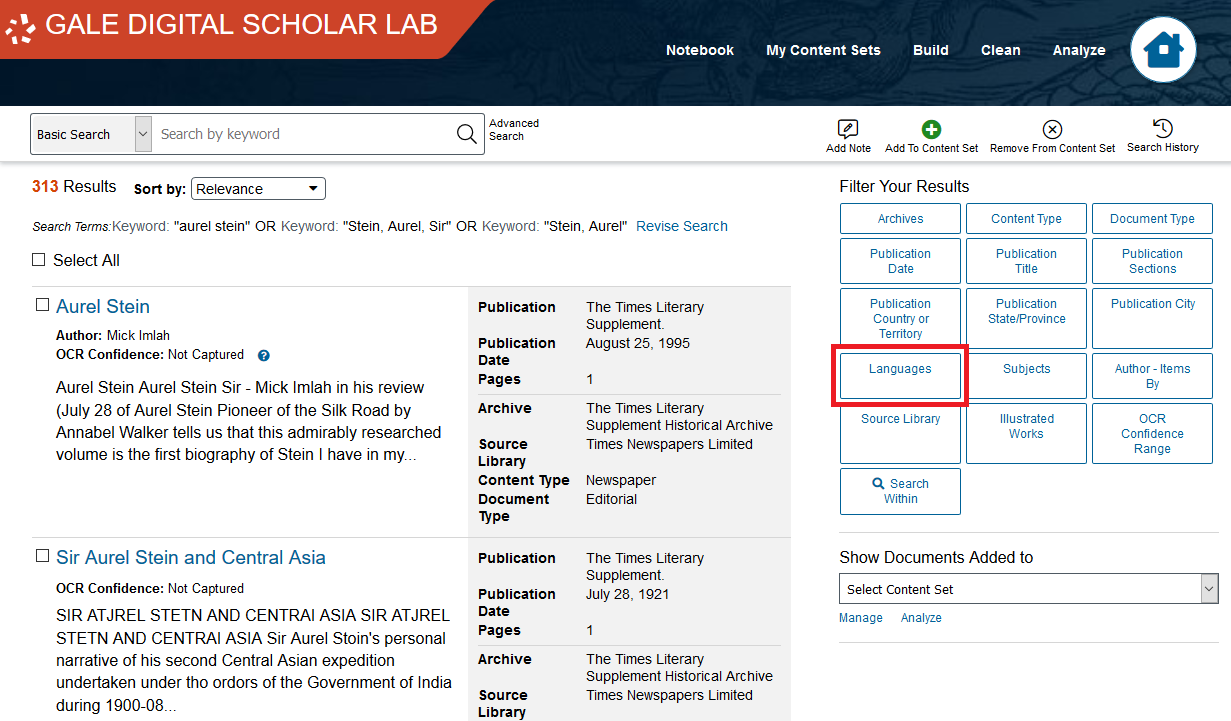
You now see the search results page.
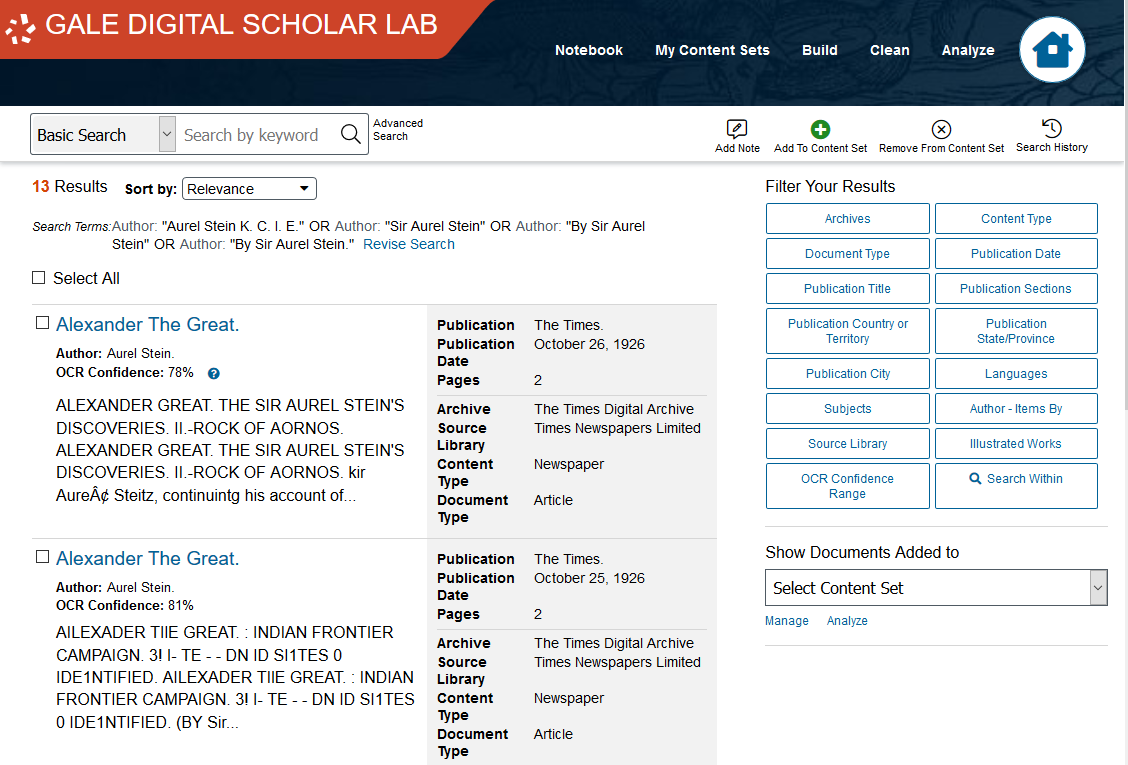
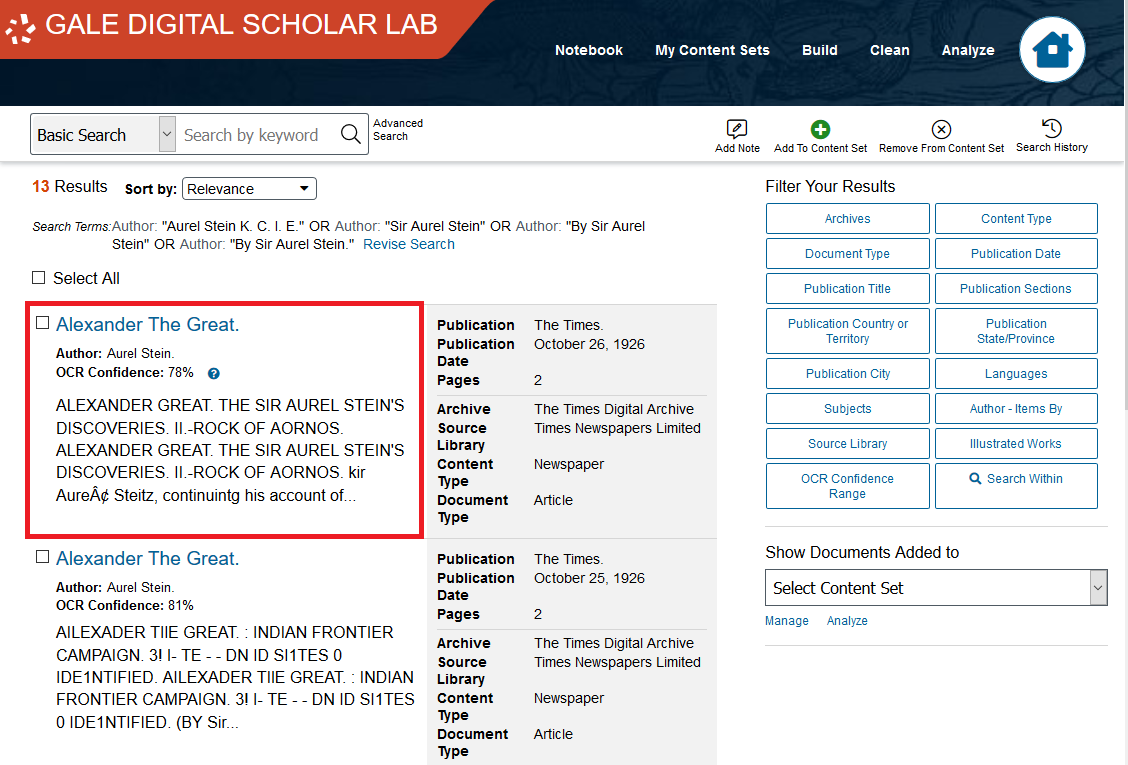
For each result, you will see its title, its author, its OCR Confidence Percentage (see the note below), and a preview of the text.
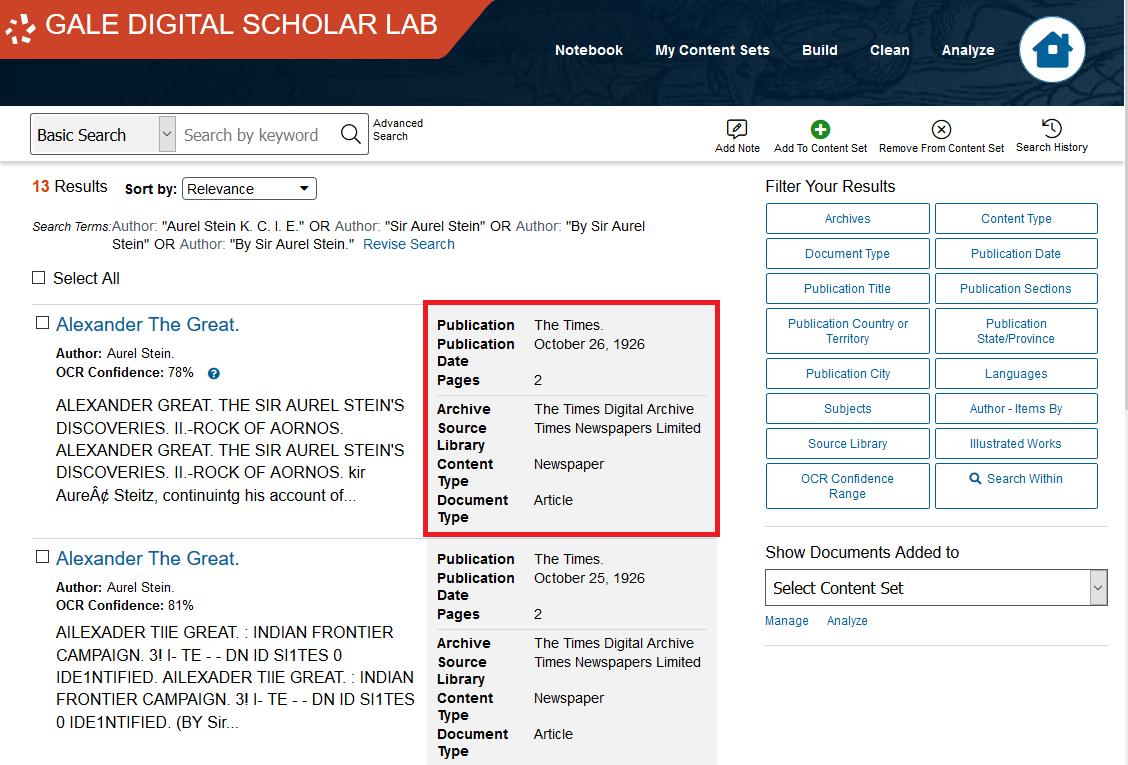
Additionally, there is some metadata to the right, including the year of publication and the archive, source, and type of the text.
Note: OCR refers to Optical Character Recognition. It is a process whereby a program attempts to produce machine-readable text from a scanned document. The OCR Confidence percentage is an overall score that represents Gale’s confidence in the OCR quality of a specific text.
One factor in their confidence level is the specific OCR algorithm used, since newer OCR algorithms typically perform more accurately than older ones. According to their documentation, over the nearly 20 years Gale has been collecting and scanning documents they have used a variety of OCR algorithms. Gale DSL currently uses Adobe Acrobat with ABBYY5 to OCR scanned documents.
The OCR Confidence percentage additionally relies on other factors, such as the condition of the original document, the quality of the scan, what kind of text is featured in the document, and whether or not there are images in a document.
A caution: the confidence level is useful but not perfect, as some documents can have a lower confidence than they deserve (if they feature lots of images), and some documents with high confidence can still include OCR mistakes. In other words, the confidence percentage is not a replacement for human attention. Some of the oldest scans won’t have a confidence percentage at all, since they predate that system.
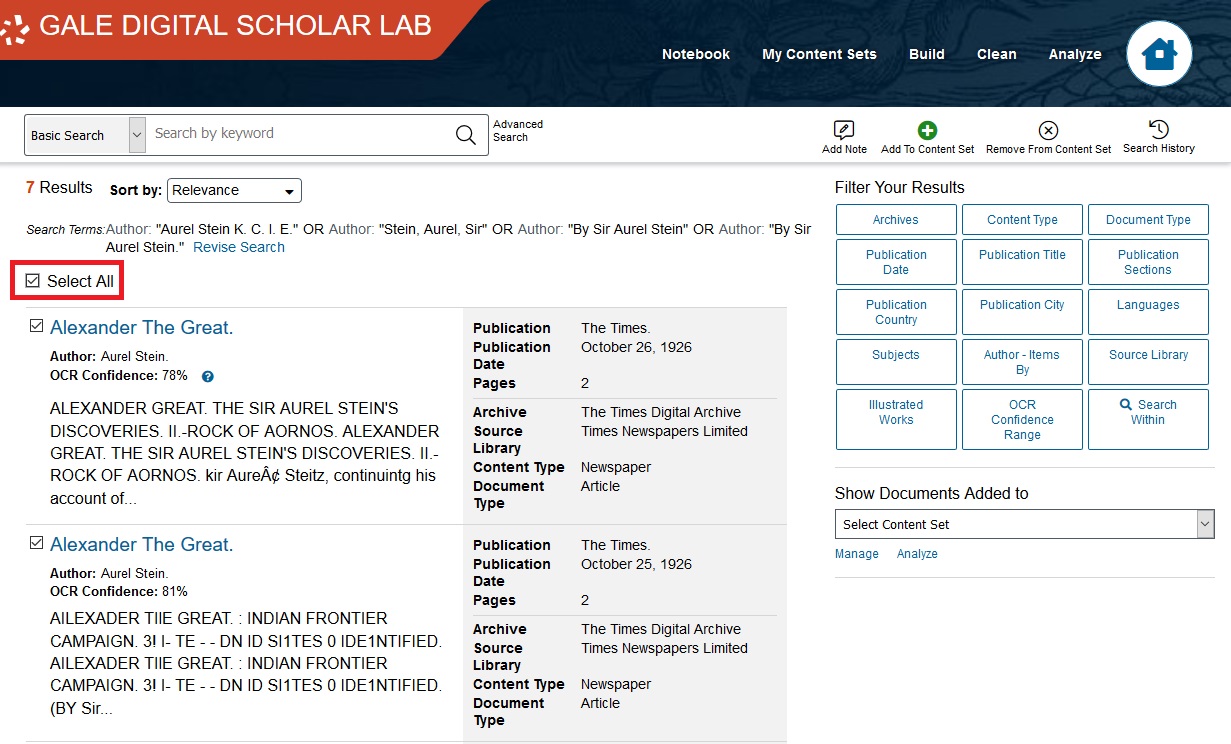
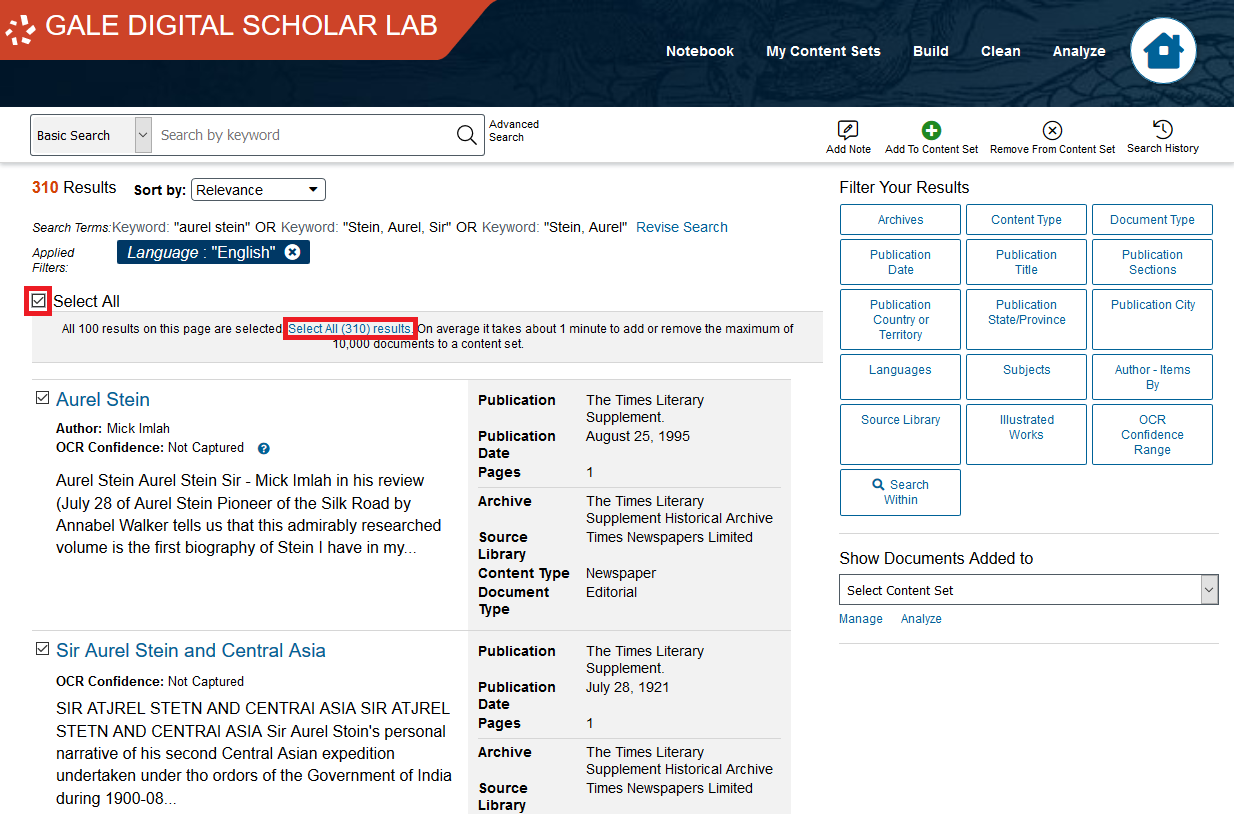
Let’s use all of these texts. Click Select All.
Then click Add to Content Set on the top-right corner.
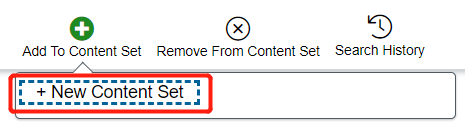
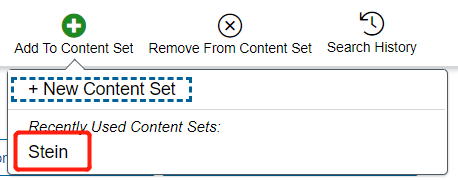
Select New Content Set.
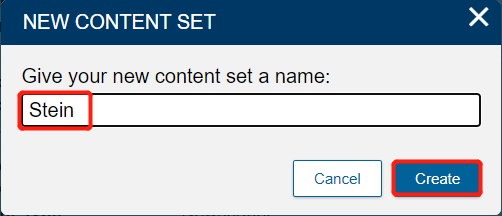
Name it Stein and click Create. Close the notification that follows.
Now, let’s add some additional texts to this corpus. On the main toolbar, click on Build.
Then, click on Advanced Search.
The first time you used Advanced Search, you found texts by Aurel Stein. Now, let’s look for texts about him, by searching for his name in the Keyword. Just like with steps 3-7 above, type Aurel Stein into the search bar with Keyword selected this time, select one of the variations that occurs, and repeat with the next line.
Like before, choose the three variations of his name. Be sure to use OR to separate all rows. And click on Search.

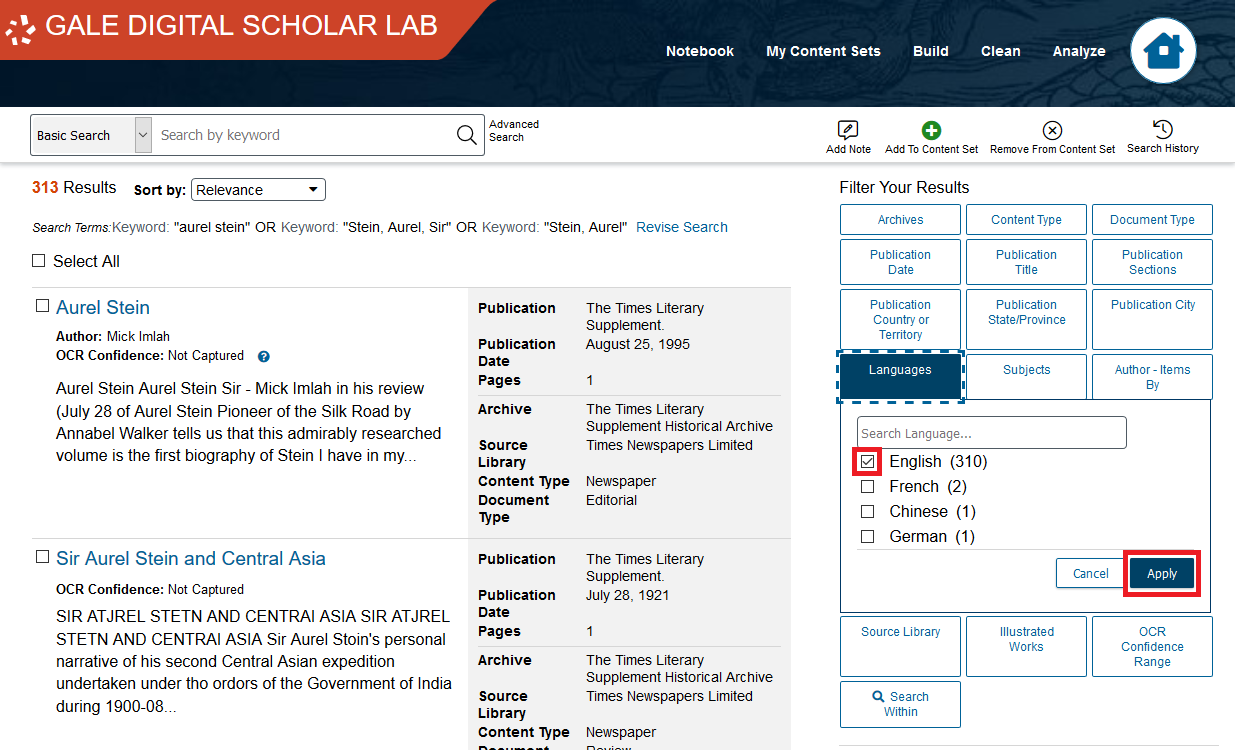
Now there are many more texts. The right sidebar menu offers ways of filtering this dataset. Just to keep our English-focused analysis consistent, Click on Languages.
Then Click on English, then click Apply.
- Let’s add the remaining documents to our collection. Scroll to the top of the page, click Select All. Then, click Select All (310) Results. Remember, your document count may be different.
Add this to the content set you just created.
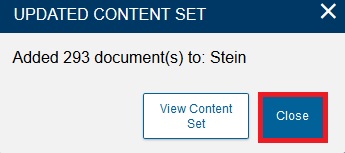
DSL automatically avoids adding duplicates to Content Sets. In this case the notification says that 293 (of 300) documents were added. Again, your number may be different. Click Close.
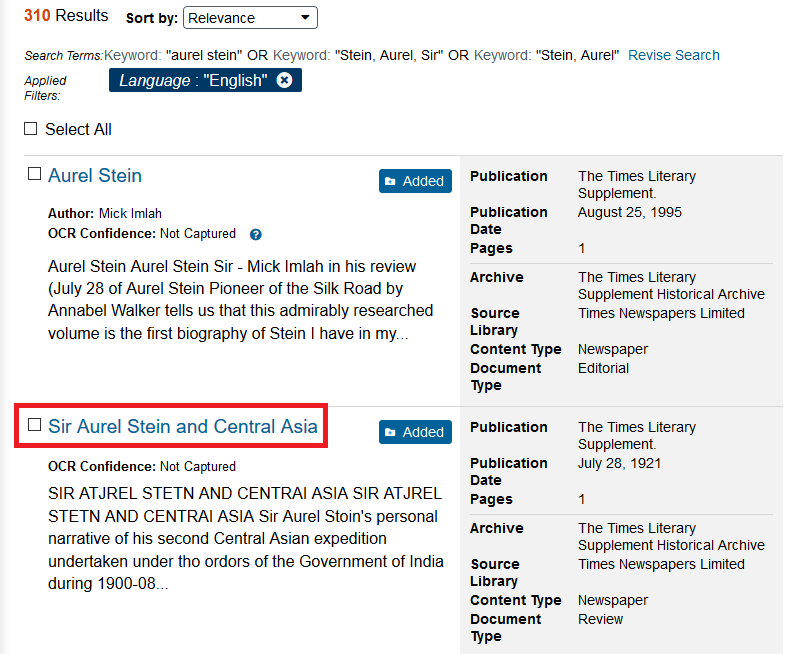
To view more information on a specific item, click it, and you will be taken to the Doc Explorer view. Click the second item, “Sir Aurel Stein and Central Asia.”
You’ll see the document in its original context on the left, with the text highlighted and the keywords selected. You’ll also get the complete text file on the right. Under image properties, there are options to adjust brightness, contrast, and invert colours, and more.
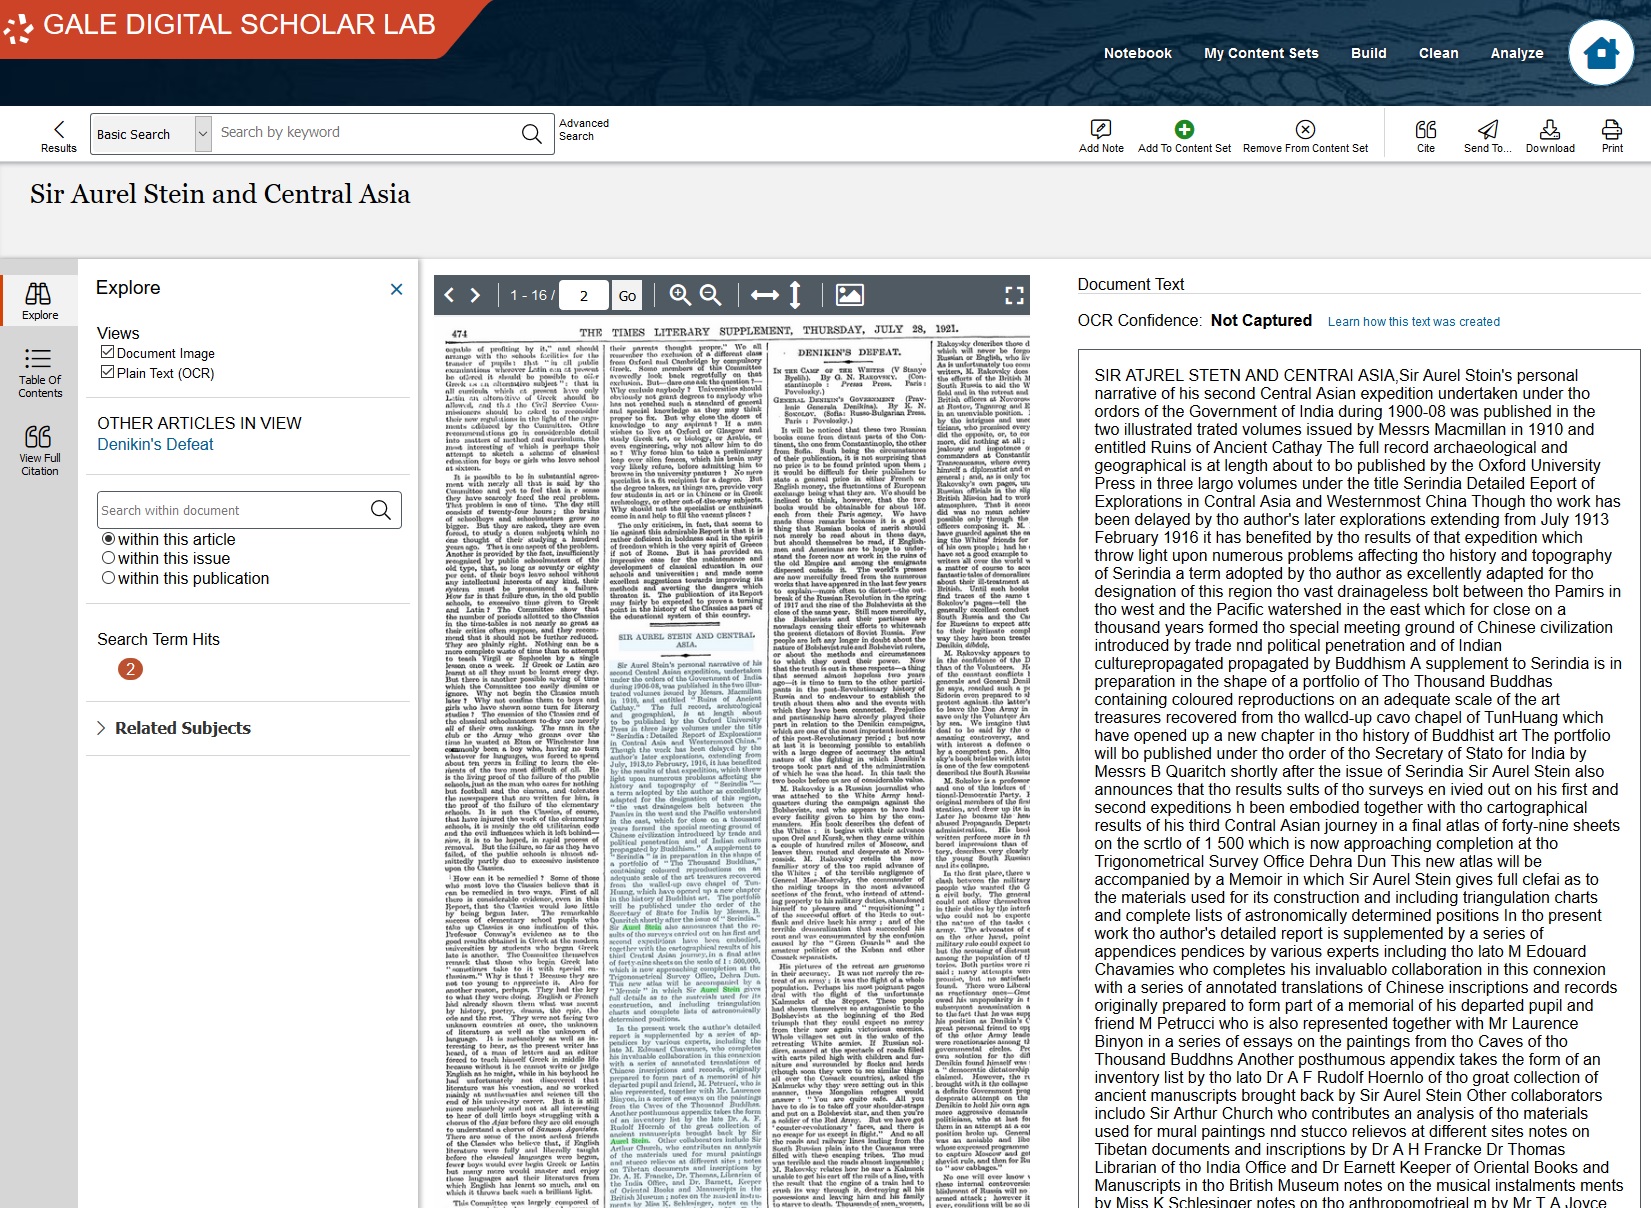
By scrolling down, you can see the scanned text on the left, with its text highlighted in light blue, and the specific keywords (“Aurel Stein”) highlighted in green.

Above, you have options to cite, download, email, and print the text. On the left you can open tabs for Explore, Table of Contents, and View Full Citation.
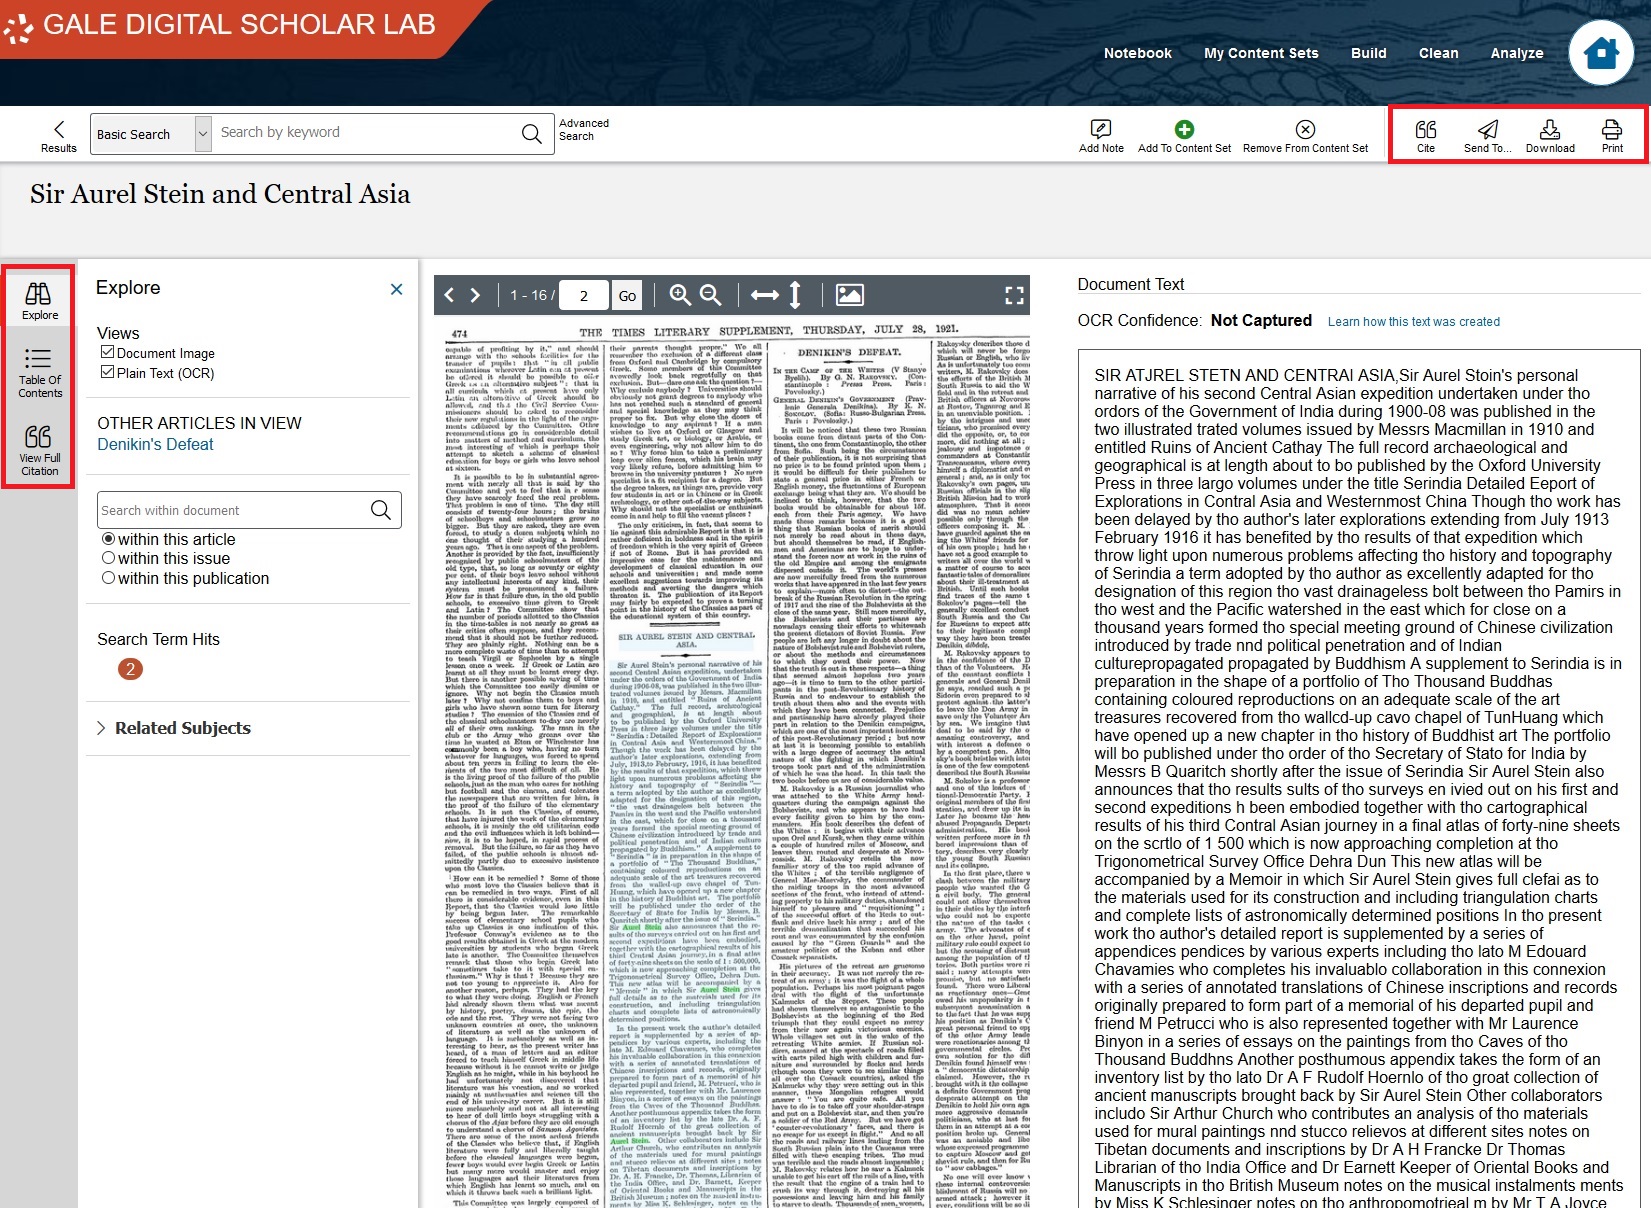
If you click on “Learn how this text was created,” you’ll receive basic information on Gale’s OCR process, and a link to further documentation.

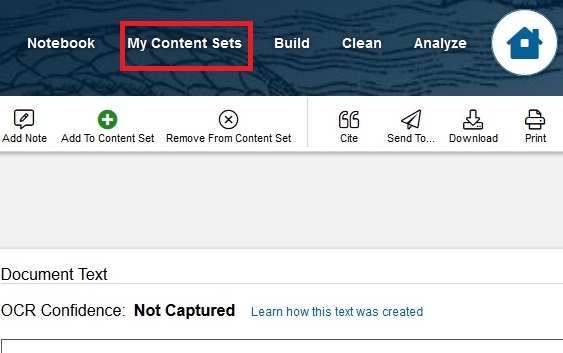
Let’s take a look at our collection. Click on My Content Sets.
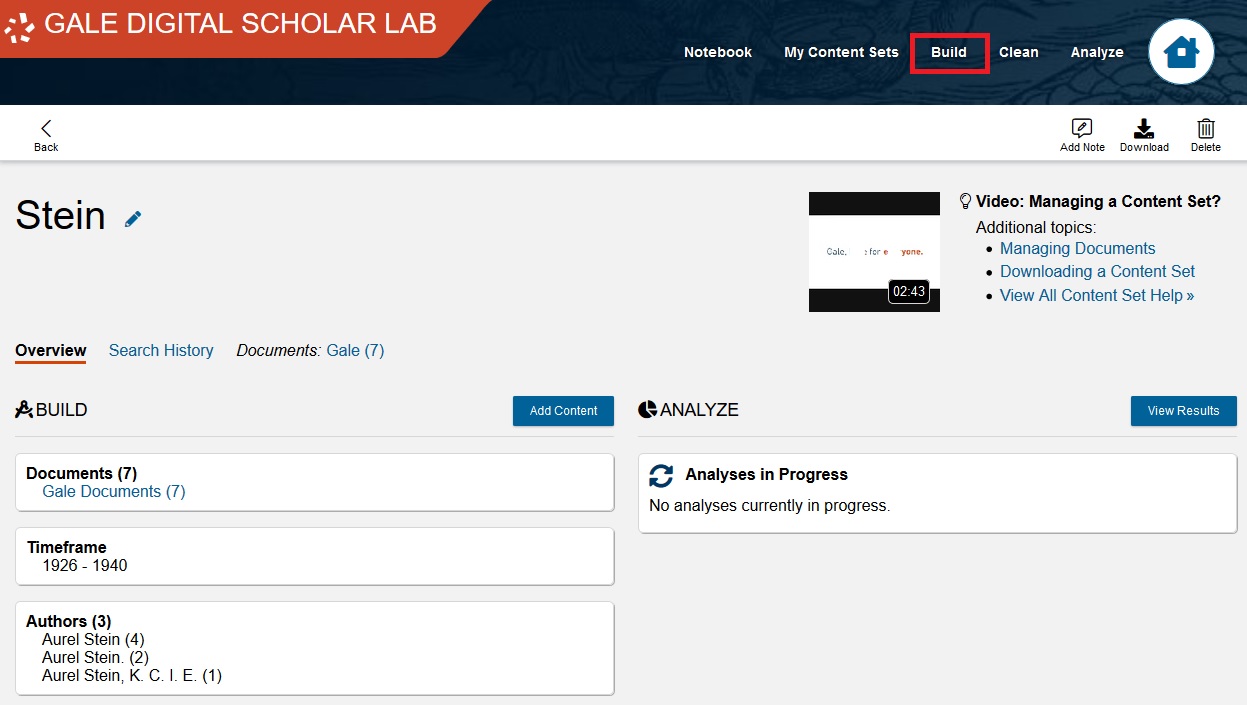
Then click on Stein. You’ll get an overview of where the texts in this corpus come from.
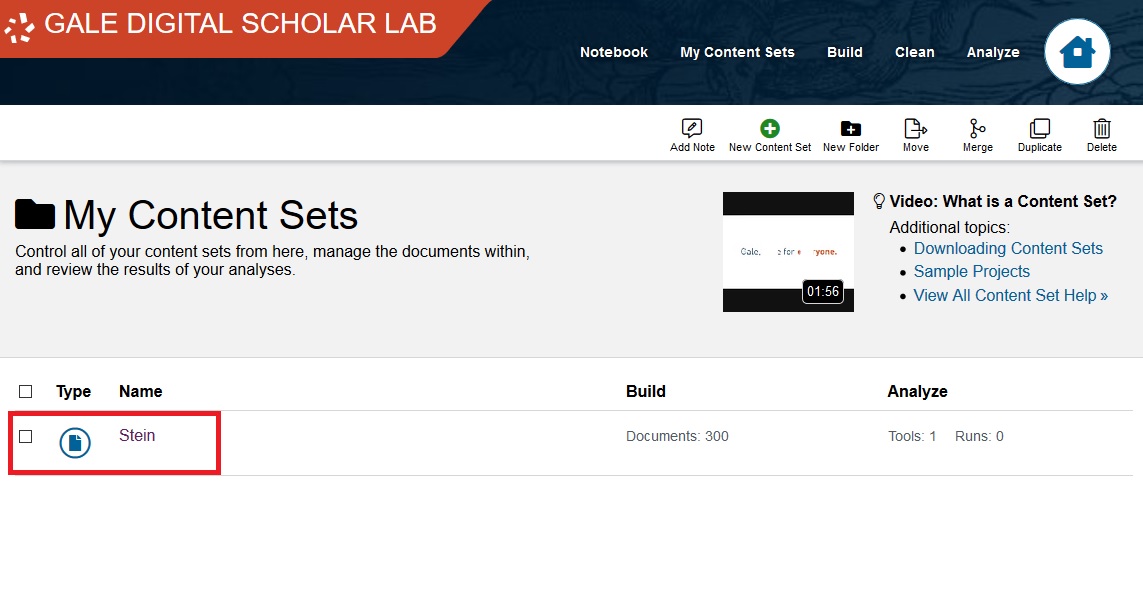
To return to the list of texts, click on the Documents button.
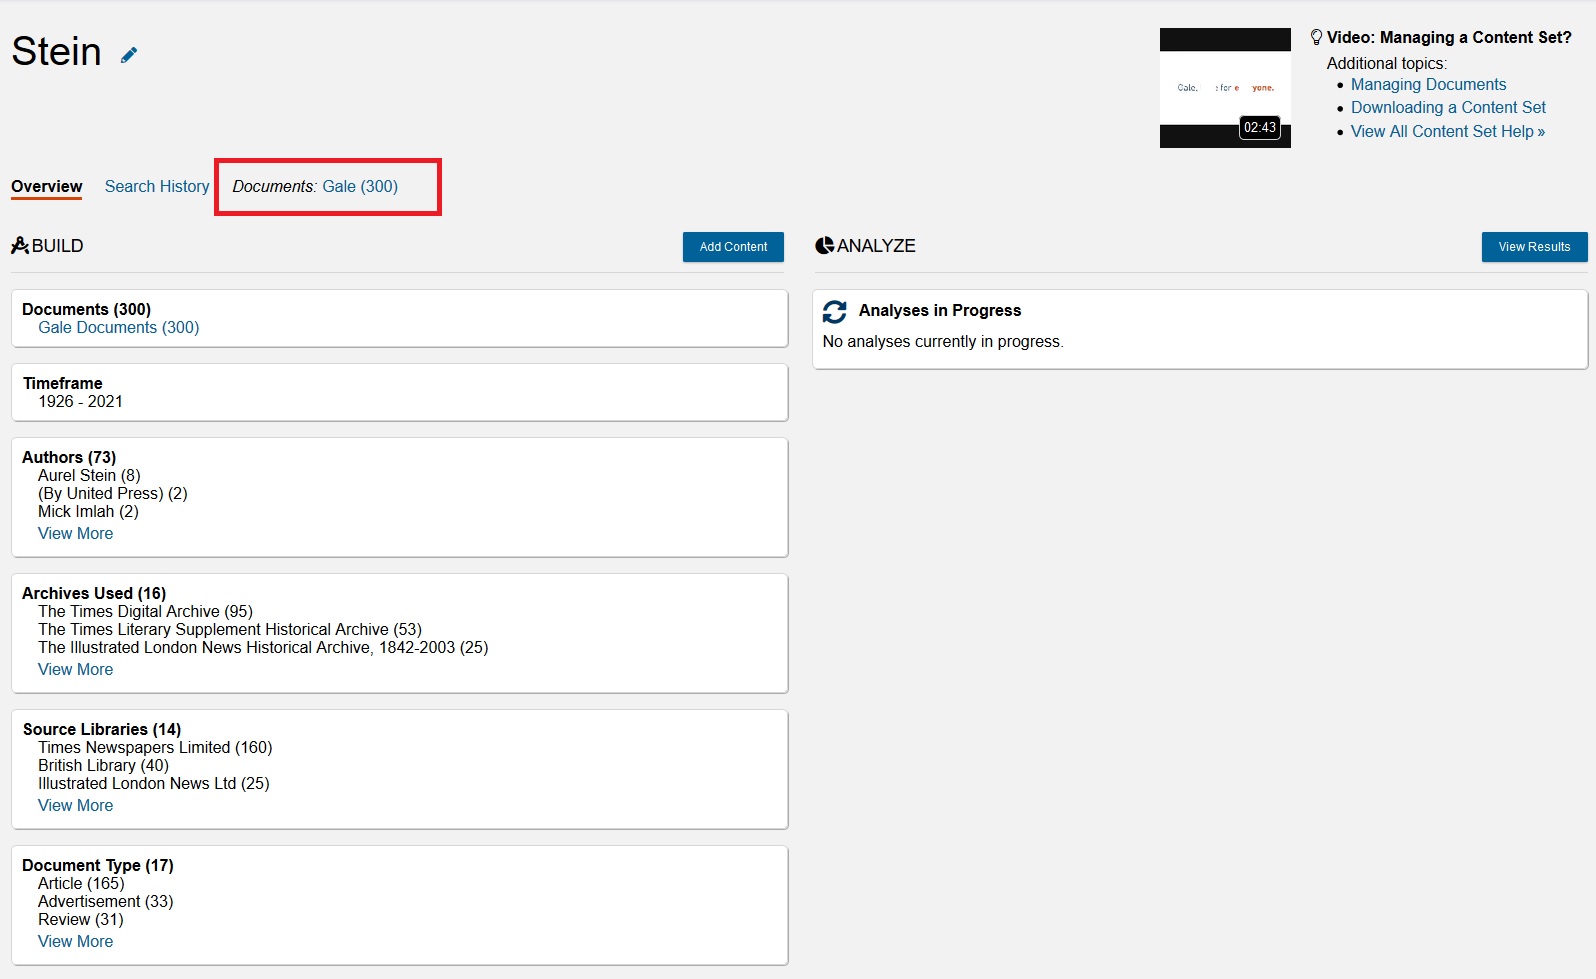
By clicking on Documents, you can view and manage the collection, removing texts if you wish. Having a collection means that you don’t need to rerun searches every time you log into the DSL; you can edit and refine your collections and rerun past searches.
Upload your own texts
You’re not limited to Gale’s selection of texts: there are three options whereby you can upload texts of your own and analyze them in the DSL. There are three methods, each described below:
Each of these methods is described below.
Note: Do not upload in-copyright texts or texts with sensitive or personal information.
Create a text document
Let’s try it! Begin by clicking on Build in the top toolbar.
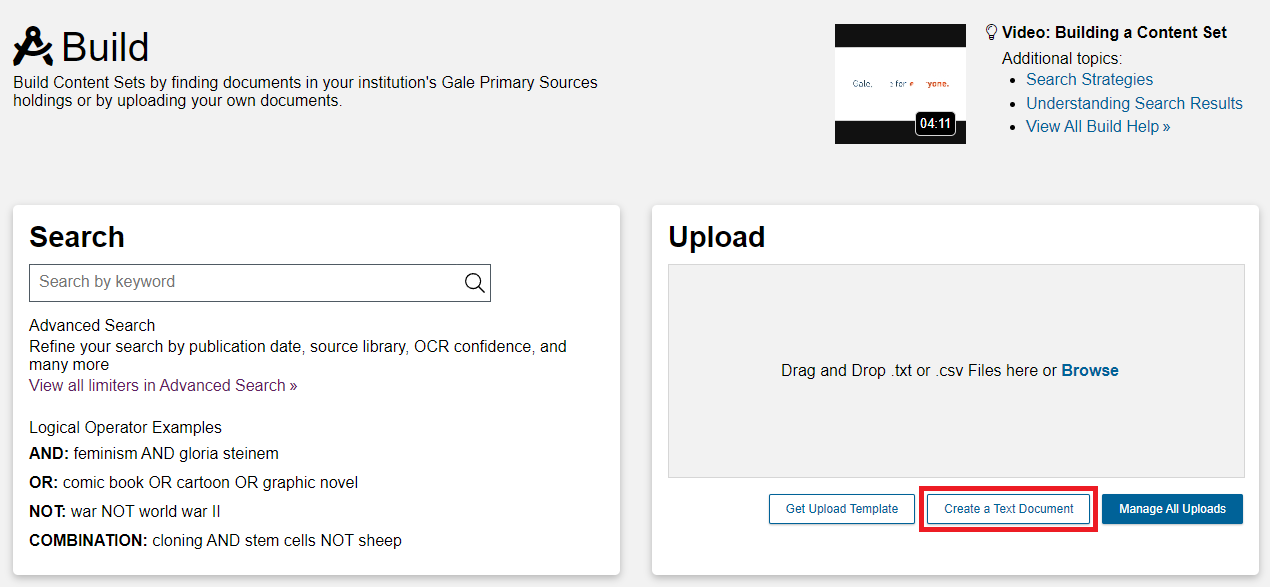
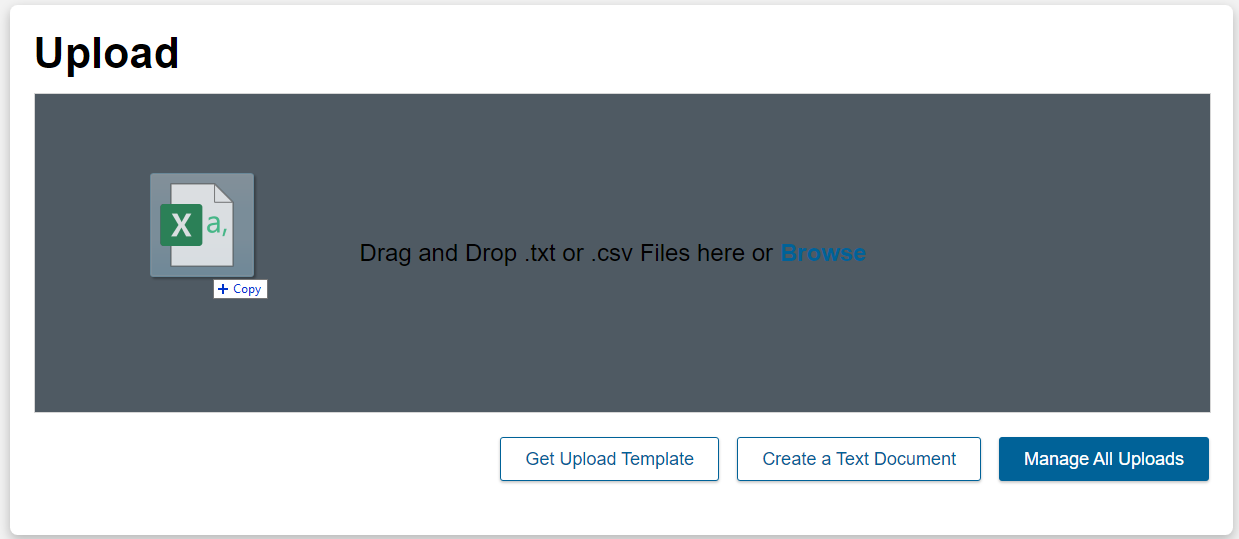
On the right side, there is the Upload box. There are two ways to upload texts: by inputting text directly into DSL or by uploading multiple files simultaneously. We’ll try both, but we’ll begin with the simpler method. At the top of the Upload box, click on Create a Text Document.
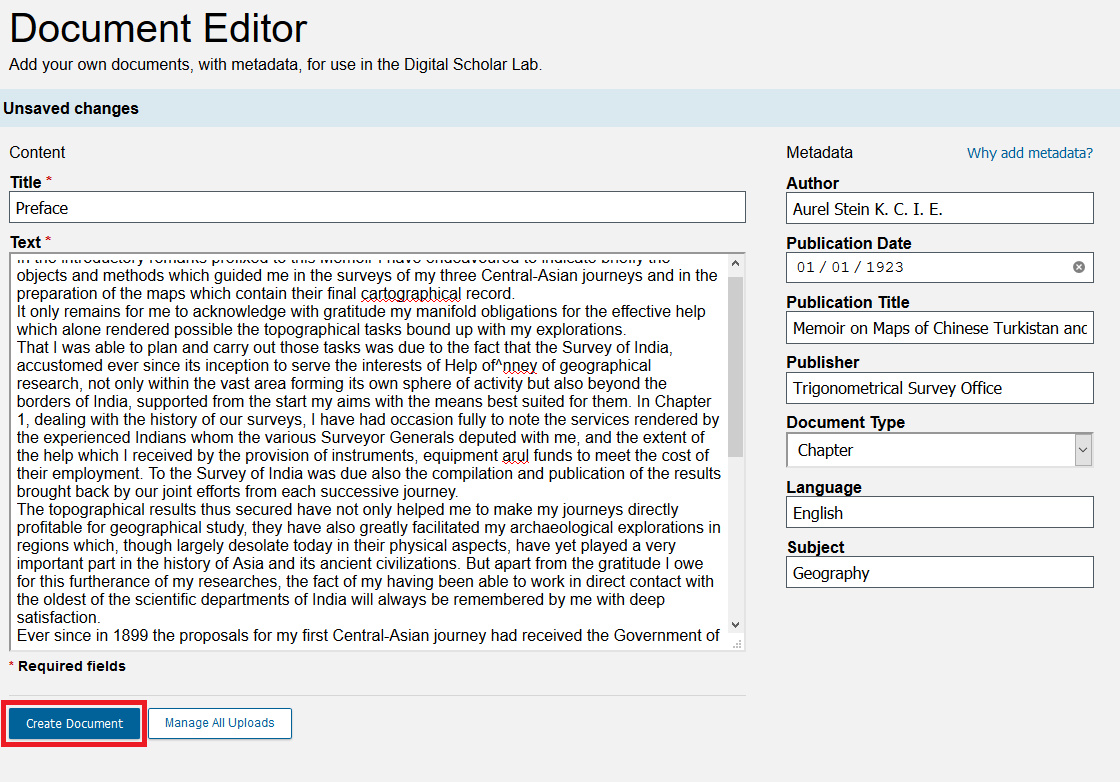
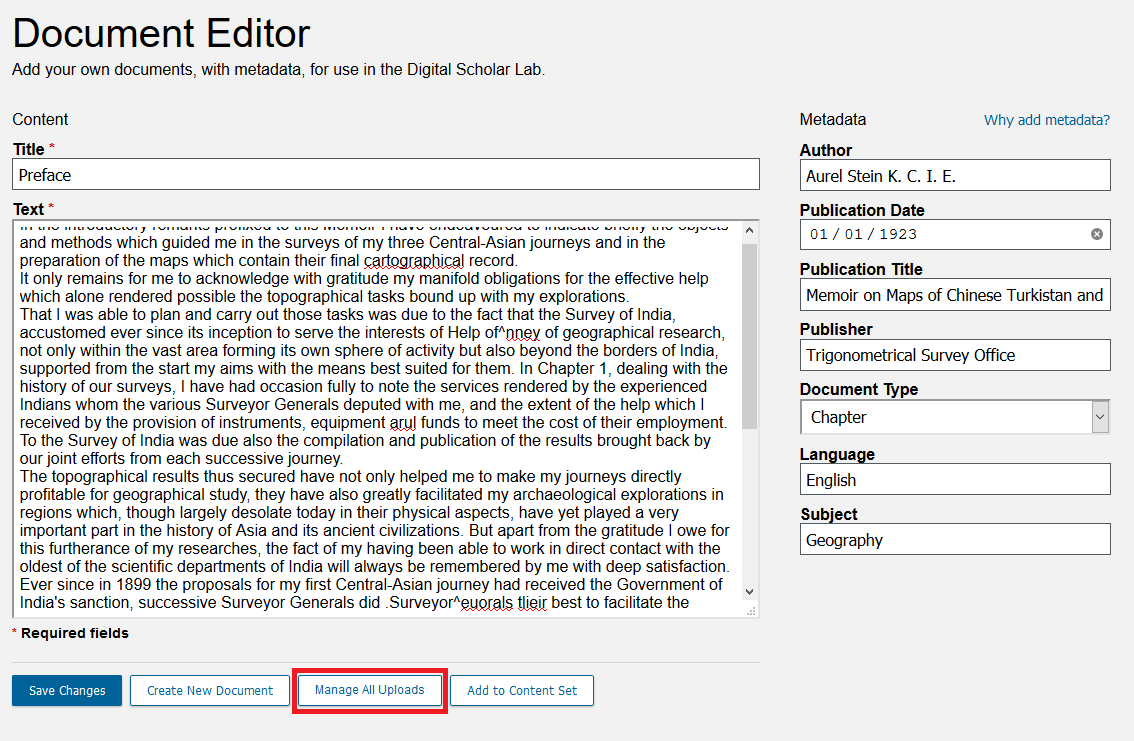
- The Text Entry page has a number of fields. Only the Title and Text fields are necessary, but the other fields are useful, both because they help keep your texts organised and because some of the metadata, such as year and date, are necessary for certain tools. Begin by pasting the following text into the Title and Text fields: Title:
Preface
Text:
In the introductory remarks prefixed to this Memoir I have endeavoured to indicate briefly the objects and methods which guided me in the surveys of my three Central-Asian journeys and in the preparation of the maps which contain their final cartographical record.
It only remains for me to acknowledge with gratitude my manifold obligations for the effective help which alone rendered possible the topographical tasks bound up with my explorations.
That I was able to plan and carry out those tasks was due to the fact that the Survey of India, accustomed ever since its inception to serve the interests of Help of^nney of geographical research, not only within the vast area forming its own sphere of activity but also beyond the borders of India, supported from the start my aims with the means best suited for them. In Chapter 1, dealing with the history of our surveys, I have had occasion fully to note the services rendered by the experienced Indians whom the various Surveyor Generals deputed with me, and the extent of the help which I received by the provision of instruments, equipment arul funds to meet the cost of their employment. To the Survey of India was due also the compilation and publication of the results brought back by our joint efforts from each successive journey.
The topographical results thus secured have not only helped me to make my journeys directly profitable for geographical study, they have also greatly facilitated my archaeological explorations in regions which, though largely desolate today in their physical aspects, have yet played a very important part in the history of Asia and its ancient civilizations. But apart from the gratitude I owe for this furtherance of my researches, the fact of my having been able to work in direct contact with the oldest of the scientific departments of India will always be remembered by me with deep satisfaction.
Ever since in 1899 the proposals for my first Central-Asian journey had received the Government of India's sanction, successive Surveyor Generals did .Surveyor^euorals tlieir best to facilitate the survey tasks of my expeditions. 1 still think back gratefully to the very helpful advice and instruction by which the late Colonel St. Georg Gore, R.E., while at Calcutta during the cold weather of 1899-1900, showed his personal interest in the enterprise. His successor as Surveyor General, Colonel F. B. Long, R.E., was equally ready to meet my requests concerning the plans !. had formed for my second and much more extensive expedition of 1906-08.
But my heaviest debt of gratitude is due to Colonel Sir Sidney Burrard, RE.,
K.C.S.I., F.R.S., who as Superintendent of the Trigonometrical Survey SidneyCBnrrnrd since 1899 had direct charge of all arrangements for the survey work of my first and second expeditions, and who during his succeeding long term of office as Surveyor General was equally ready to extend to me unfailing support and guidance with regard to the third. Moreover quite as great a stimulus was the thought of his own lifelong devotion to the study of the geographical problems connected with innermost Asia and the great mountain systems which enclose it. I feel hence very grateful for being allowed to dedicate this record of our labours to Sir Sidney Burrard not merely as a most helpful friend and guide but also as a living embodiment of that spirit of scientific research which has never ceased to pervade the Survey of India since the days of Rennell, Lambton, and Everest.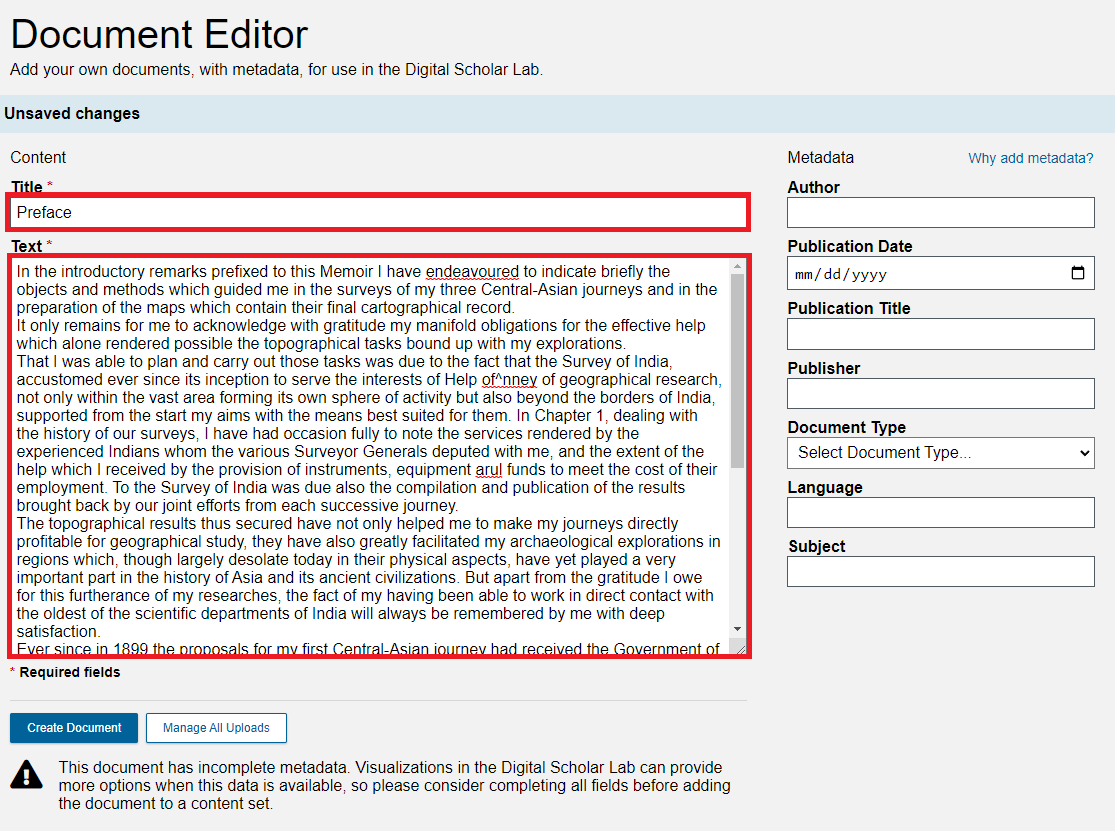
Note: you have probably noticed that there are some misspellings and other errors in the text above. This is because this text was made by using an OCR algorithm on scanned images of pages. These OCR errors are, unfortunately, a common byproduct of this process, requiring considerable time to manually check for even a single text, let alone the hundreds or thousands of texts in a collection. (I removed a small number of illegal characters, including variations on the apostrophe, to make this text compatible with DSL’s requirements.) This is also a fairly error-free example. I took this text from Stein’s 1923 Memoir on Maps of Chinese Turkistan and Kansu, specifically this copy of Stein’s text from the Internet Archive.
Now let’s begin adding metadata.
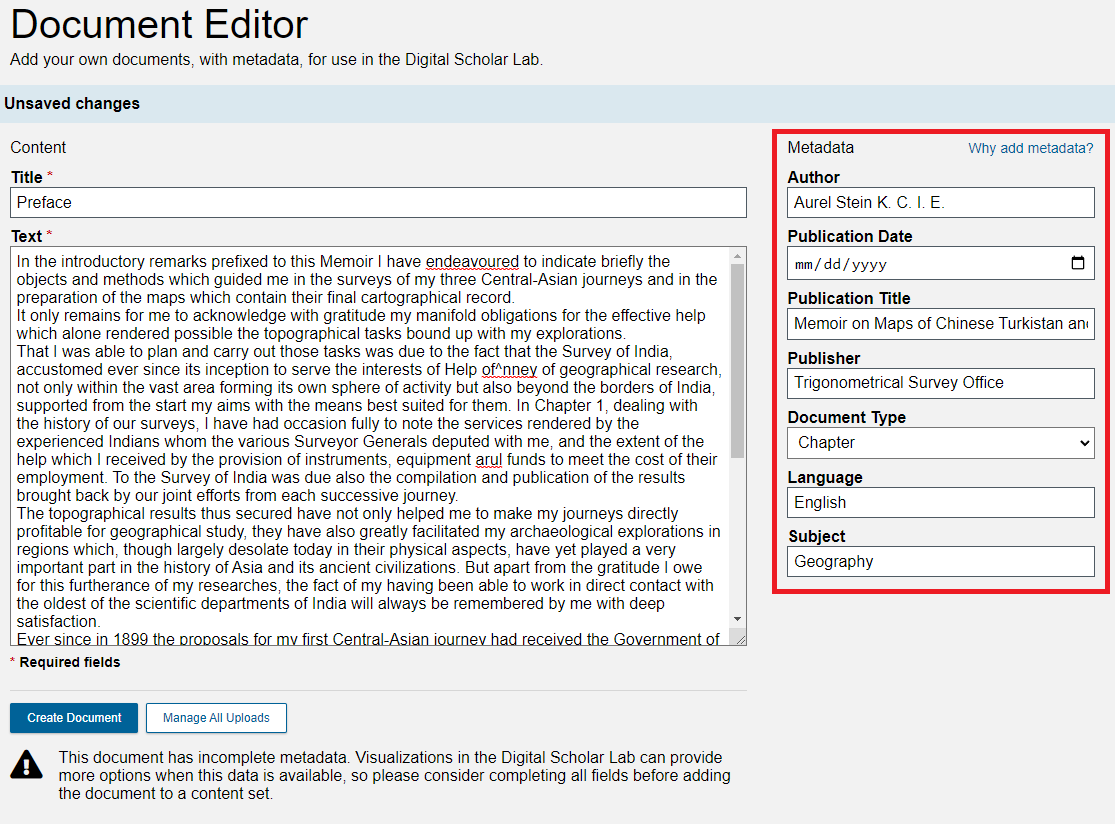
For each of the following fields, add the following metadata: Author: Aurel Stein K. C. I. E.
Publication Title: Memoir on Maps of Chinese Turkistan and Kansu
Publisher: Trigonometrical Survey Office
Document Type: Chapter
Language: English
Subject: GeographyClick on the Publication Date field.
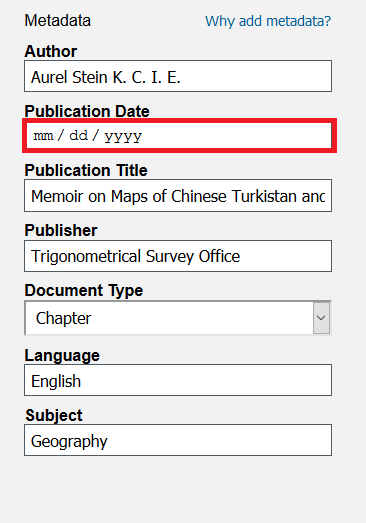
You can type in your date manually, or you can use the calendar. The calendar window looks different depending on which web browser you are using. Click the Month/Date menu at the top.
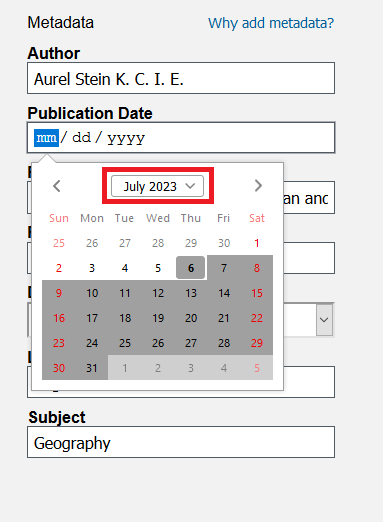
From the month dropdown menu, select January 1923.
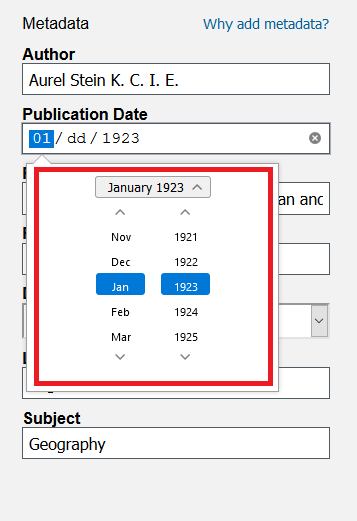
In the month view, click on the 1st. When you click out of the calendar, the Publication Date should read 01/01/1923.
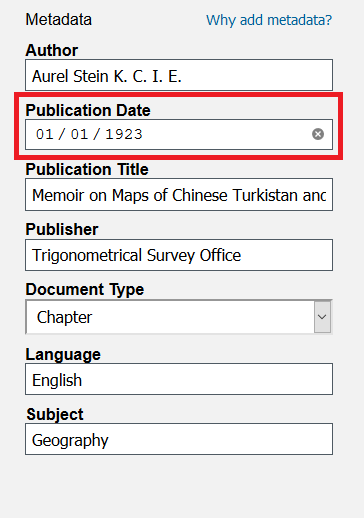
Note: we only have the year of publication for this text, but DSL requires a full date, with day and month, for their data. For this reason, we added January 1st, even though in practice you can ignore the month and day.This text should now have all of its metadata fields complete. Click on the Create Document button at the bottom to upload the text. A banner stating “Document Saved” should briefly appear.
Note: metadata is “data about data,” or more specifically, it is information about a dataset (whether that dataset is a book, article, film, image, etc.) such as the author and publication year. It is used by several of DSL’s tools (e.g. the Parts of Speech tagger compares the styles of different authors, so it needs texts to have their Author fields filled out). We used “Aurel Stein K. C. I. E.” because spelling his name differently, even if it would be recognizable as the same person to a human, will be technically a different author for any computational tools. This particular formulation is one of the existing variations in DSL and is how Stein wrote his name on the title page, so it works best.
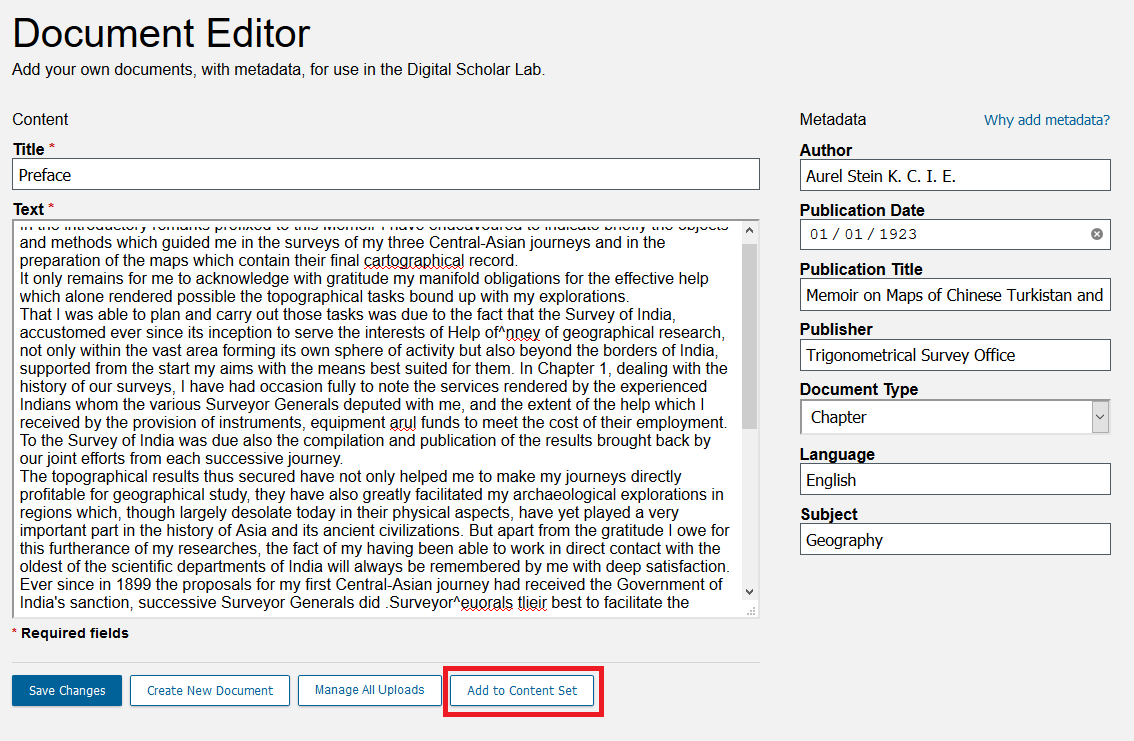
Now that this text has been uploaded, let’s add it to our collection for further analysis. Click on Add to Content Set.
From the menu, select Stein.
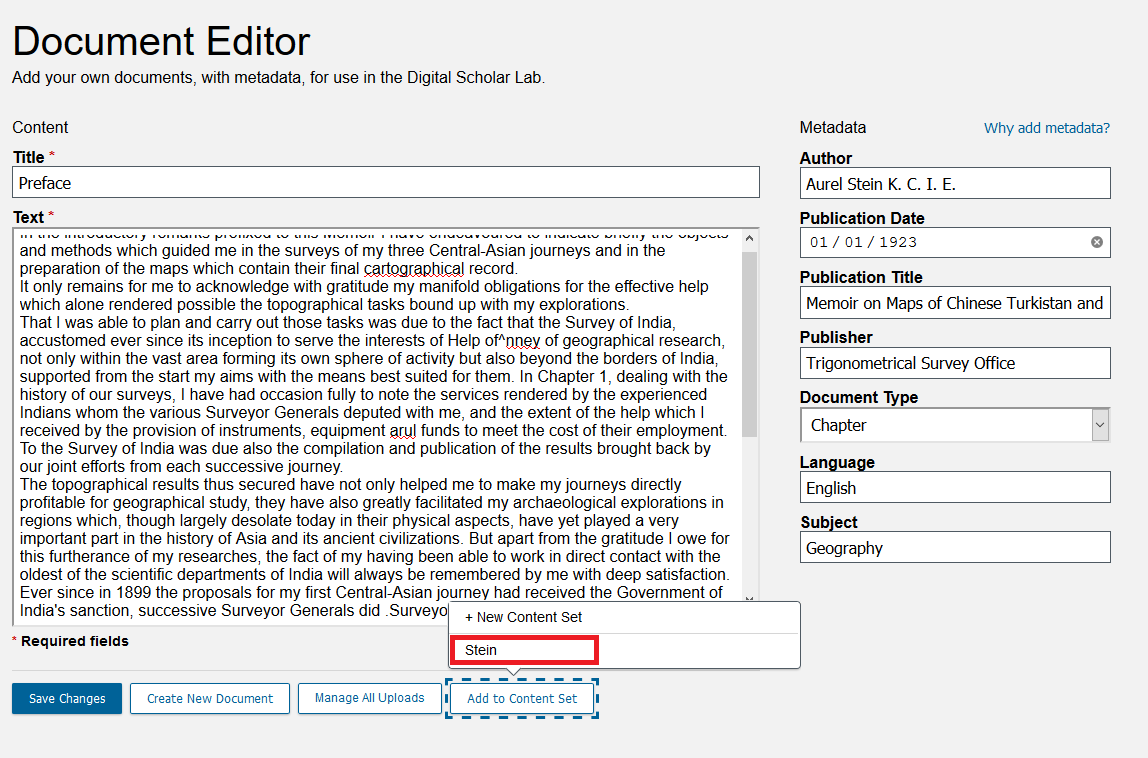
Once DSL confirms that this text has been added to the Stein collection, click Close.
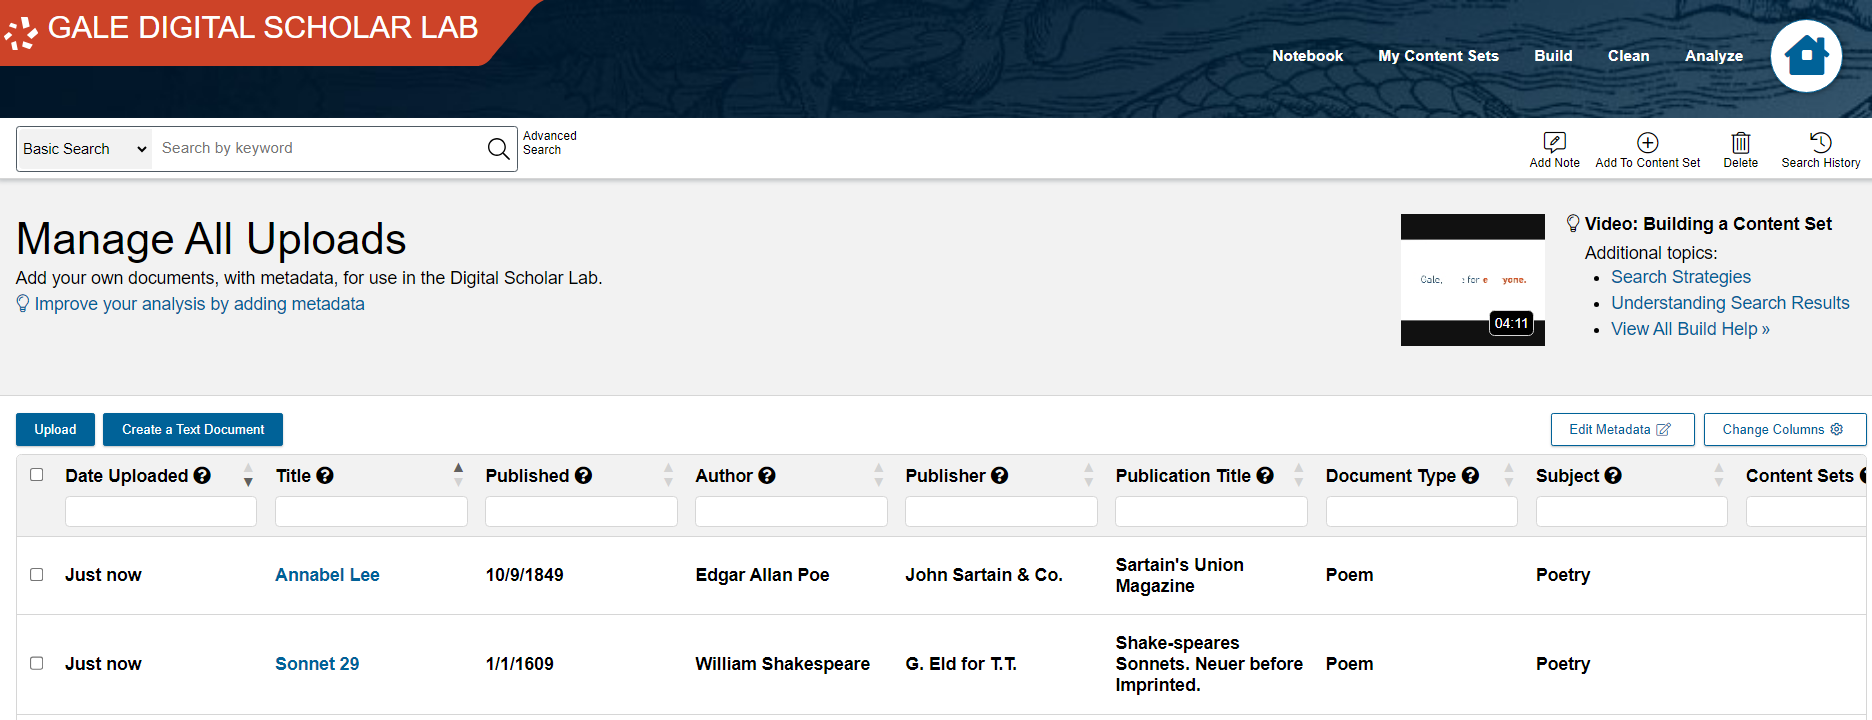
Let’s see where we can review these uploaded texts. Click on Manage Uploads.
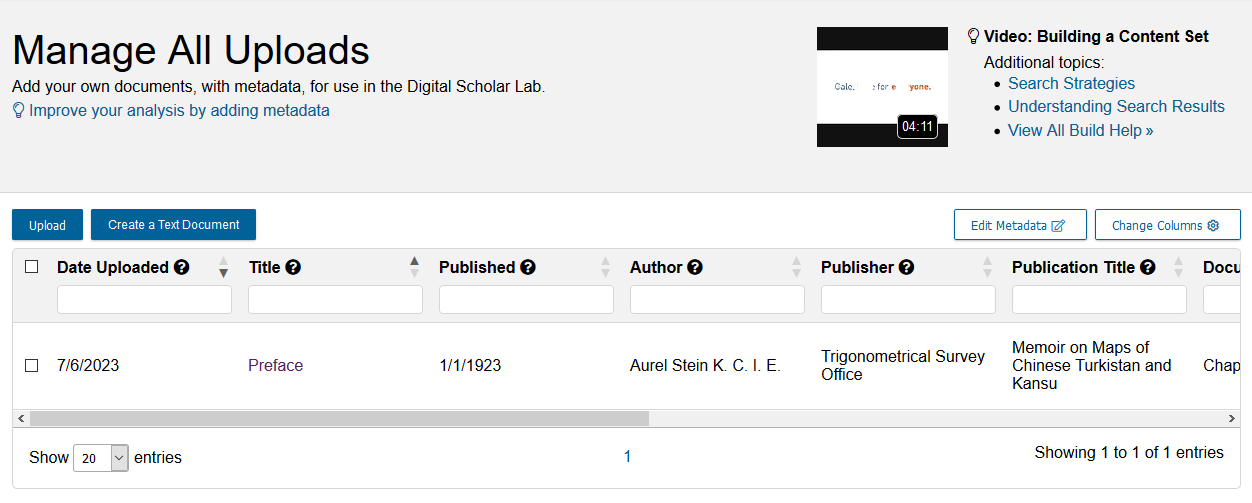
This opens up the Manage All Uploads page. Here you can see a list of all texts you have uploaded. So far, we only have one, but we will add more soon. You can also use this page to add texts to content sets, apply metadata after uploading them, or to delete them.
Bulk upload, method 1: text files
Next we’ll explore another method of uploading texts, one that can handle bulk uploading of texts. Click on Build.

First, download these two .txt files by right clicking on the links below and saving them each to your computer (selecting Save Target As or Save Link As):
download Introductory material
download Chapter 1, Section 1
In the Upload box, click Browse.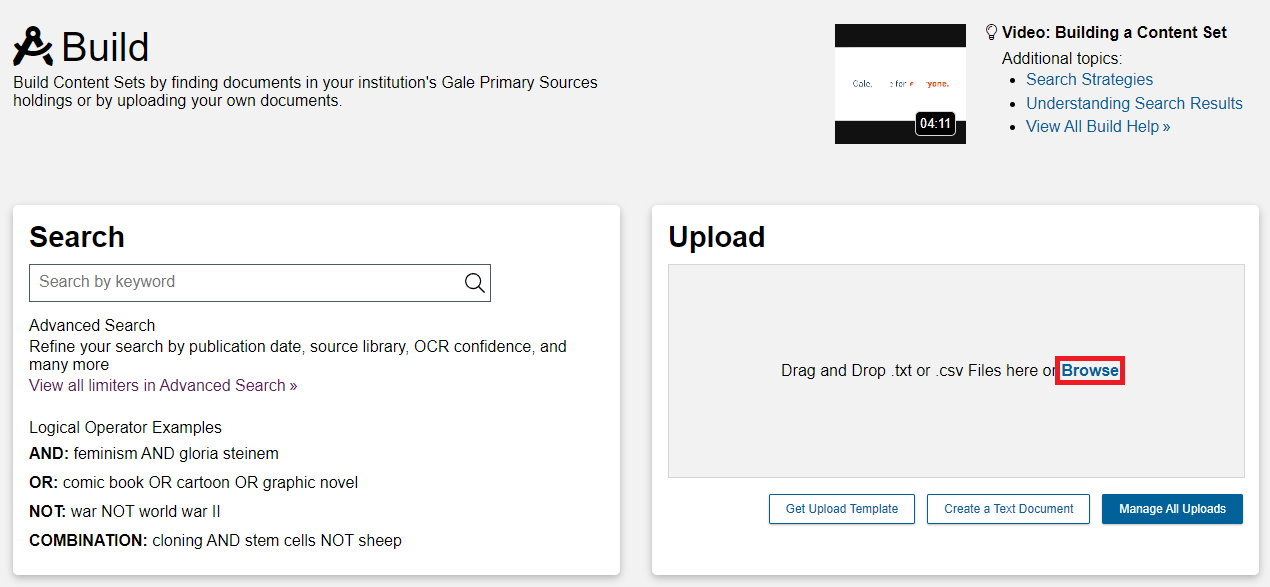
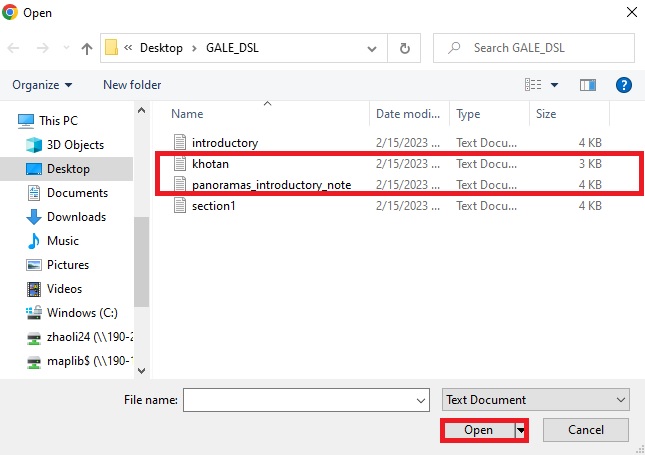
Navigate to where you downloaded these files, select both of them (hold down CTRL (Windows) or CMD (Mac) to select more than one item at a time), and click Open.
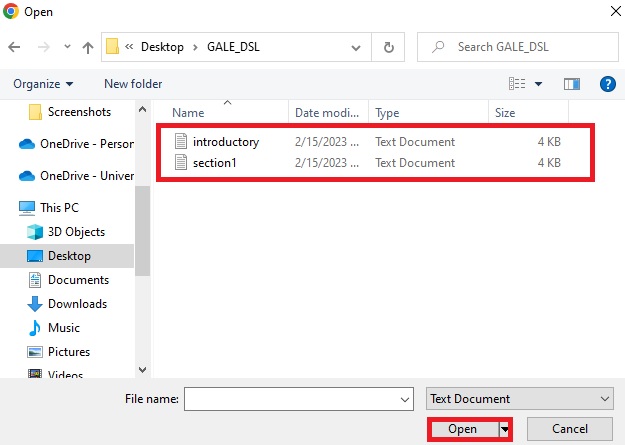
Note: the example above comes from a PC. Your interface may look different.
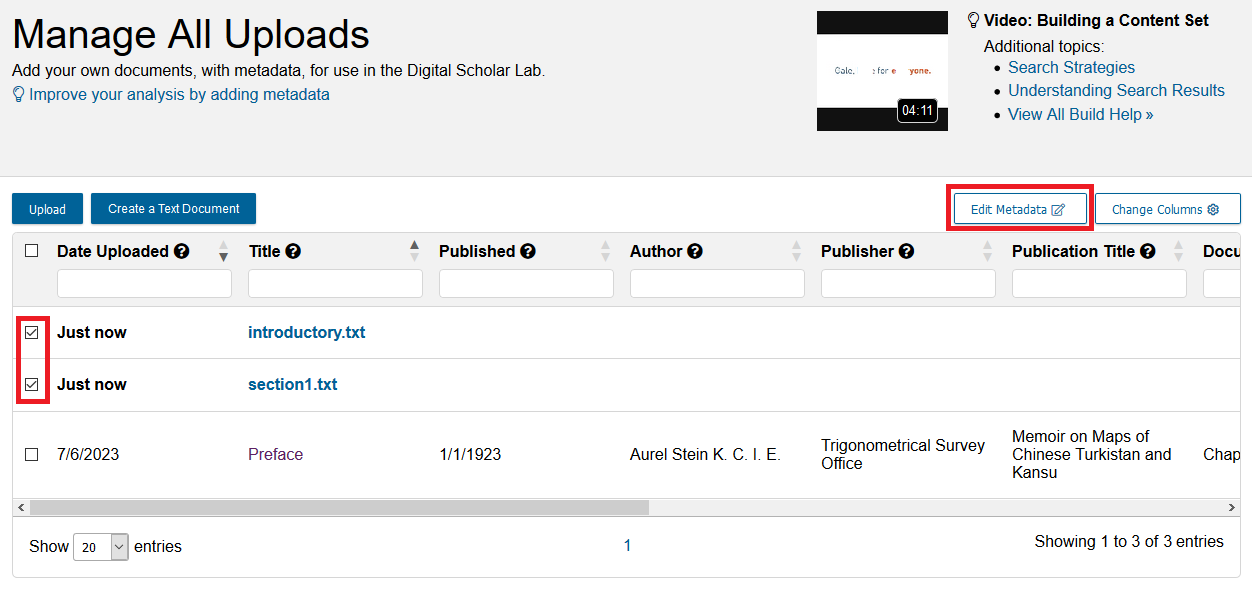
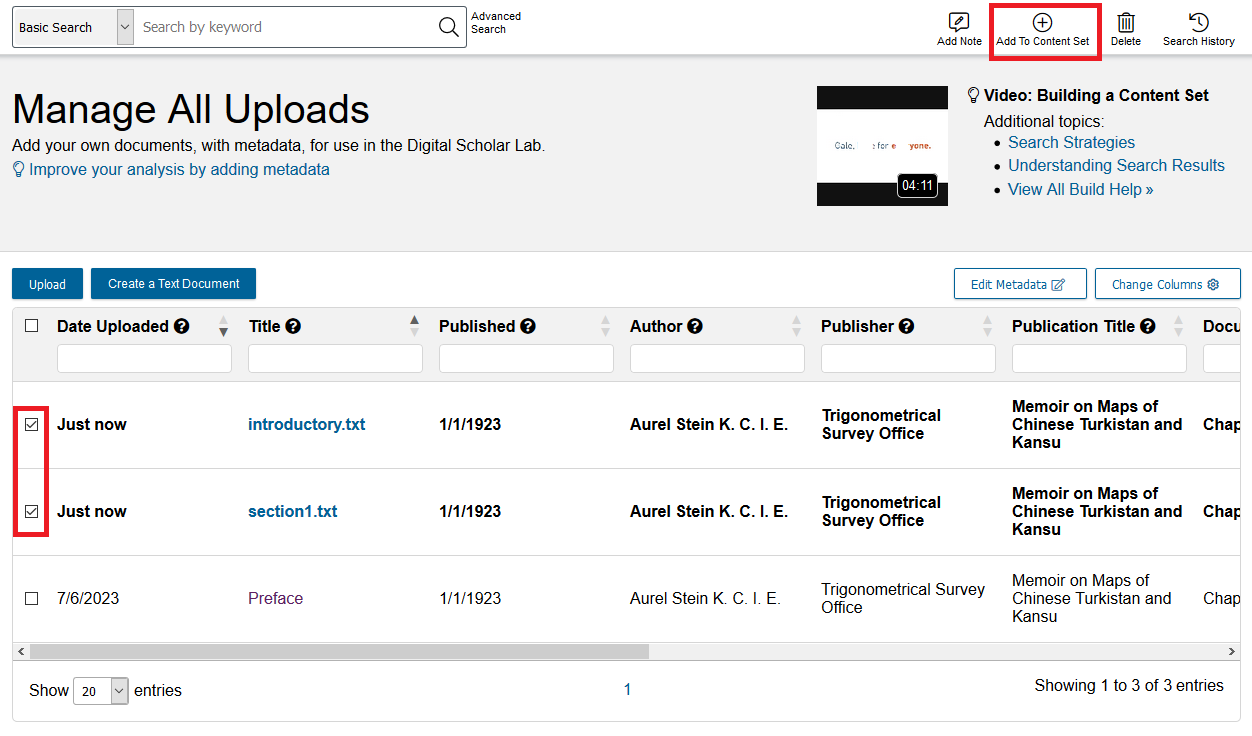
- You will be brought back to the Manage All Uploads page, where you can see the two texts you just uploaded at the top and in bold. The date uploaded will say “Just Now”. Notice how there is no metadata for either of these new uploads. We can add that now. Check the box next to each and click the Edit Metadata button.
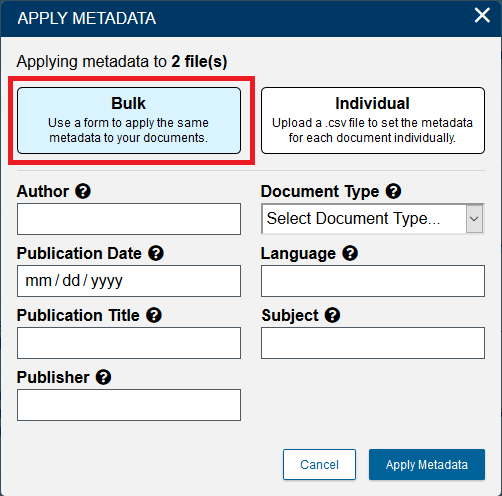
In the Apply Metadata window we have two options: Bulk and Individual. Bulk is selected by default and will let us apply the same metadata to both files we have selected. Leave it selected on Bulk.
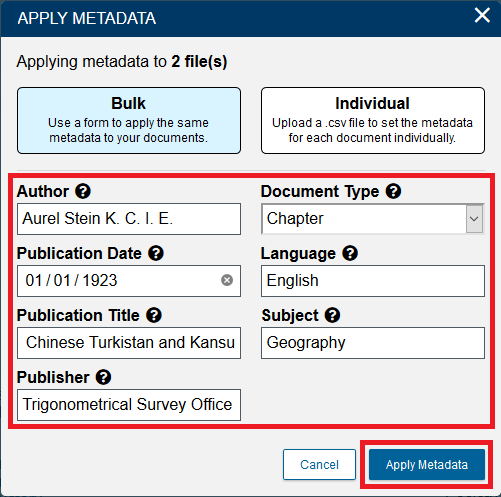
Then, add the metadata as before:
Author: Aurel Stein K. C. I. E.
Publication Date: 01/01/1923
Publication Title: Memoir on Maps of Chinese Turkistan and Kansu
Publisher: Trigonometrical Survey Office
Document Type: Chapter
Language: English
Subject: GeographyFinally, click Apply Metadata.
The metadata have now been applied! But we still need to add these new texts to a collection. Check the box next to each and click on Add to Content Set.
From the drop-down menu, select Stein.

One final method to apply metadata is to use a spreadsheet. This method is best if you are uploading multiple texts with different metadata. Begin by saving these texts to your computer:
download khotan.txt
download panoramas_introductory_note.txt
We’re going to upload these texts the same way we uploaded the previous ones. Go to the build page, then, in the Upload box, click Browse.
Select both of the new files and click Open.
- As with before, select those the two new .txt files from the Manage Uploads list, and then click on Edit Metadata.
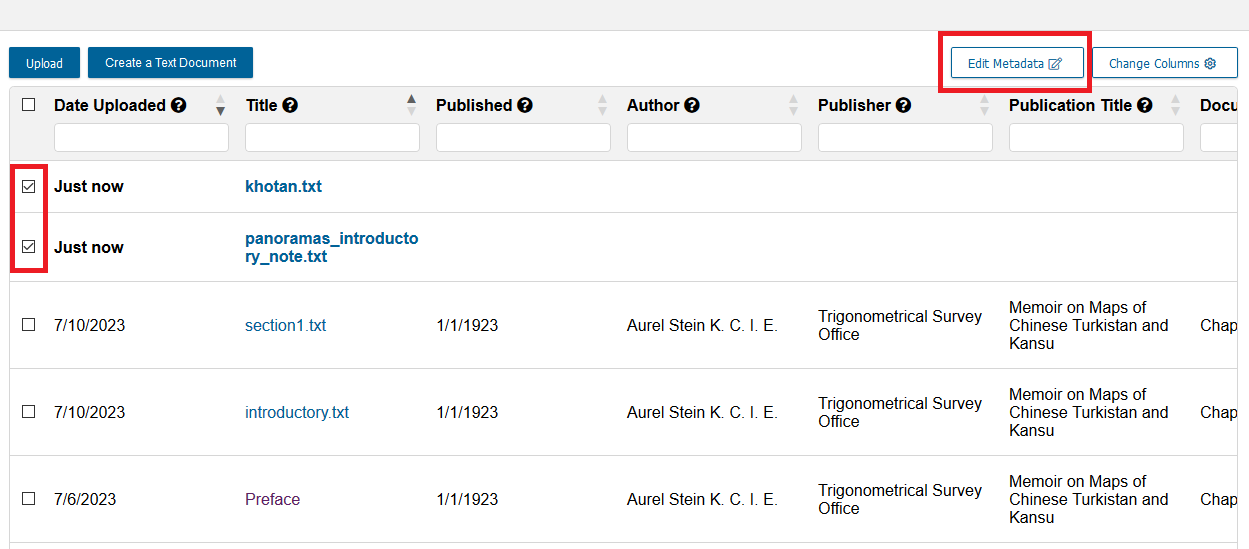
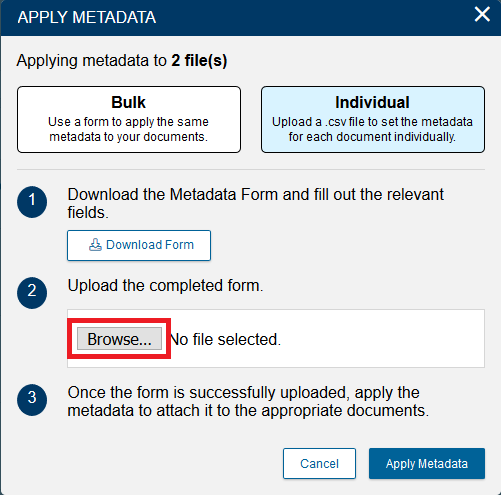
- This time, in the Apply Metadata window we are going to use the Individual option. Select Individual.
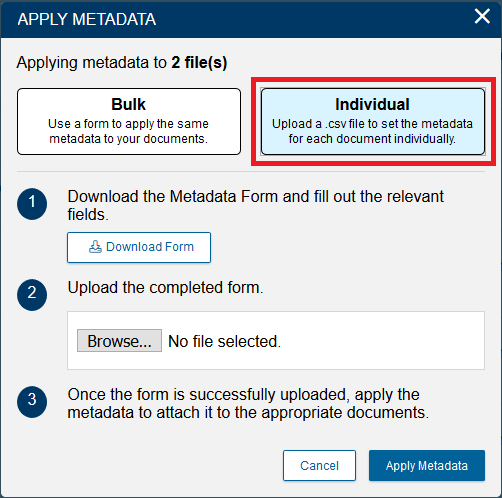
- Next, click on Download Form.
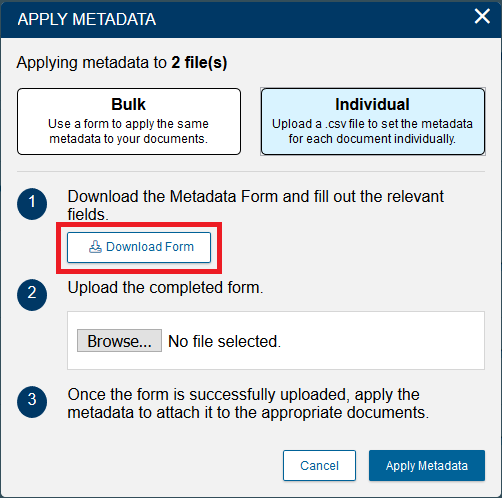
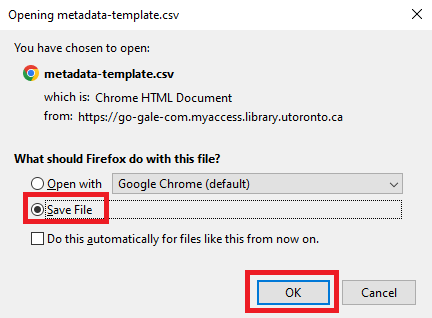
- Depending on your internet browser settings, you might automatically download a file called metadata-template.csv. If you are prompted to download it, choose where you would like to download it and then click save.
- Open up the file in a program like Excel, Numbers, or OpenOffice Calc.
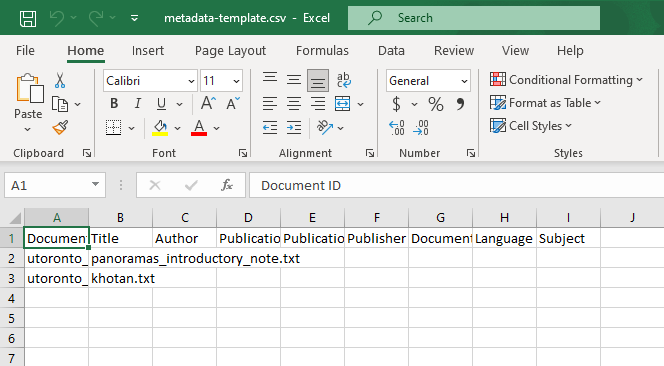
By using a spreadsheet, you can upload metadata for multiple texts quickly, and unlike the Quick mode, you can give different metadata for each text. This method is especially useful if you have bibliographic information for many documents available from another source, like that which might be exported from bibliographic software like Zotero, Mendeley, or RefWorks.
Input the following data into the spreadsheet:for khotan.txt
Title: Sand Buried Ruins of Khotan - Chapter IV
Author: Aurel Stein K. C. I. E.
Publication Date: 01/01/1904
Publication Title: Sand Buried Ruins of Khotan
Publisher: Hurst and Blackett
Document Type: Chapter
Language: English
Subject: Archaeologyfor panoramas_introductory_note.txt
Title: Mountain Panoramas from the Pamirs and Kwen Lun - Introductory Note
Author: Aurel Stein K. C. I. E.
Publication Date: 01/01/1908
Publication Title: Mountain Panoramas from the Pamirs and Kwen Lun
Publisher: Royal Geographical Society
Document Type: Chapter
Language: English
Subject: Geography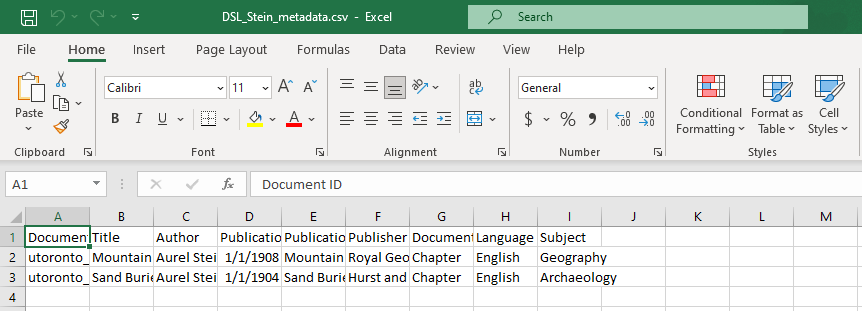
Important notes:
Do not change any information in the Document ID column, or DSL will be unable to process the data. The Document ID number is different every time you upload a file, even if you upload the same file more than once.
The Publication Date column only works if the date is in the format DD/MM/YYYY, like 01/01/1904 for the first of January, 1904. As above, you will have to add days and months for the upload to work, even if the original publication only had a year of publication.
The texts might be in a different order for you than I have listed them. Be sure to match the data to the right row or you’ll end up with texts that have the wrong title and year.- Save the spreadsheet. Be sure to save it in .CSV format (which is the format it comes in). Some programs like Excel will ask you to save in another format, but you must save it as a .CSV for DSL to recognise it.
- With the file saved, go back to your web browser. In the Apply Metadata window, click on Browse.
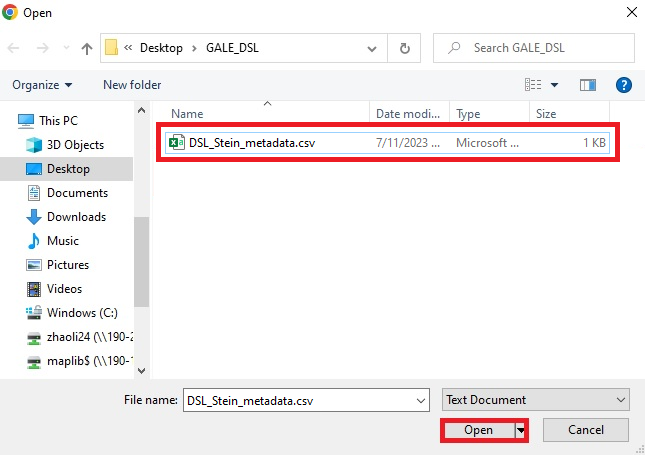
- Navigate to where you have saved your completed metadata form, select it, and click Open.
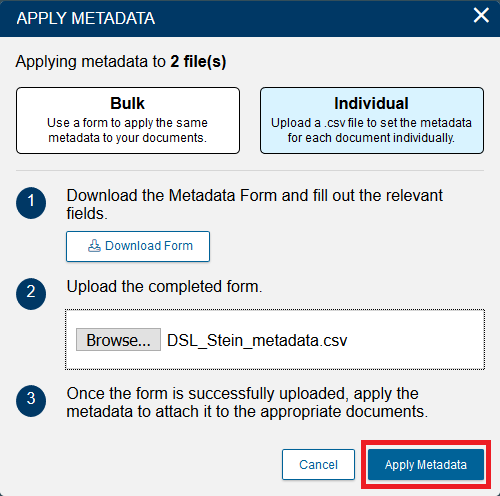
- Now that we see our csv filename next to Choose file, click on Apply Metadata.
- You will then return to the Manage All Uploads page. The two newly added texts, with their metadata, will now be there. Check the boxes next to “Sand-Buried Ruins of Khotan” and “Mountain Panoramas…” and click on Add to Content Set.
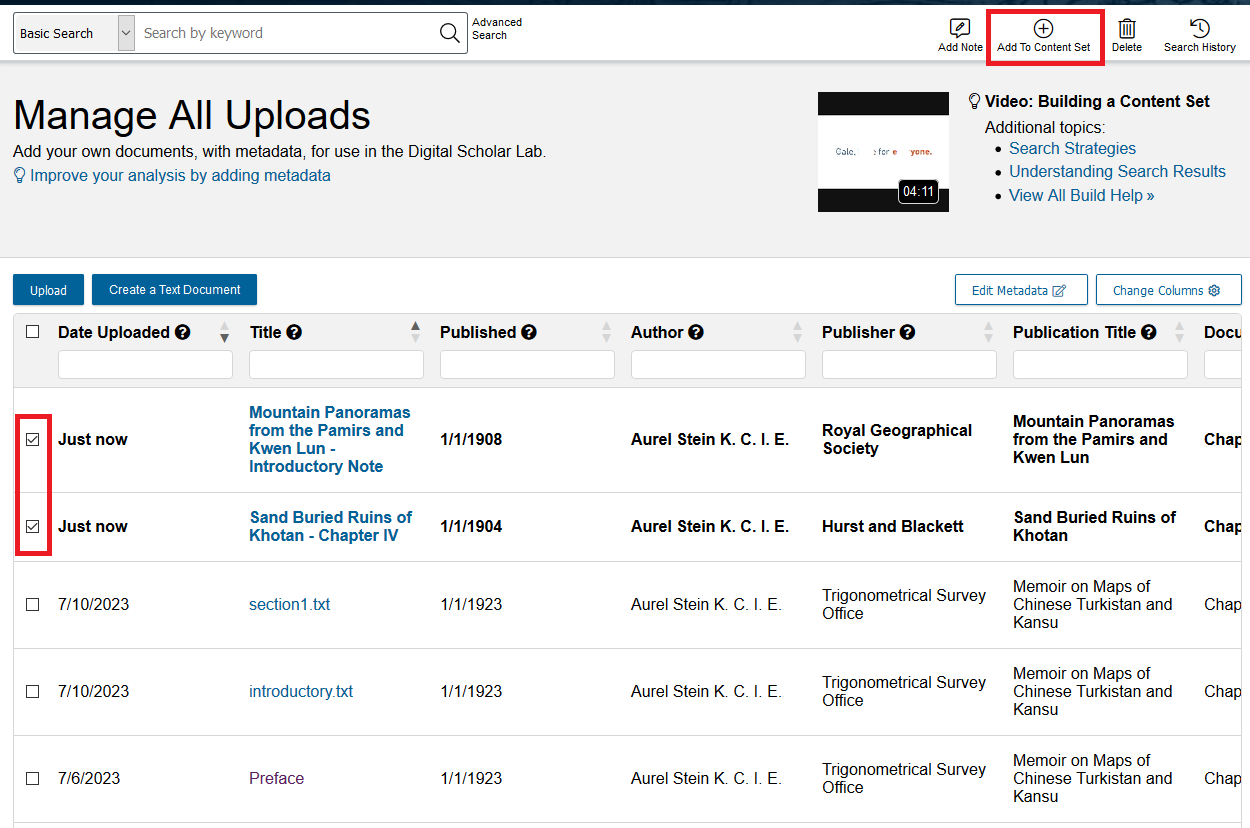
Select Stein. Close the popup that appears. 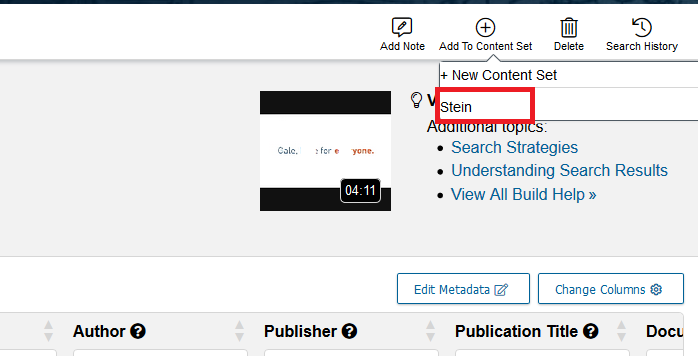
Bulk upload, method 2: spreadsheet (CSV)
Third, if you are comfortable working in a spreadsheet, you can efficiently bulk uploadshortdocuments with their metadata in one file. Each row in your spreadsheet will become one document, with both its text and metadata.
Click on Build.
Click Get Upload Template.
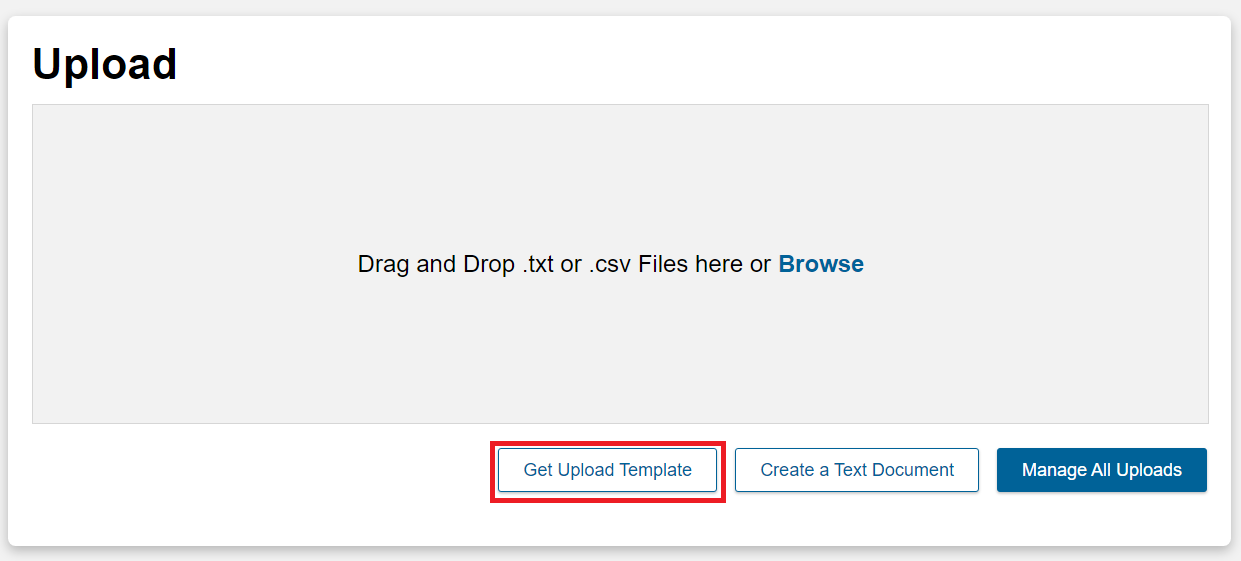
You will download a zipped file called “DSLAB-Upload-Instructions.zip”; unzip this package to a new folder. (We recommend 7-zip if you are using Windows).
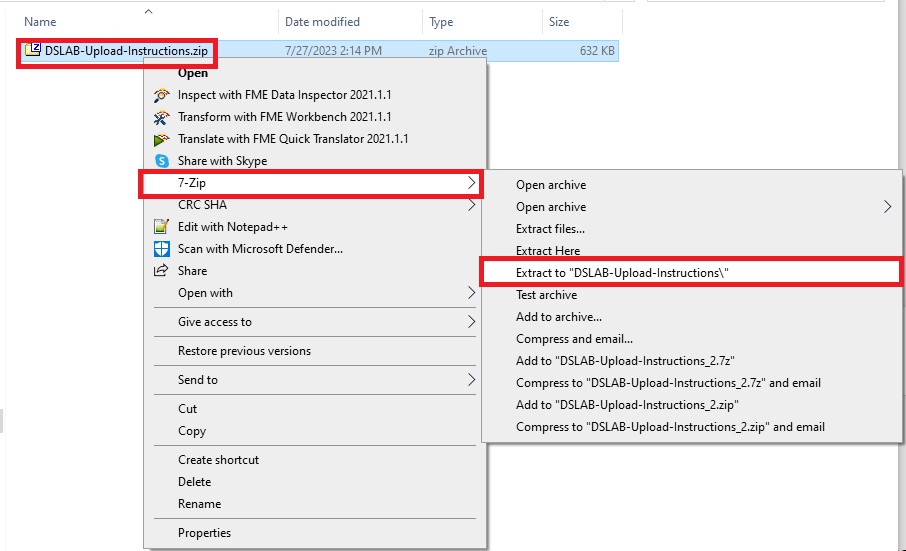
In the newly created folder, you will find instructions (DSLAB-Upload-Instructions.pdf) and a template (DSLAB-Upload-Template.csv). Open DSLAB-Upload-Template.csv.

Copy and paste your text into the column labelled Text. *Note: cells in CSVs have a maximum length of 32 767 characters, which is roughly 5000 words. Texts longer than this limit will be shortened. For longer texts, upload one or more .txt files directly.
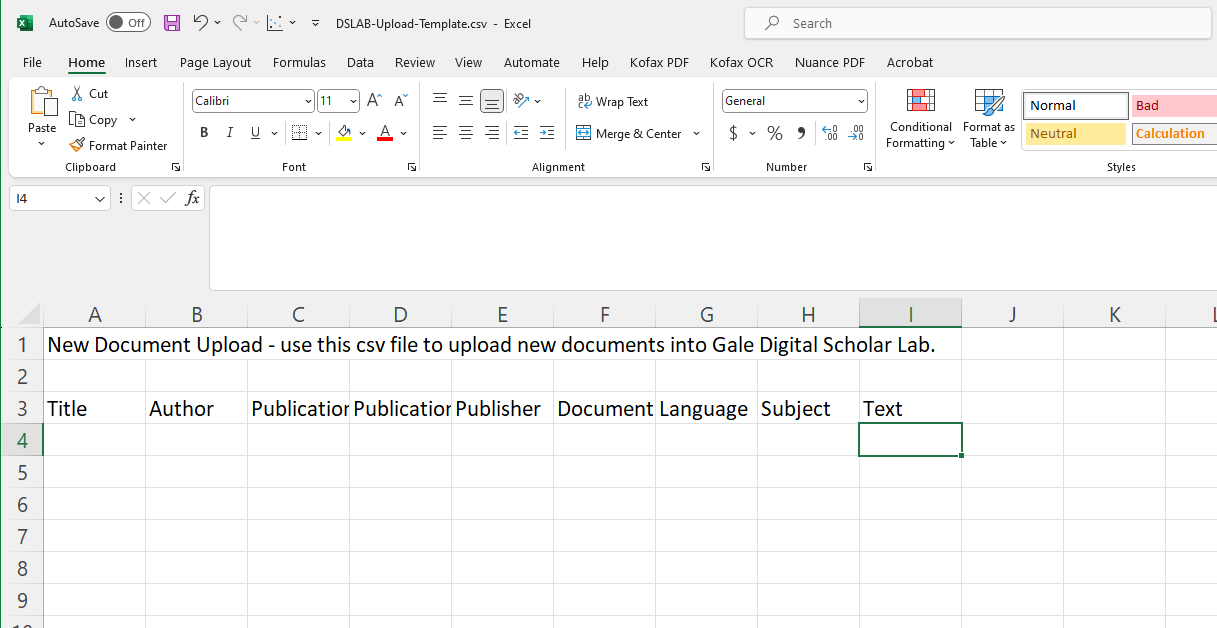
Fill in the rest of the metadata such as author and title. If you wish, you can download this sample completed CSV.
Note: although the DSL asks for day, month, and year for the Publication Date column, you can simply put a year if the precise day of publication is uncertain. The DSL will automatically input the value of January 1st for each row.

Save and upload your completed CSV, either by dragging the file into the Upload area or clicking Browse and selecting your file.
Each row is now an individual text, which you can add to collections and analyze.
That’s it! You now know how to build your DSL collection with advanced searches and through uploads.
Proceed on to Cleaning
Return to the main Gale Digital Scholar Lab tutorial
| Technique: Text and Data Mining, Searching for maps and data | Tools: Digital Scholar Lab |