Introduction
This guide will walk you through the steps to create a new guide with MDLutoronto’s Just-the-docs template.
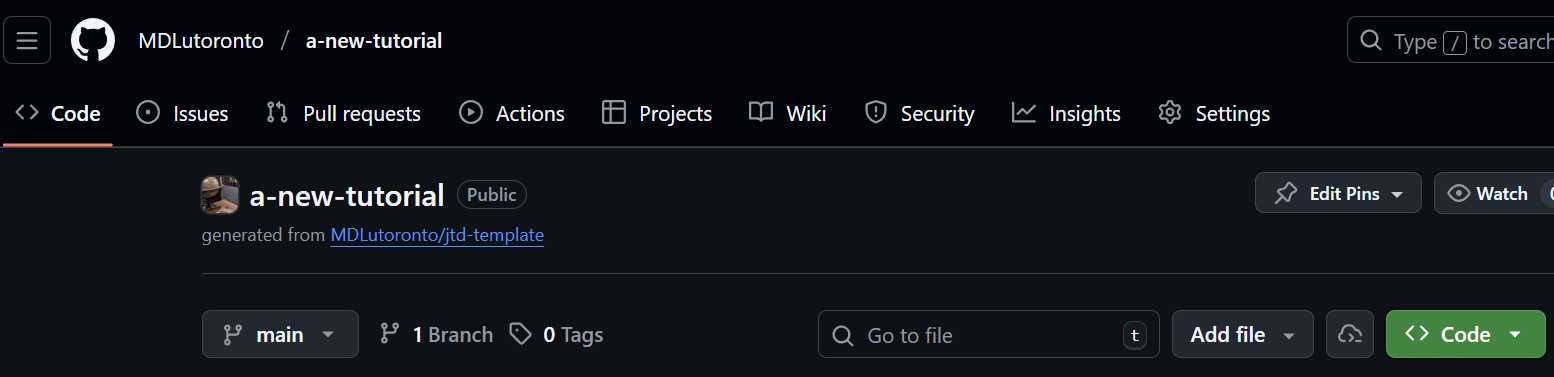
The MDLutoronto/jtd-template repository is a template repository that contains the necessary structure and files to create a new Just-the-docs site.
To create a new guide, you will first need to create a new repository using the template repository above.
Steps
Creating a new repository
Click on the
Use this templatebutton at the top right of this repository page. Then, click on theCreate a new repositorybutton.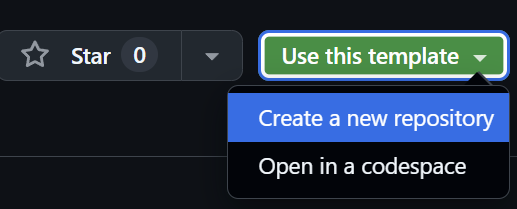
- You will be prompted to enter a repository name, description, and other settings.
- For the owner, choose
MDLutoronto. - Enter the name (also act as the slug) for your new Just-the-docs site.
- Enter a description for your new repository.
- Choose the repository visibility (public or private).
Note that to make the site visible to everyone, you need to choose
publicas the repository visibility eventually.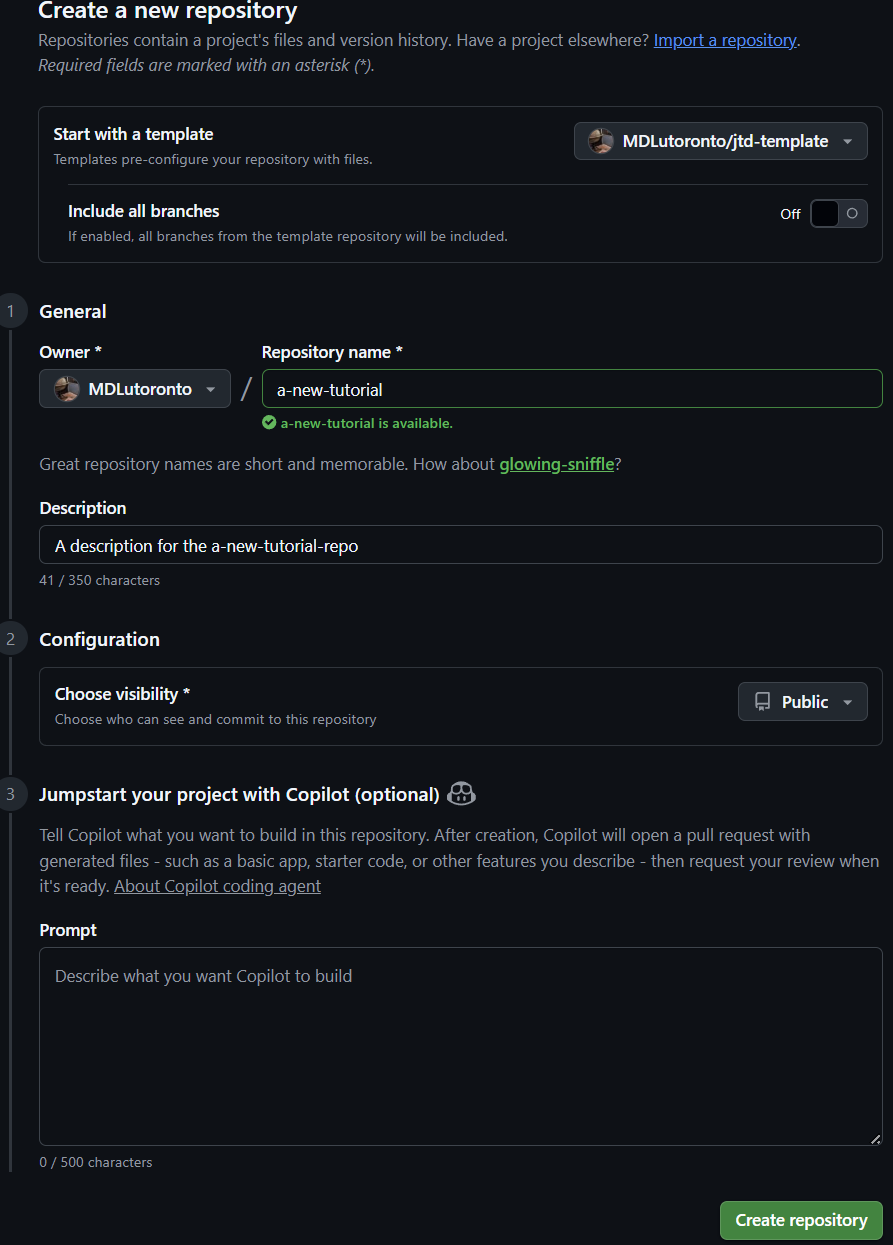
- For the owner, choose
Click on the
Create repositorybutton on the bottom right to create your new repository.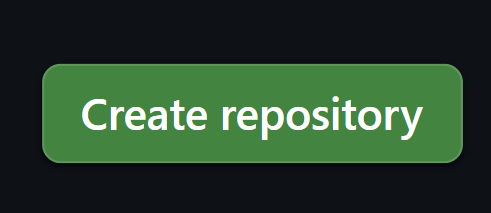
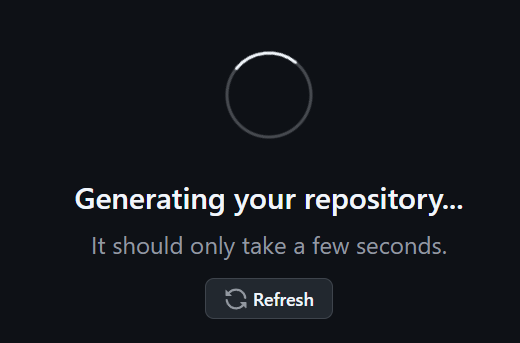
You will be prompted to the new repository page in a few seconds.
Enabling GitHub Pages
You will need to enable GitHub Pages to make the website visible. Go to the
Settingstab of your new repository. Then, click on thePagesoption in the left sidebar. Lastly, underSource, select ‘GitHub Actions’ from the dropdown menu.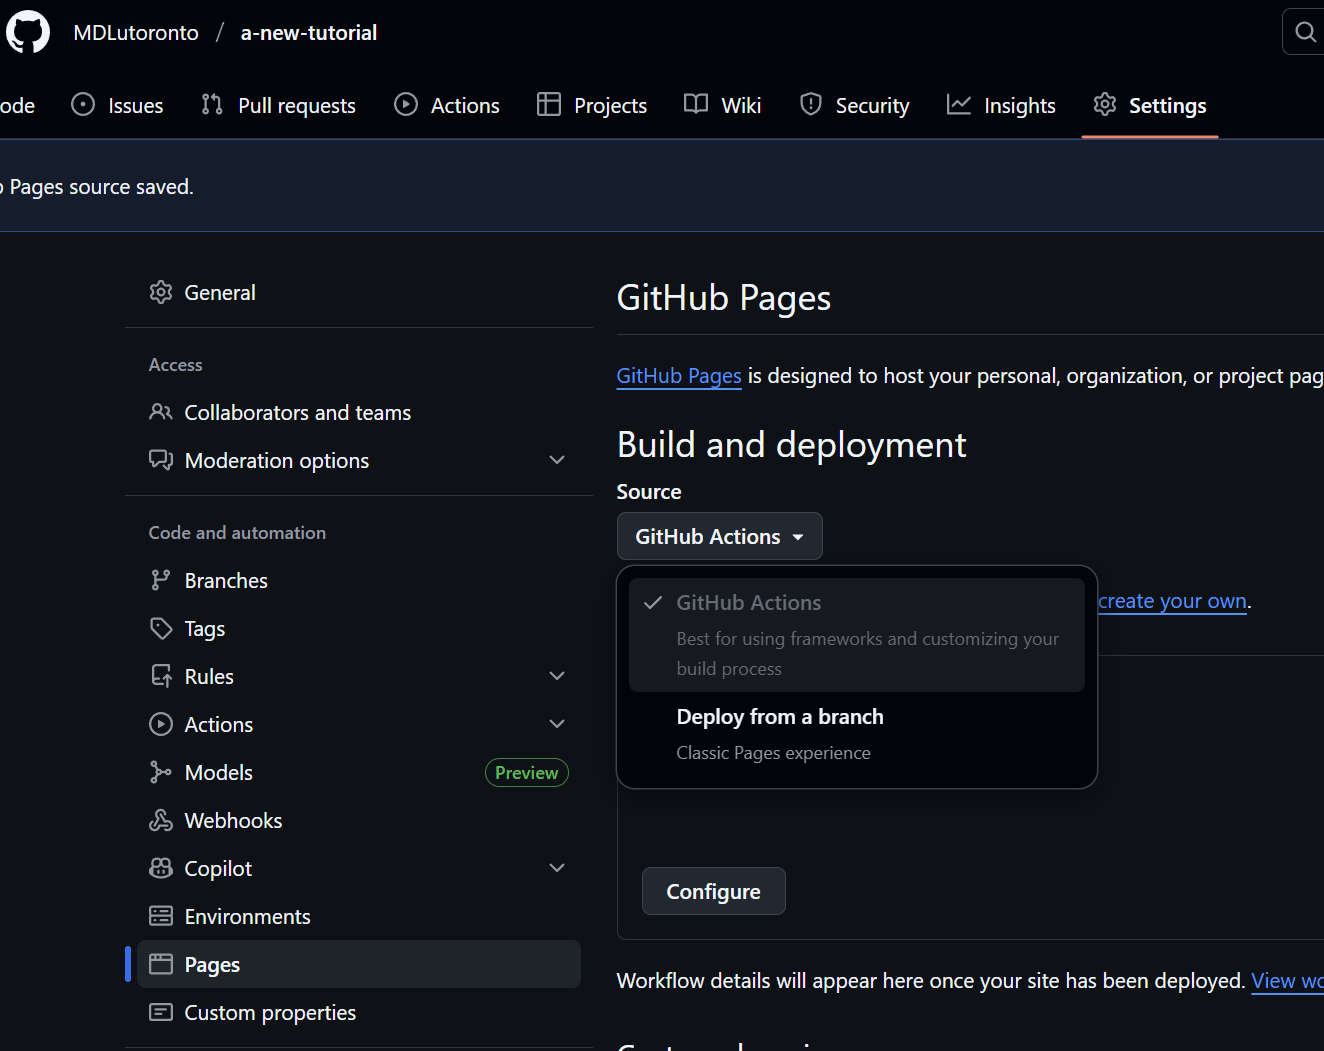
If it is already set, you can leave it as is and do not need to change it.
Modifying the configuration file
- In order publish the website, you will have to modify the
_config.ymlfile in your new repository, with the following modifications:To modify the
_config.ymlfile, click on the file in the repository file list. Then, click on the pencil icon on the top right corner of the file view to edit the file.First, replace the
jtd-themein theurlfield with the name of your new repository.
For example, if your new repository is called
a-new-tutorial, theurlfield should look like this:url: "https://MDLutoronto.github.io/a-new-tutorial"- Then, replace the repository: “MDLutoronto/jtd-theme” with the name of your new repository. For example, if your new repository is called
a-new-tutorial, therepositoryfield should look like this:url: "MDLutoronto/a-new-tutorial"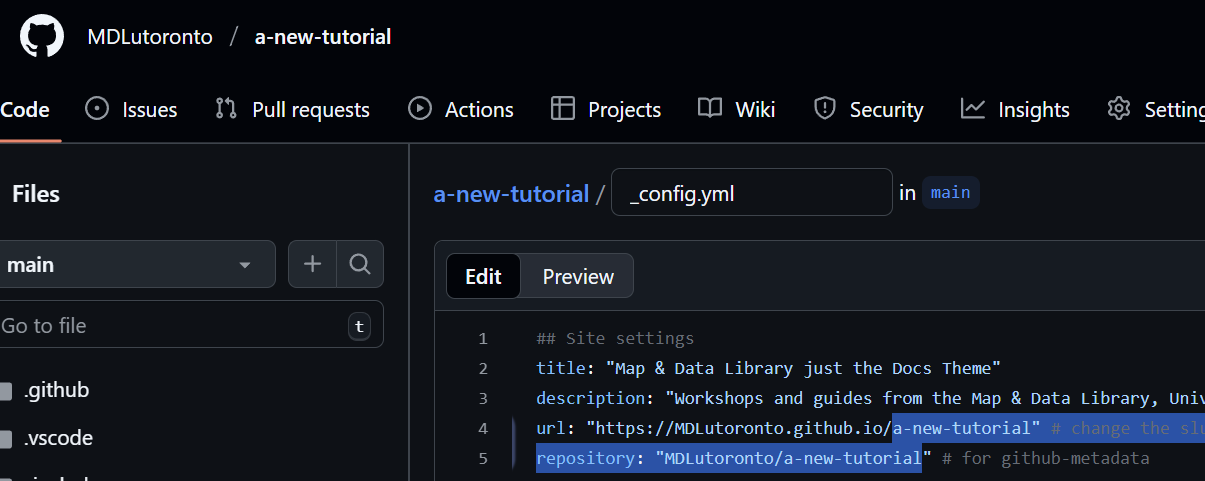
Change the title and description fields accordingly to the reflect the content of your new site.
Commit the changes to the
_config.ymlfile. Enter your commit message. Ensure theCommit directly to the main branchoption is selected, then click on theCommit changesbutton.
You should now be able to see your new site at https://MDLutoronto.github.io/your-repo-name within a few minutes. For example, if your new repository is called a-new-tutorial, you should be able to see your new site at https://MDLutoronto.github.io/a-new-tutorial.
Next steps
To edit the content of your new guide, you can follow the guides in the Edit, Preview and Publish section to learn how to edit the content, preview the changes locally, and publish the changes to GitHub.