This tutorial will guide you on how to add or modify records in the tutorials-search repository.
Prerequisite
Follow the Home page’s setup for the prerequisite software and accounts.
Steps to Edit Records in tutorials-search
Background: The website is backed by a guides.yml file. Each record in the YAML file represents a tutorial record in the search site. You can add new records or modify existing records by editing this file.
There are two ways to edit the records in the tutorials-search repository:
- Clone the repository to your local machine, edit the
guides.ymlfile using a text editor (e.g. VS Code), and push the changes back to GitHub. - Directly edit the
guides.ymlfile in the GitHub web interface.
Method 1: Edit Locally using VS Code
You will first need to install the prerequisite software and set up your GitHub account as described on the Home page.
- Open a (Windows) PowerShell Terminal
- Navigate to the directory where you want to clone the repository
- Clone the repository using the command:
git clone https://github.com/MDLutoronto/tutorials-search.git - Change directory to the cloned repository in the terminal:
cd tutorials-search - Switch to a new git branch for your edits (optional but strongly recommended):
git checkout -b update-tutorials # You can change 'update-tutorials' to a more descriptive branch name - Open the repository in VS Code using the command:
code . - A VS Code window will open. In the Explorer pane, navigate to
_data/guides.ymland open it. - Edit the
guides.ymlfile to add or modify tutorial records. - Save the changes and make a commit in the terminal:
git add _data/guides.yml git commit -m "Updated tutorial records" # Add a meaningful commit message within the quotes git push origin main - Your changes will be pushed to the GitHub repository. You should see an alert in the repository to create a Pull Request.
- Create a Pull Request for your changes. There will be some automated checks that run. Once they pass, you can click on the
Squash and mergebutton to merge your changes into the main branch. - Your changes will be live on the tutorials-search site shortly after the merge.
Method 2: Edit Directly in GitHub Web Interface
- Navigate to the tutorials-search repository in a web browser.
- Create a new branch for your edits (optional but strongly recommended):
- Click on the X Branch button next to the
mainbranch icon.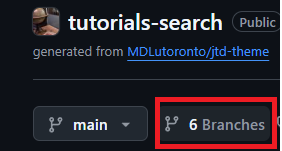
- You will see ‘New branch’ green button on the right side. Enter a name for your new branch (e.g.
update-tutorials), and selectmainin the Source option. - You should see the branch under the
Your branchessection. Click on it to switch to the new branch.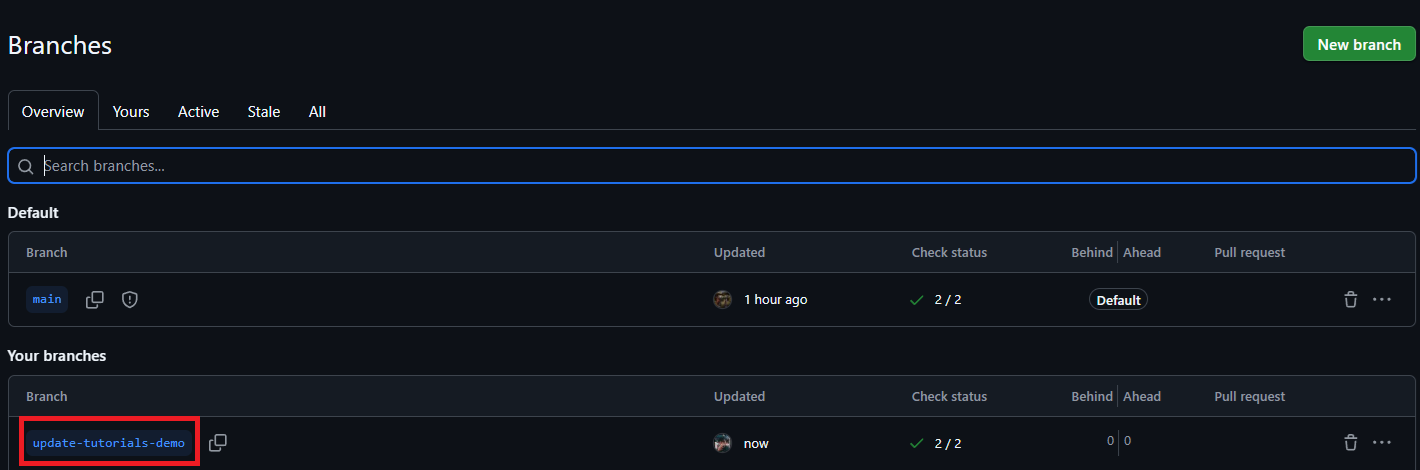
- You should see
update-tutorialsnext to the branch icon now.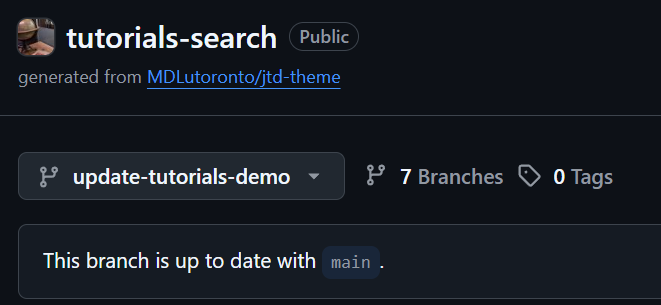
- Click on the X Branch button next to the
- Navigate to the
_datafolder and click on theguides.ymlfile. Click on the pencil icon at the top right corner of the file view to edit the file.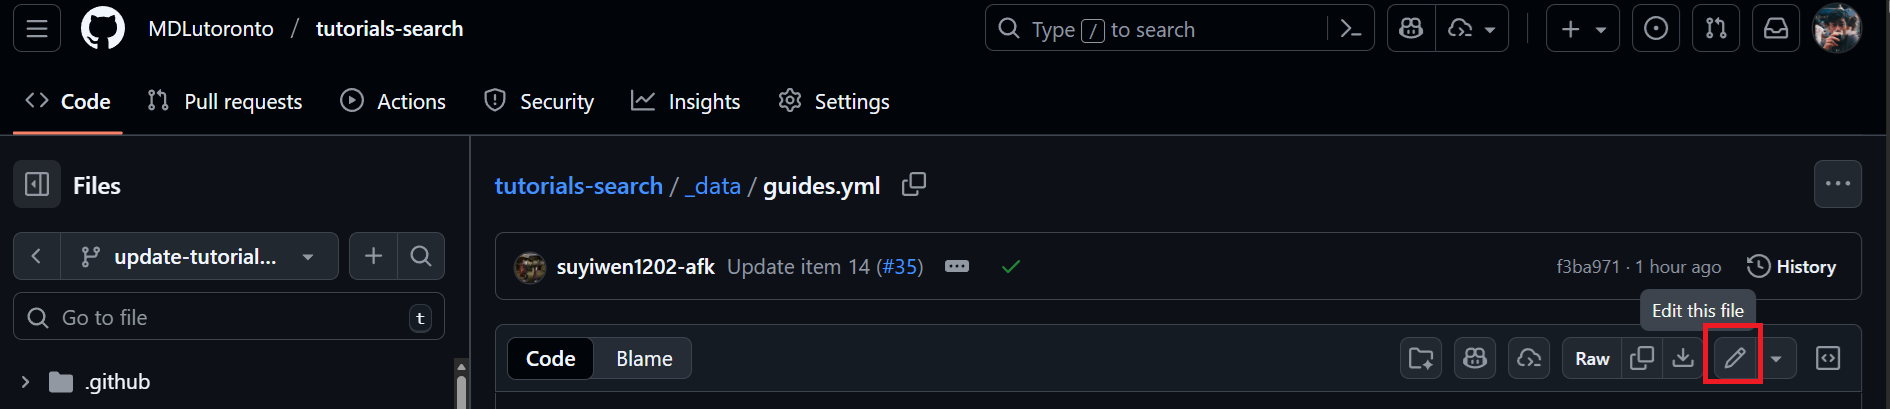
- You will be lead to an online editor. Make your changes to the
guides.ymlfile. Click on theCommit changesbutton at the top right corner when you are done. - A pop-up will appear.
- Enter a meaningful commit message and description for your changes at the
Commit messagecolumn. - You can leave the
Extended descriptionfield empty. Ensure that the optionCommit directly to the <your-branch-name> branch.is selected. Click on theCommit changesbutton to save your changes to the branch.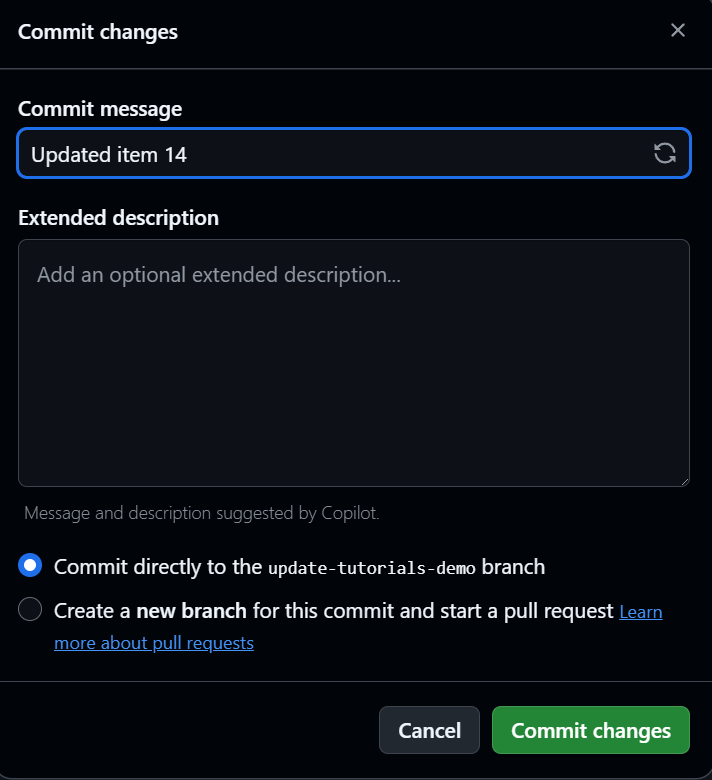
- Enter a meaningful commit message and description for your changes at the
- Your changes will be saved to the new branch. Click on the
tutorials-searchbox to go back to the repository main page in the current branch.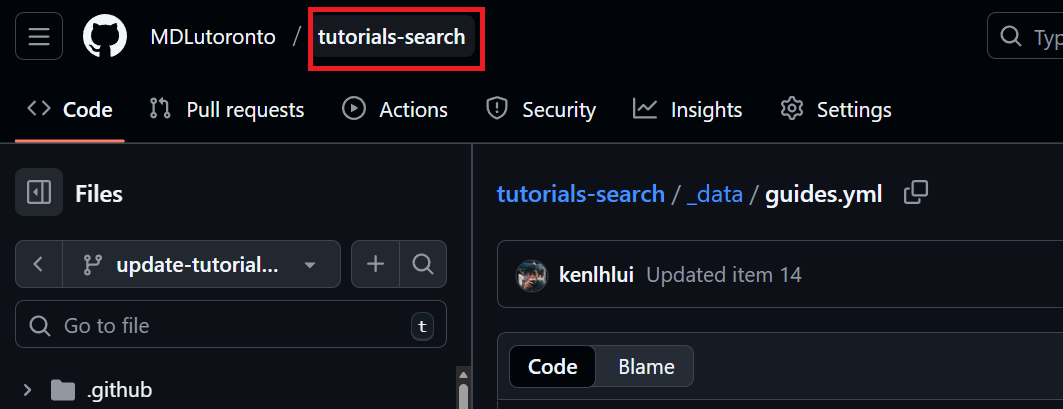
- You should see an alert to create a Pull Request for your changes. Click on the
Compare & pull requestbutton.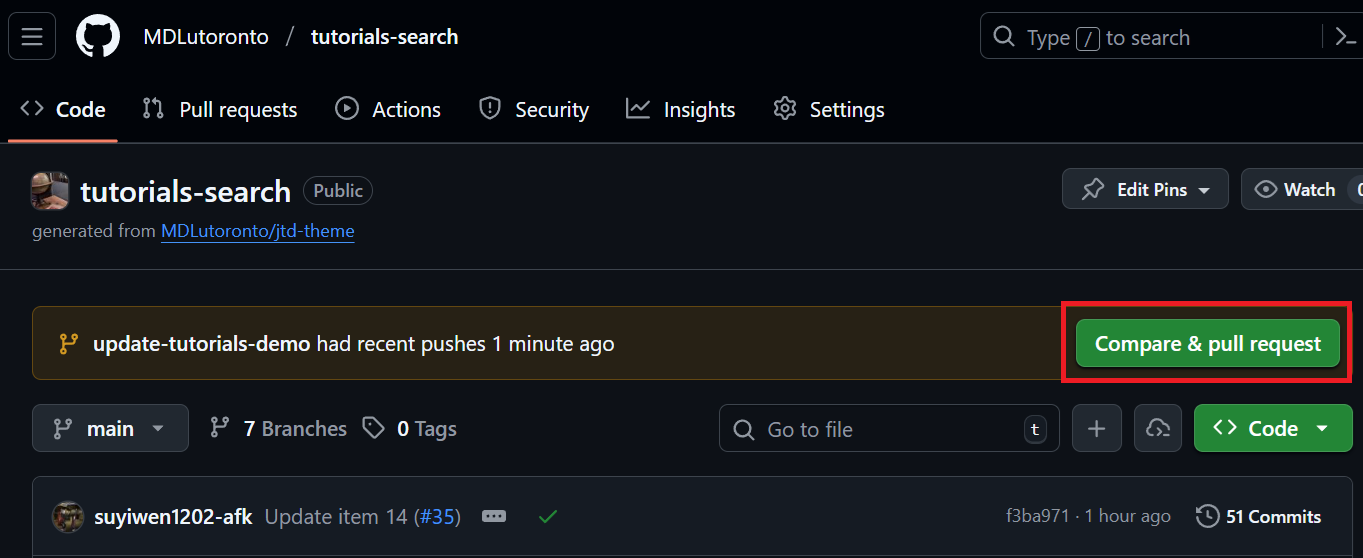
- You will be lead to the Pull Request creation page. Scroll down and click the
Create pull requestbutton.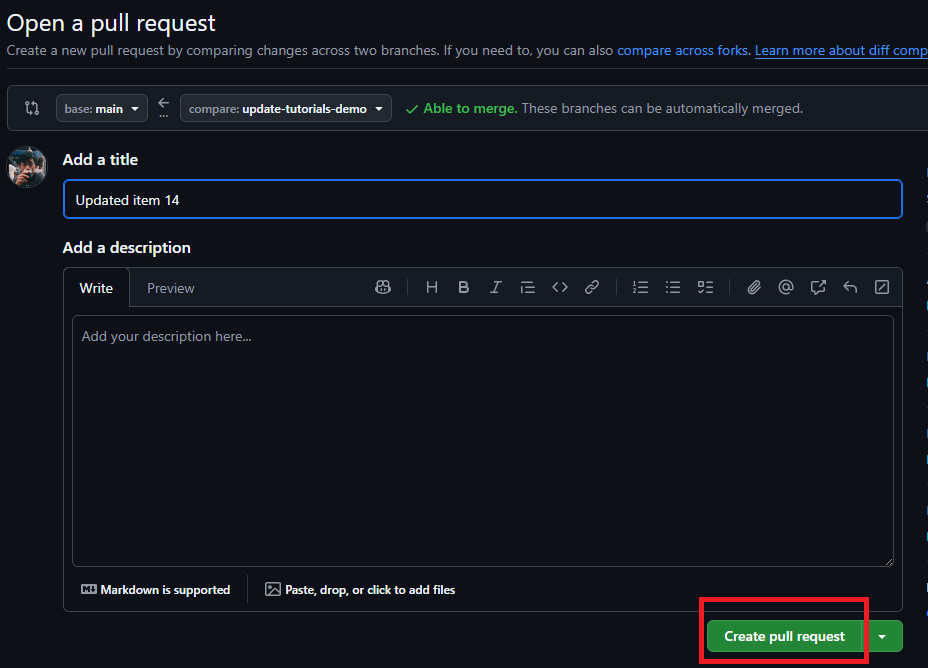
- You will be brought to a new page. There will be some automated checks that run. Once they pass, you can click on the
Squash and mergebutton to merge your changes into the main branch.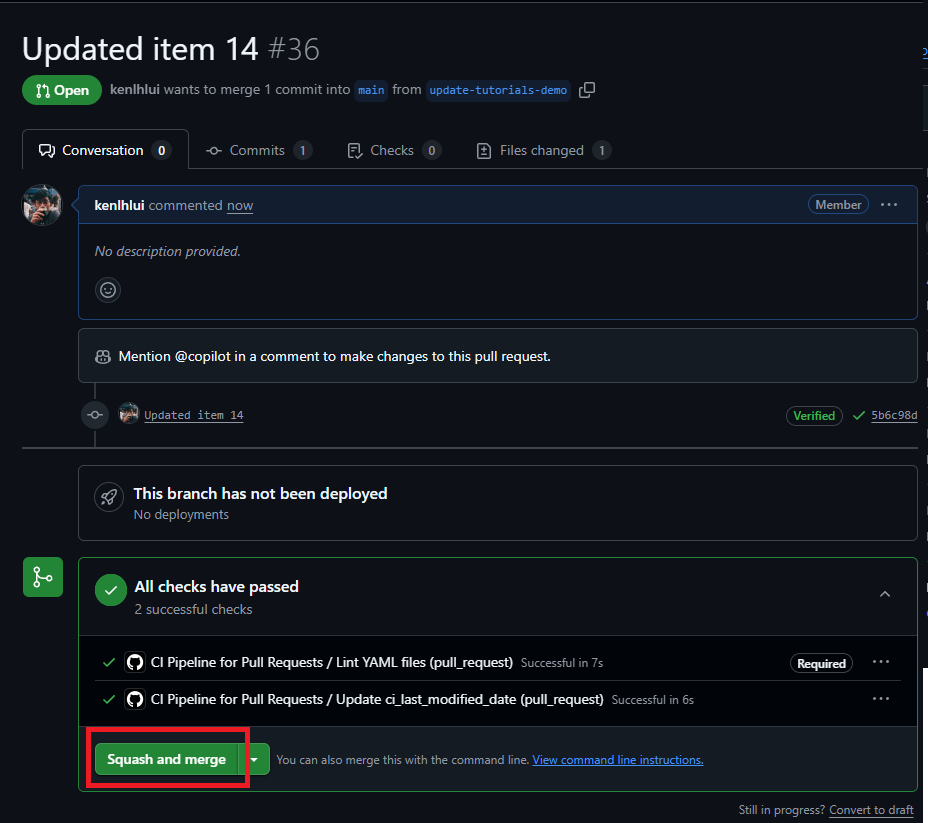
- Your changes will be live on the tutorials-search site shortly after the merge.