Publish the changes to GitHub
It is important to understand the concepts of commit and push when working with just the docs sites.
Commit and Push
Commit
- Saves a snapshot of your changes (version of the files)
- Stored in your local repository (folder on your computer)
- Does not affect GitHub yet
Push
- Uploads your committed changes to the remote repository (the cloud, e.g. GitHub)
- Makes changes visible to others
- Synchronizes local and remote repositories
Summary
To publish your changes, you first need to commit, then push the committed changes to the remote repository (GitHub).
Steps to Commit and Push Changes
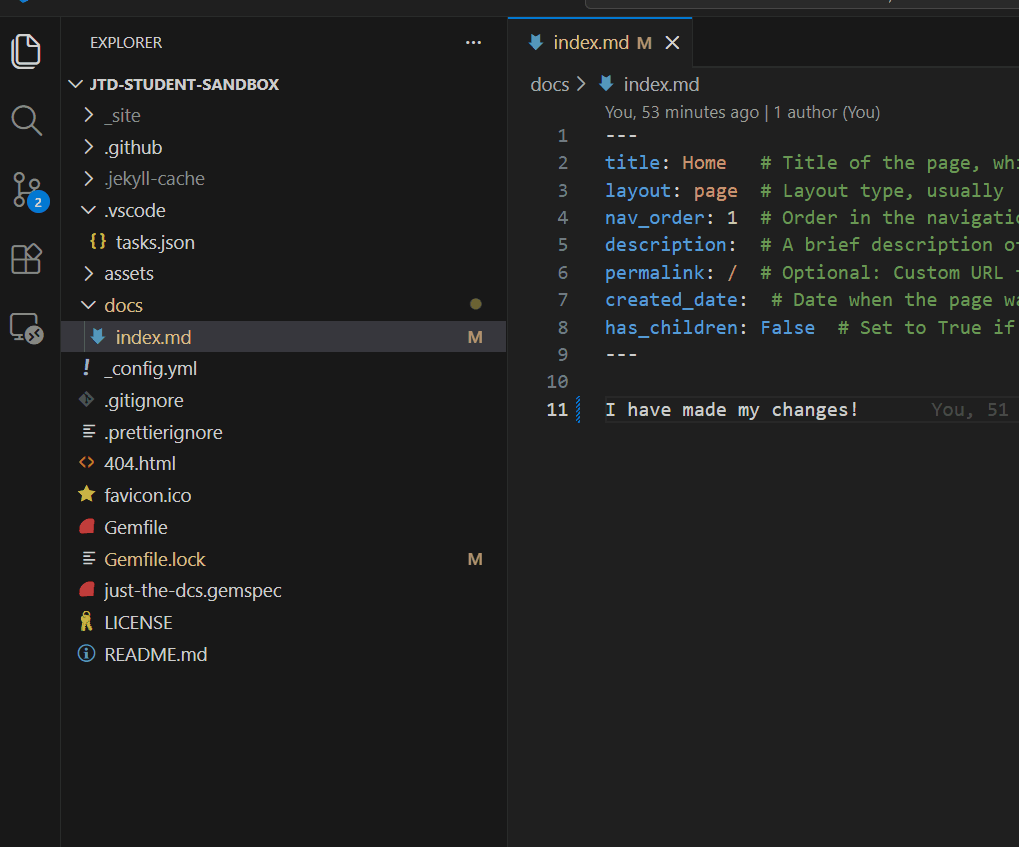
Assuming you are in the VS code terminal and finished editing the files.
- Follow the steps below to commit the changes to your local repository:
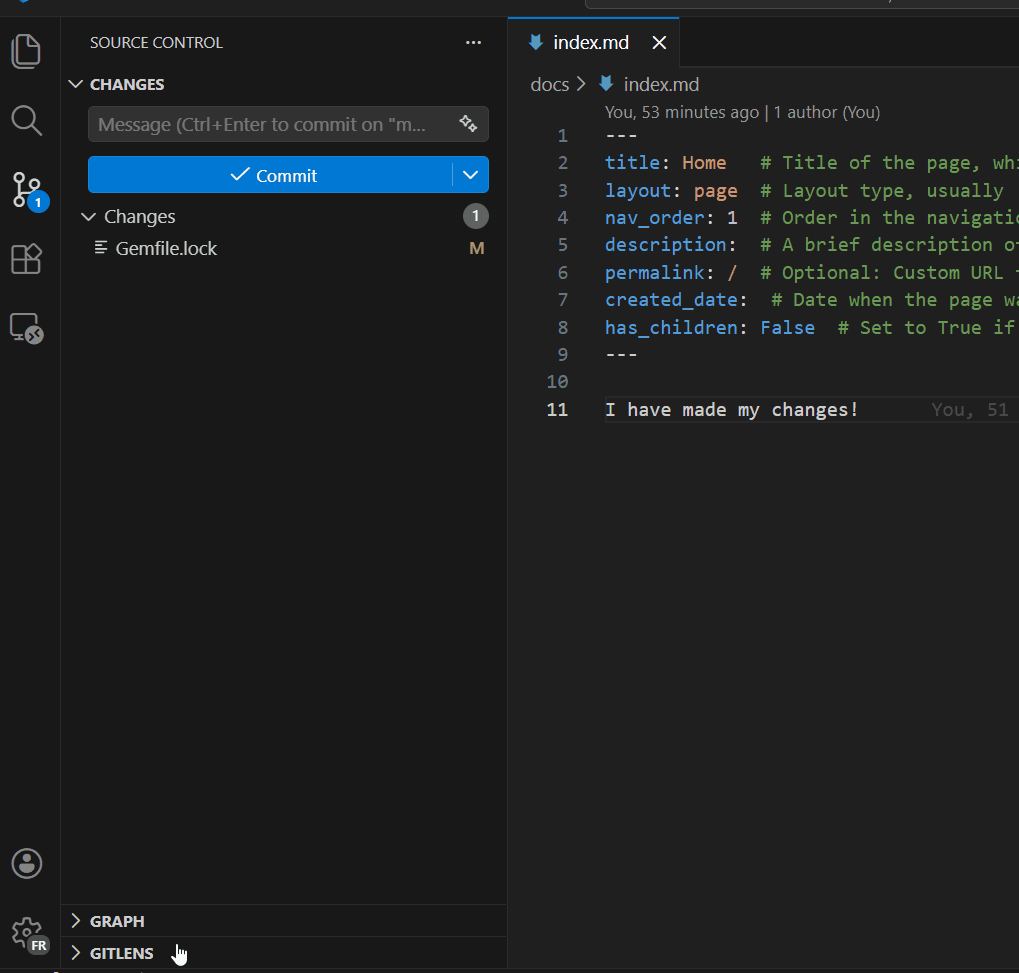
- First, click the ‘Source Control’ icon on the left sidebar in VS Code.
- Next click the ‘+’ icon next to the files you want to commit (or click the ‘+’ icon next to ‘Changes’ to stage all changes).
- After that, enter a meaningful commit message that describes the changes you made in the ‘Message’ box and click the checkmark icon to commit the changes.
- After committing, you need to push the changes to GitHub:
- Click on the ‘Graph’ tab below the ‘Changes’ section in the Source Control panel.
- Then click the ‘Push’ button to upload your committed changes to GitHub. You should see the ‘Ongoing changes..’ message disappear once the push is successful.
Verify the Changes
Once you have successfully pushed your changes to GitHub, you should be able to see the changes reflected on the docs site after a few minutes.
The site can be accessed with the URL https://mdlutoronto.github.io/${repo-name}/ (replace ${repo-name} with the name of your GitHub repository).
You can find the repository name at the top of the repository page in GitHub, as below:
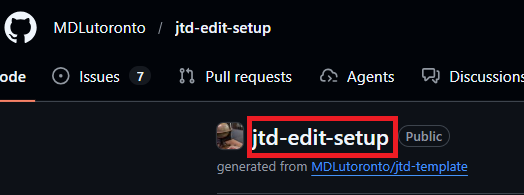
For example if your repository name is example-tutorial, then the URL to access the docs site will be https://mdlutoronto.github.io/example-tutorial/.
Next Steps
Once you have confirm that site is working, you should proceed to add the tutorial to our tutorial-search page, which serves a search layer for all the tutorials at MDL.
Follow the Edit the tutorials-search Records guide to add your newly created tutorial to the search page.