Part B. Adding your dataset and census data
In this section of the guide, we will add your dataset and census data to our final dataset from part A.
Our final dataset from part A is mypostalcodespccfp.csv. Our dataset is My_dataset.csv. Now we need to download our census dataset.
We can download the census dataset from the CHASS Data Centre website. To access the data from CHASS, you will need to login using your UTORid using the following link: https://login.library.utoronto.ca/index.php?url=http://dc.chass.utoronto.ca/
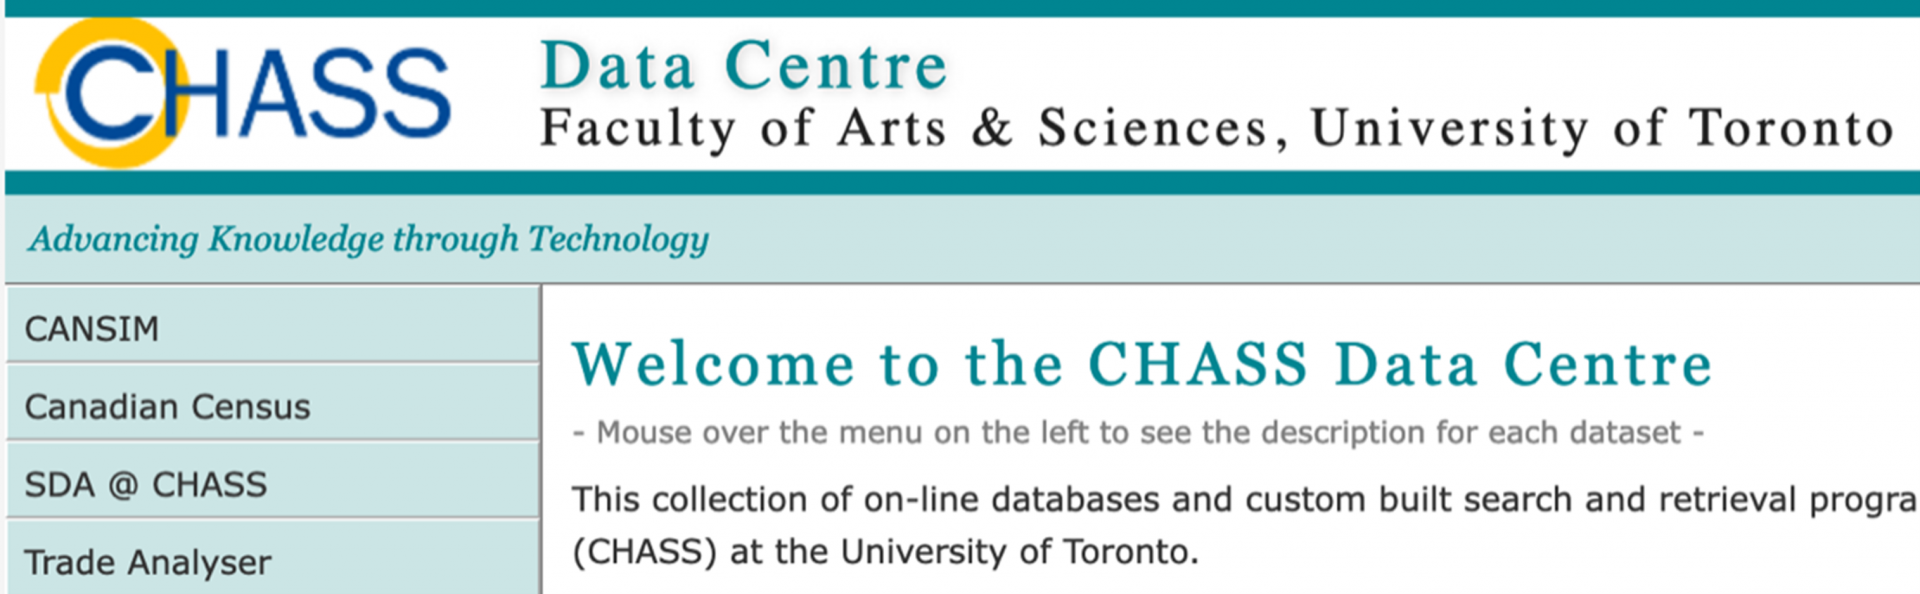
After you login, you will be directed to the CHASS Data Centre homepage. From the menu on the left-hand side, select Canadian Census.
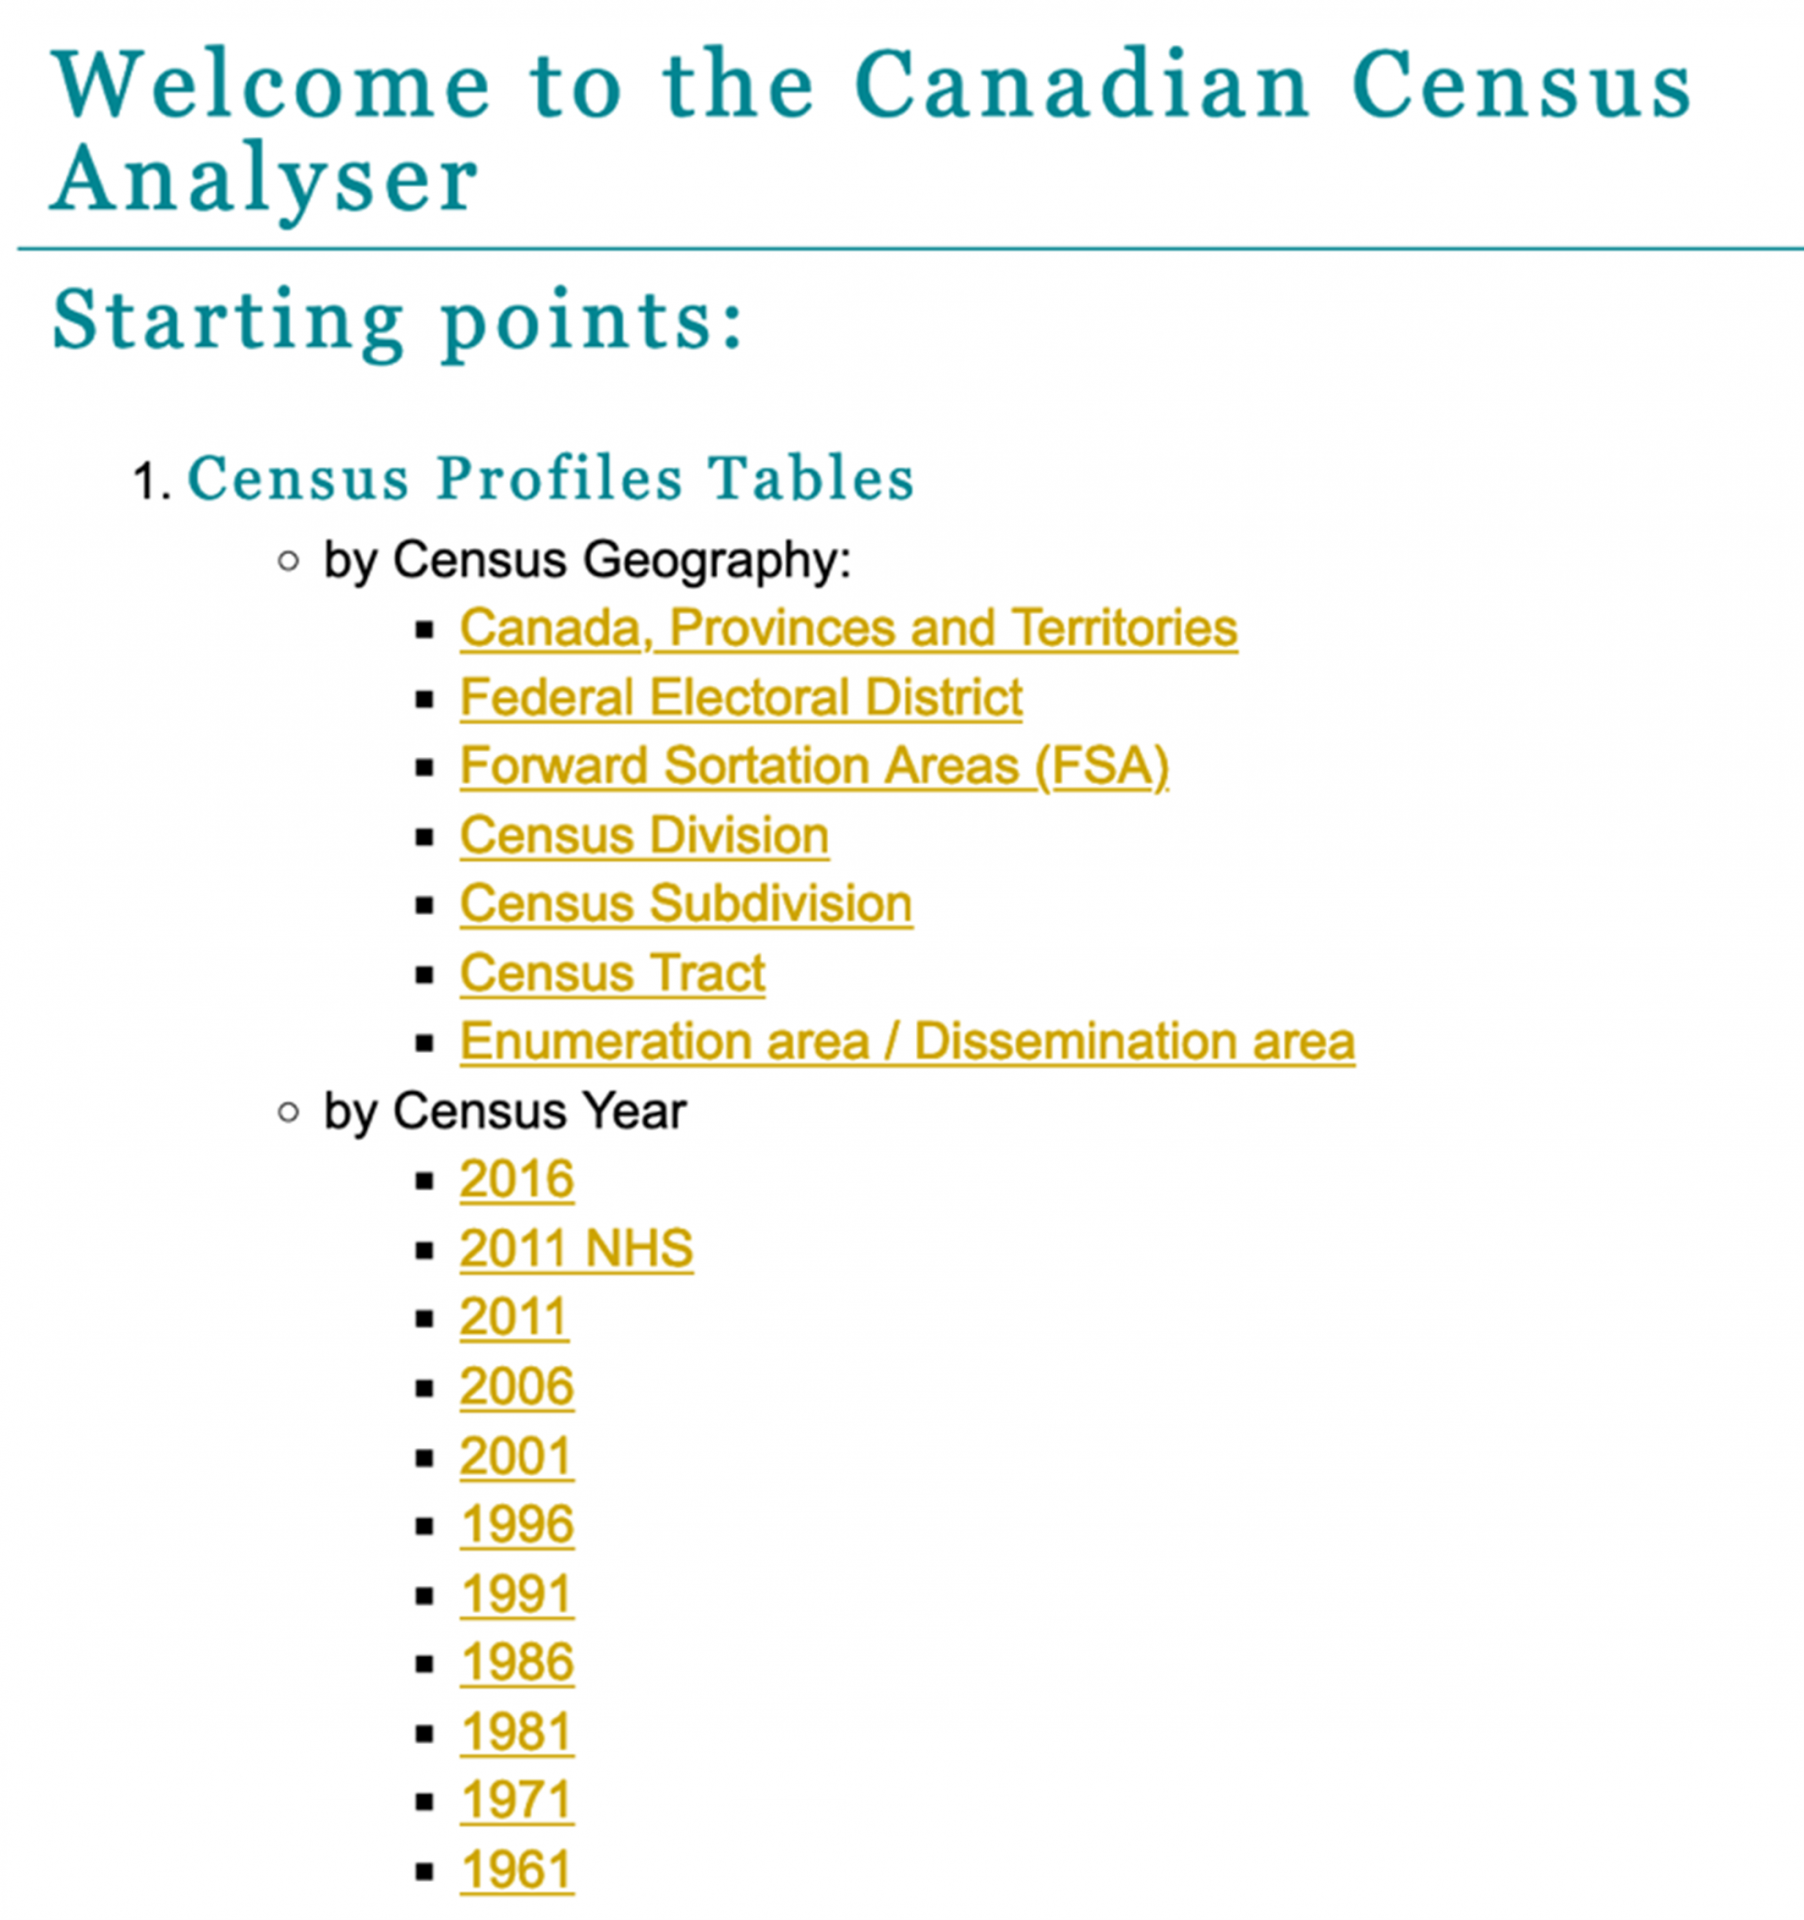
This will take you to the Census Analyser page. We will need to select the census profiles by census year and census geography. We will select our census profiles by census year first for this guide. Select 2016 under by Census Year.
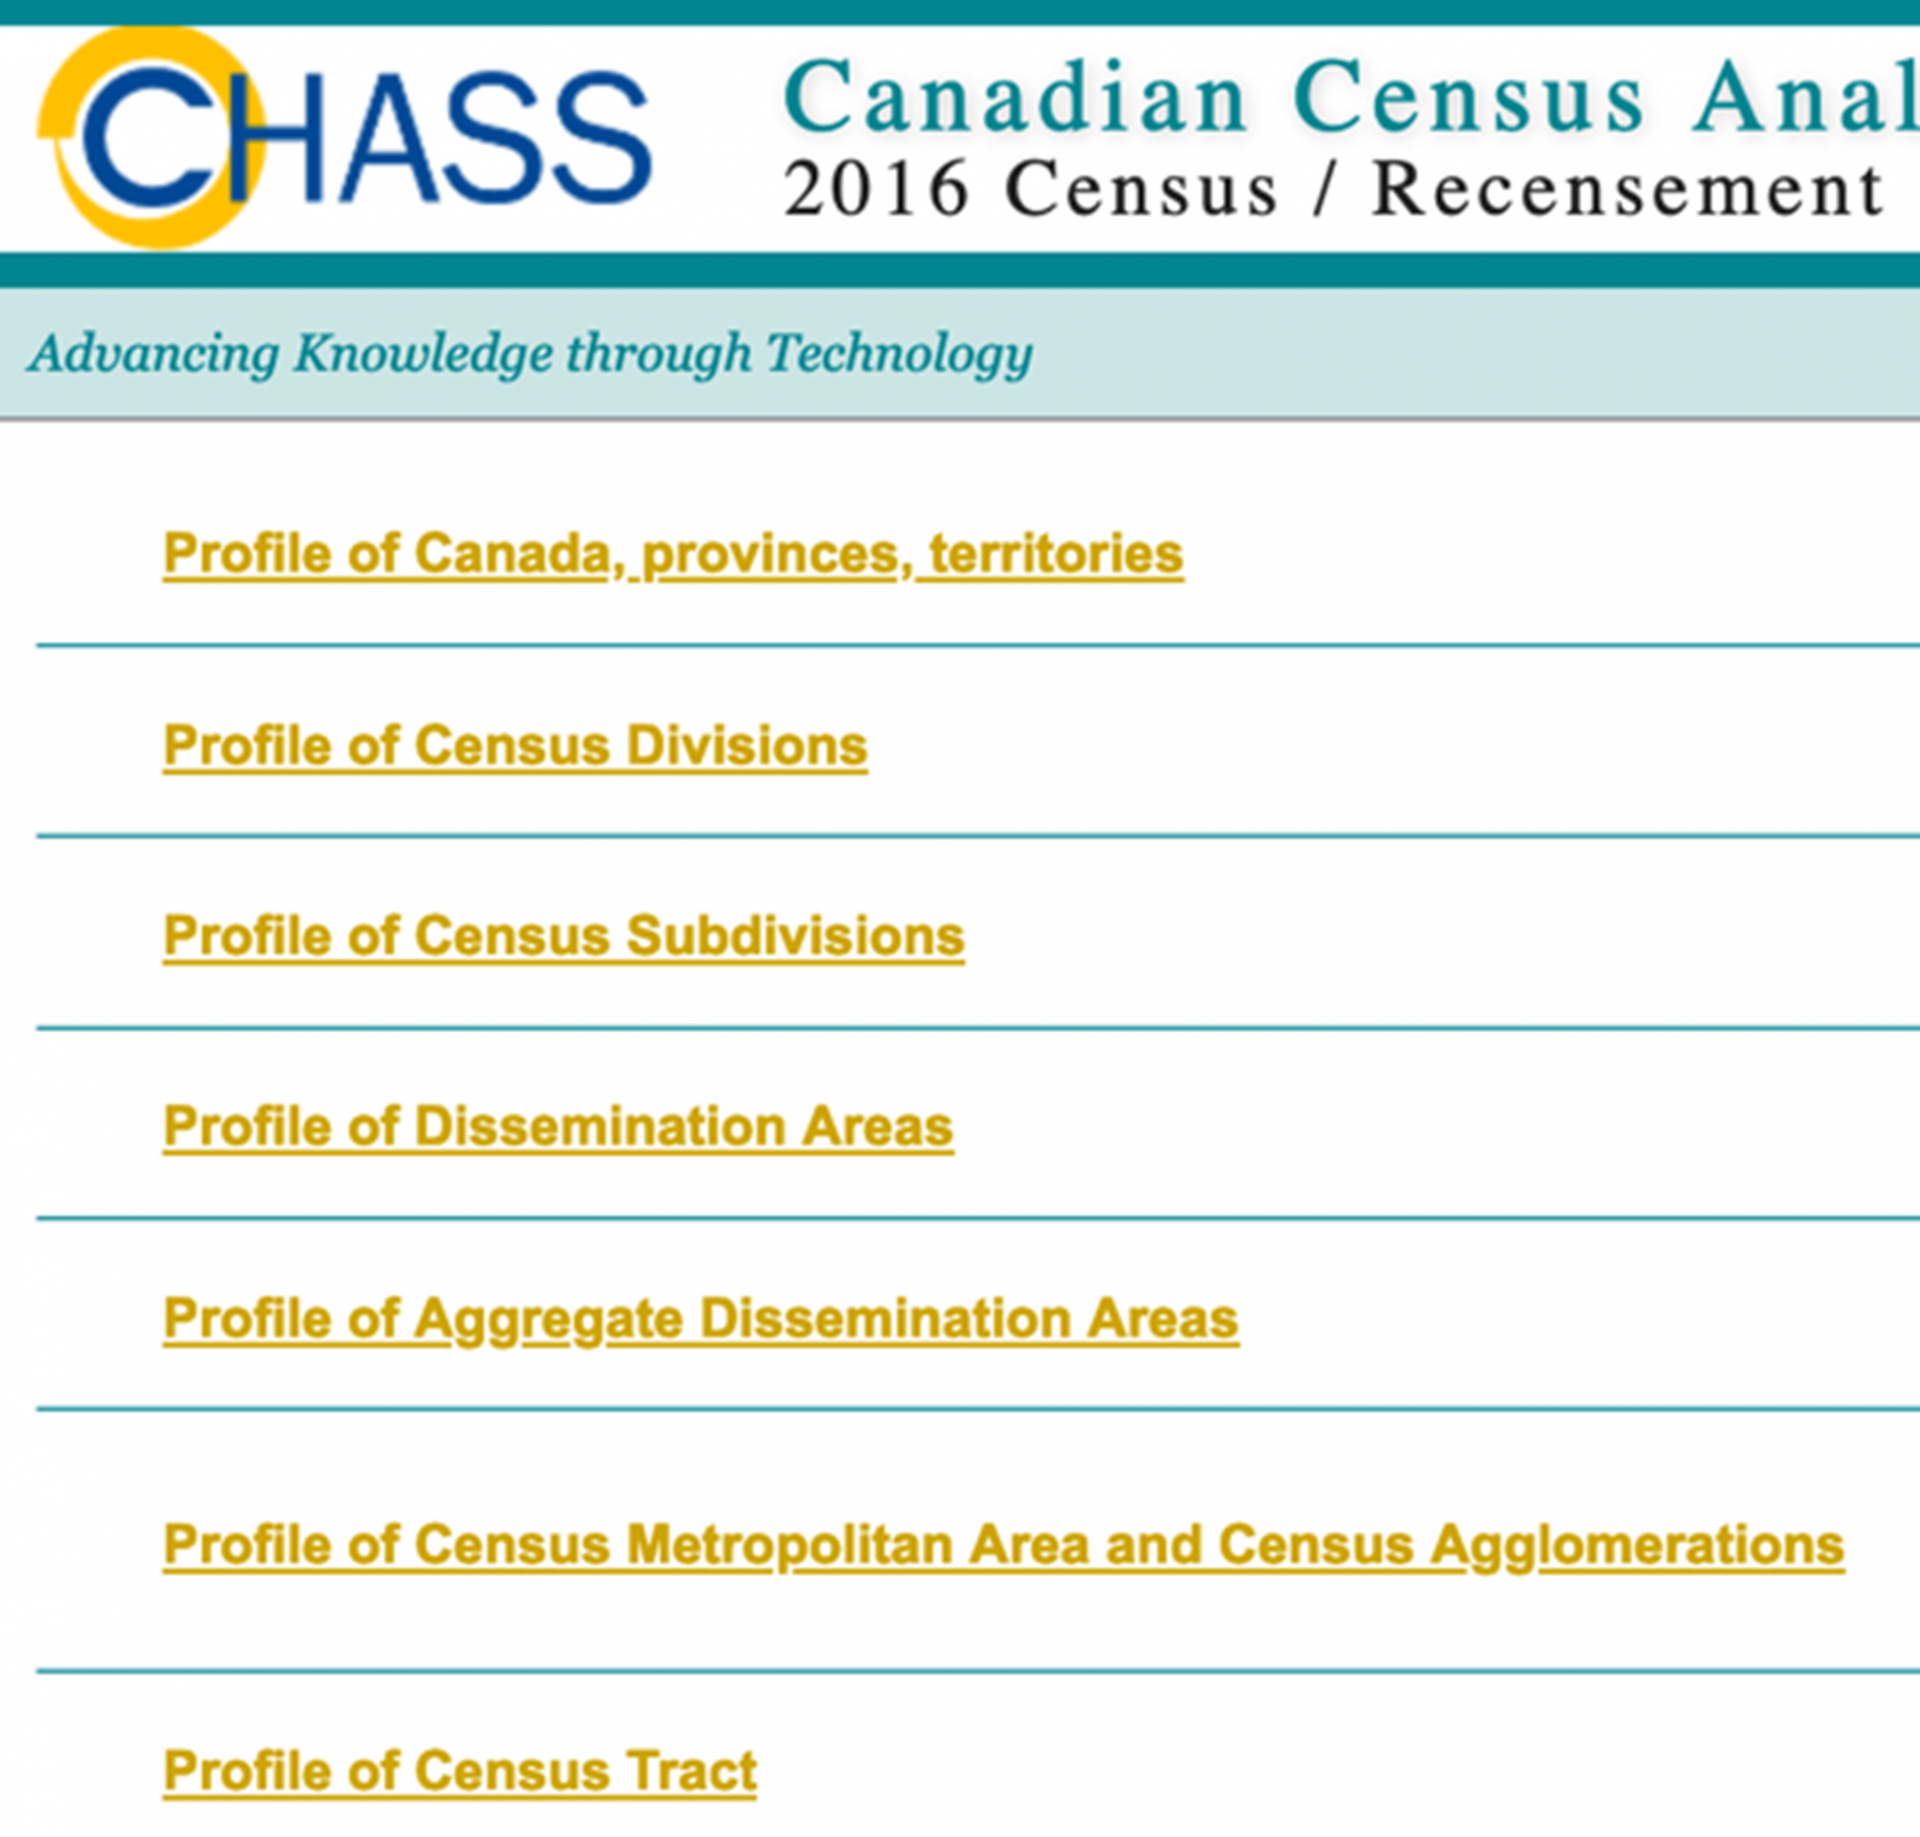
Then we select the census geography. Select Profile of Dissemination Areas.
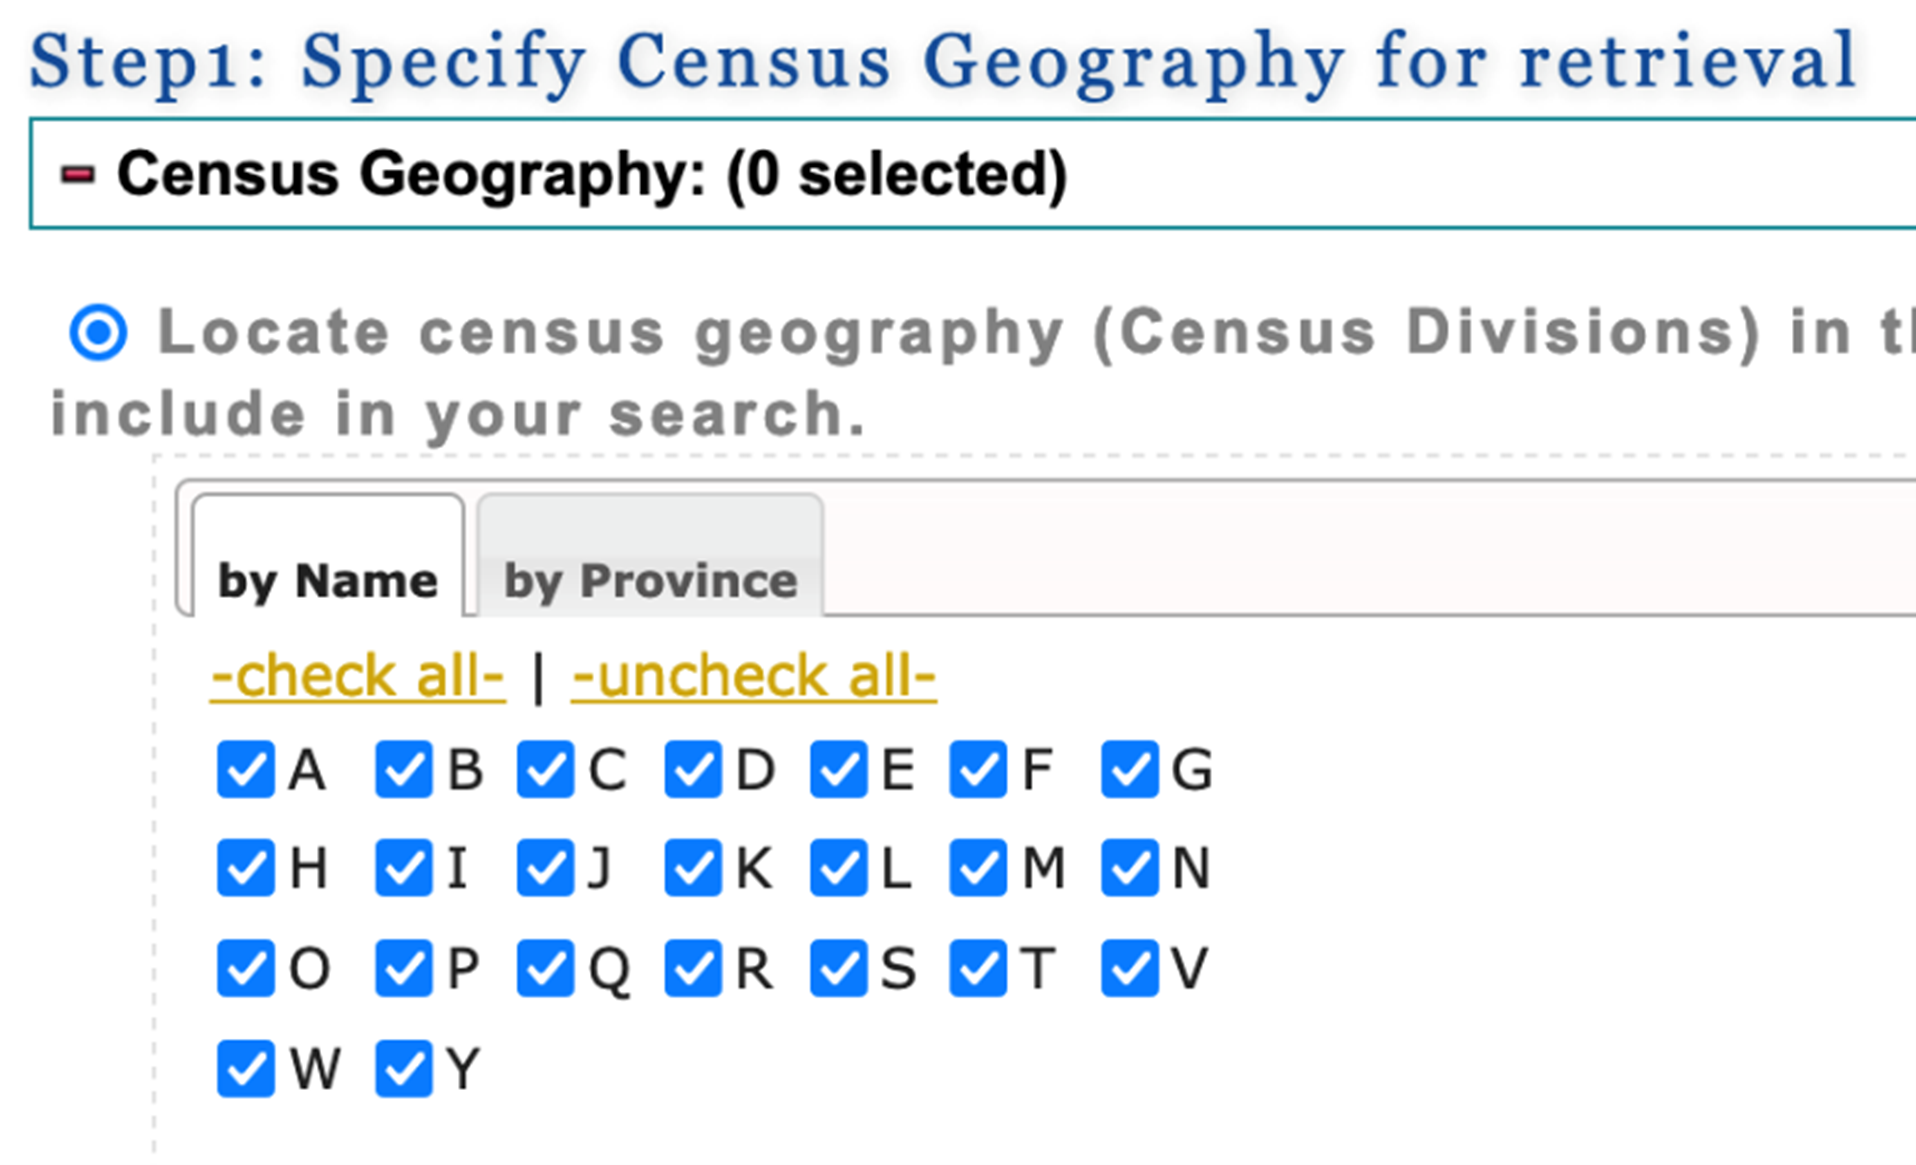
This will direct you to a page where you can make additional choices to make your census profile table. In step 1, you can select a subset of regions or select all. For this guide, we will select “check all”.
In step 2, you can select the census variables that you are interested in. (Note: you may need to scroll way down the page before you see step 2). The variables are grouped by topic under the topic tabs (eg. Population and dwellings, Age & sex etc). You will find the list of variables under the tabs. To select a variable, click on the check box to the left of the variable description.
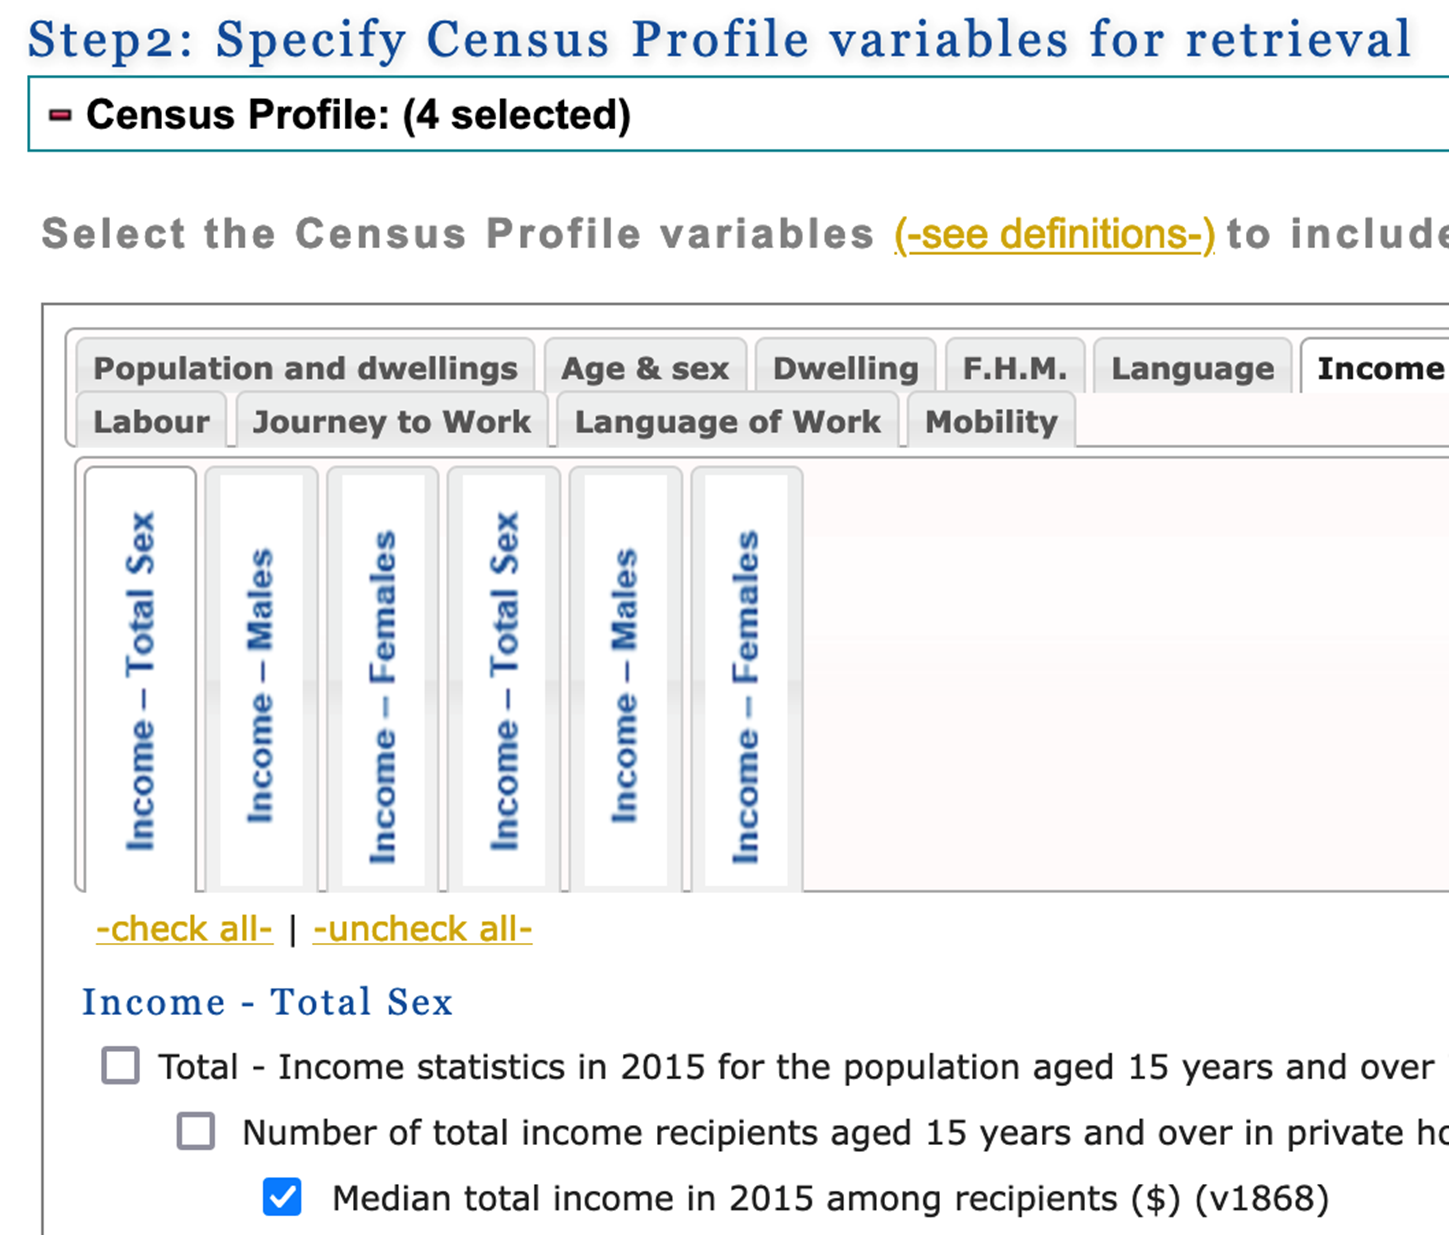
For this guide, we select the following four variables:
- Income - Total Sex / Total - Income statistics in 2015 for the population aged 15 years and over in private households - 100% data / Number of total income recipients aged 15 years and over in private households - 100% data / Median total income in 2015 among recipients ($) (v1868)
- Housing - Total Sex / Total - Owner households in non-farm, non-reserve private dwellings - 25% sample data / Median monthly shelter costs for owned dwellings ($) (v3942)
- Education - Total Sex / Total - Highest certificate, diploma or degree for the population aged 15 years and over in private households - 25% sample data (v4920)
- Education - Total Sex / Total - Highest certificate, diploma or degree for the population aged 15 years and over in private households - 25% sample data / Postsecondary certificate, diploma or degree / University certificate, diploma or degree at bachelor level or above (v4929)
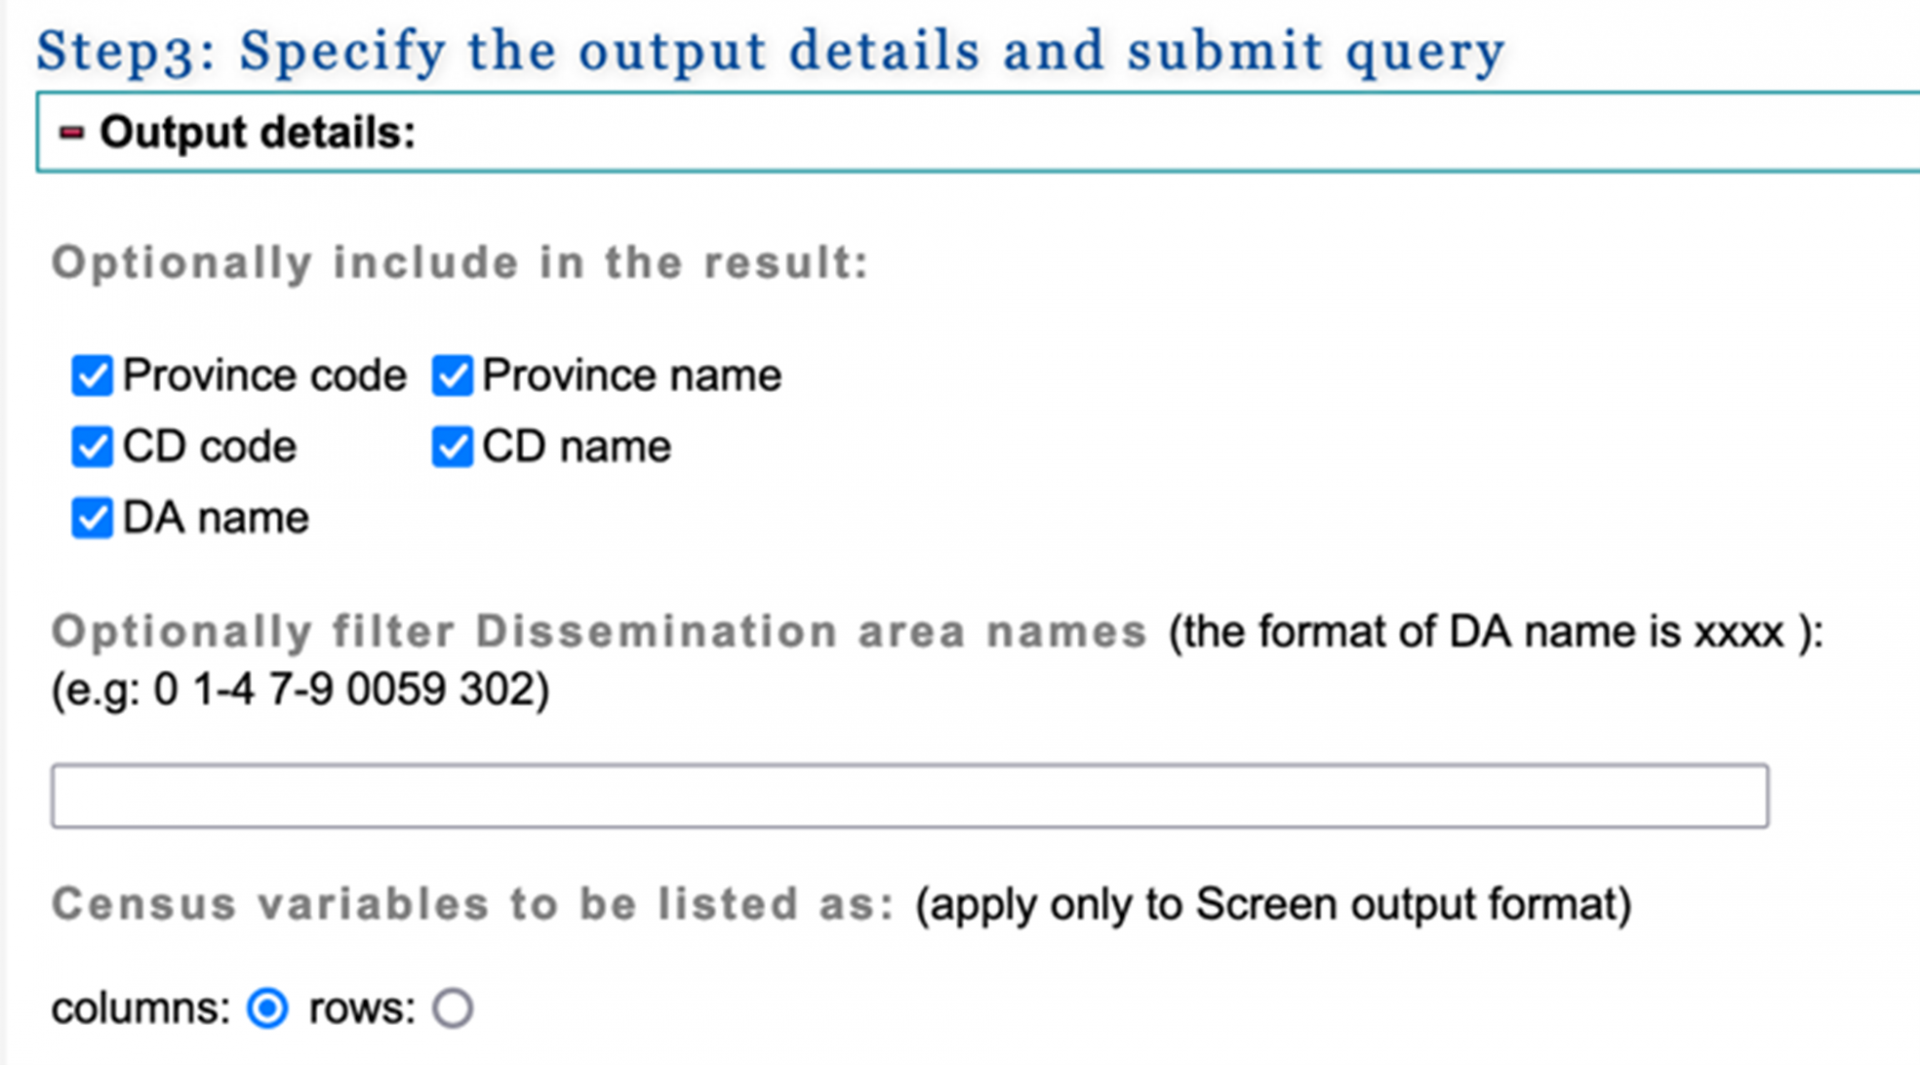
In step 3, you can select the geographic variables to be included in the census dataset and the output data format to download the census dataset.
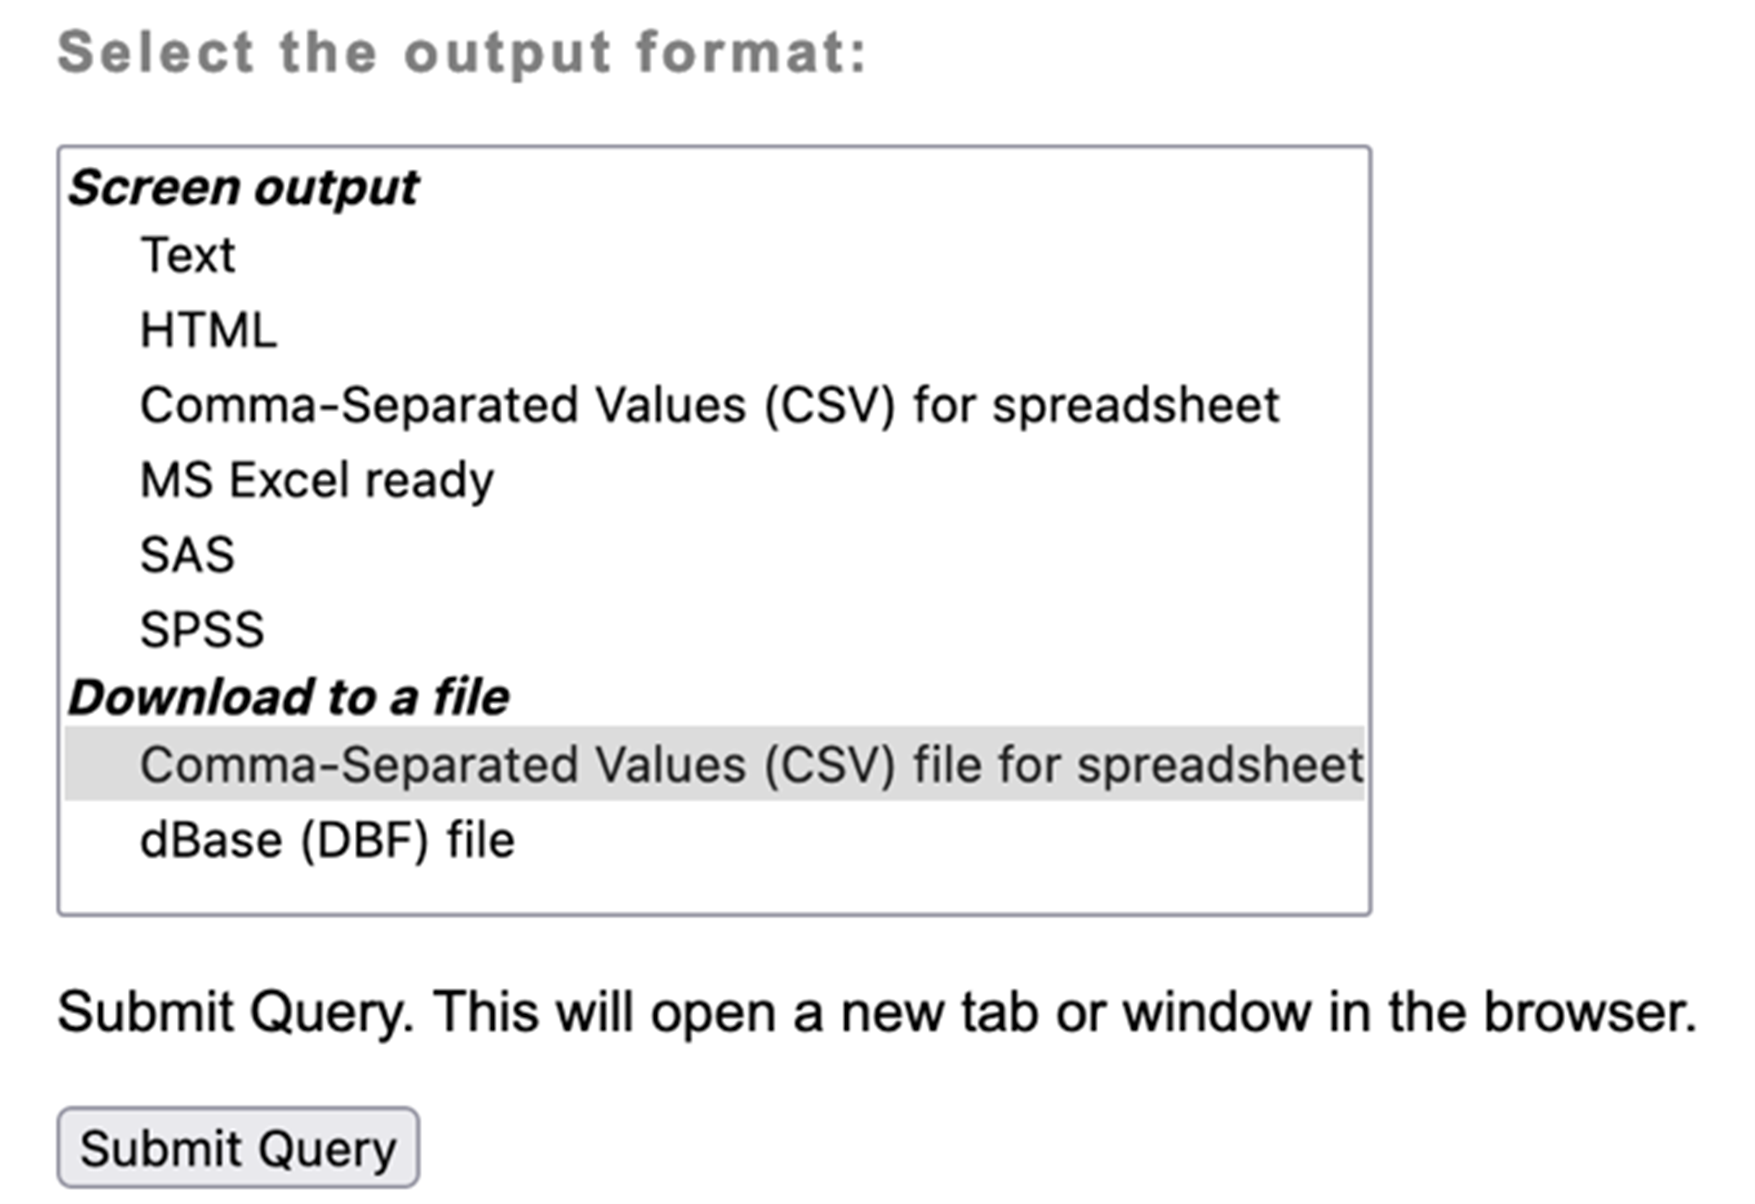
Check all 5 of the geographic variables. In the Select the output format box, under Download to a file, we select Comma-Separated Values (CSV) file for spreadsheet to download the census dataset as a CSV file. Select Submit Query.
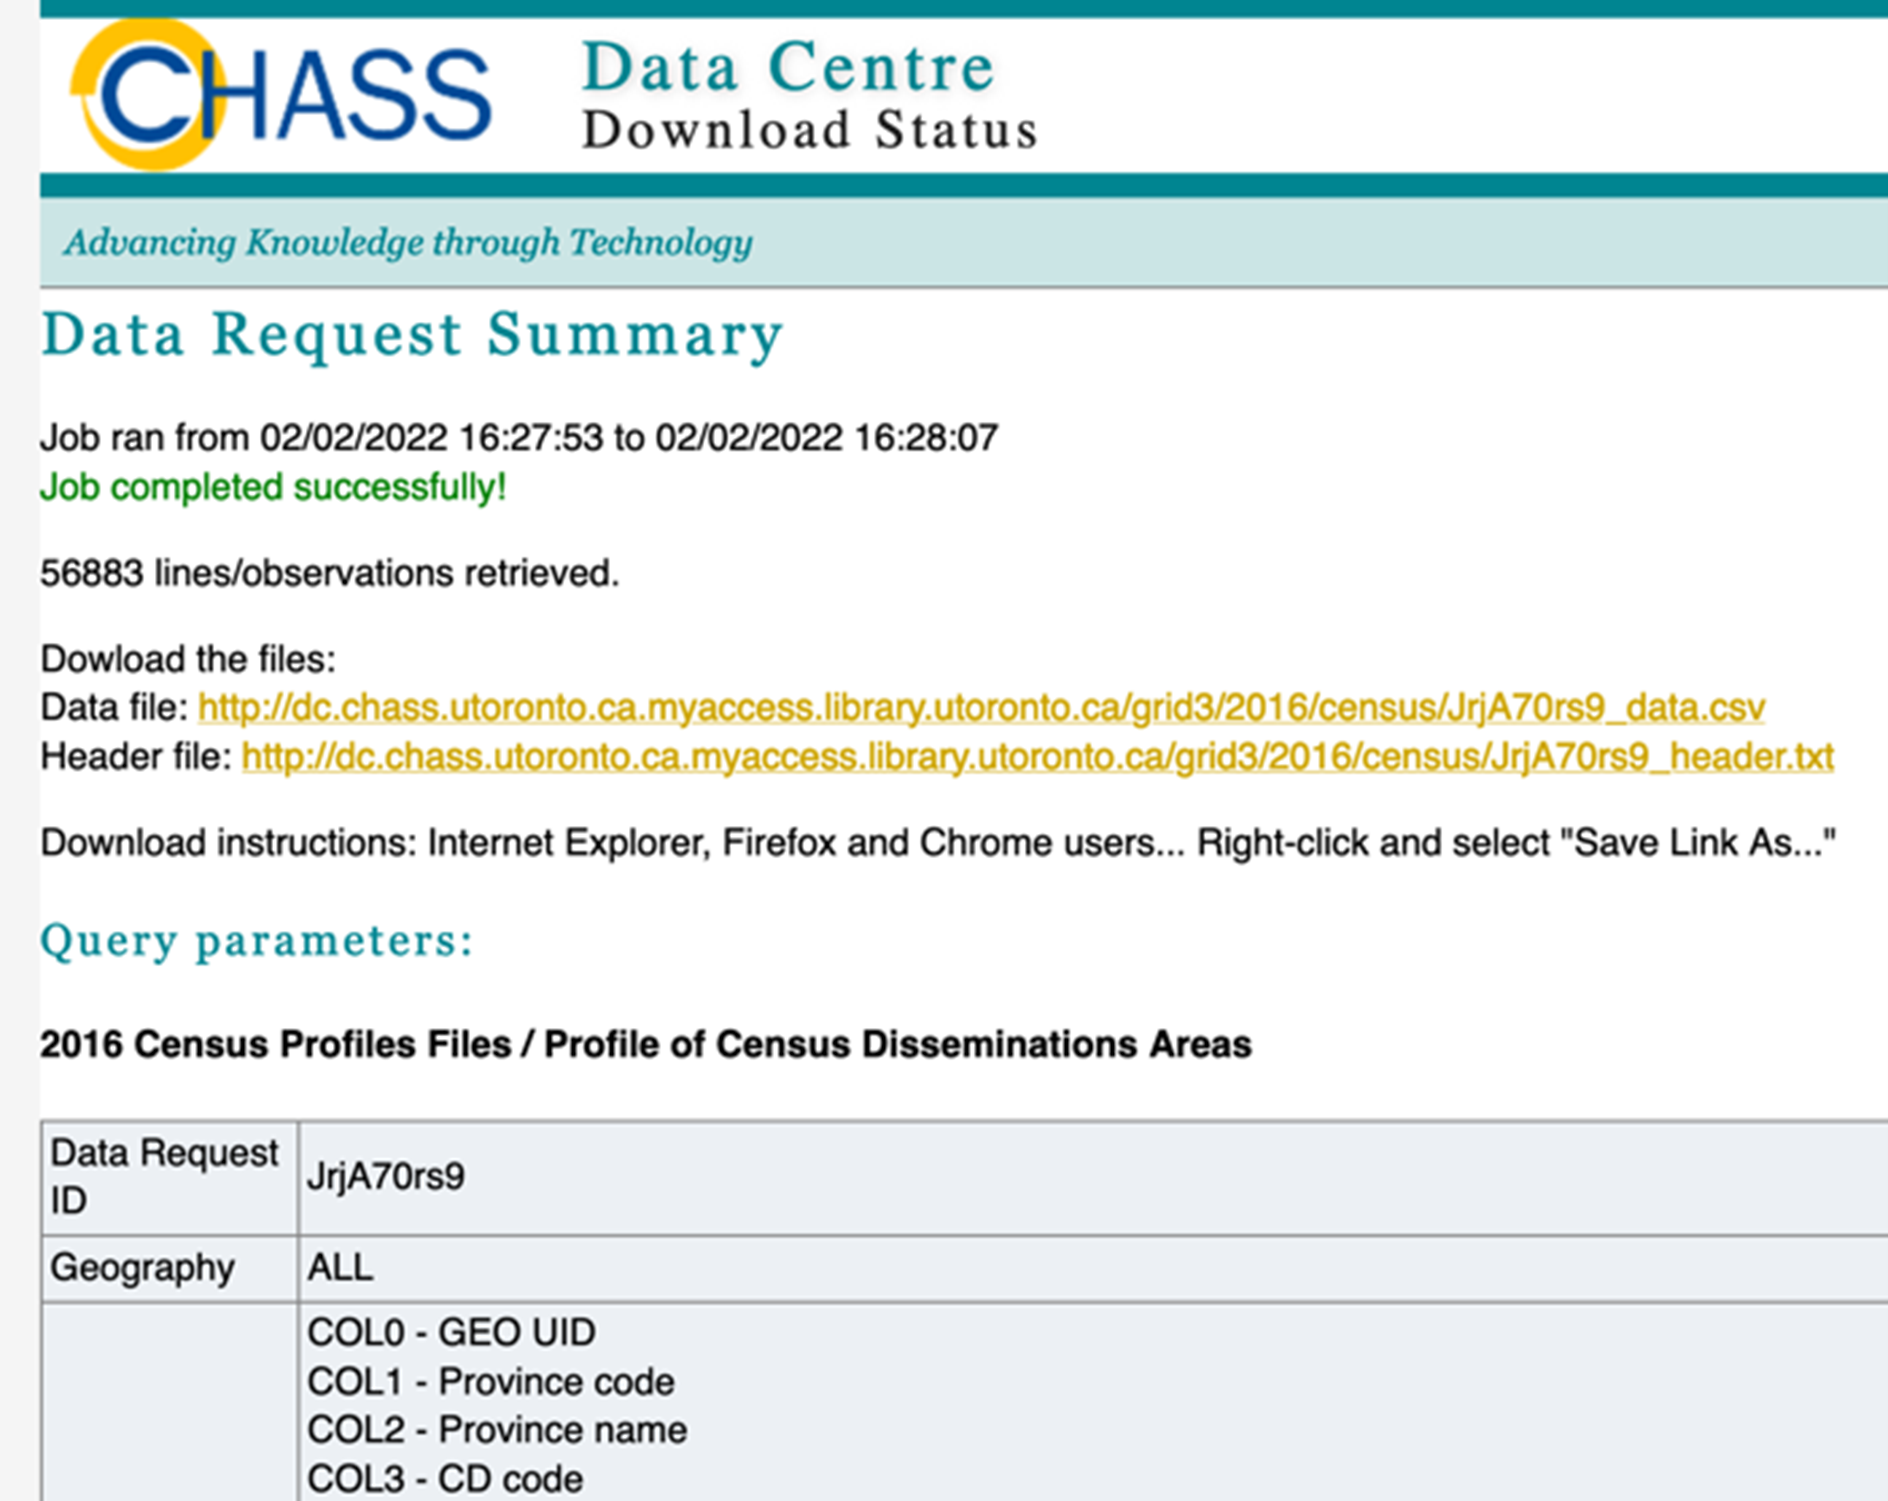
The wizard might take a few minutes to complete the query. When the data request is complete, you will be provided with two links. One to download the data file and another one to download a file with descriptions of the column names in the first data file.
Right-click on the link next to Data file to download the census dataset. Choose Save Link As… We save this data file as census2016.csv.
Now that we have downloaded the census dataset, we have all three data files ready: My_datatset.csv (our dataset), mypostalcodespccfp.csv (our data from part A), and census2016.csv (our census dataset).
We want to enrich the data from part A with our dataset and census data. We will continue to use SAS to combine these three datasets. The code we will run in SAS is described below.
In SAS, we open a new editor: go to the File menu>select New Program. We will type the SAS code in the new editor.
First, we import our three data files using the following SAS code. The code renames these datasets mydataset, mypostalcodespccfp and census respectively in the context of SAS.
Type and run the code below. Make sure that you modify the file paths to point to those three data files on your computer.
 * PCCF+ Guide;
 * PART B: Adding your research dataset and census data;

 * Instruction:
 * - Replace the data file paths below with the respective file paths on your computer;

 * STEP 1: Importing datasets

 * Import your dataset;
 proc import out=work.mydataset
             datafile="H:\PCCF Guide\Data\My_dataset.csv"
             dbms=csv replace;
   getnames=yes;
   datarow=2;
 run;
* Import data from part A - your postal codes combined with the PCCF+ file; proc import out=work.mypostalcodespccfp datafile="H:\PCCF Guide\Data\mypostalcodespccfp.csv" dbms=csv replace; getnames=yes; datarow=2; run;*Import the census data file; proc import out=work.census datafile="H:\PCCF Guide\Data\census2016.csv" dbms=csv replace; getnames=yes; datarow=2; run;To run or execute this code, highlight all of these lines of code and click the running man icon on the toolbar
 .
.Then we combine mydataset and mypostalcodespccfp. We need to prepare these two datasets before we can combine them using the SAS code below.
We rename the postal_code variable in mydataset to pcode to match the variable in mypostalcodespccfp dataset.
The postal codes in the pcode variable in mydataset have a single space between the first three characters or the forward sortation area and the last three characters or the local delivery unit. We remove this space to match the postal codes in mypostalcodespccfp.
* STEP 2: Combine the datasets mydataset and mypostalcodespccfp;

* Rename the postal code variable in your dataset pcode;
data mydataset; set mydataset; rename postal_code=pcode; run;
* Remove the single space in pcode in mydataset; data mydataset; set mydataset; pcode = compress(pcode); run;We combine mydataset and mypostalcodespccfp by matching the value of the postal codes. To merge two datasets in SAS, you need to sort each dataset by the merging variable first.
Use the SAS code below to sort each dataset by pcode and then merge mydataset and mypostalcodespccfp. We name the merged dataset mydatasetpccfp.
* Sort each dataset by the pcode variable;
proc sort data=mydataset; by pcode; run;
proc sort data= mypostalcodespccfp; by pcode; run;*Merge: combine the two datasets by matching the postalcode variable; data mydatasetpccfp; merge mydataset mypostalcodespccfp; by pcode; run;We have successfully added our dataset. In the third step, we want to add the census data: we want to combine mydatasetpccfp and census by matching the value of the dauid variable.
We need to prepare these datasets before we can combine them using the SAS code below. We rename the col0 variable dauid in the census to match mydatasetpccfp. Then, we convert this variable from character to numeric to match the data type of the dauid variable in mydatasetpccfp.
* STEP 3: Combine the datasets mydatasetpccfp and census;

* Rename the variable col0 dauid in the census dataset to match mydatasetpccfp;
data census; set census; rename col0=dauid; run;
*Convert the data type of dauid from character to numeric in the census to match mydatasetpccfp; data census; set census; dauid2 = input(dauid, 10.); drop dauid; rename dauid2=dauid; run;To merge mydatasetpccfp and census, we sort each dataset by dauid first. Then we merge these two datasets by matching the value of dauid. We name the merged dataset mydataset2.
The census dataset is much larger than mydatasetpccfp because it contains dissemination areas from all over Canada outside of the regions in our dataset. Since we are not interested in these additional dissemination areas, we add some additional code in the merge step to keep only the dissemination areas that are part of mydatasetpccfp.
  * Sort each dataset by the dauid variable;
proc sort data=mydatasetpccfp; by dauid; run;
proc sort data=census; by dauid; run;* Merge: combine the two datasets by matching the dauid variable and only keep your DAs; data mydataset2; merge mydatasetpccfp (in=x) census; by dauid; if x=1; run;In the last step, we export our final dataset. We define a library by specifying a path to our output folder. Then we export mydataset2 as a SAS data file and a CSV data file.
* STEP 4: Export mydataset2;

* Create a libname to point to your output folder;
libname folder "H:\PCCF Guide\Data";
* Save mydataset2 as a SAS dataset in your output folder; data folder.mydataset2; set work.mydataset2; run;* Export mydataset2 to CSV in your output folder; proc export data=work.mydataset2 outfile="H:\PCCF Guide\Data\My_dataset2.csv" dbms=csv replace; run;The complete SAS code file to add our dataset and census data can be downloaded here.
| Technique: Quantitative Data Analysis | Tools: R, SAS, SPSS | Data Format: Microdata |