Accessing the Environment via Open OnDemand
Open OnDemand (OOD) is a web-based platform that allows you to interact with Trillium through a web browser instead of via a terminal. As thereis no need to install any software on your local machine, the access instructions below apply regardless of your operating system:
- Once all steps under “Creating an Account” above have been completed, navigate to SciNet’s installation of Open OnDemand to login to the system.
- Note that unlike when logging in to your Compute Canada account, this login page requires your usernameand not your utoronto email in order to authenticate.
- You will still be prompted to authenticate using multifactor authentication
Once logged in, you’ll be presented with a landing page consisting of all applications currently available via the Open OnDemand System. These include entry points for terminal access, as well as a quick review of any active jobs.
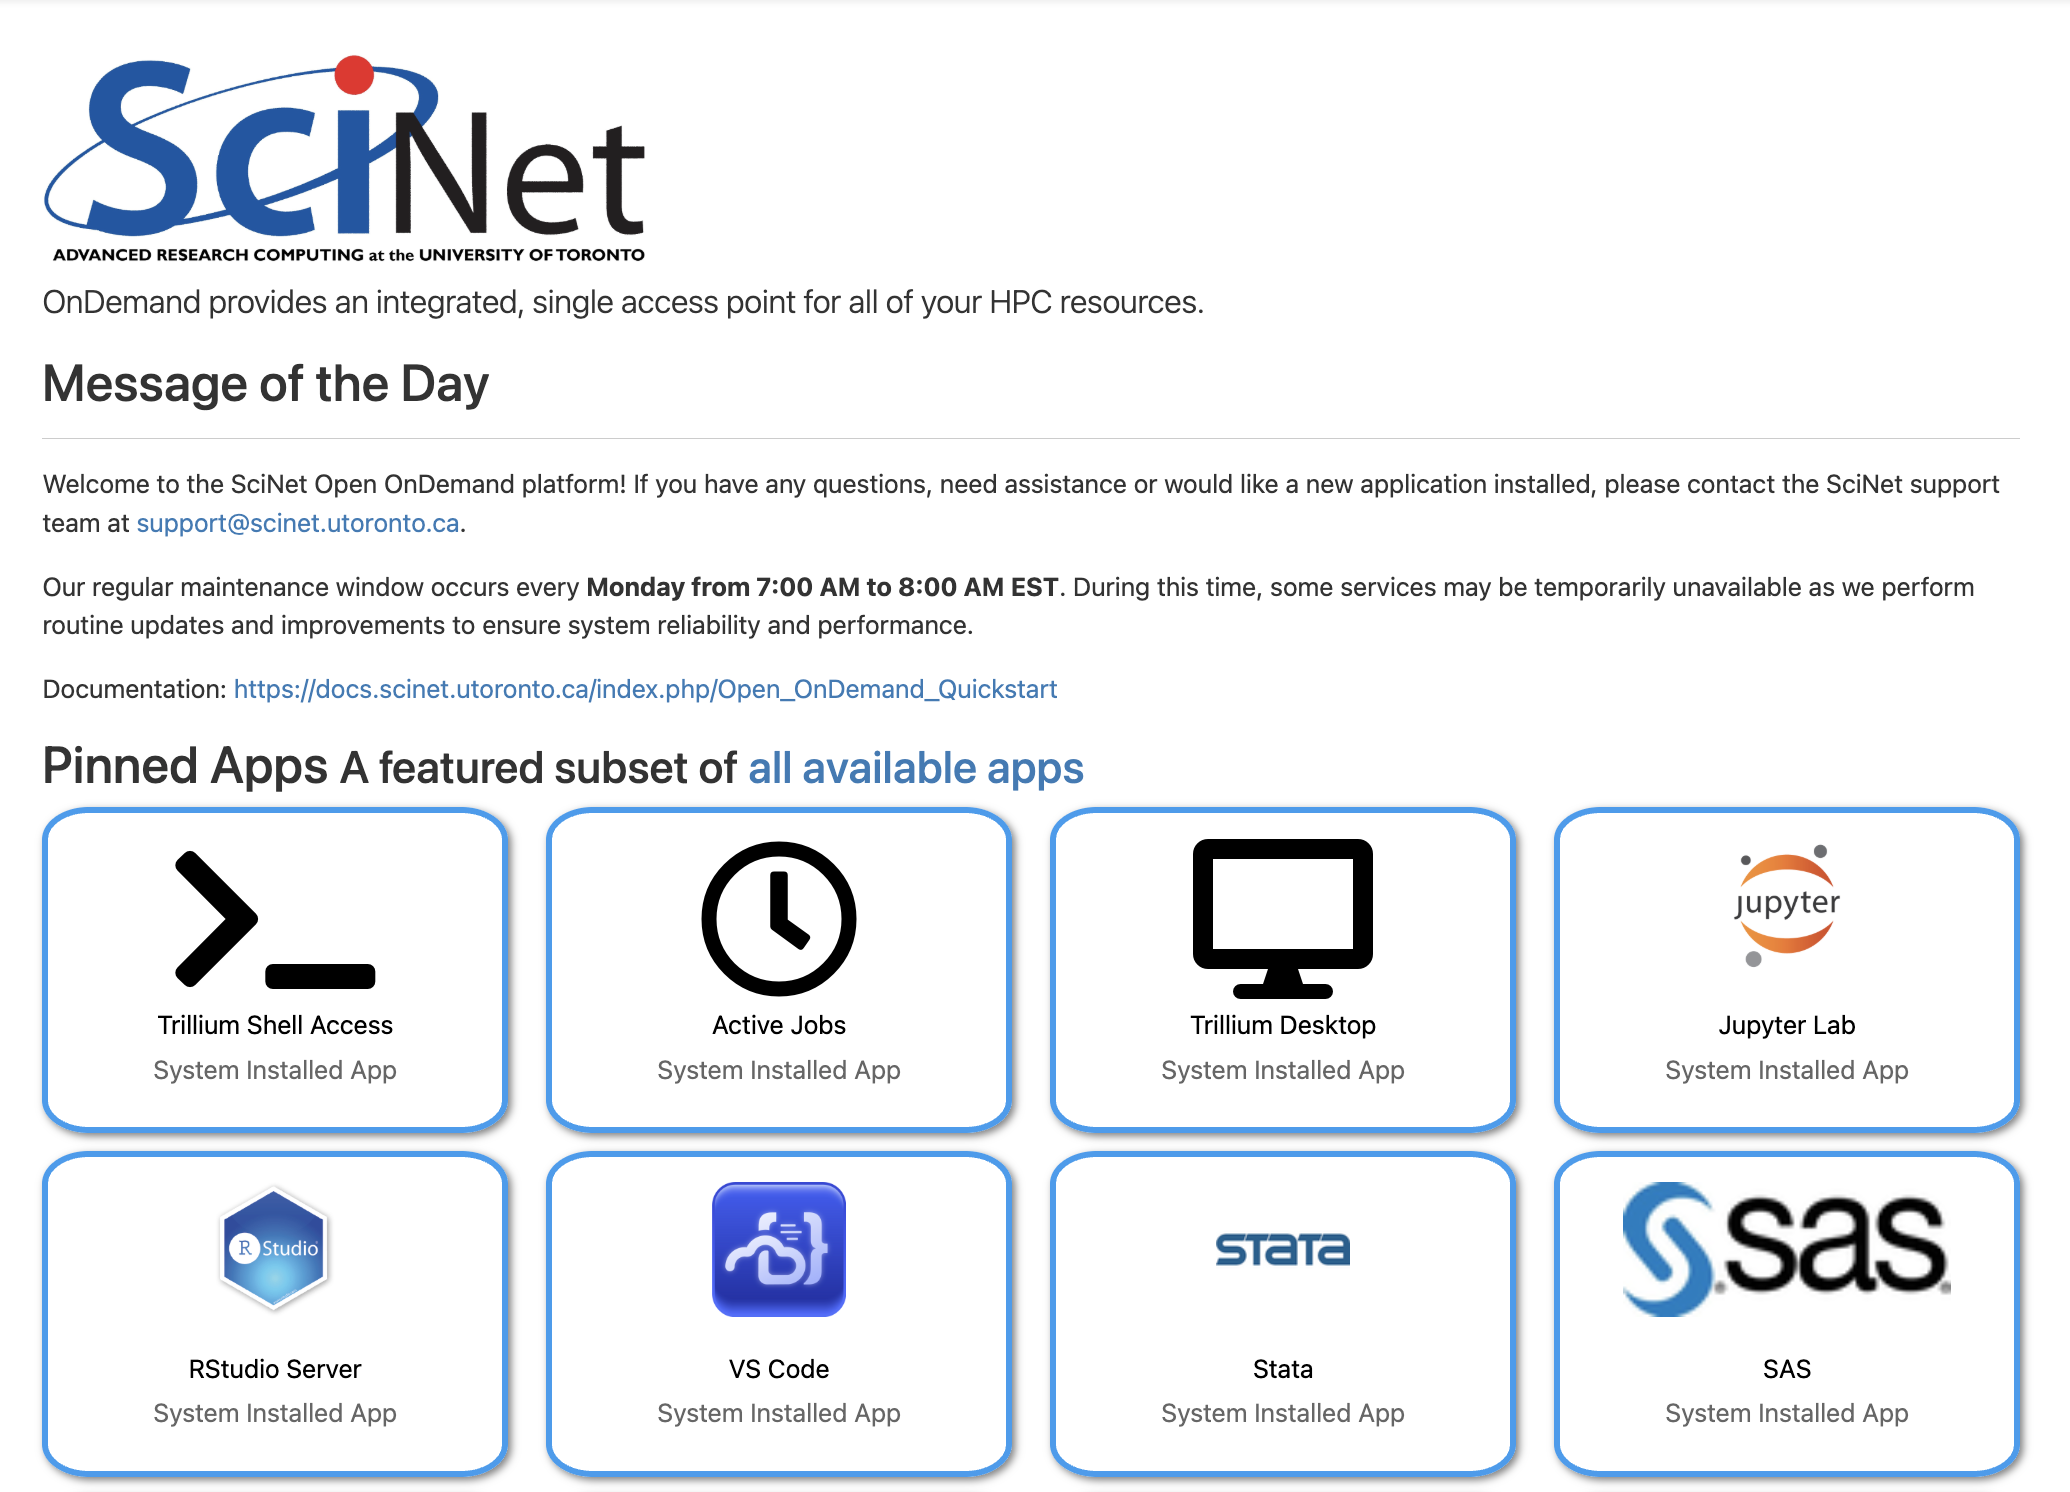
Note that while this tutorial will only cover access via Jupyter Lab, several other applications for coding are included, including RStudio and VS Code. Other applications for data analysis such as Stata and SAS are also available.
- Select Jupyter Lab in order to launch a new Jupyter Server on the Trillium Cluster. You will be prompted for several parameters, including expected number of hours for this session as well as computing requirements. As these datasets are fairly small in the context of high performance computing, “number of physical cores” can be set to “1”, with “4” GB of memory.
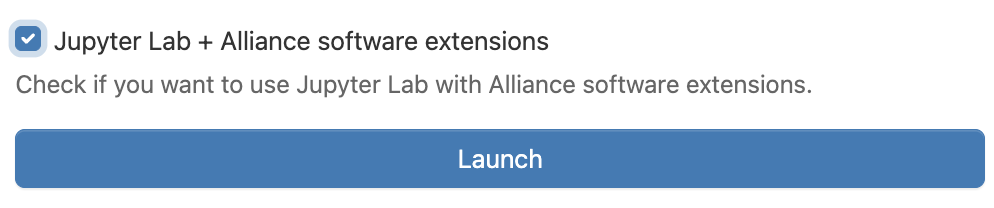
Select Launch to begin your session. Note that it may take a minute to two to start up. Once the server is available, “Running” will appear as the status in top left, and you will be able to select the “Connect to Jupyter” button near the bottom to begin coding in Jupyter Labs

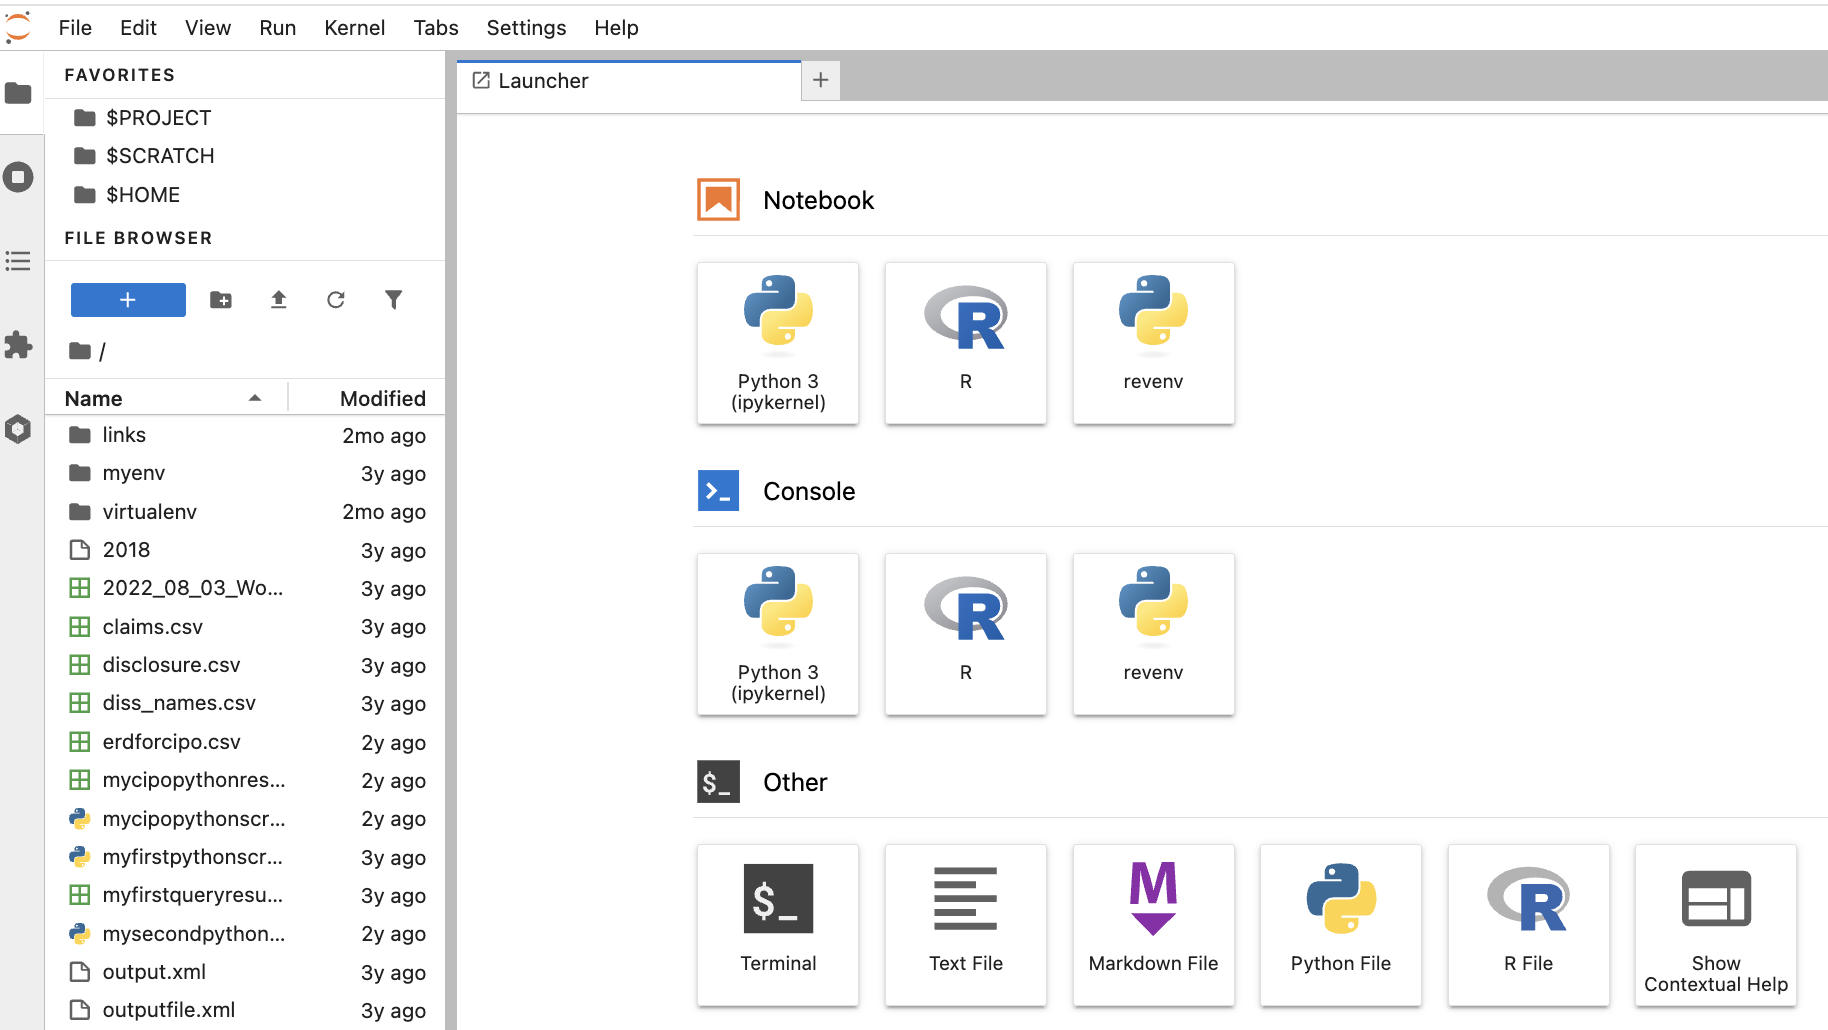
Once connected, you will see a list of your files to the left, and a Launcher in the centre screen. The launcher provides Jupyter Notebook or console/terminal programming environments for Python or R, as well as other options such as terminal access to the server or new text file creation near the bottom.
- If this is your first time using Jupyter Labs, please see their excellent documentation or review our own Workshop, “An Introduction to Programming for Absolute Beginners Using Python Pt. 1” which provides an overview of coding in Jupyter Notebooks (the executable document files that also form the basis of Jupyter Labs).
Querying the Datasets
All six datasets are in Apache Parquet format. This is a tabular datatype, similar to an Excel CSV file, but one that is capable of handling much larger files. Parquet files are binary, columnar files that are designed for reading and writing extremely large datasets, have built in compression and are optimized for analytics. For these reasons, these files can’t be opened or manually inspected by humans. They need to be worked with using big data tools.
Each dataset / directory is composed of many parquet files, up to 11000 per folder. Company reference data provides for a unique identifier across most datasets in the form of a unique company ID, allowing for querying across directories.
Important Note: These files are read only. Although they can be queried and explored, new copies or subsets will need to be created during analysis.
- If you simply wish to browse the included files and folders, you will need to use Linux/UNIX command line via terminal in order to navigate the environment. From your JupyterLab session, select Terminal under Other from the Launcher. Navigate to the following folder using the cd command to change the current directory:
cd /project/restricted/mdl/revelio - Type
lsto view a list of all folders inside the directory. You can then use thecdcommand to navigate to an individual directory. For example,cd academic_layoff

- Please note: some products contain multiple folders. For example, there are three folders related to the job postings dataset: academic_postings_indeed_individual, academic_postings_linkedin_individual and academic_postings_unified_individual. Please see the vendor documentation if the contents of each folder are unclear. Otherwise, contact us for additional support.
- Please also note: The academic_ prefix does not represent that the data refers only to academic institutions or research centres. The data is comprehensive across employment fields and segments. This denotes only that the data was purchased for academic use.
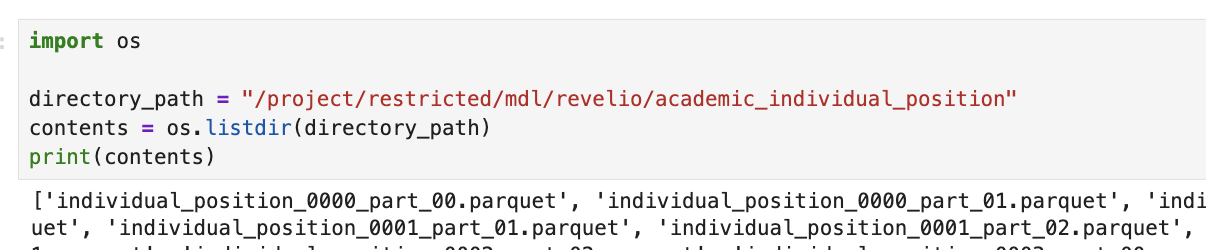
If you are already familiar with the folder structure, you can also use the os module in python to loop through / query the files in a particular directory
- You will need to use big data tools to work with this data. If working with python, PyArrow + Pandas provide excellent support for querying and analyzing parquet files. You can read more about working with PyArrow and Pandas via their oline documentation. Please note that there are other libraries and tools for working with these files. If you’ve like to explore other options, this guide is an excellent place to start.
Note: Queries and code run on the login node are for testing purposes only. Once you have compiled and tested your code or workflow on the Trillium login nodes, you will need to submit it as a job to be run on the compute node. Any lengthy process being run on the login node will be automatically stopped.
- We are already in a Python coding environment, and Python by default as installed by SciNet does come pre-loaded with many useful packages including Pandas. However, as PyArrow is not part of this, you will need to follow several steps in order to configure your environment to query Parquet files. This can be done either by installing and configuring a virtual environment and then porting that over to Open OnDemand or directly in Jupyter Lab itself. Please see the steps for both options below:
- Via Terminal (note this largely follows the terminal instructions provided abovs):
- Type
module load pythonin order to load the default Python module. - Next type
mkdir ~/.virtualenvto create a directory in your environment to store your new virtual environment - Next type
virtualenv --system-site-packages ~/.virtualenv/[myenvironmentname]envto create your new environment. - Next type
module load gcc arrowto activate the pyarrow engine. This must be done before activating your new virtual environment and installing pyarrow . - Next type
source ~/.virtualenv/[myenvironmentname]env/bin/activateto activate your environment. The name of your environment should now appear to the far left of your screen. - Finally type
pip install pyarrowto install the pyarrow module. There is no need to install pandas as this is one of the default packages.- Note: You can install as many modules as needed.
- Once PyArrow is installed, and with your virtual machine still active, simply type
venv2jupto port your environment over to Open OnDemand. This will now appear as as option in Jupyter Labs for both Notebook and Console access. For example, the revenv option below:
- Type
- Directly in Jupyter Labs:
- When launching a new Jupyter Labs server, select the check box for “Jupyter Lab + Alliance software extensions”
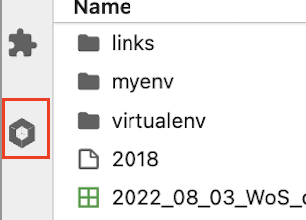
- Inside Jupyter navigate to the left-hand panel and click on “Software Modules” at the bottom
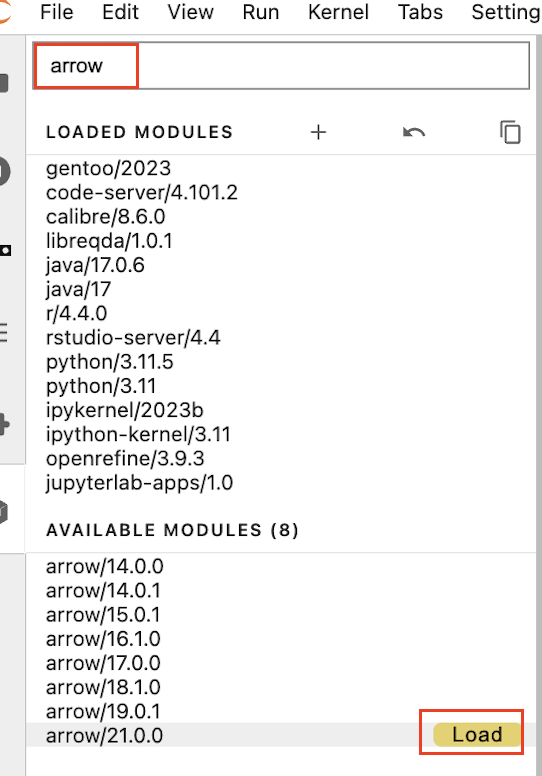
- Load the arrow/21.0.0 module by searching for “arrow”, and selecting this from the left side dropdown
- Open a new Python 3.11 Notebook from the Launcher, and you should now be able to import pyarrow using the command
import pyarrow - Note that unlike with the Terminal environment option, you will need to re-load the Pyarrow module within each Jupyter Lab server session. For this reason, creating a custom environment, although more complicated, may make more sense if there are additional modules you are also planning to use in each session.
- When launching a new Jupyter Labs server, select the check box for “Jupyter Lab + Alliance software extensions”
- Once you have compiled and tested your script on a smaller subset of the data within the login node, you will need to submit it as a job to be run on one of SciNet’s compute nodes. An application exists in OnDemand called Open Composer, which lets you submit Slurm jobs directly to Trillium and allows you to edit job parameters via a form.
- Move your python script into your $SCRATCH directory
- From the Open OnDemand landing page, select Open Composer > Python Slurm Job and complete the required fields including script name and location. Click Submit
- Please see SciNet’s guide for FAQ and more information on using Open Composer.
- Via Terminal (note this largely follows the terminal instructions provided abovs):
Technique: Quantitative Data Analysis