Creating a New Project
First start up NVivo 15.
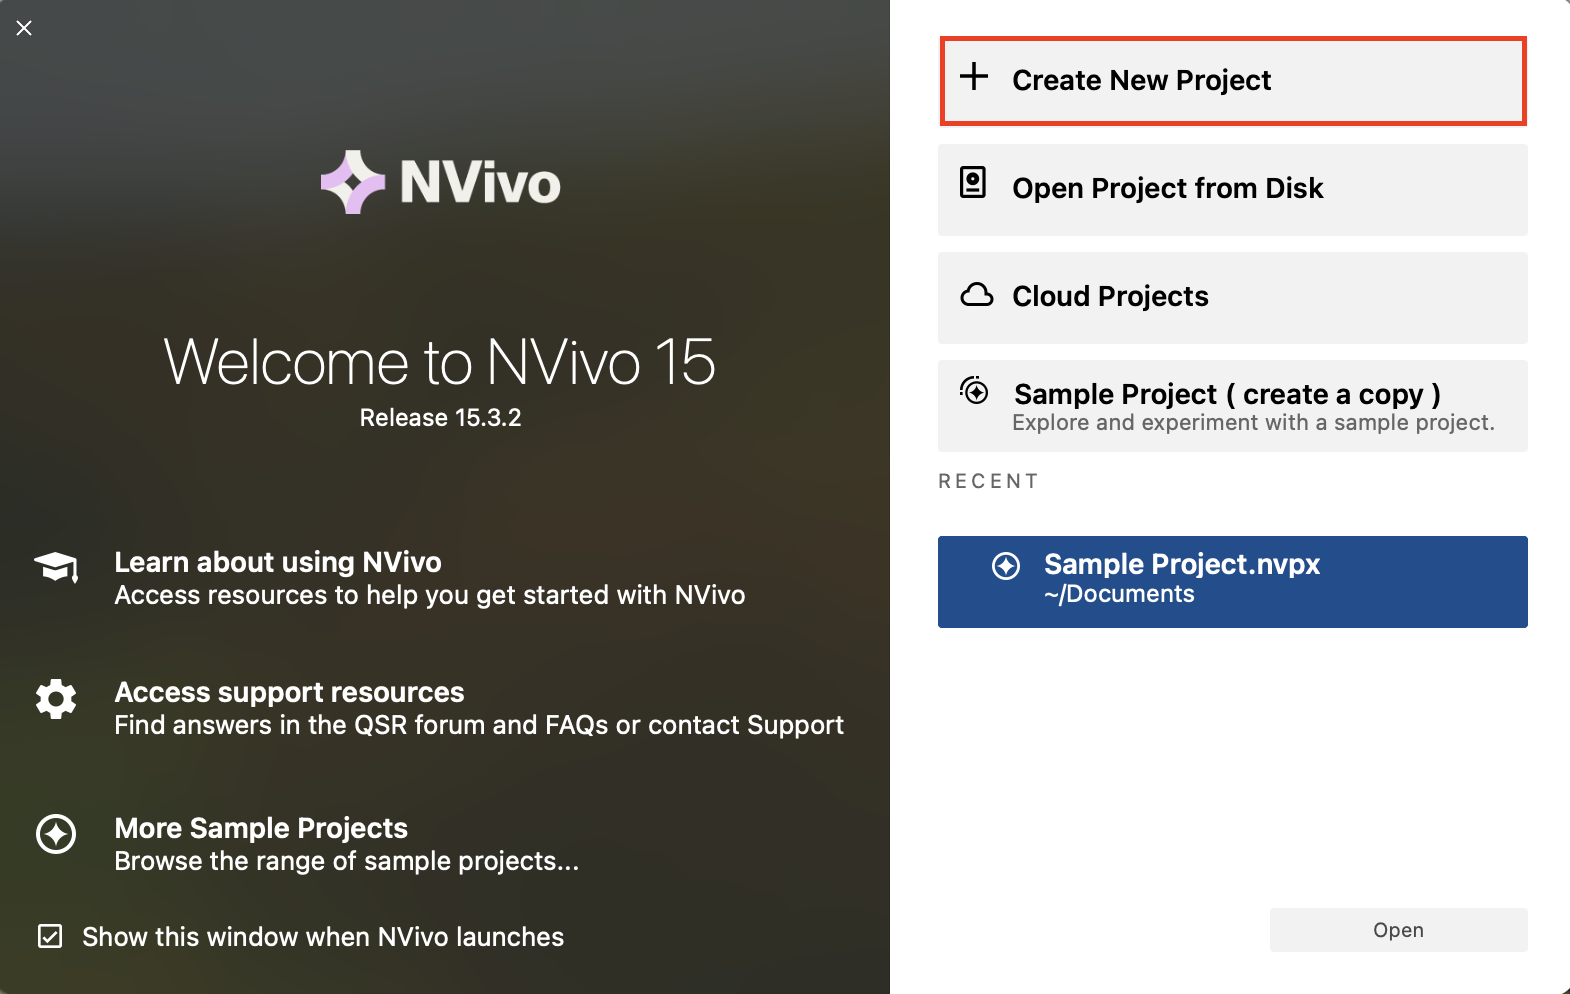
From the main screen, you will see that there are sample projects you can explore to get a feel for NVivo. We will look at one of these later. There are also several links to training and tutorials to learn more. But for us, let’s click on Create new project to get started.
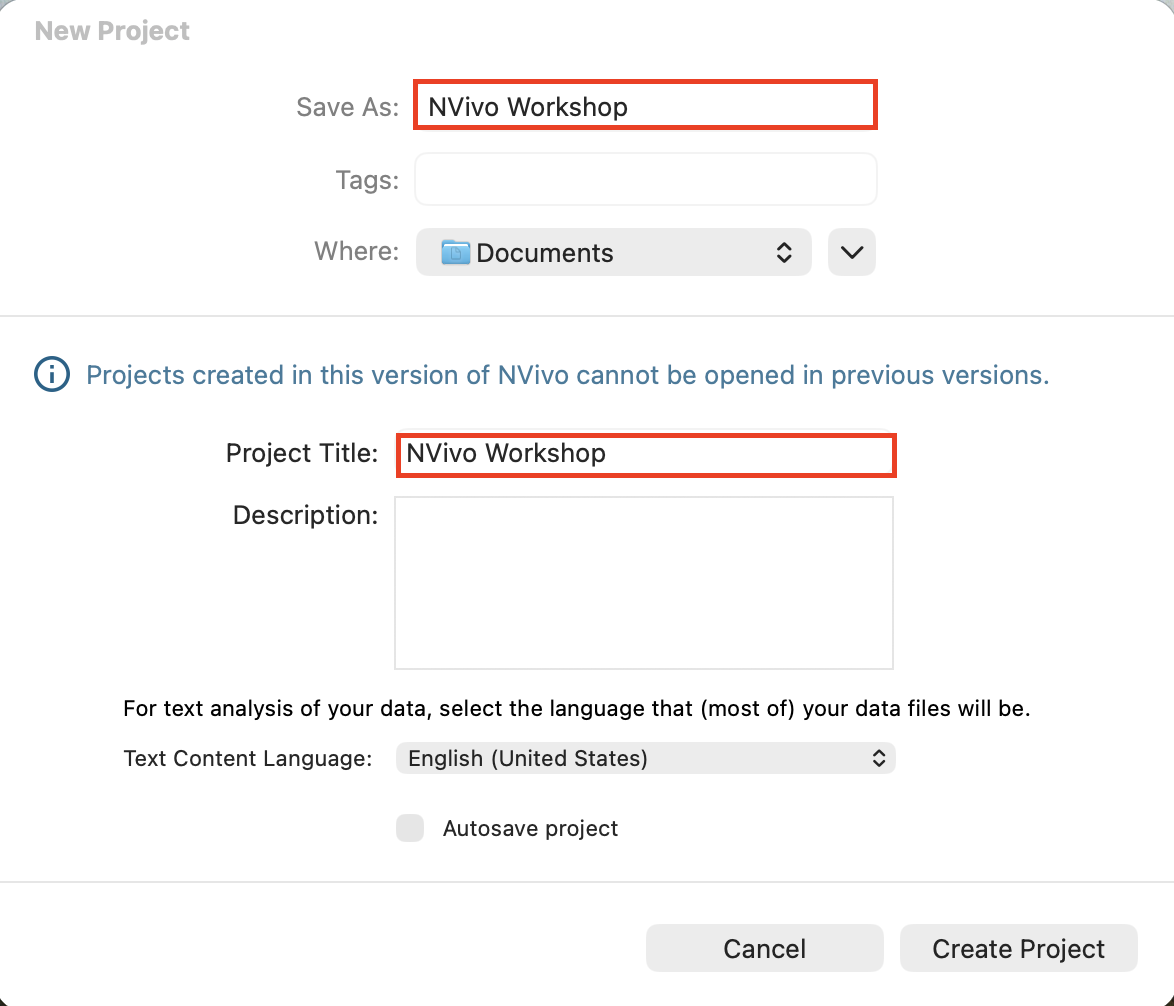
You must give your project and project file a name, so let’s call them both “NVivo Workshop”. You can add a description if you want.
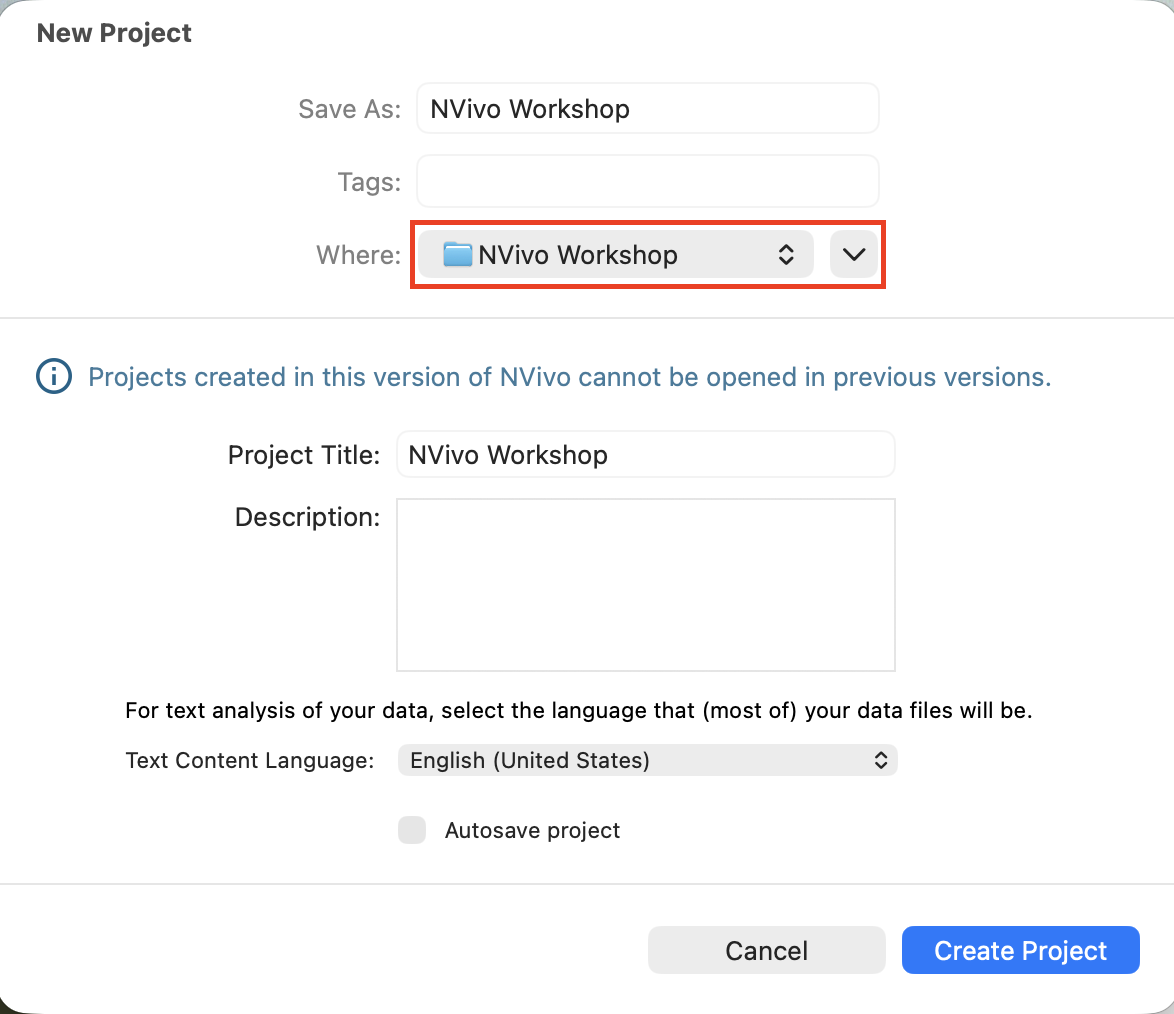
Then select where you want to save the project file. Use the drop-down arrow to browse folders. Let’s save it where we have put all our other workshop files.
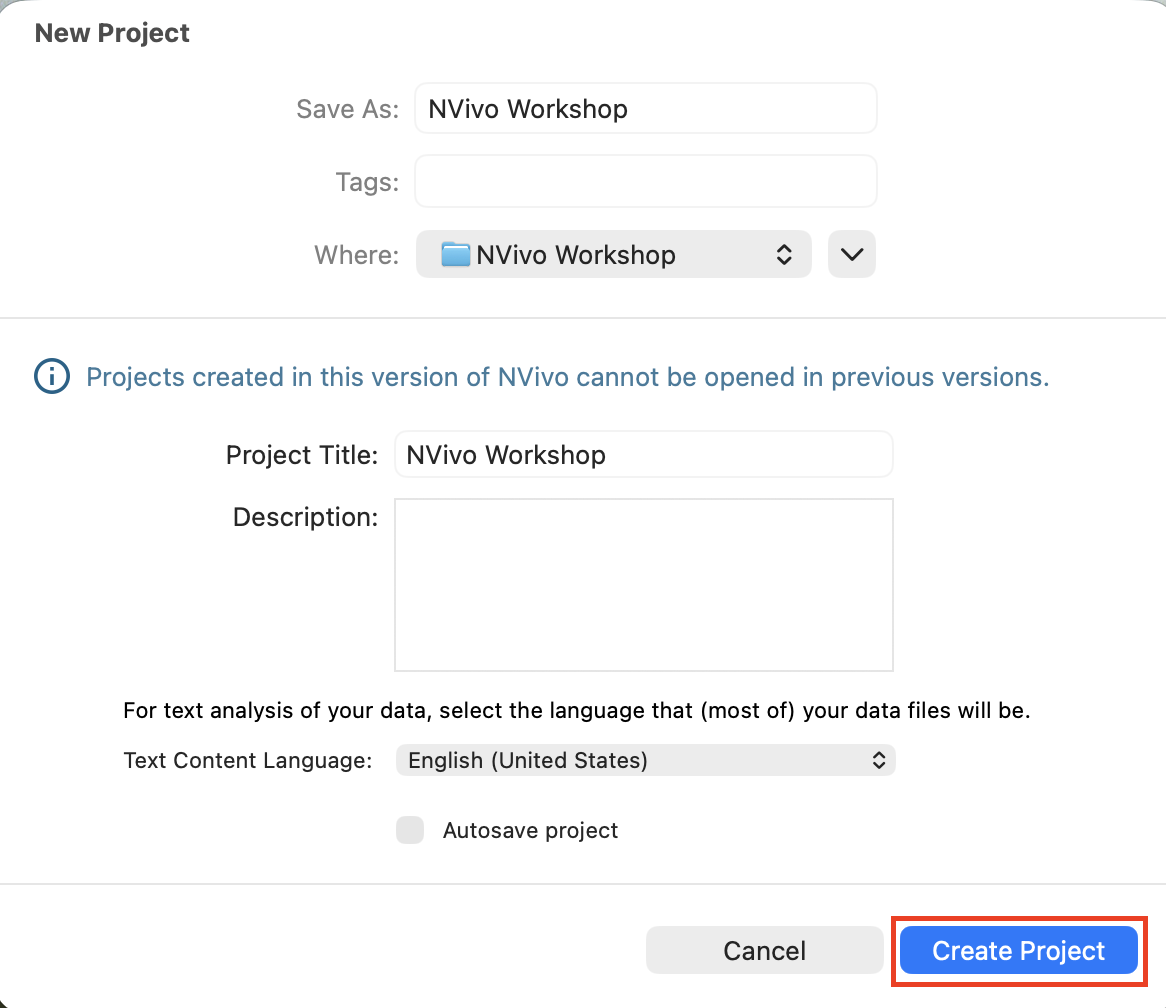
You may also want to select Autosave project to have NVivo save your project automatically every 5 minutes. Unlike with the Windows version, this does not affect your ability to Undo a change. Finally select Create Project to create your new project.
Technique: Qualitative Data Analysis | Tools: NVivo