Creating Notes
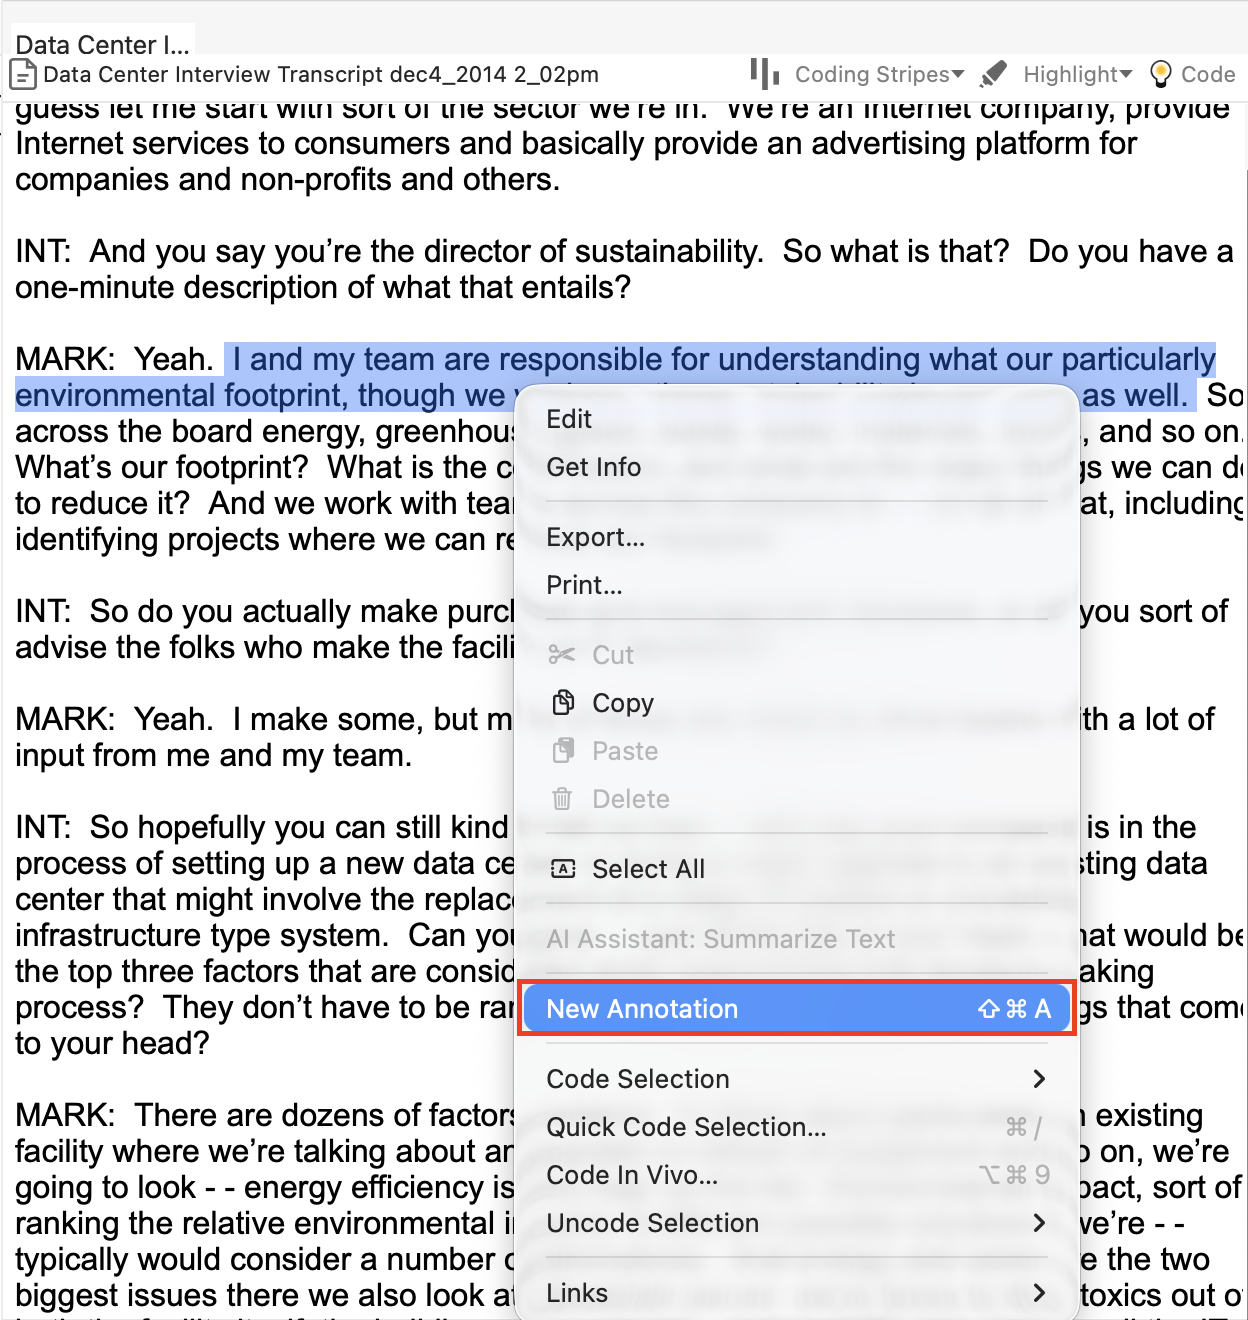
Let’s move on to another use of NVivo. You can create different types of notes to capture your thoughts on some text in a file, a file itself, or the project as a whole. Let’s make a note about something that has come up in the text. Open up one of the interview files (if you don’t have one open already), highlight some text, hold down the Control key and click on it, and select New Annotation.
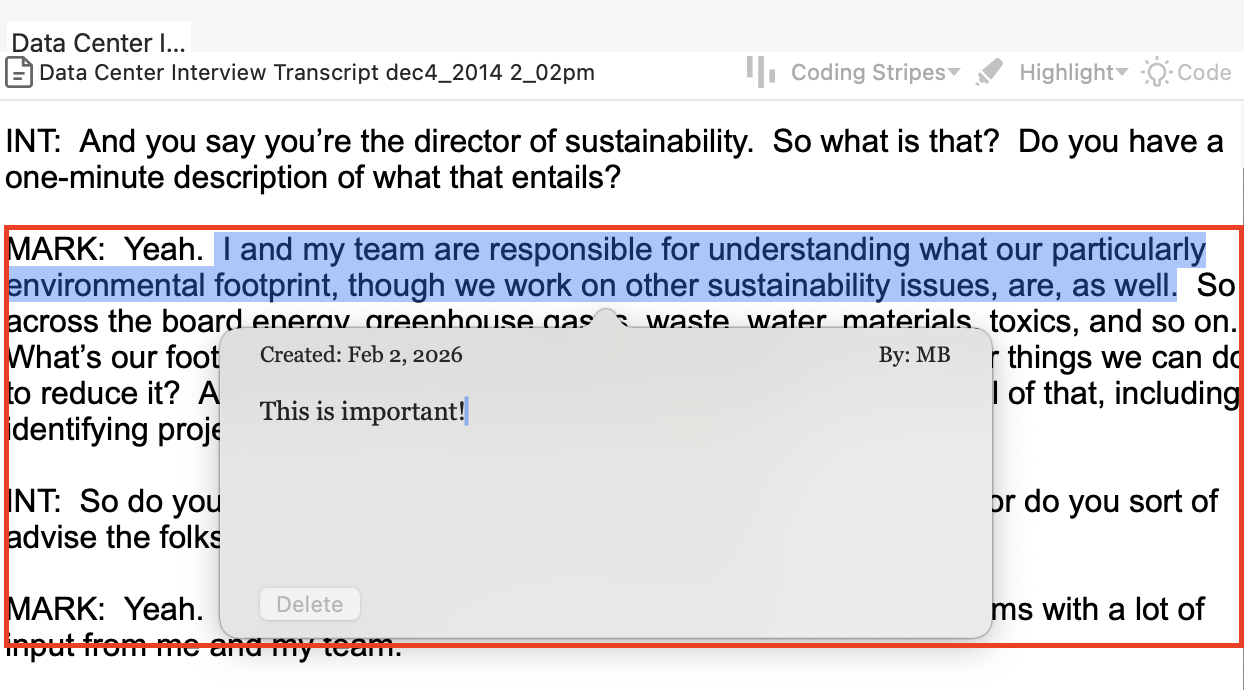
A small pop up window will appear, where you can add your note. Type out a small note, such as “This is important!” When you’re done typing your note, just click on the document again. You will see that annotations are highlighted in blue. You can always hover over the blue highlighted text to see the pop-up window with the note again. Close the file by hovering over the file tab and selecting X.
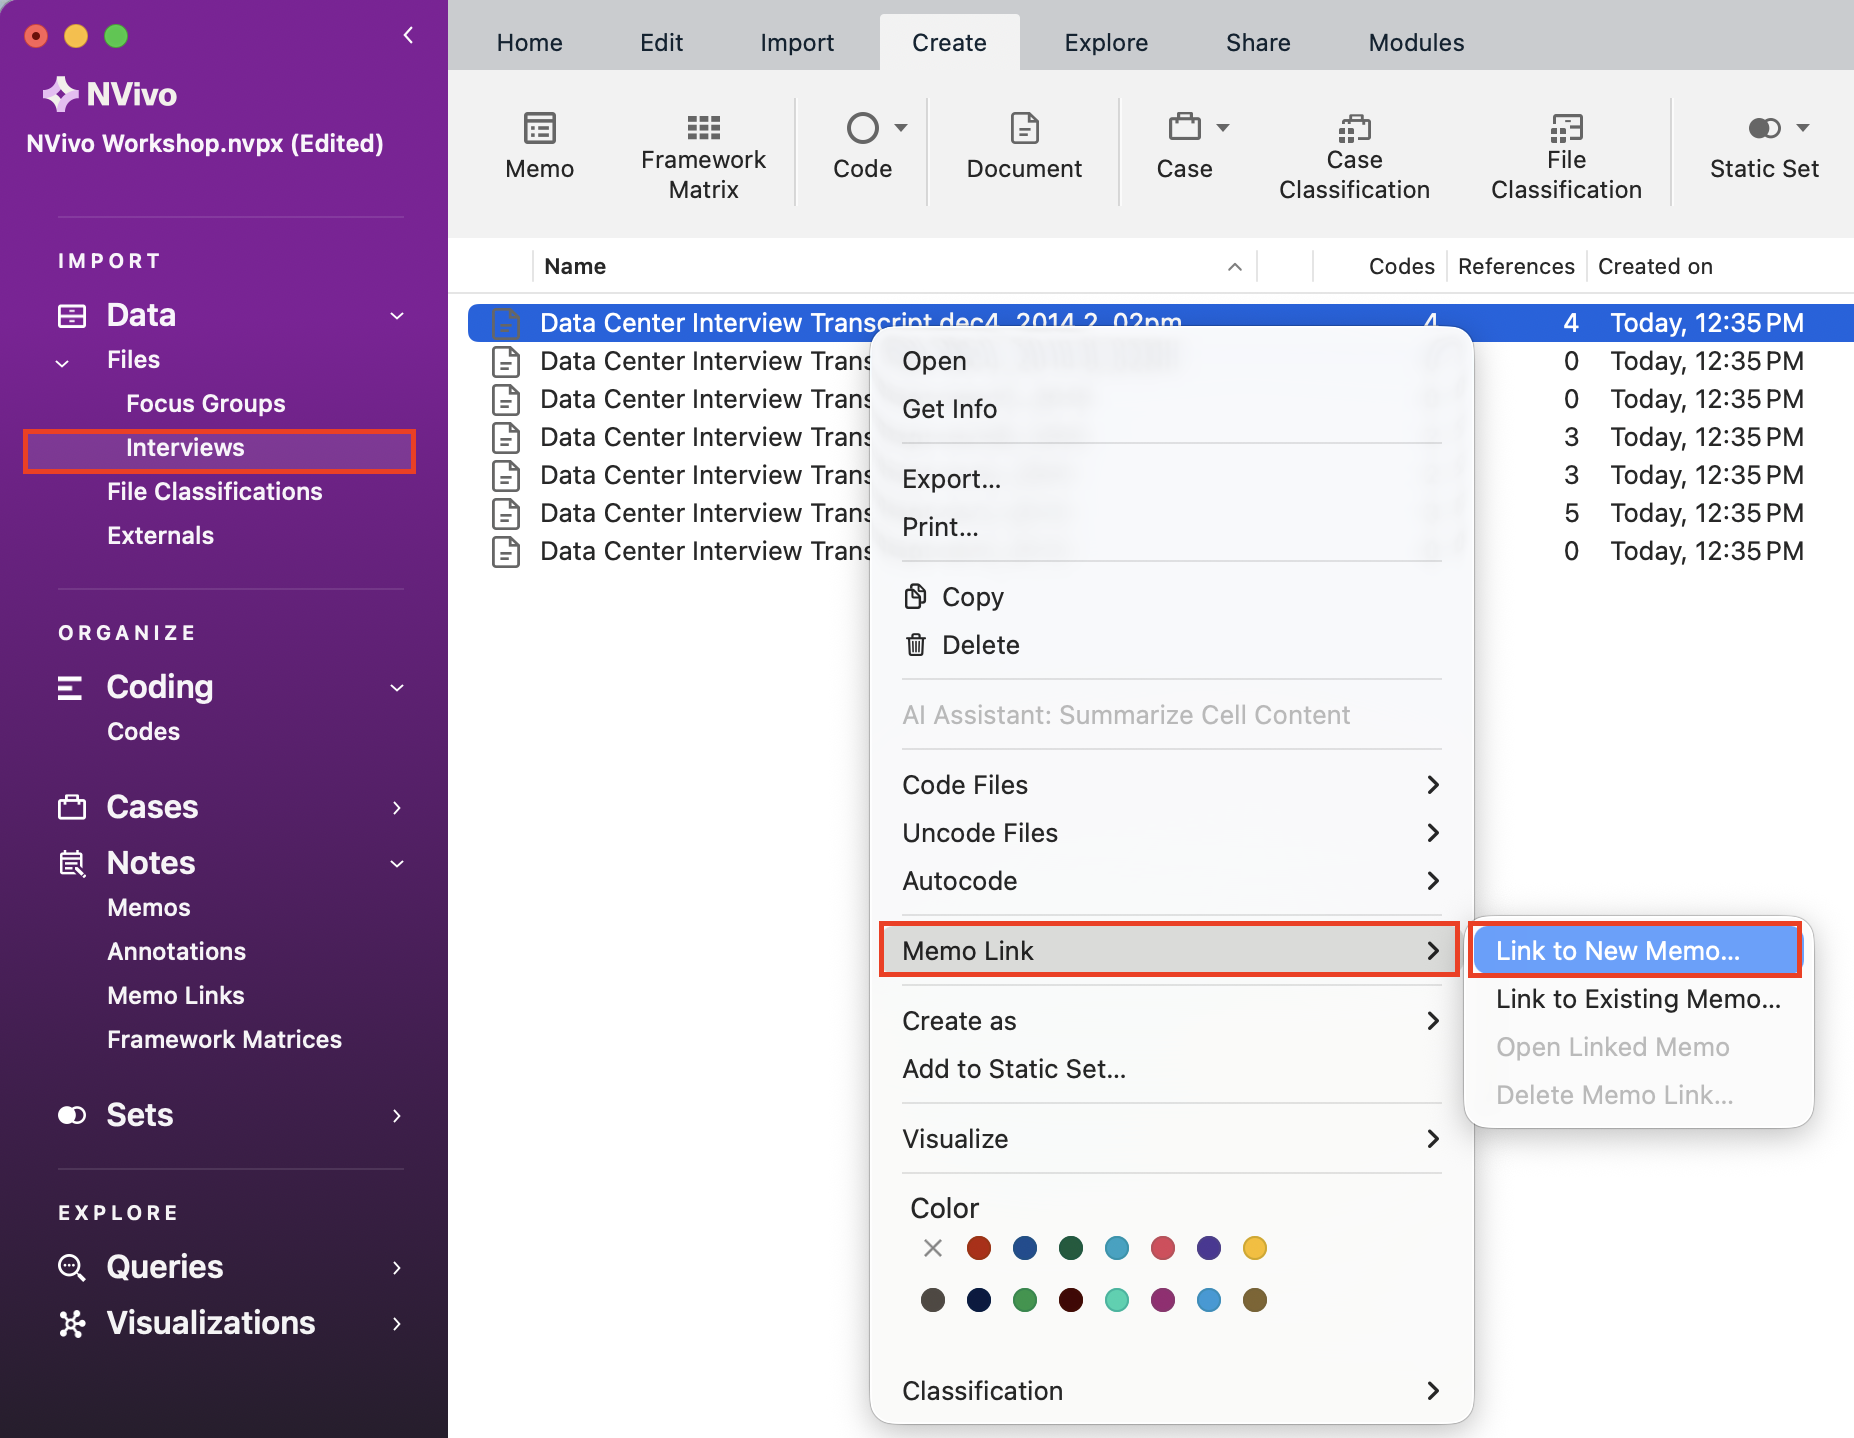
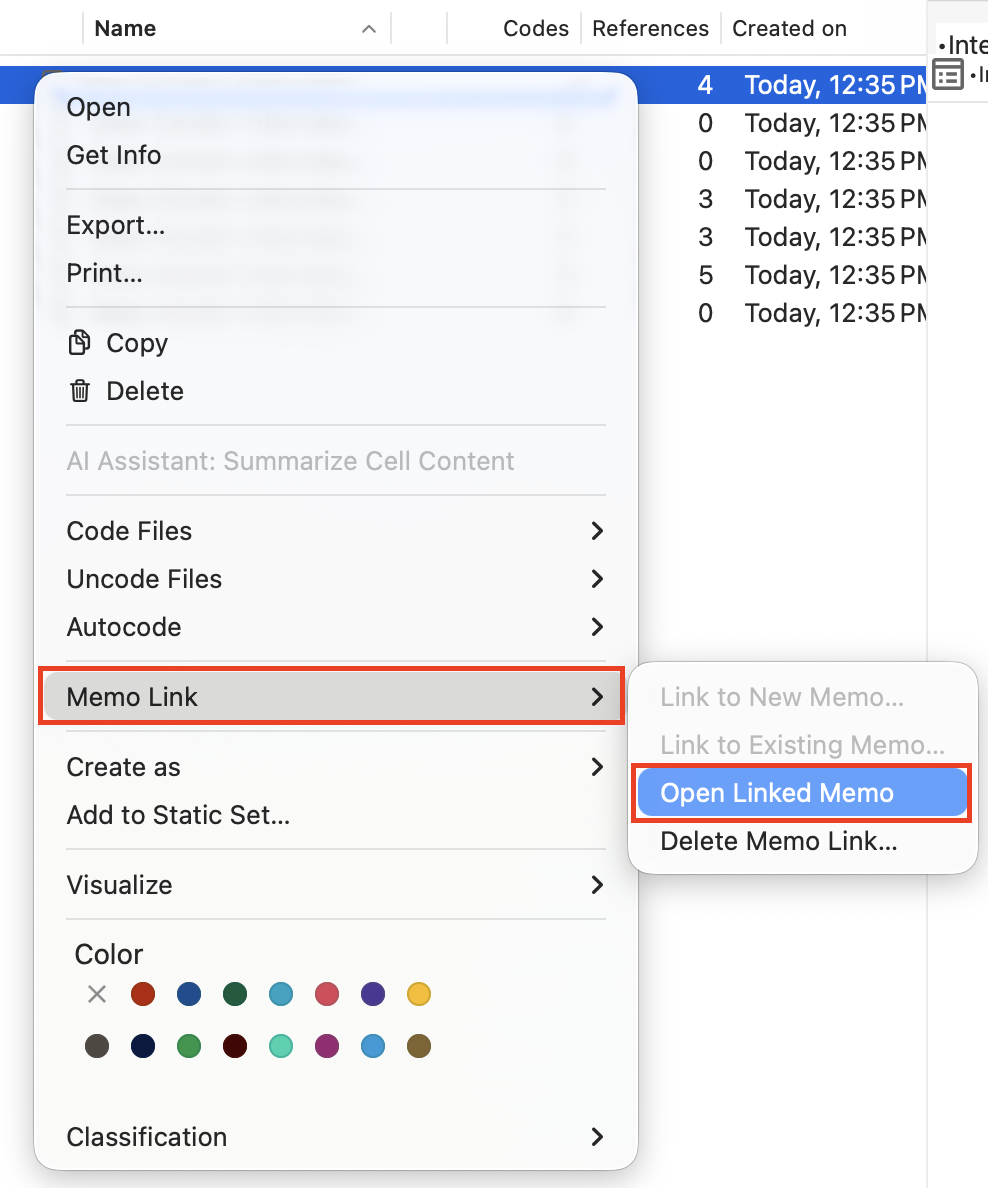
Let’s say instead that you want to make a note about this whole interview file that you had open. Go to the Interviews folder and hold down the Control key and click on an interview file. Select Memo Link and then Link to New Memo…
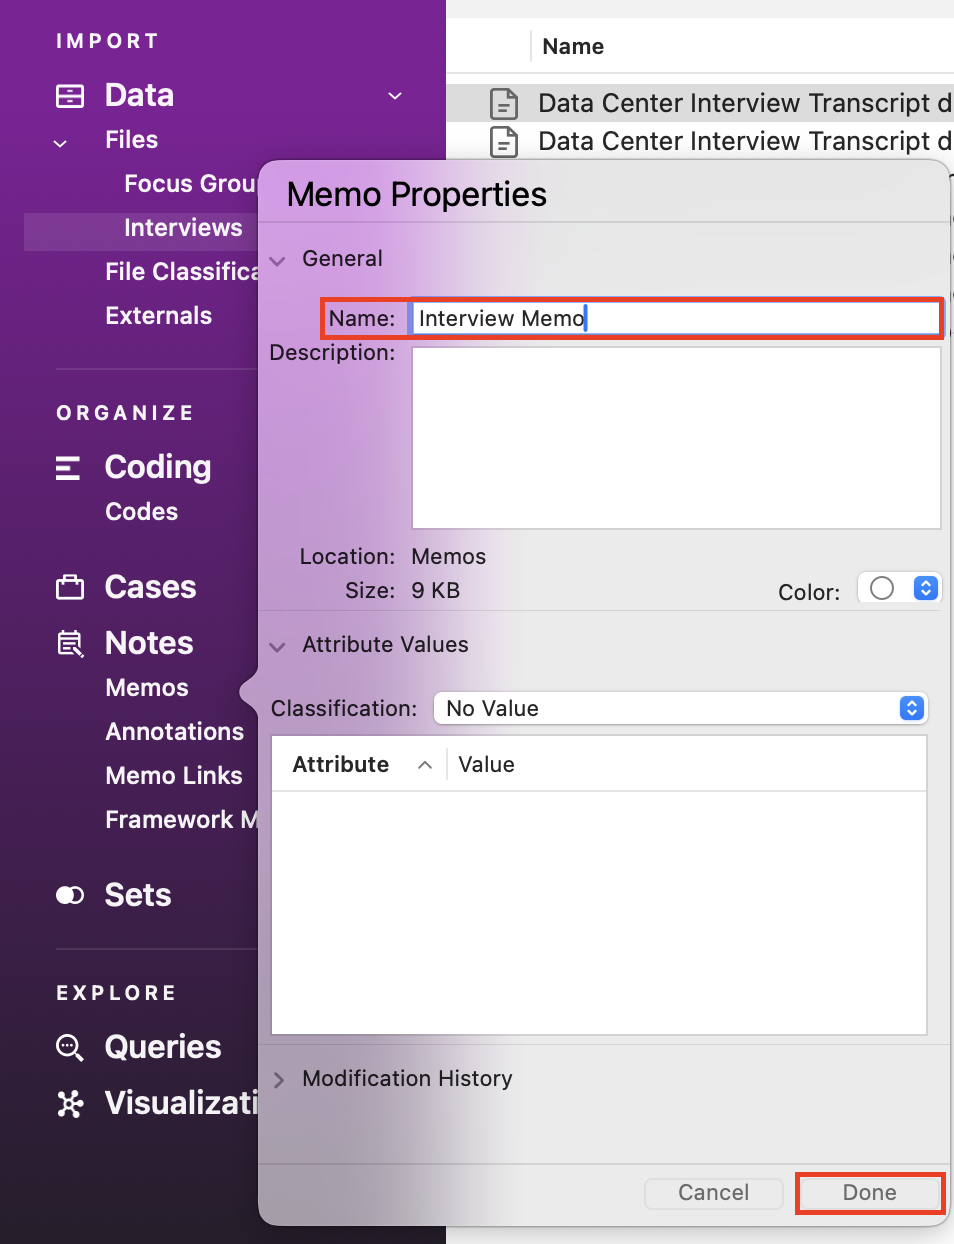
Give your memo a name, such as “Interview Memo” and click on Done.
You will be given a blank page where you can write a detailed memo about that file. Perhaps, for example, this interview was held in poor conditions, such as a noisy coffee shop, that might have influenced what was talked about. You could note that here.
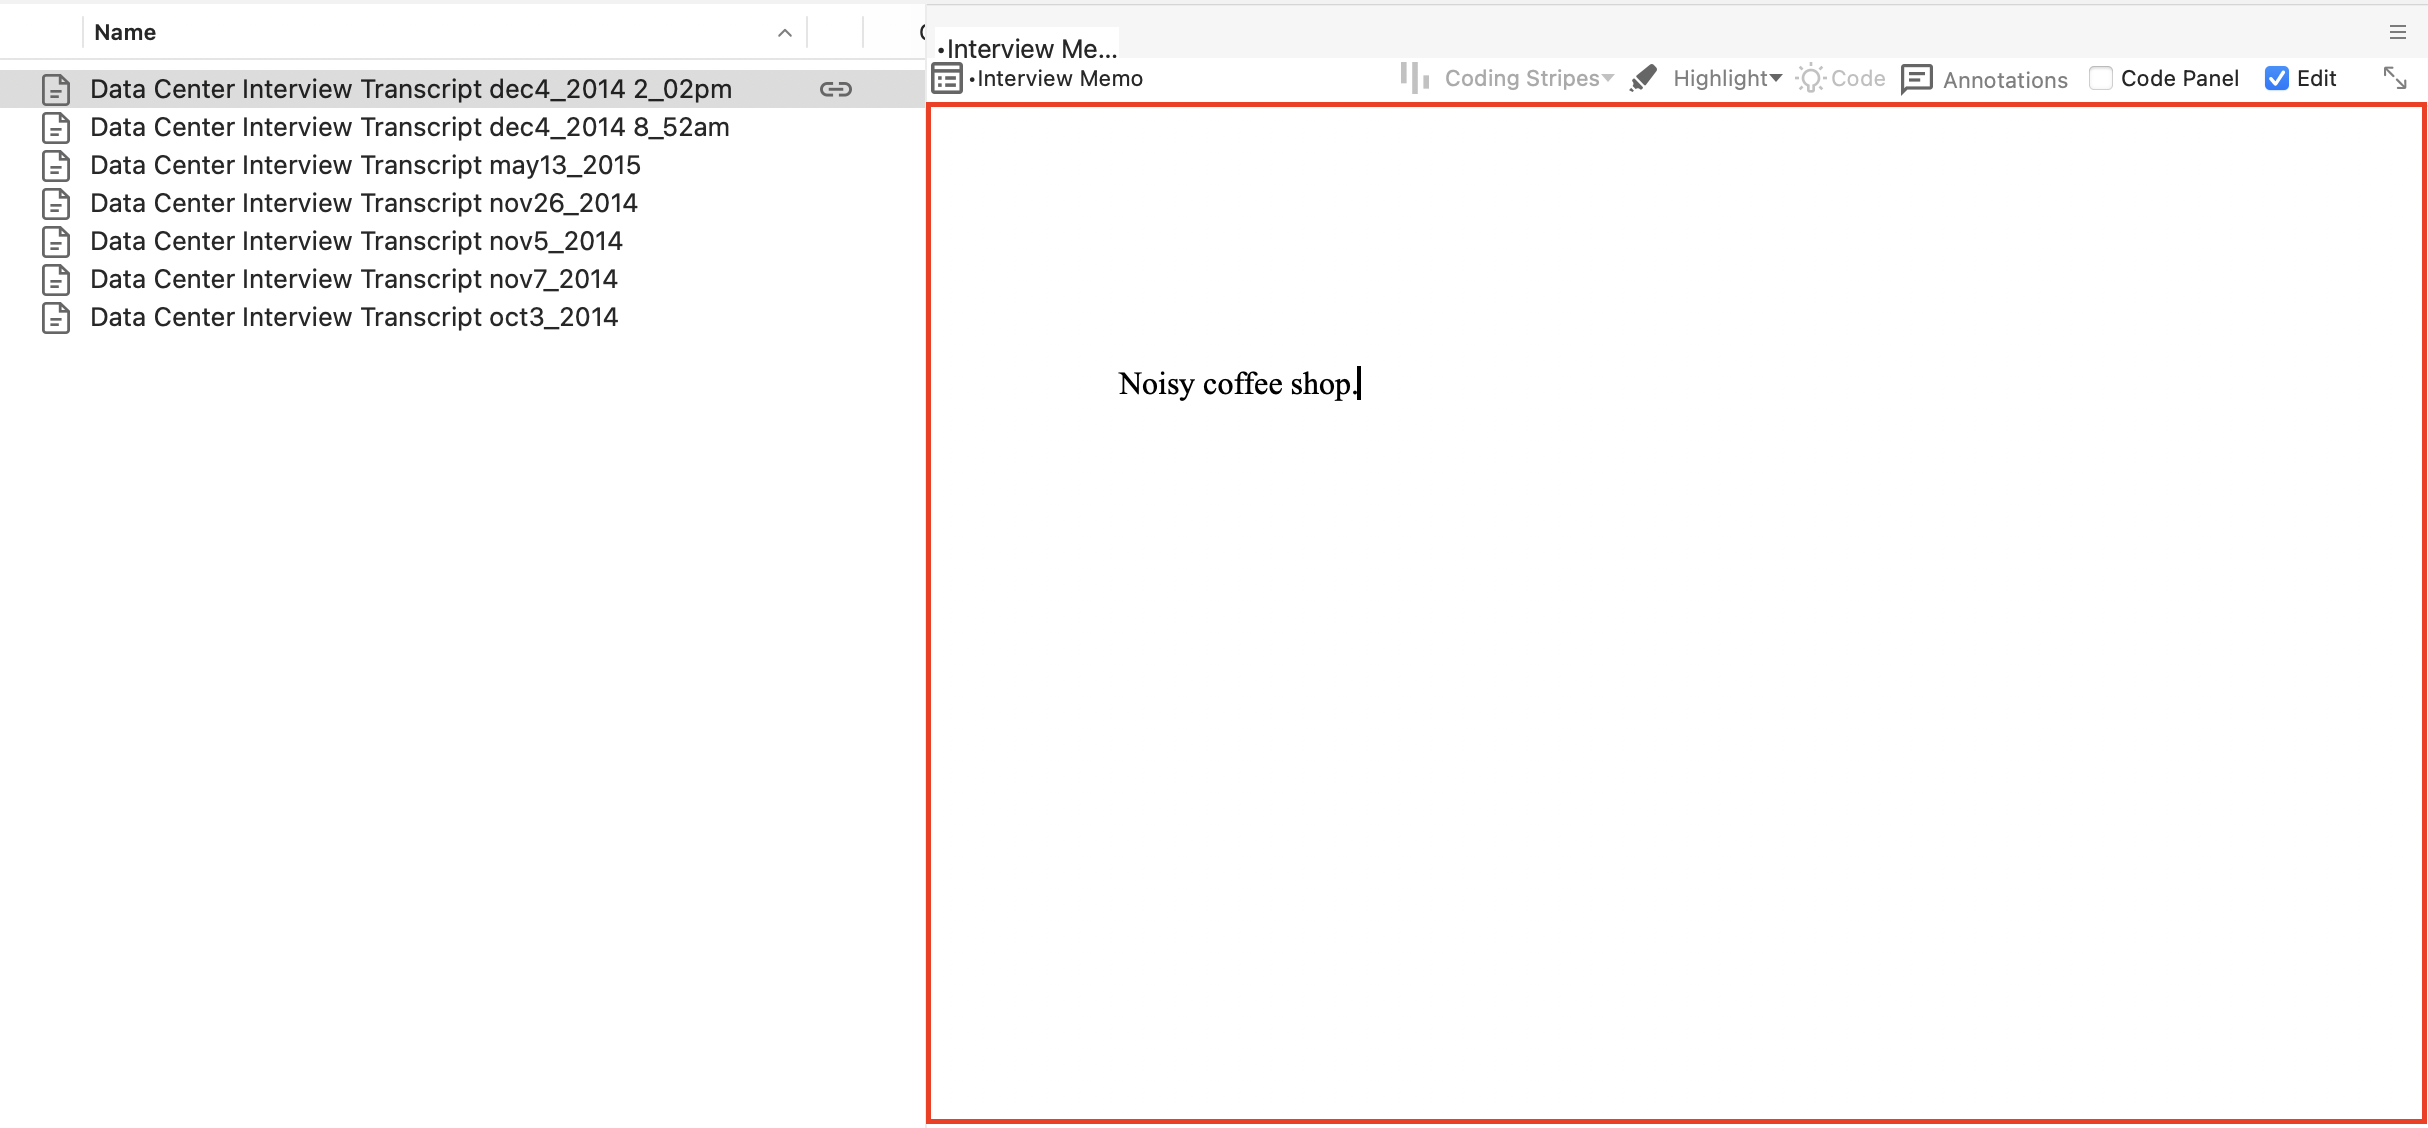
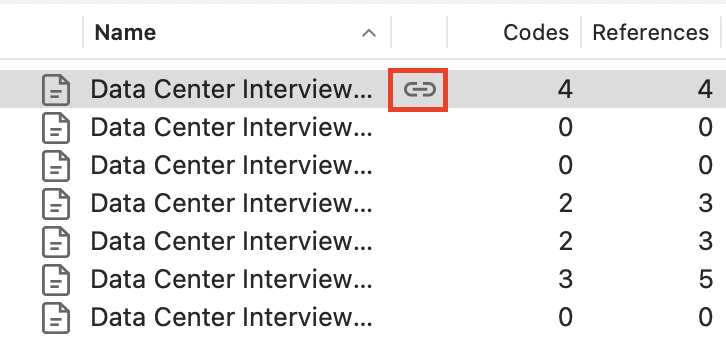
Once you close the window, the memo is saved and linked to this file. You should see a small icon next to the interview in the list.
To view the memo link, hold down the Control key and click on the file again, select Memo Link and then Open Linked Memo. When you’re done looking at the memo, close the tab.
To see annotations you have created all in one place, from the left menu, under Notes, click on Annotations.
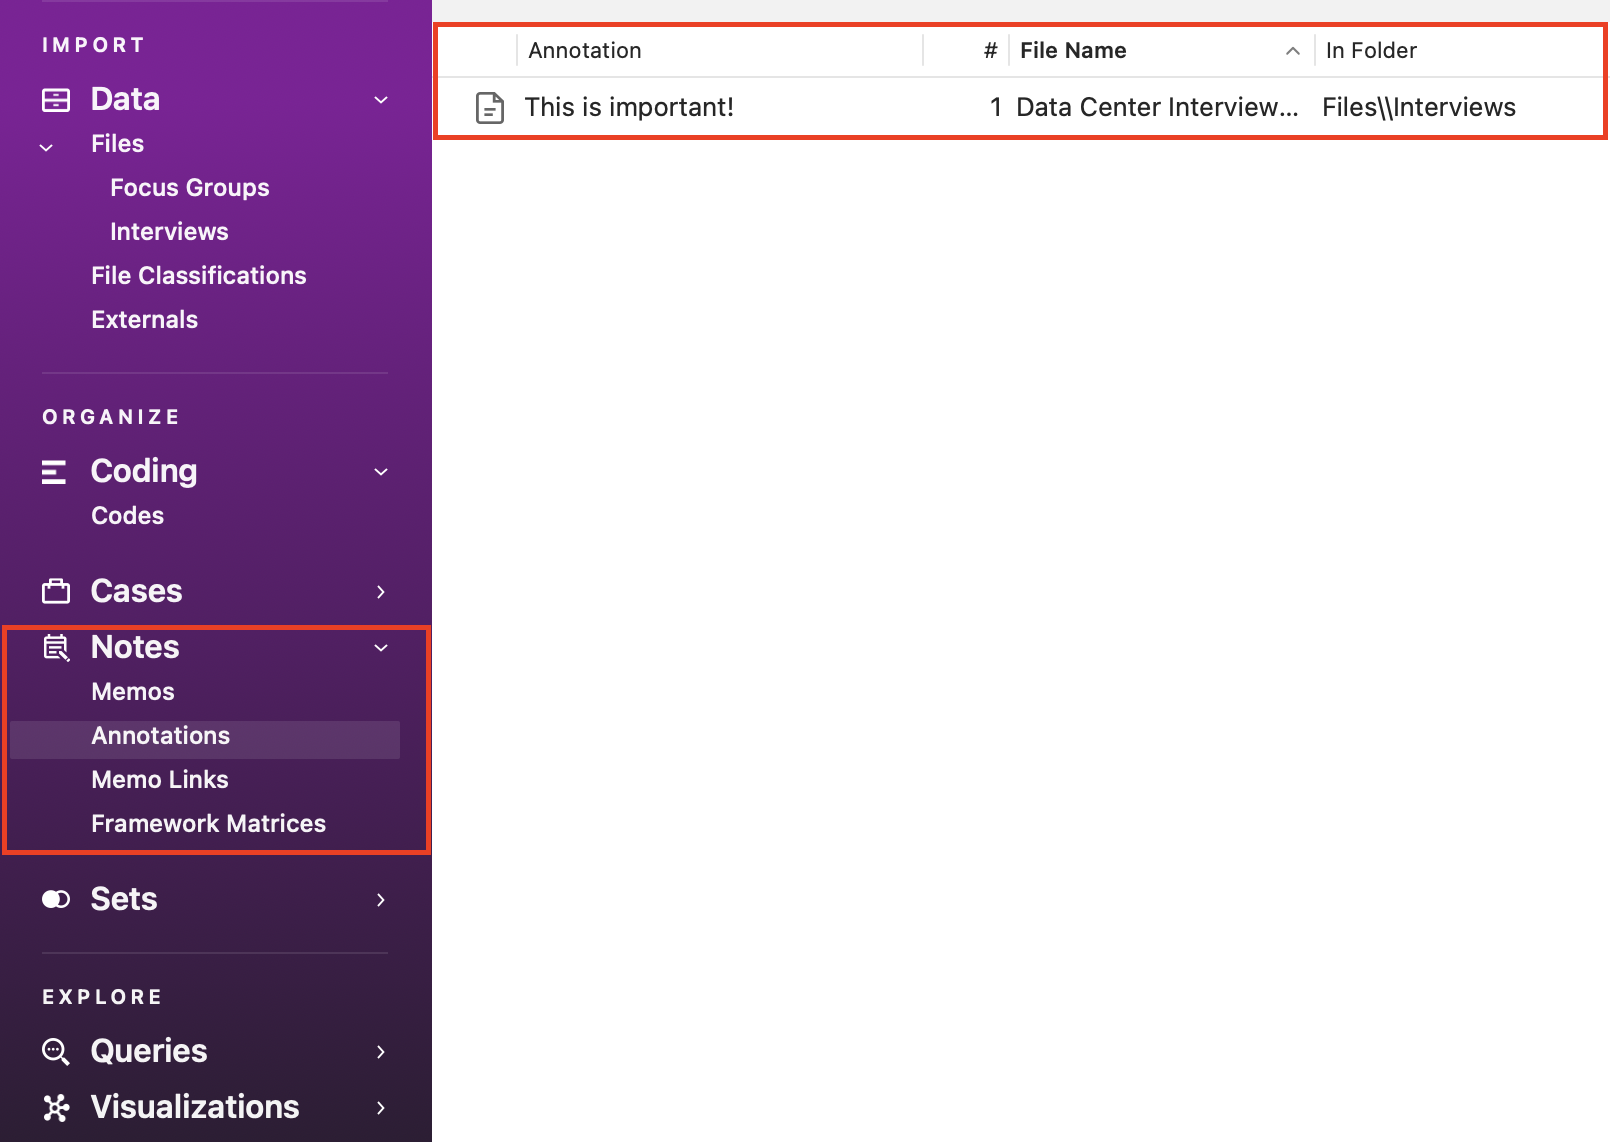
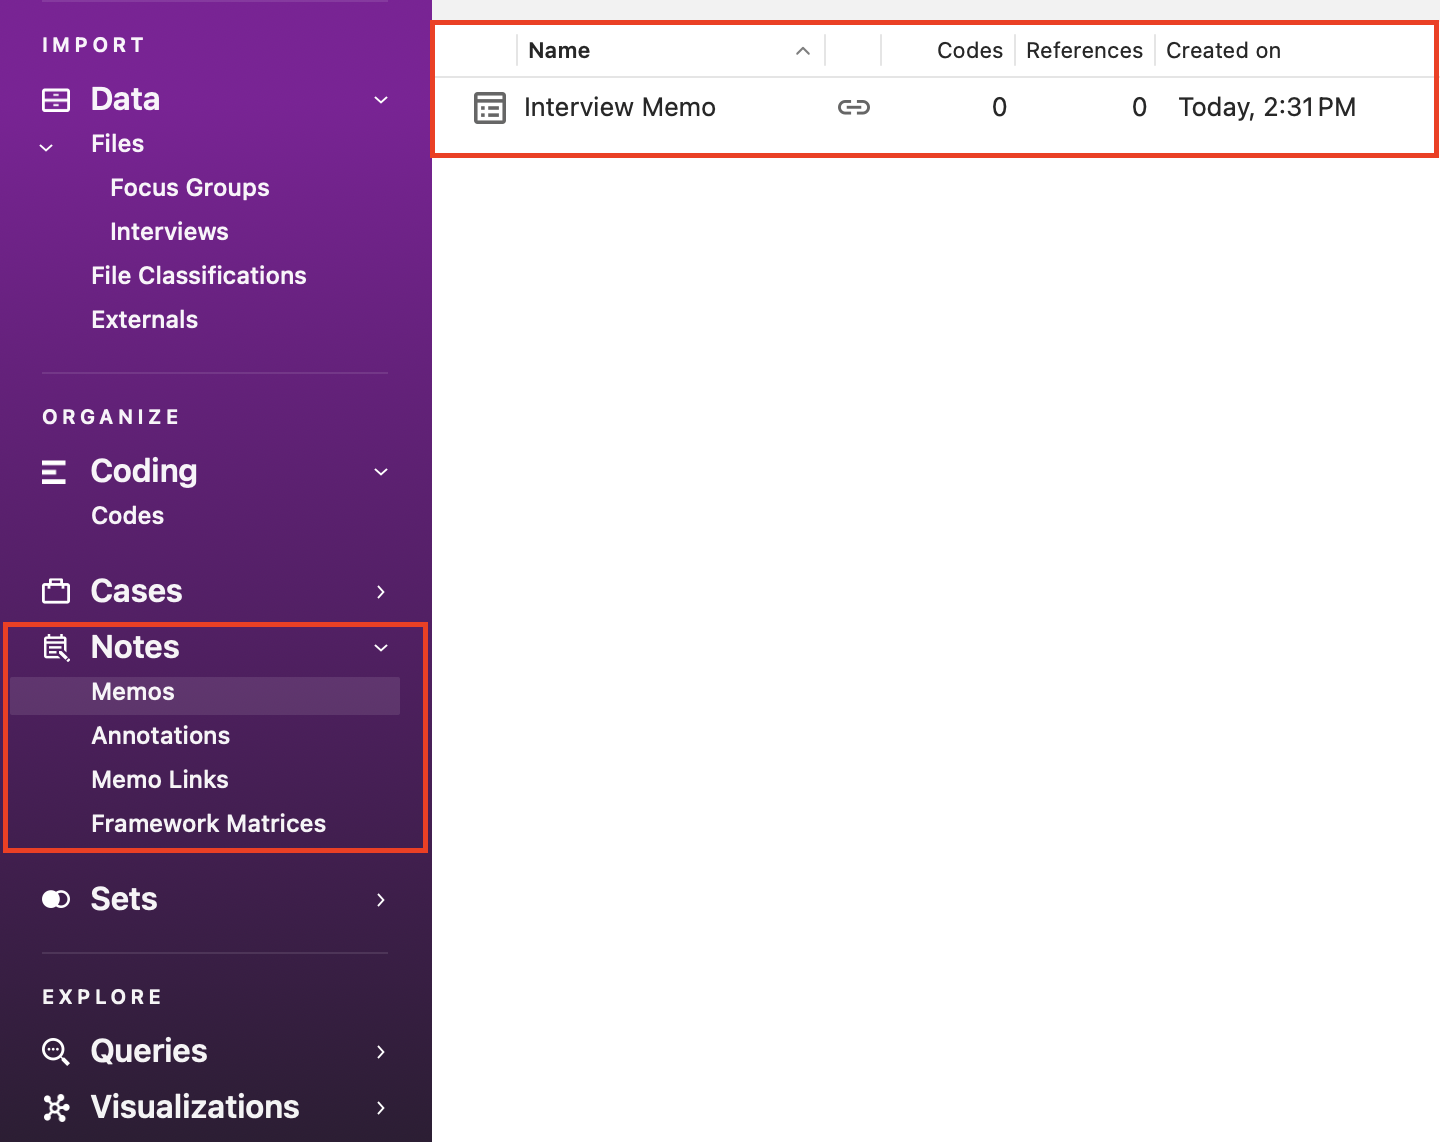
To see the memo links, under Notes, click on Memos.
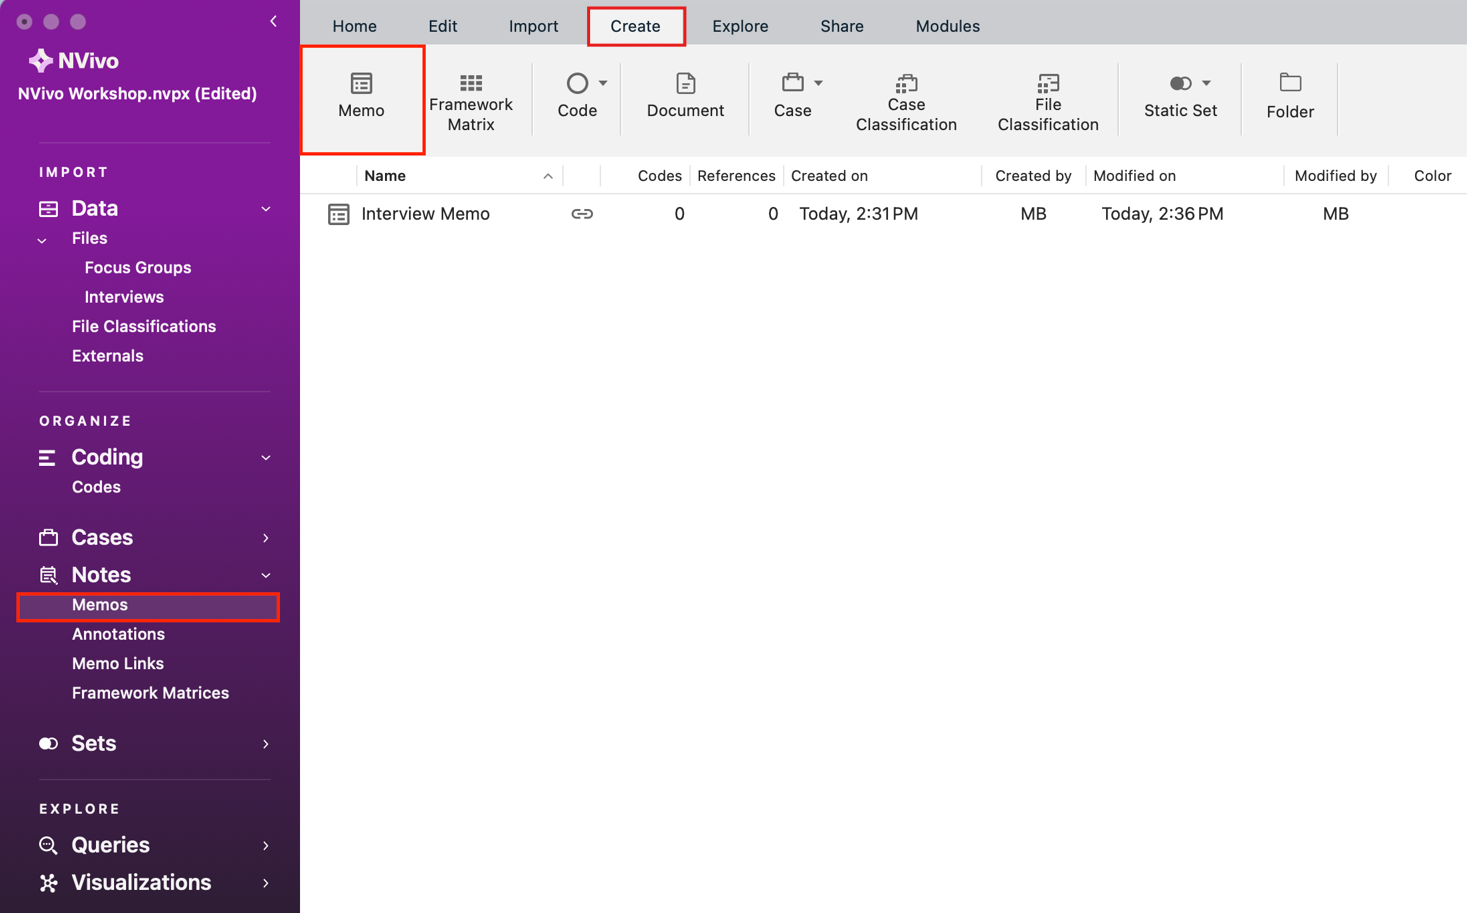
Finally, you can also create a note that applies to the entire project, for example, maybe some ideas you have about how the research is going or new themes that are emerging. With the memos folder highlighted, go to the Create menu, and select Memo.
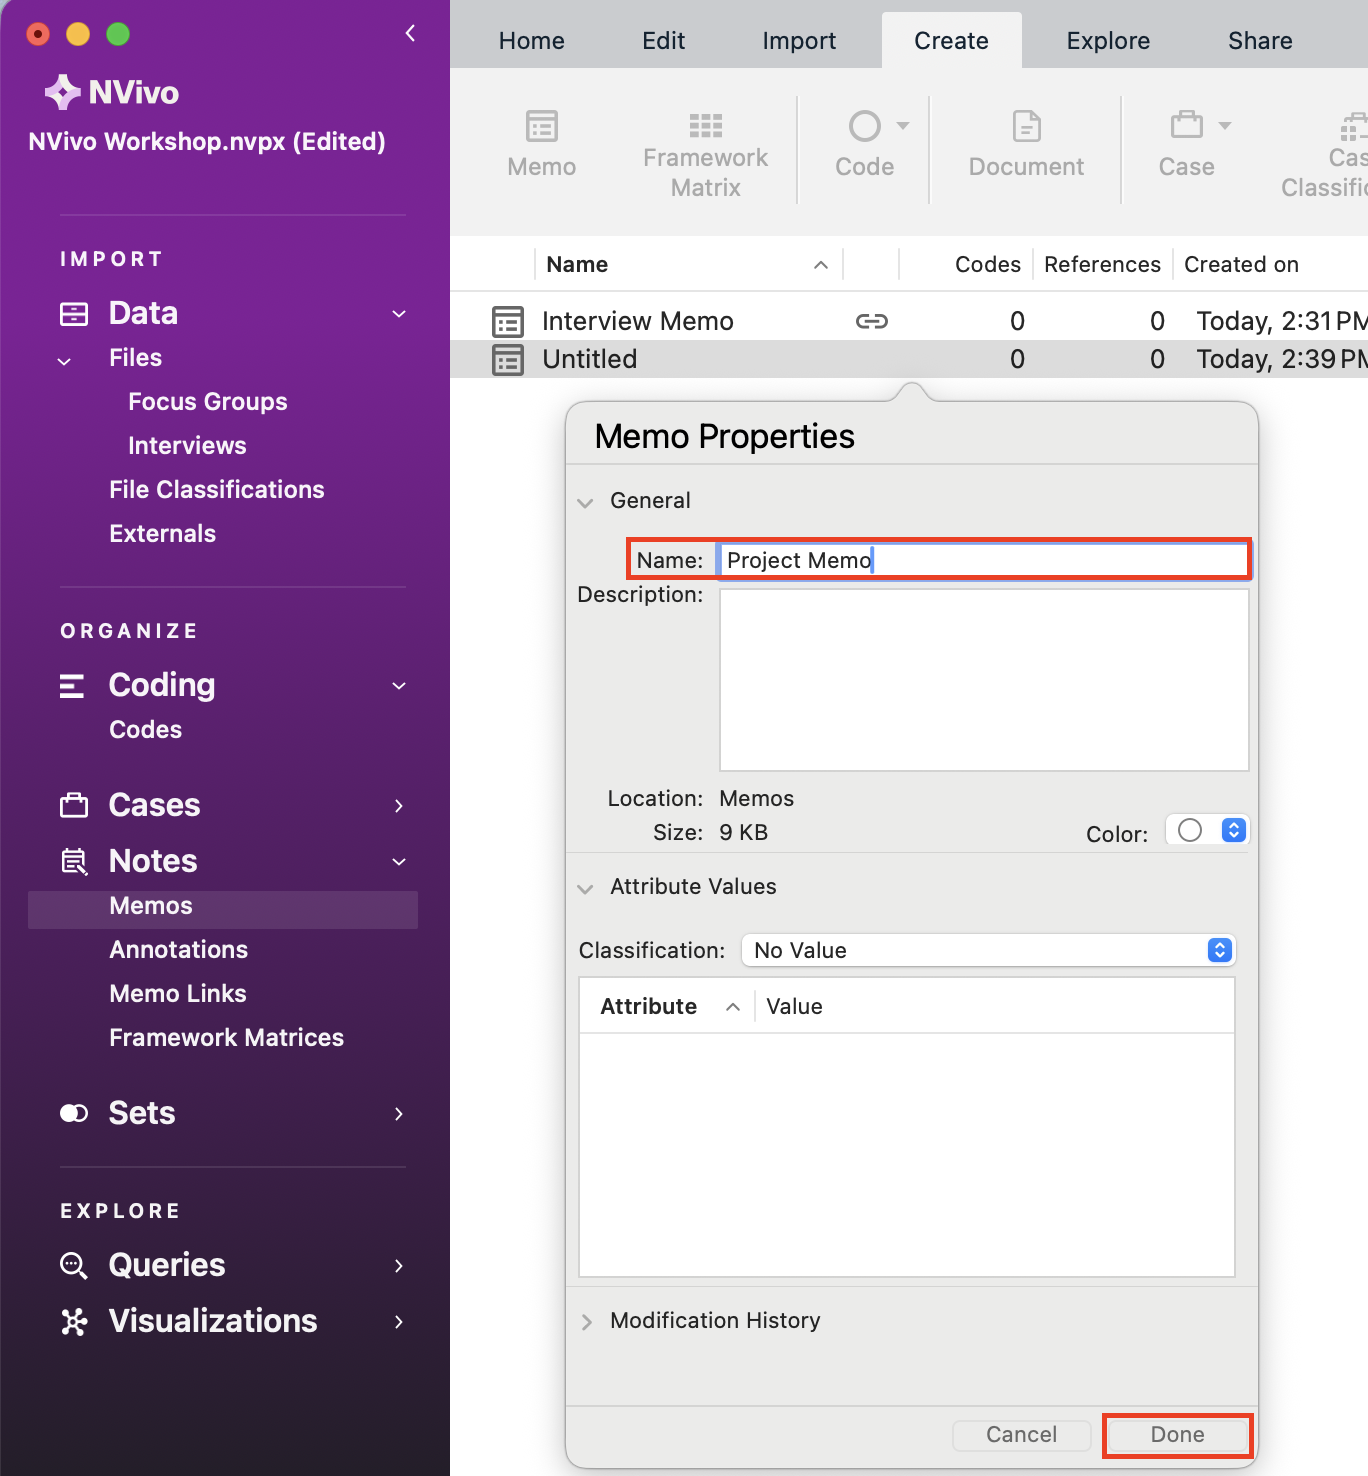
Give it a name, such as “Project Memo” and click on Done.
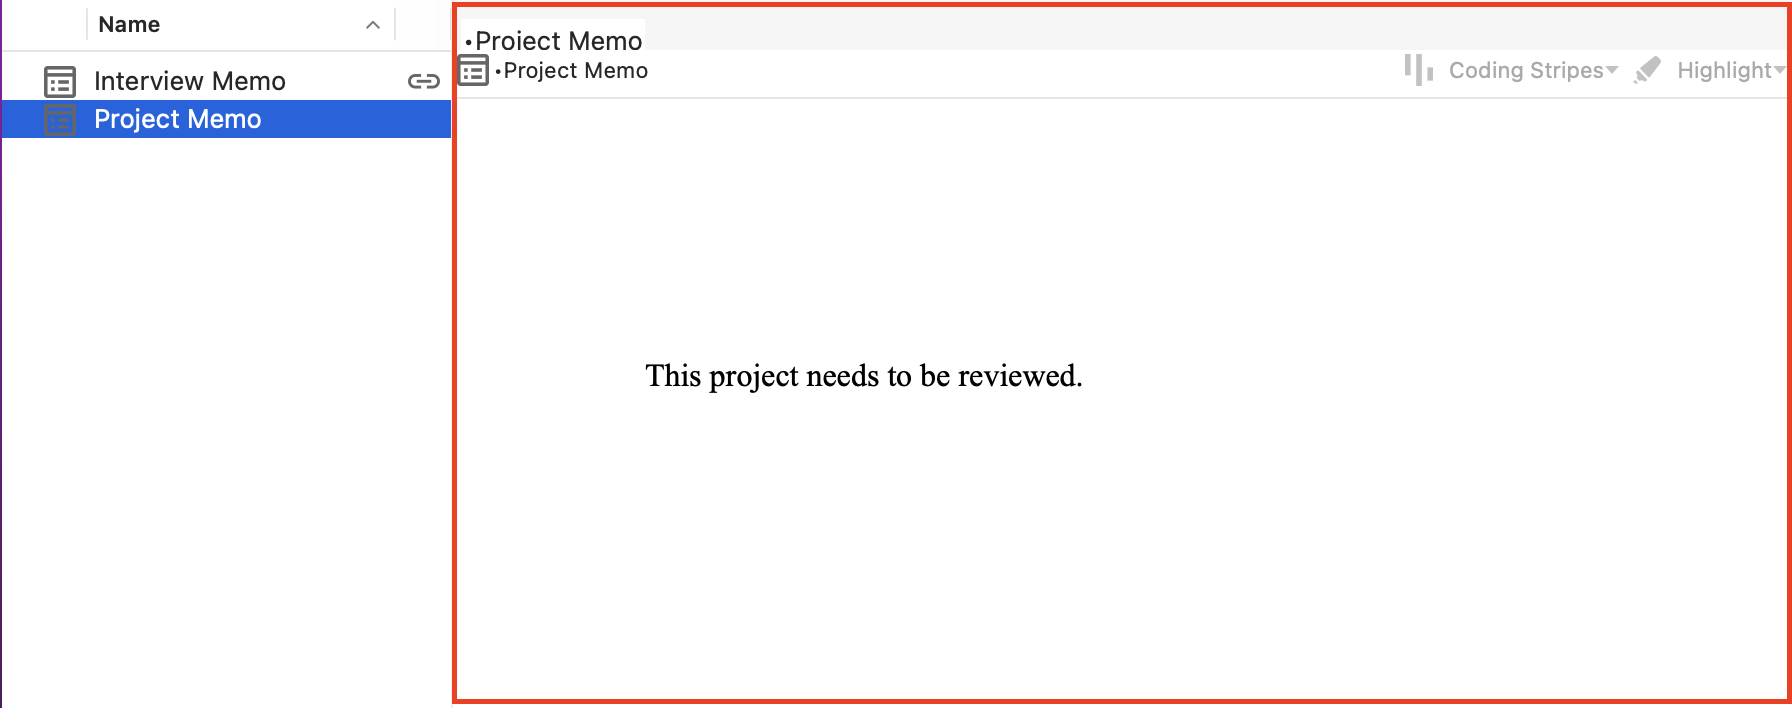
Type some notes, such as “The project needs to be reviewed” and then close it to save it. You can always double click on it from the list of memos to re-open it.
Technique: Qualitative Data Analysis | Tools: NVivo