Import Data
Next, let’s import some data so we can start using the tool. We will be using transcripts from interviews and focus groups run for a US data center study. As mentioned before, NVivo helps you get organized, so before we import in some data, let’s create some folders to organize our data.
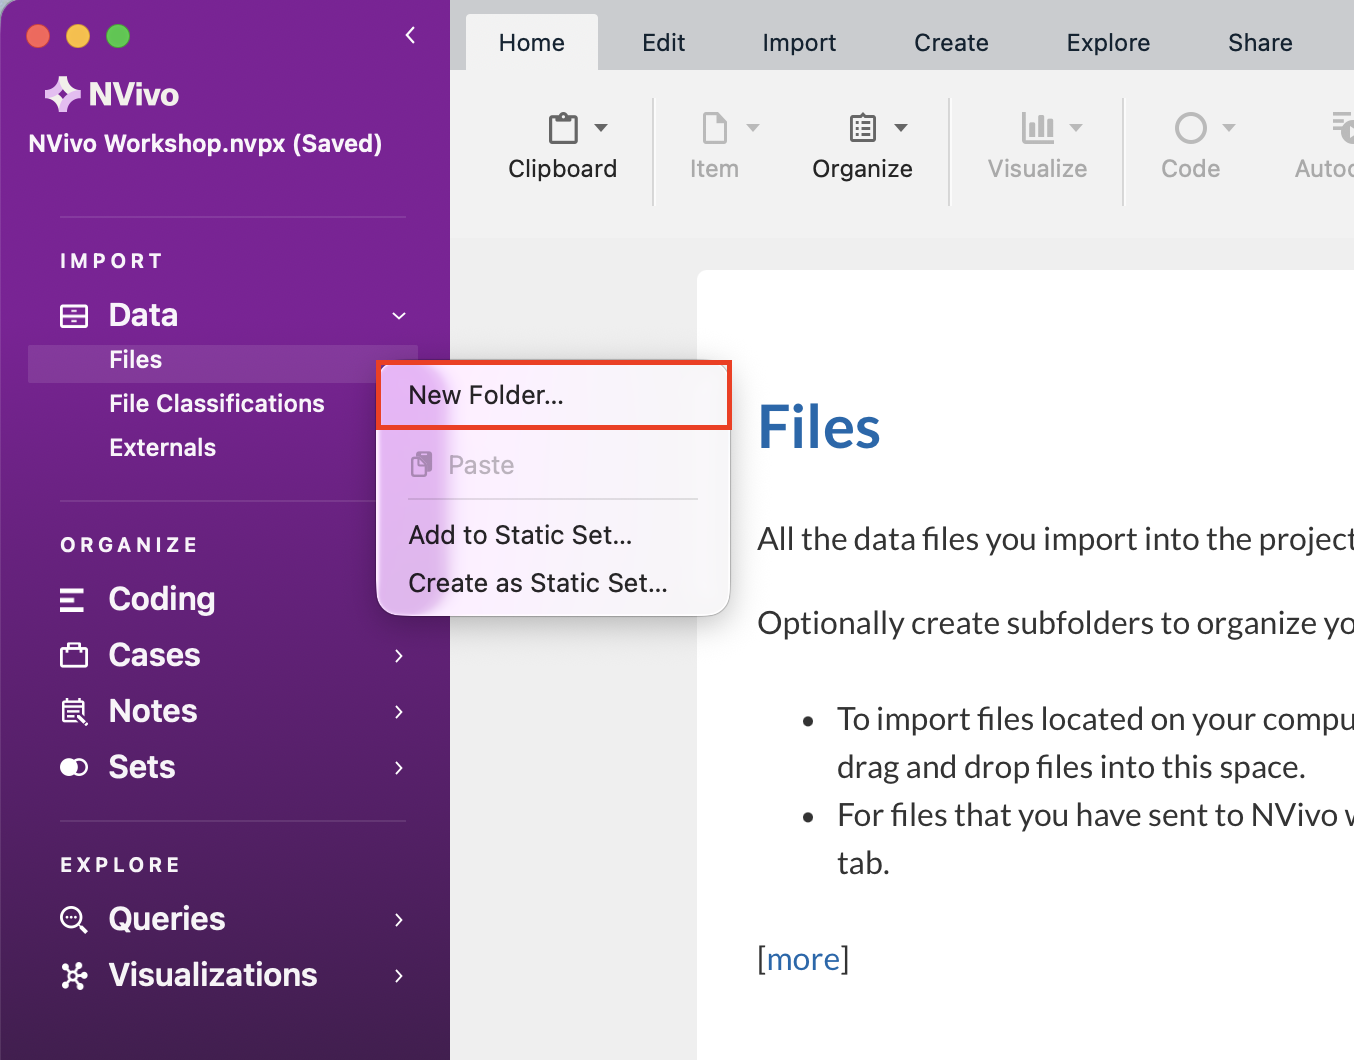
From the left menu, under Data, hold down the Control key and click on Files and select New Folder… from the context menu. Let’s call it “Interviews” and click on Done.
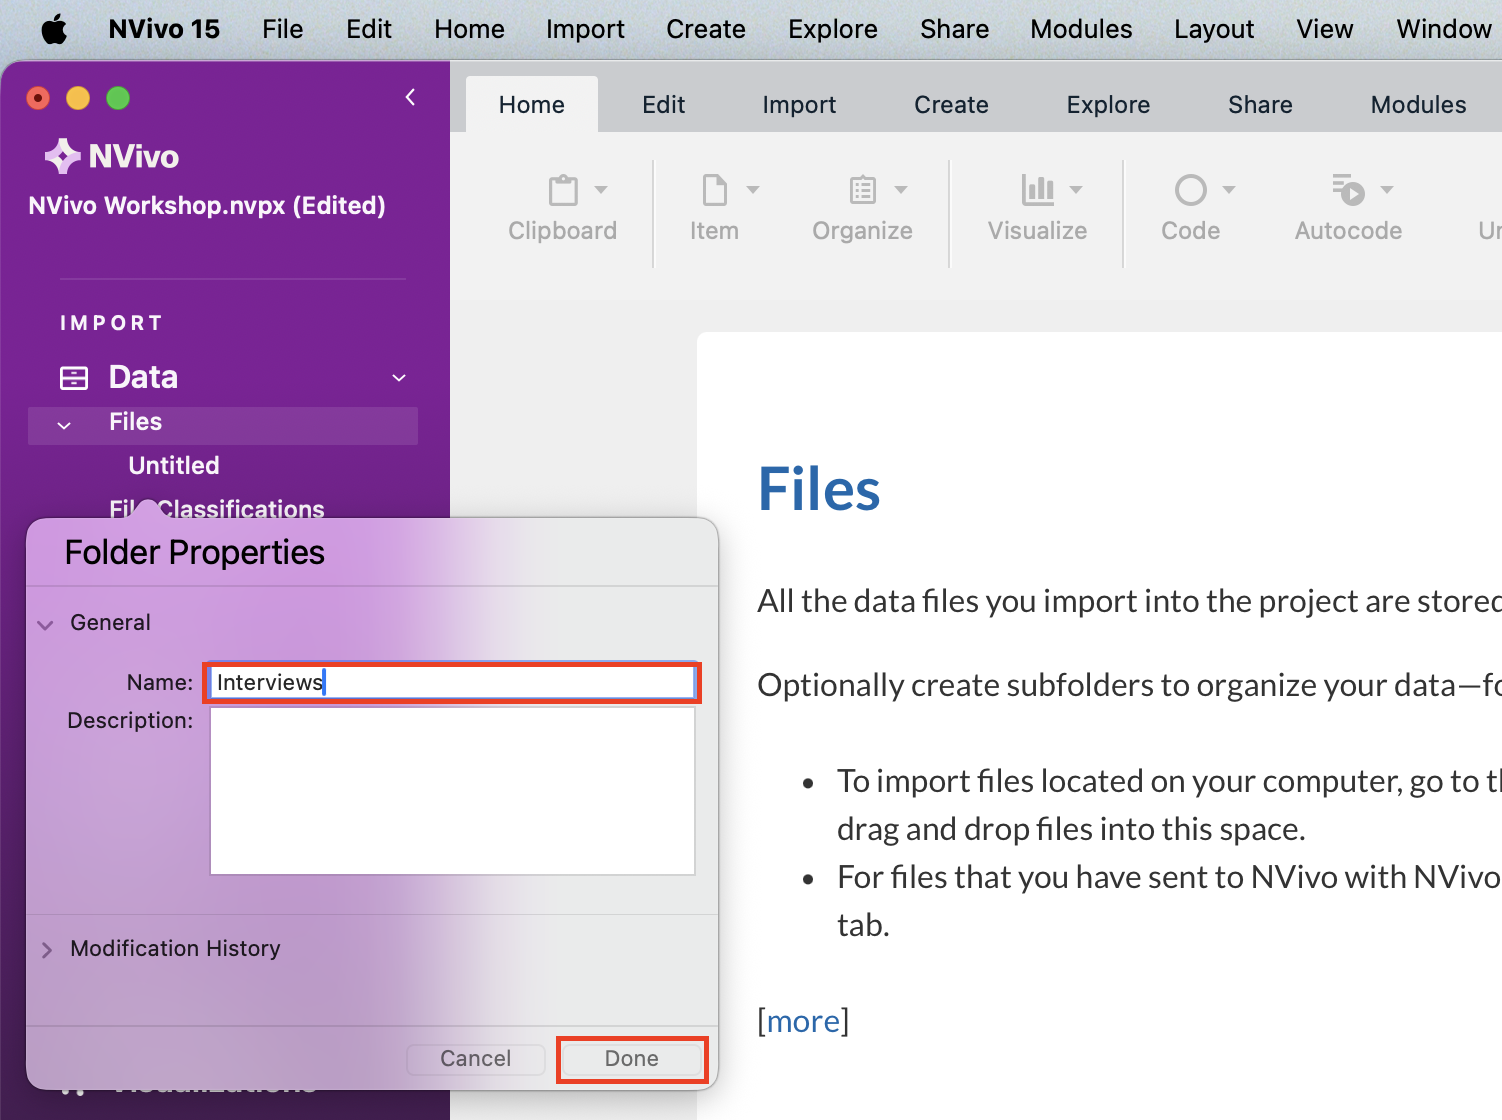
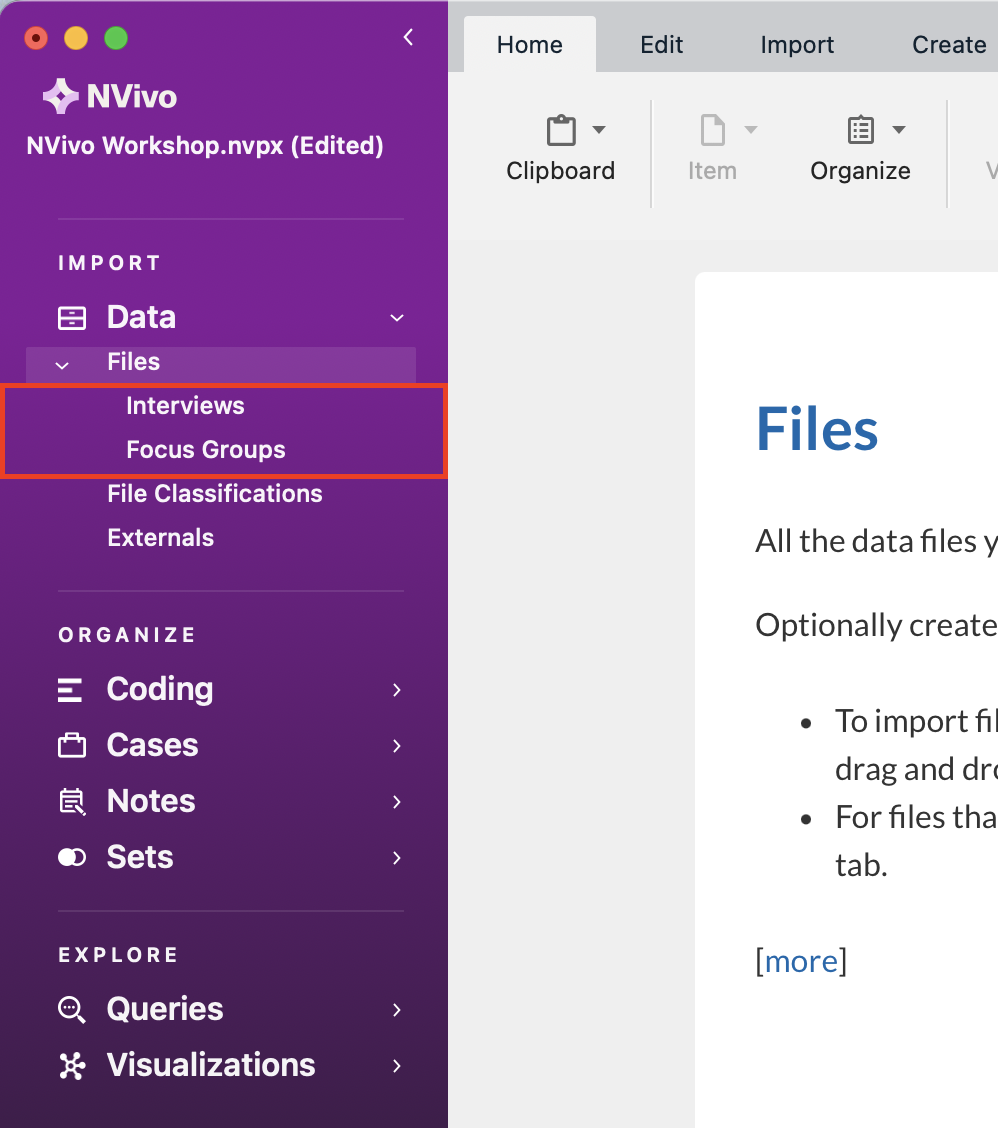
Create one more folder called “Focus Groups”.
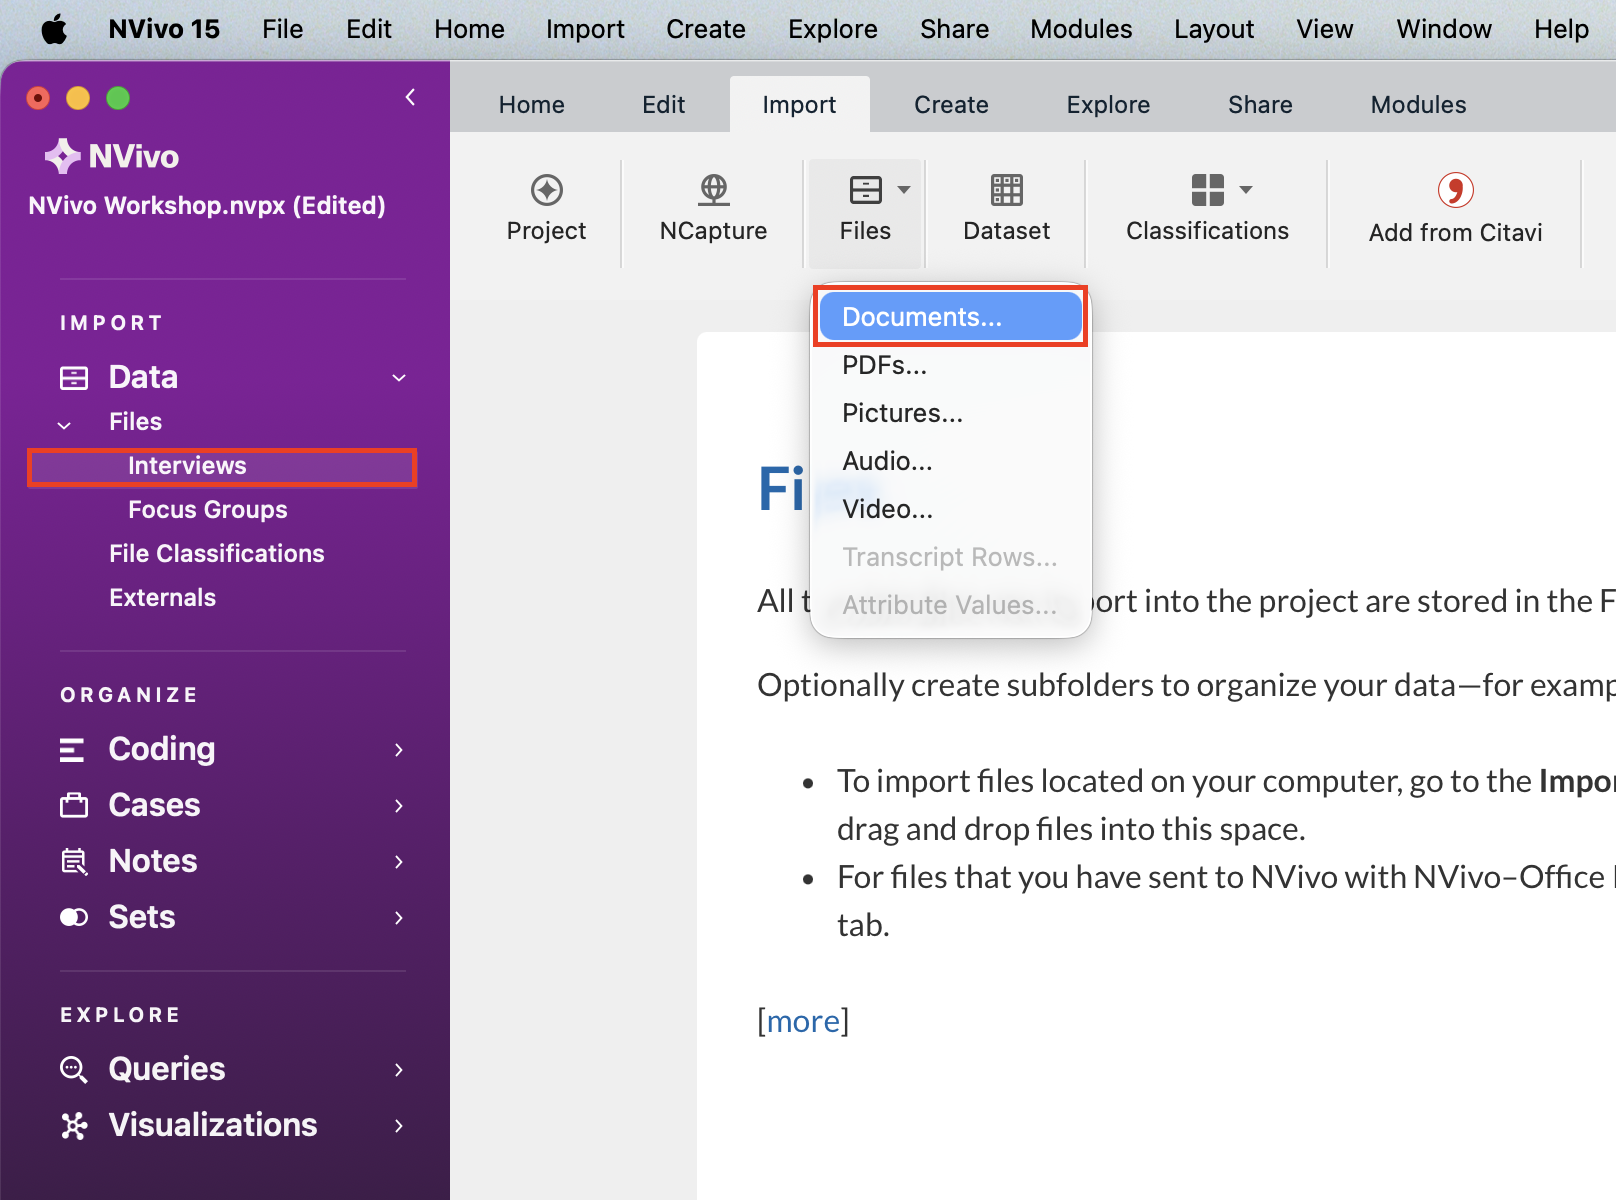
Next, go to the Import menu from within the program and select Files.
Note: If you do not have Files selected in the Data tab on the left, all options under Import will be greyed out.
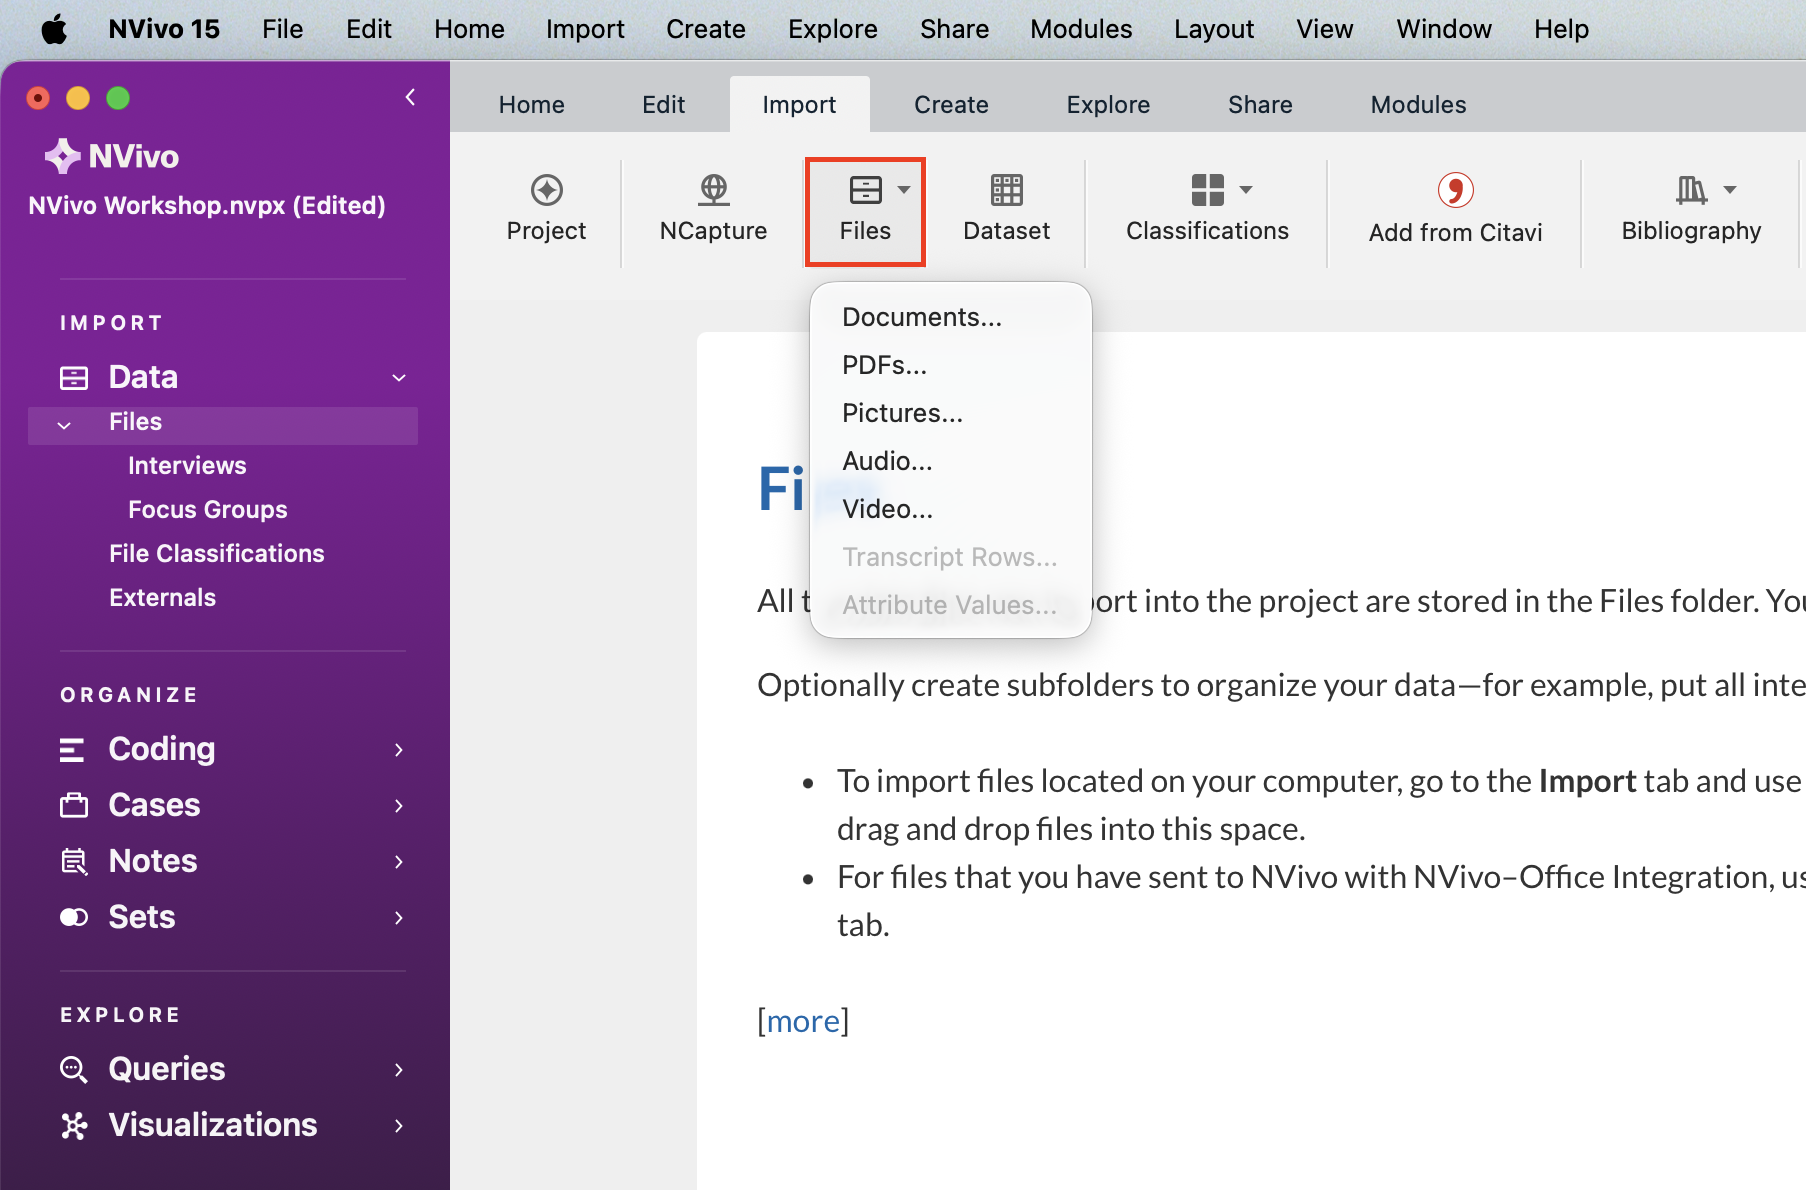
Here you can see some various types of files that NVivo can import. To start, let’s import in our interview transcripts. Make sure that the Interviews folder is selected on the left. Go the Import menu, and from the Files drop-down menu, select Documents…
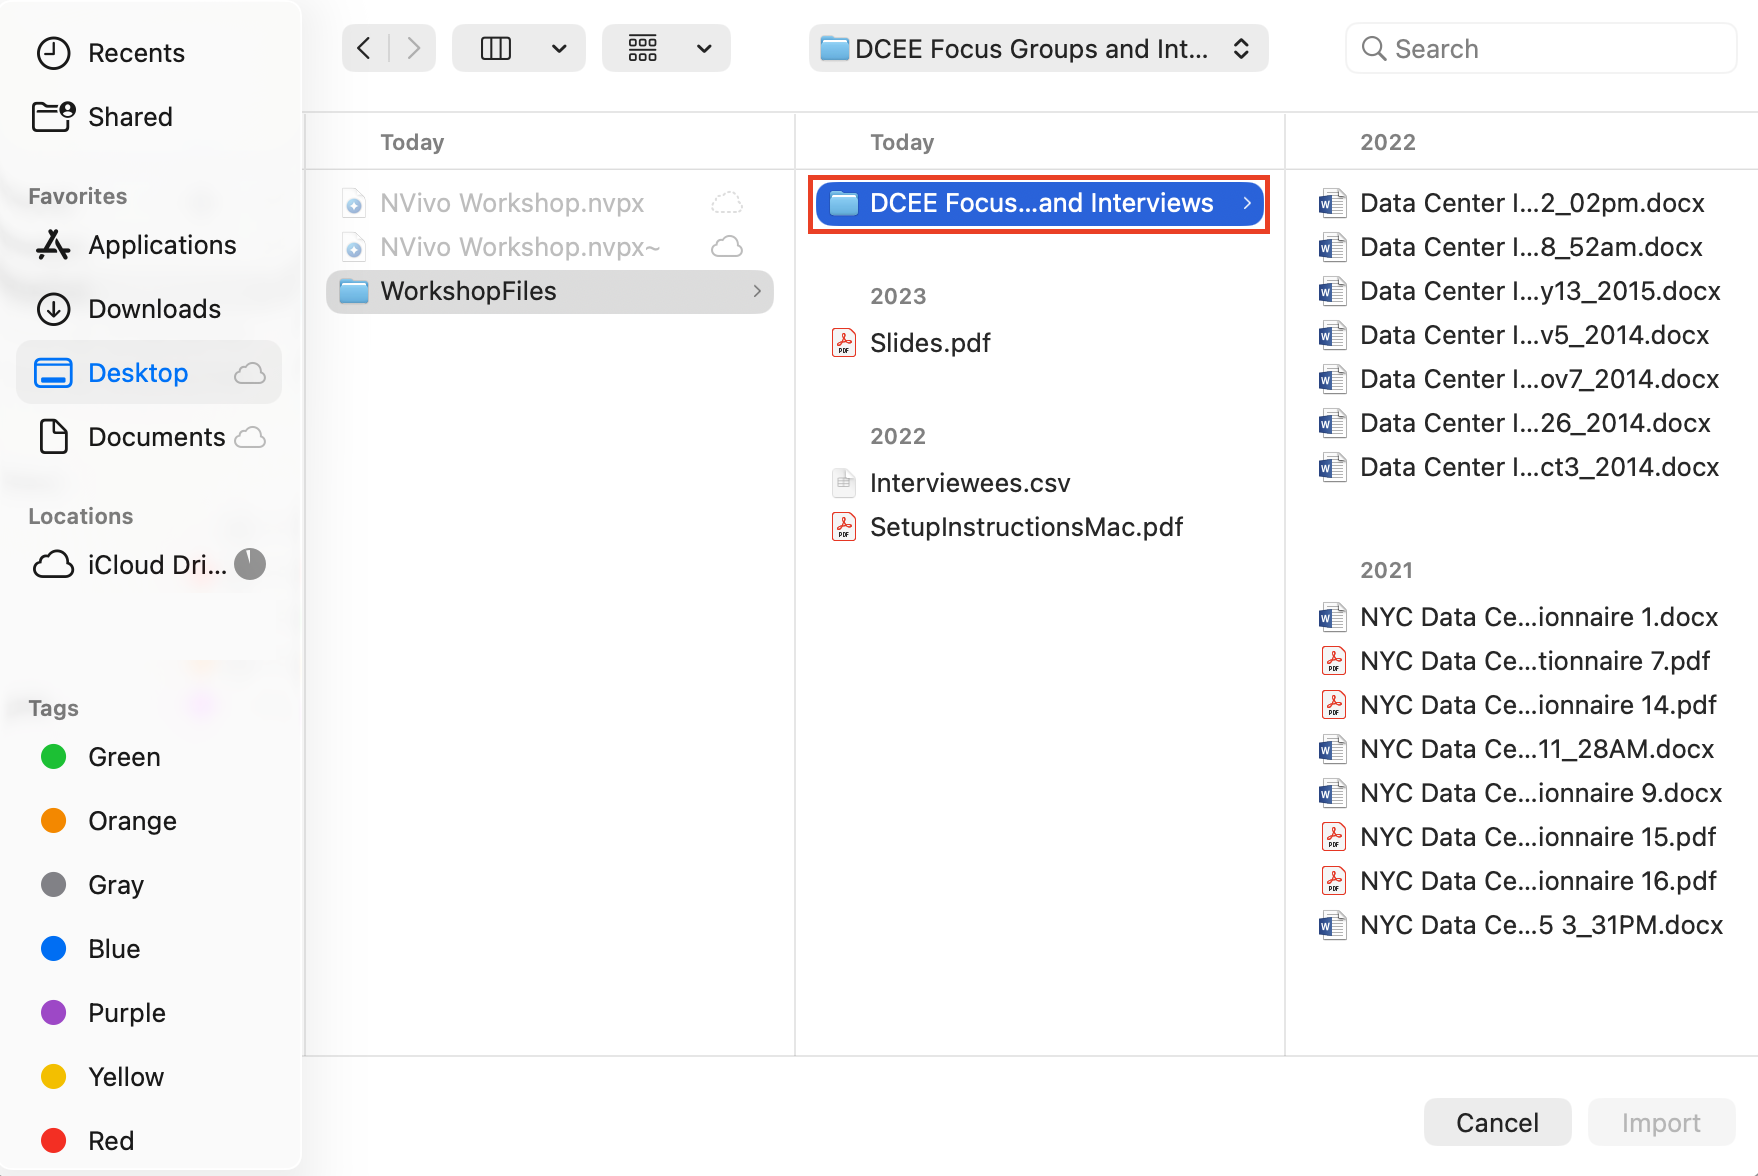
Browse to the folder called “DCEE Focus Groups and Interviews,” which has all the study files we will look at today.
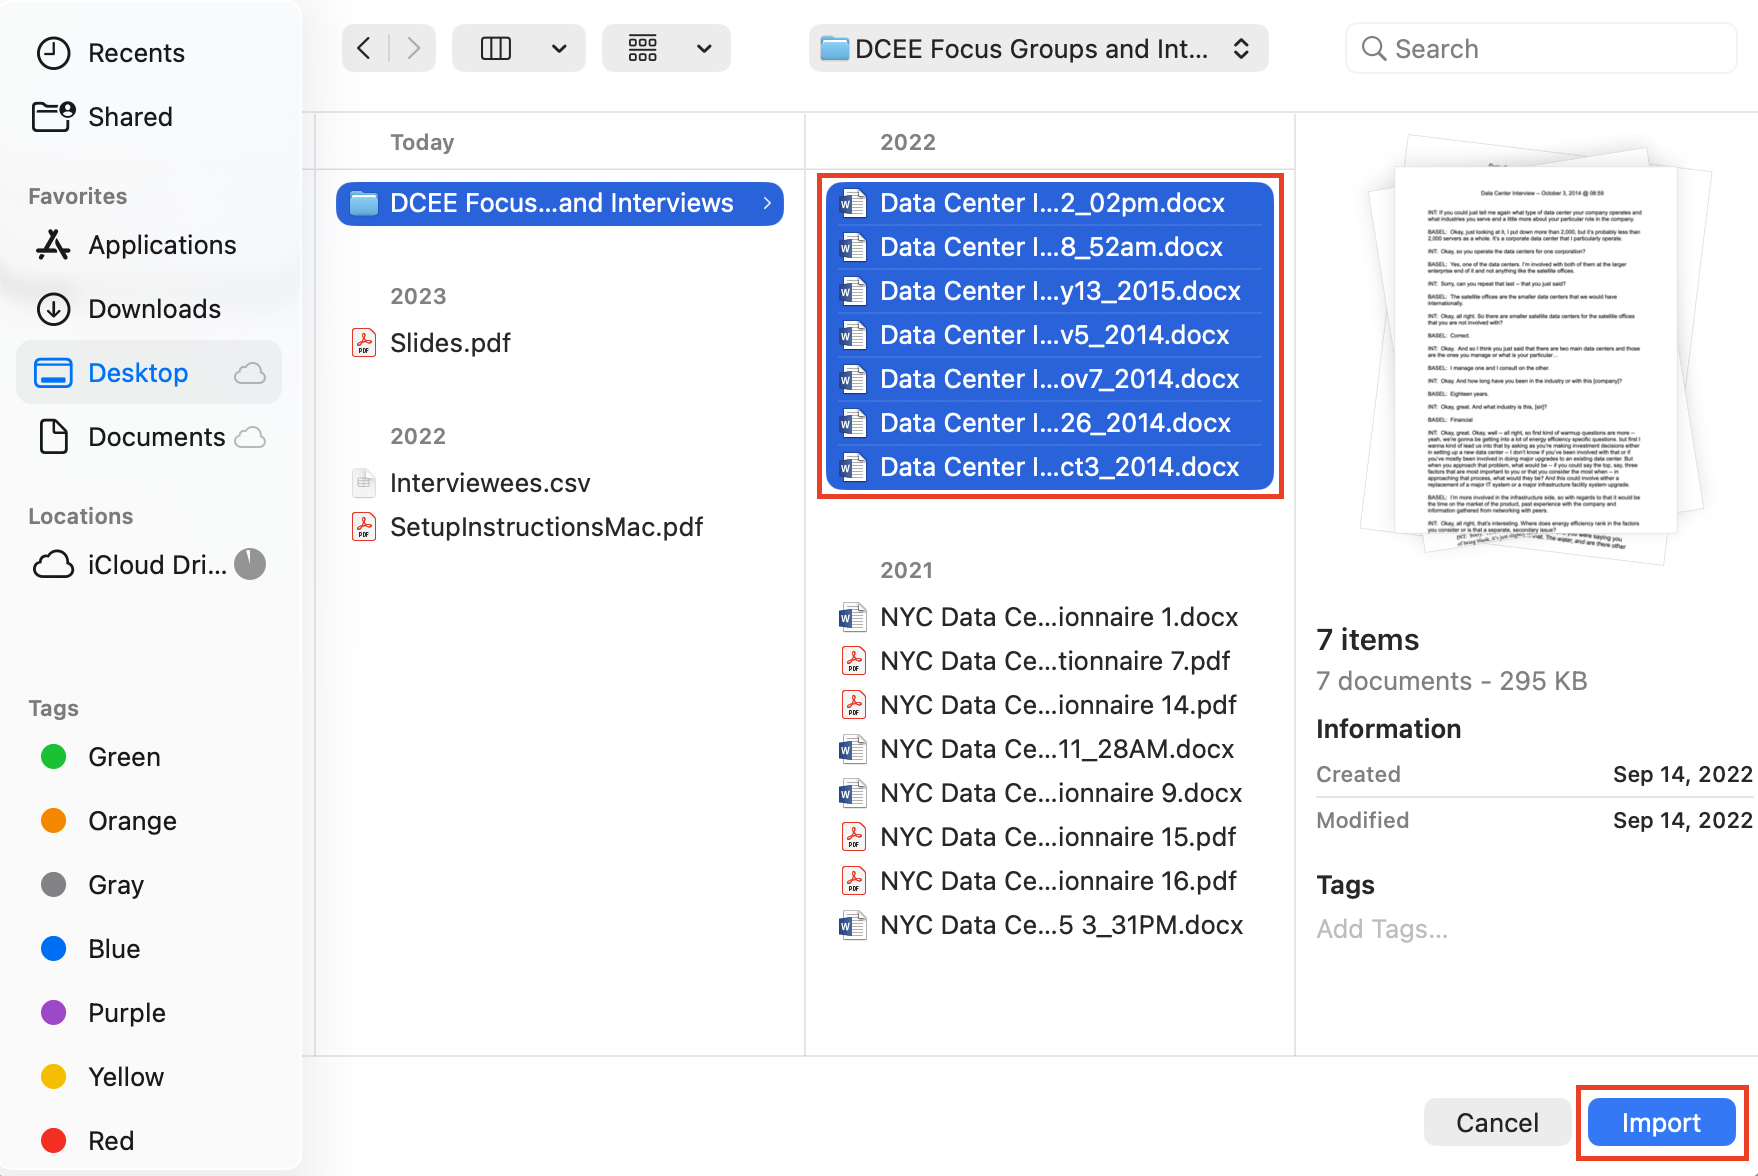
Highlight only the files starting with “Data Center Interview” in the title in our folder by selecting the first one, holding down the Shift key, and then selecting the last one. You should have 7 files highlighted. Then select Import. This may take a moment to complete.
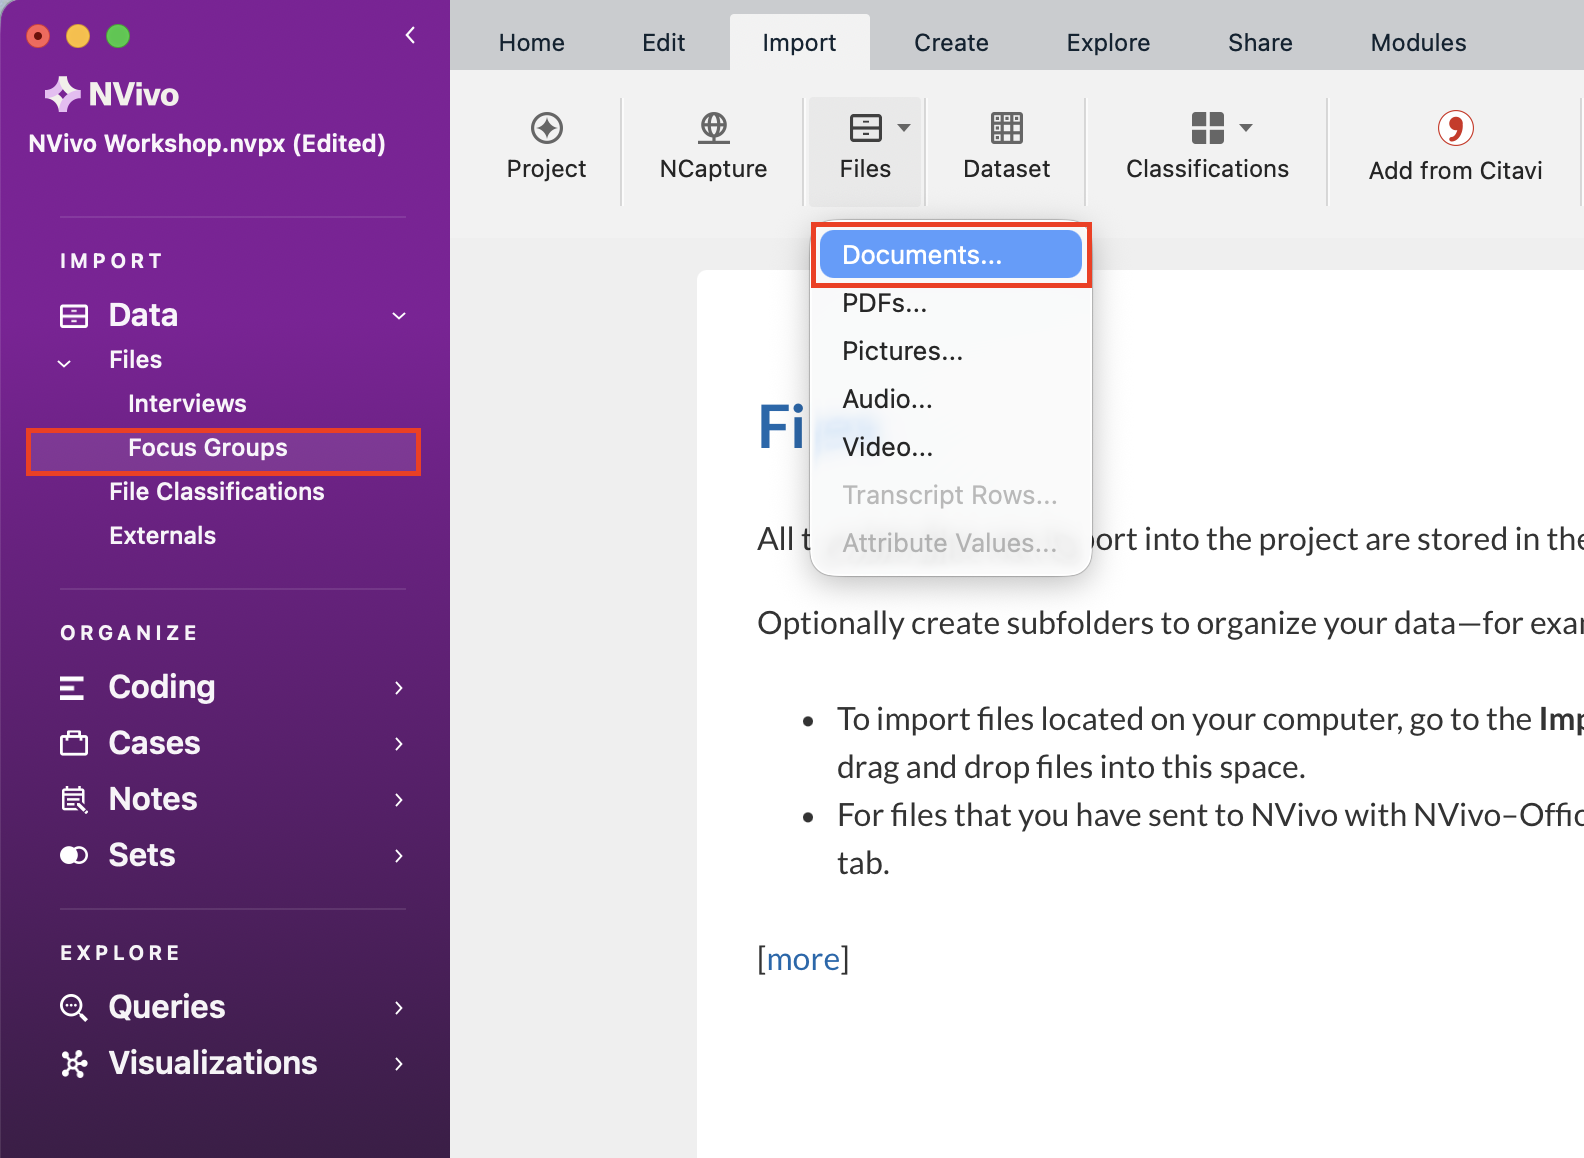
Let’s do something similar to import in the focus group information. Select the Focus Groups folder on the left. Then go to the Import menu, and from the Files drop-down menu, select Documents…
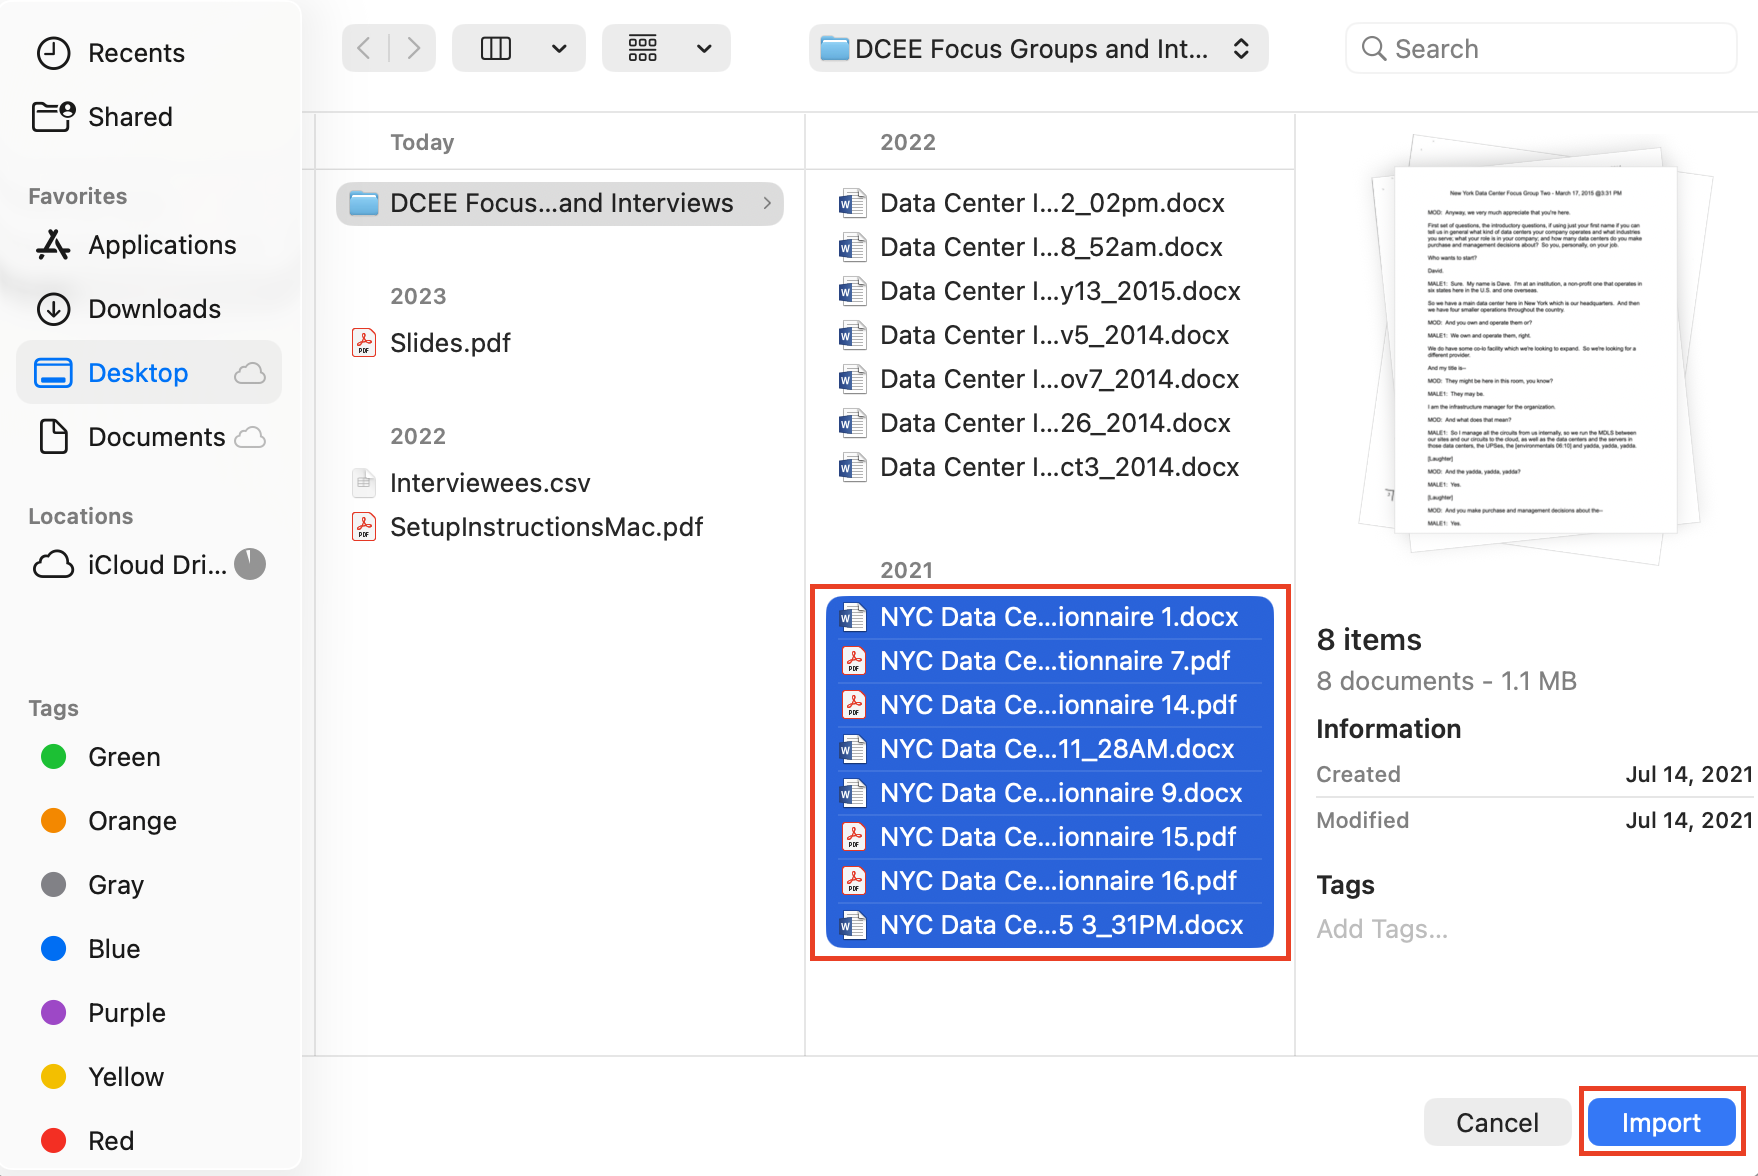
You should still be in the same folder as last time. This time highlight the files starting with “NYC” in the title. You should have 8 files and a mix of PDFs and Word Documents. Then select Import to import those focus groups files into the Focus Groups folder.
These files are now all copied into your project file. You can see from the Import menu that there are many different file types that can be imported. For example, you can connect to reference managers to pull in your data (found under the Bibliography option), or from the Files option, you can import in audio files, images, or videos. We won’t be covering them all in this tutorial, but be sure to explore your options later.
Note: Files, Classifications, Bibliography, and Notes all have drop-down menus with additional import types.

Note: If you’re interested in learning more about importing other common data sources into NVivo, check out our tutorial on importing survey data!
Technique: Qualitative Data Analysis | Tools: NVivo