Working with Codes
Before we work some more with Codes, create two more codes called “Energy Efficiency” and “Water Consumption”.
Next, code at least 5 small text fragments to each new code.
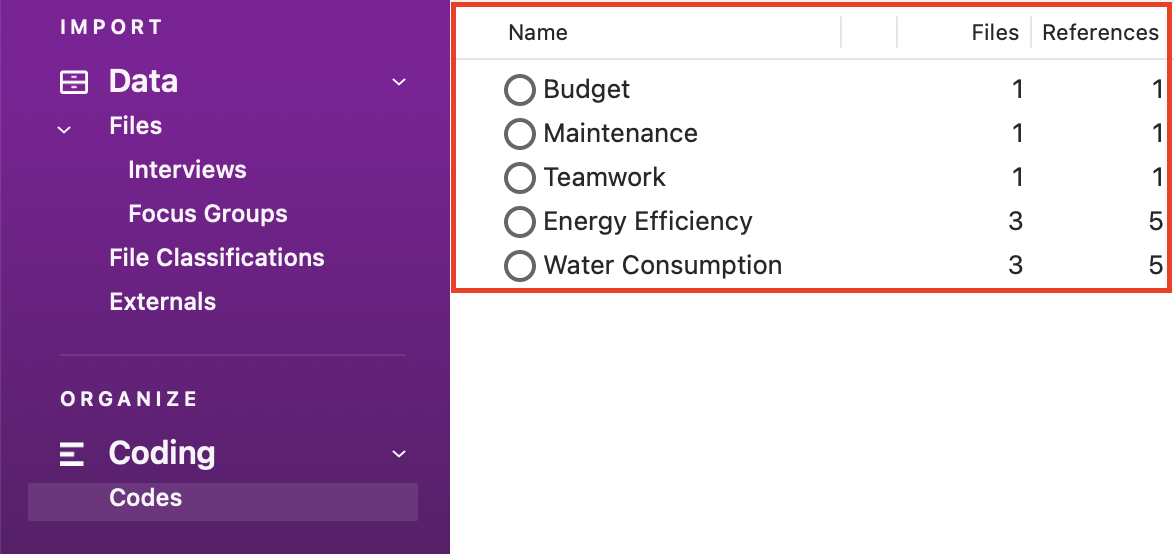
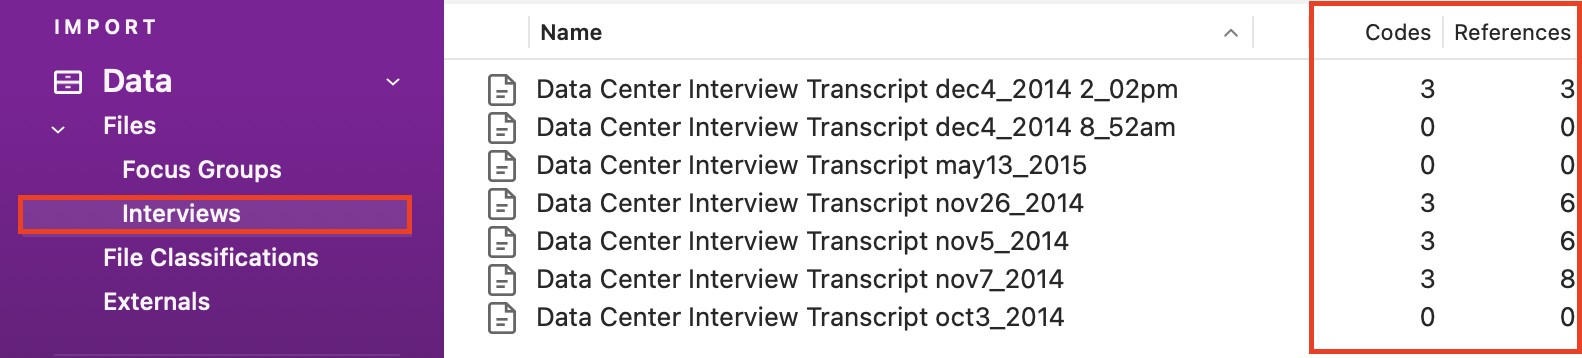
You can see now there are useful counts associated with our codes to see how many files have content that has been coded in that code, and how many text snippets or references have been coded into that code.
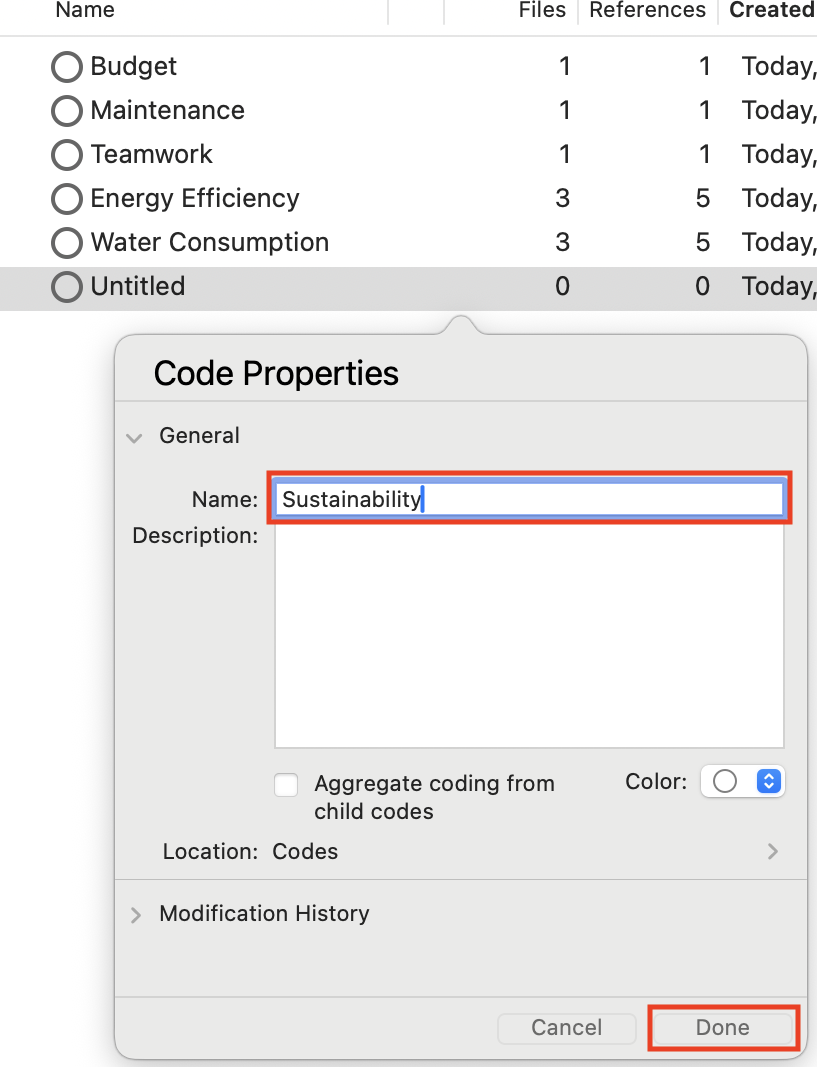
You will notice that all of our codes are top-level or parent codes, meaning we haven’t established a hierarchy, none of our codes are nested under other codes. NVivo can help you organize your codes in a hierarchical structure. You are often, in the end, trying to create a hierarchical codes list to group common codes together into broader categories and themes to help make sense of your coding. Create a new code and call it Sustainability.
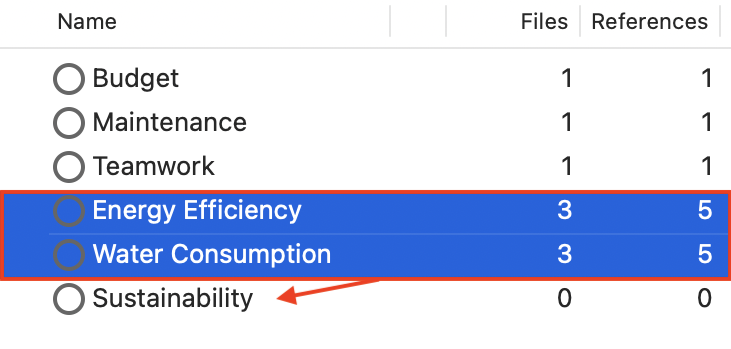
You could use this code to group some of your existing codes. Drag Energy Efficiency and Water Consumption onto the Sustainability code (First click on a code to highlight, wait a moment, then drag it on).
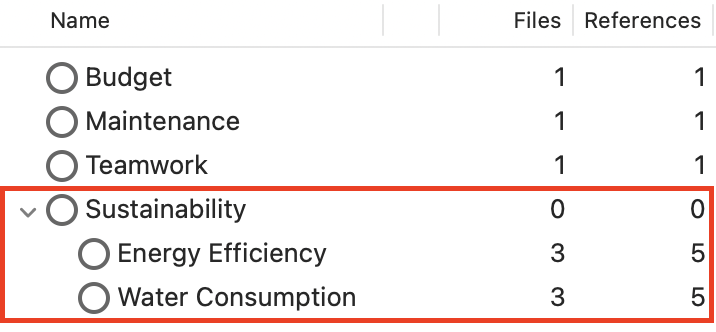
Now you can see that they are grouped beneath. Codes grouped beneath another code are called Child Codes.
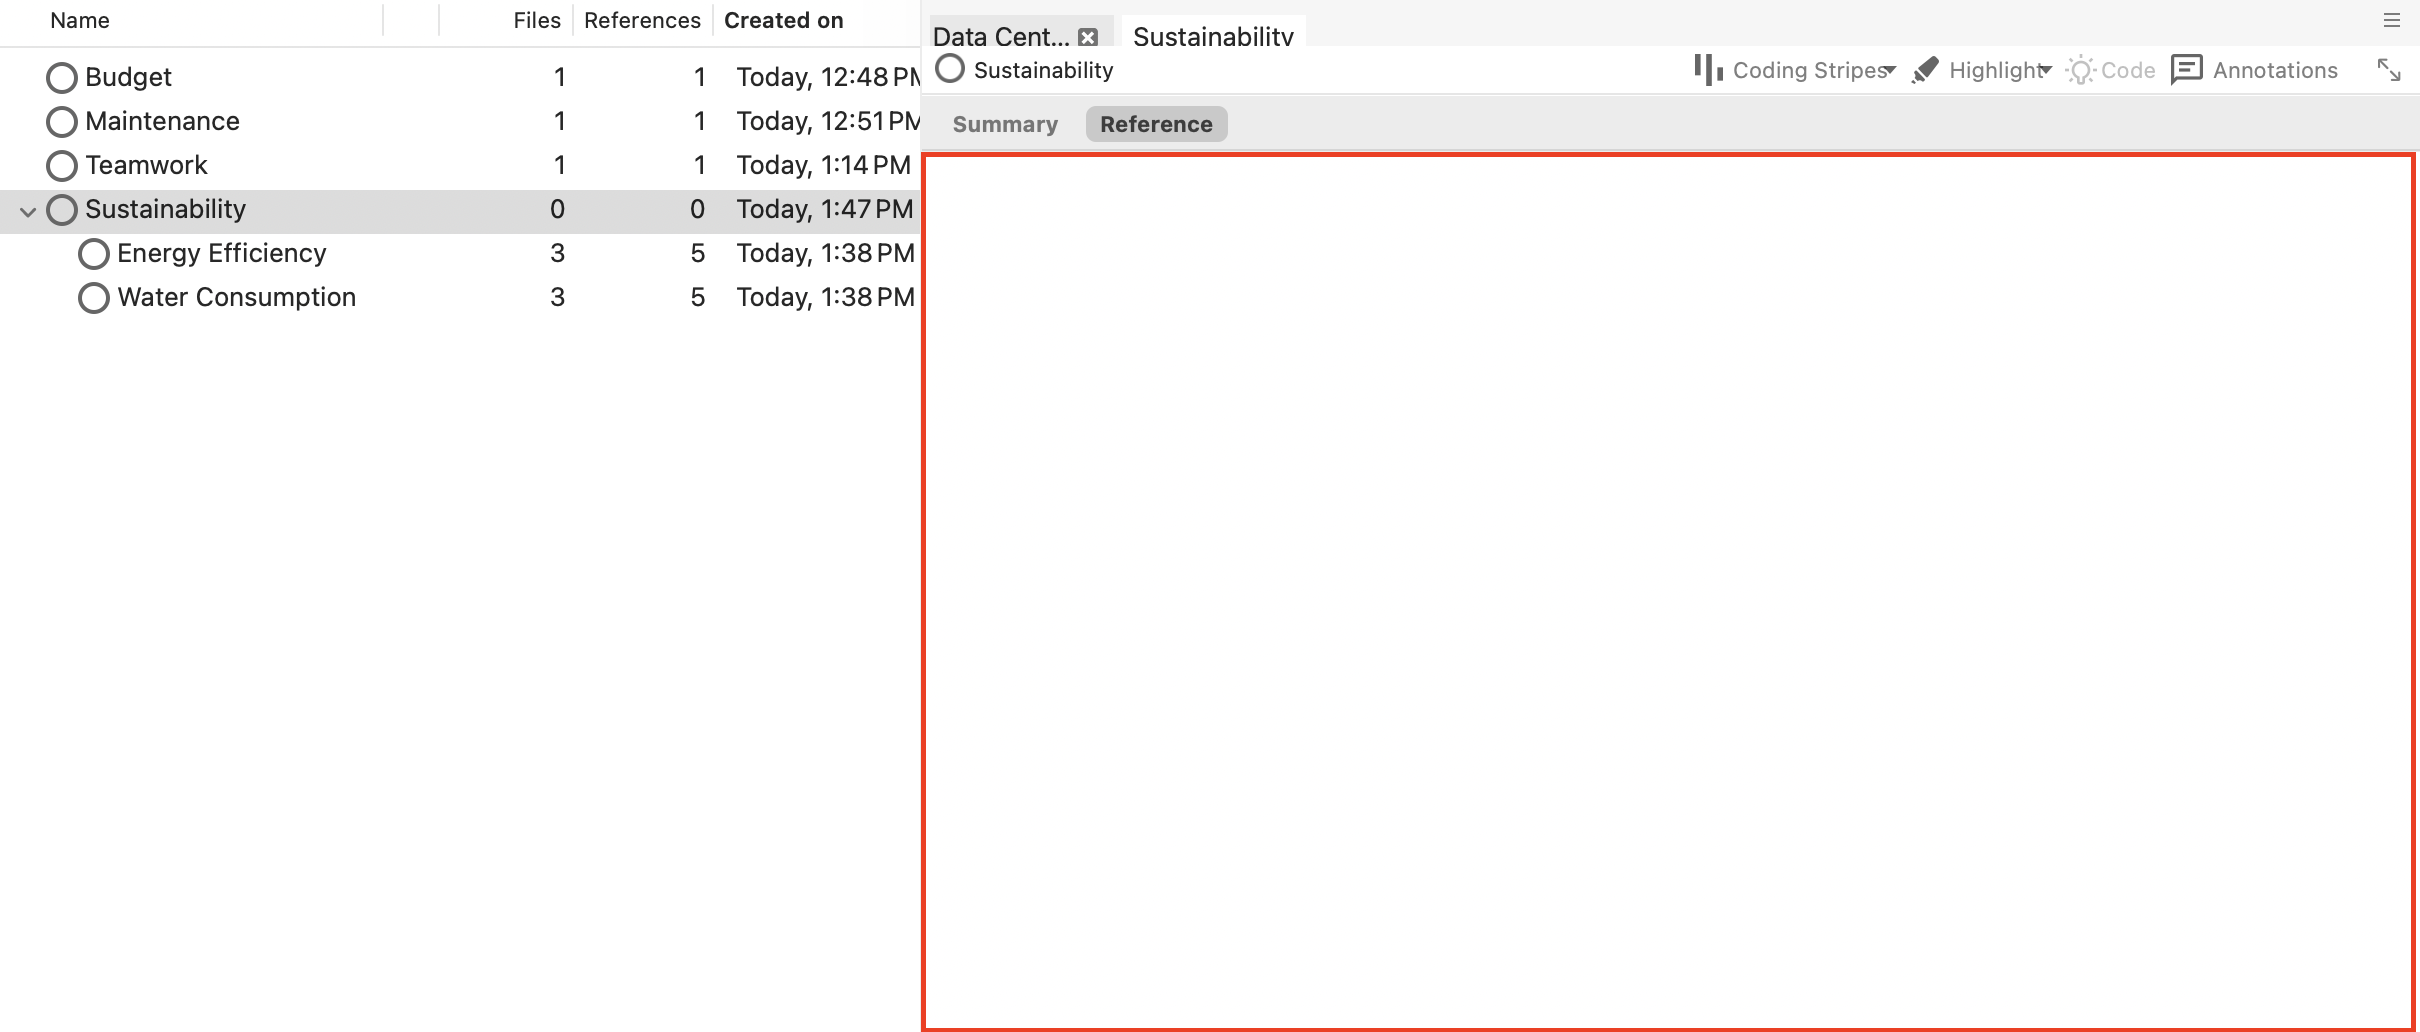
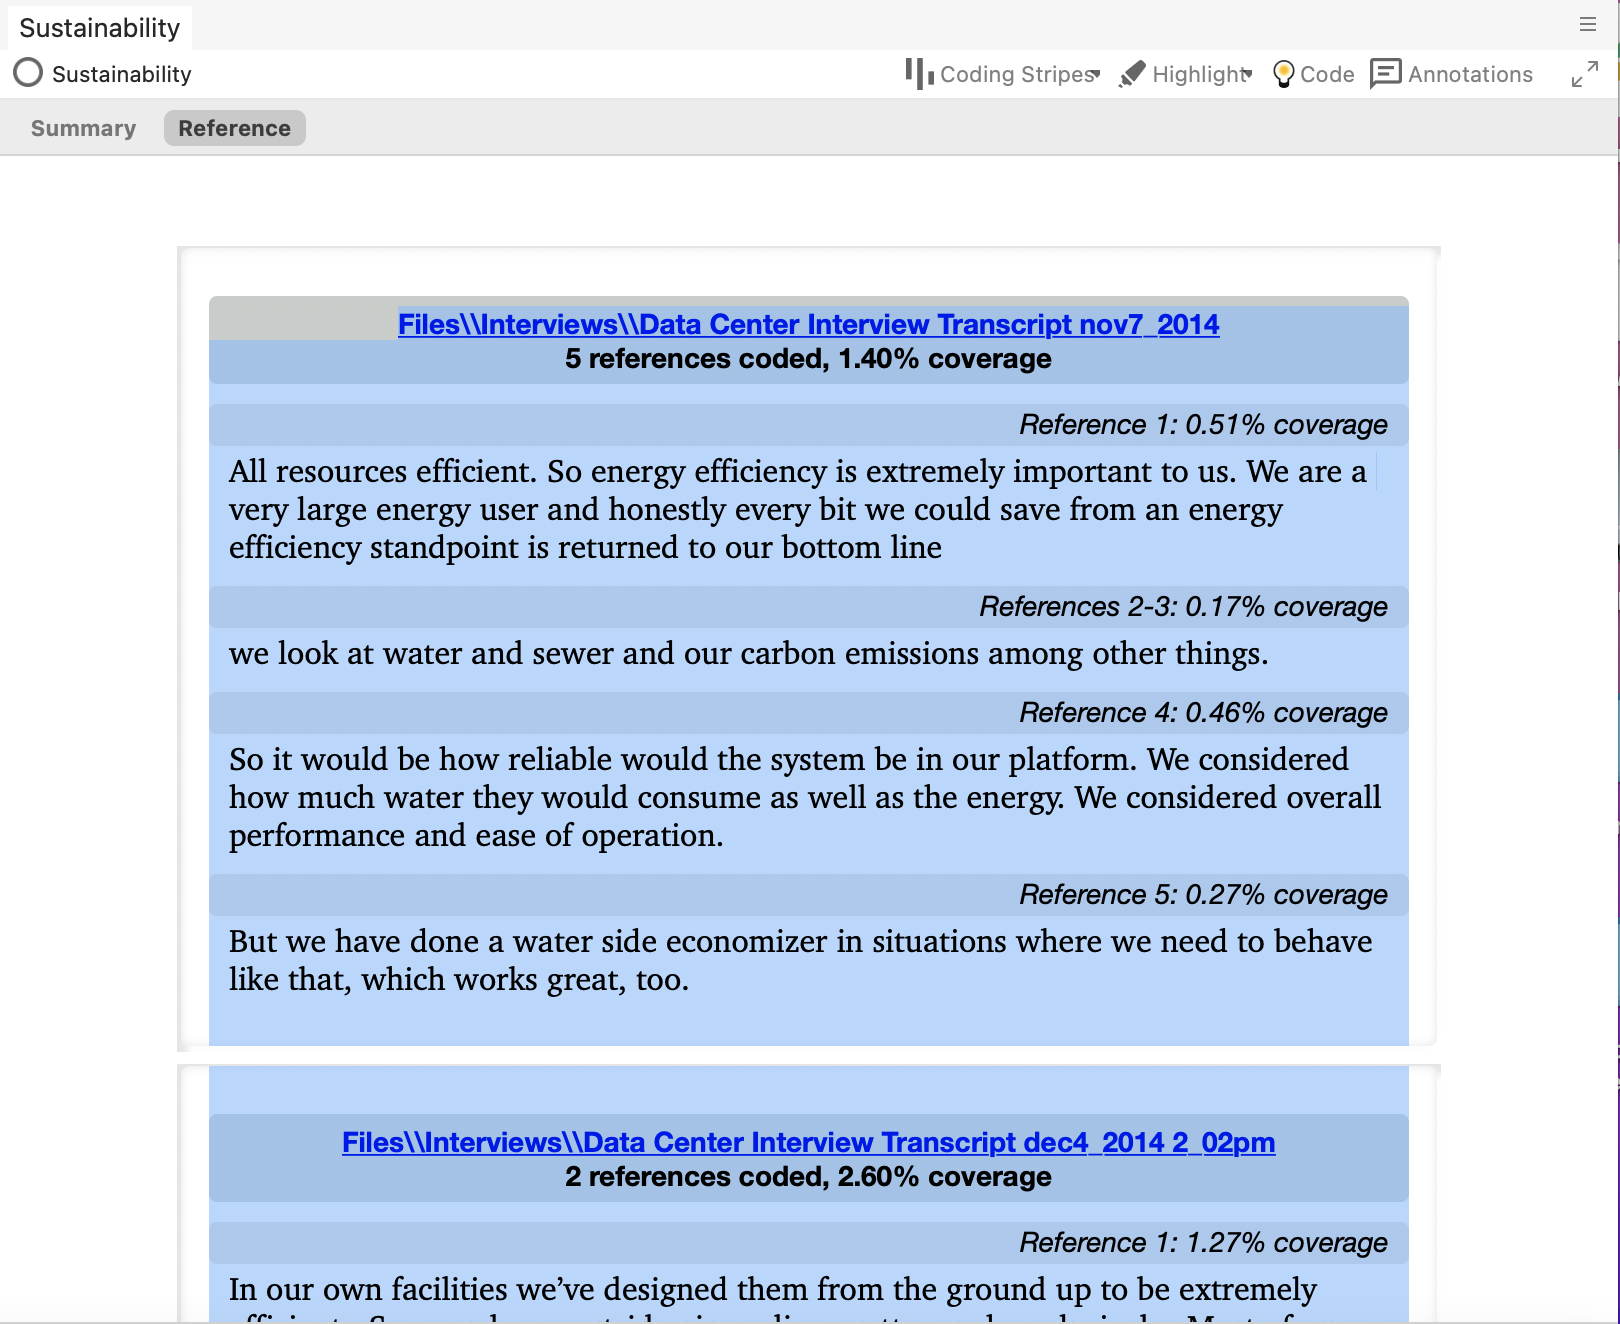
You can use Sustainability as its own broader code now in coding, or just keep it as a heading in the hierarchy. Double click on Sustainability. You should see an empty window pop up as there are no references coded to that code right now.
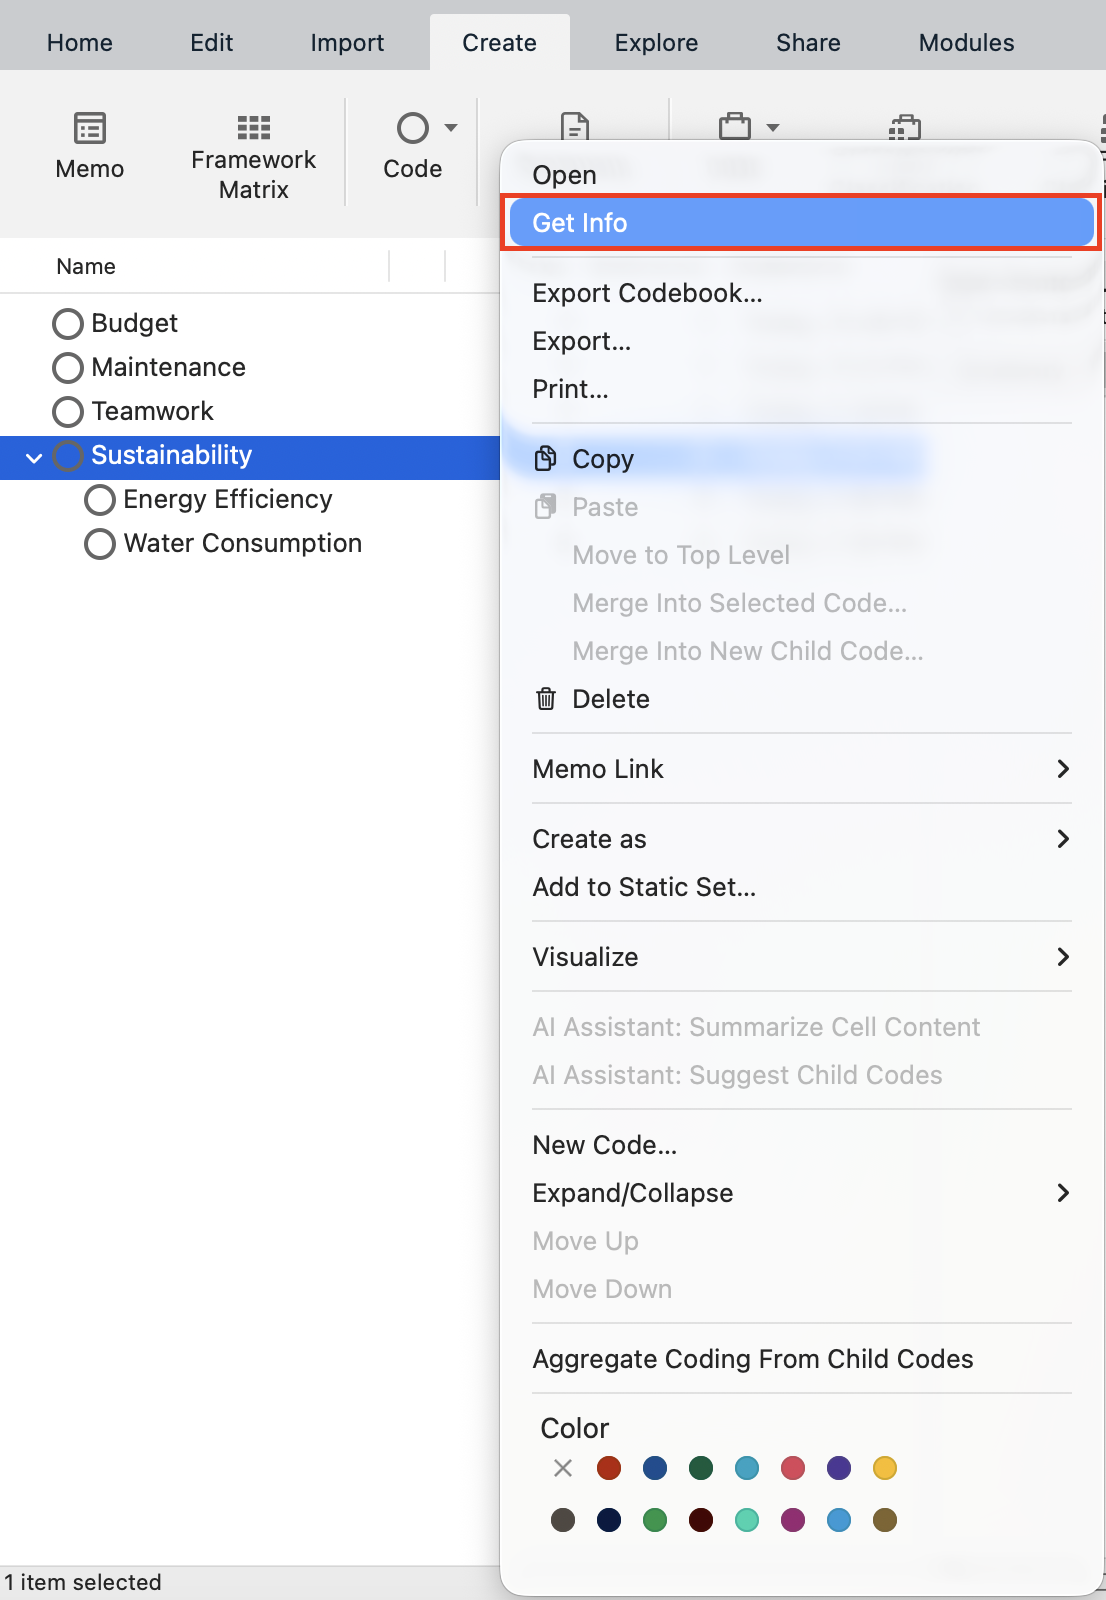
Hold down the Control key and click on Sustainability and select Get Info.
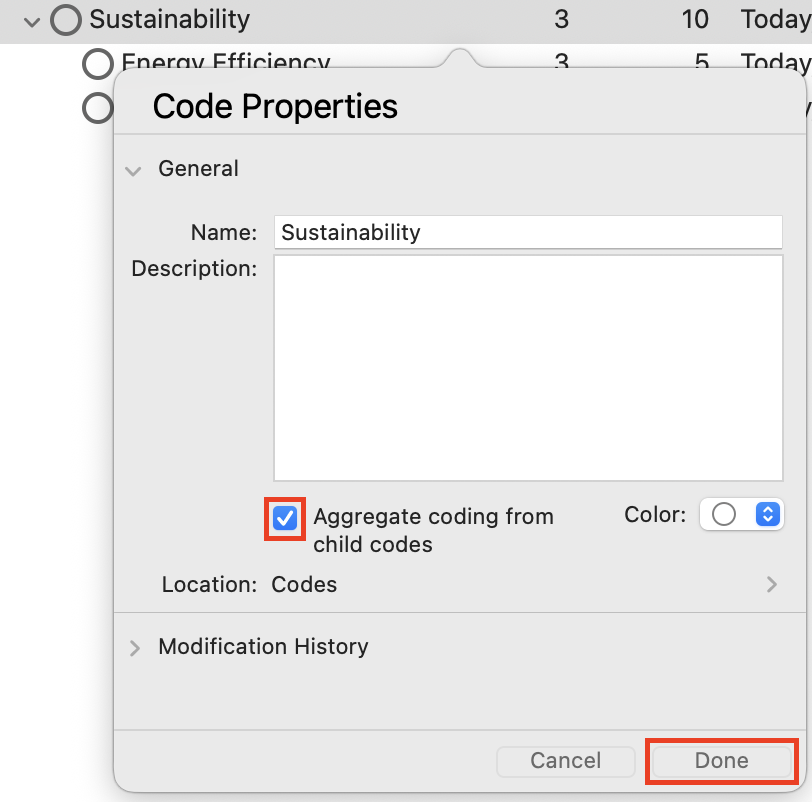
Click the box next to Aggregate coding from children. Then click OK.
Now you will see all the references to it, plus its children codes, show up in the window that should be still open. You will need to decide how to want to handle your code hierarchies in terms of this aggregation for your own projects. In some cases, this is very useful, but it may affect queries where references are double counted for the parent and the child. We will talk more about queries later in the tutorial.
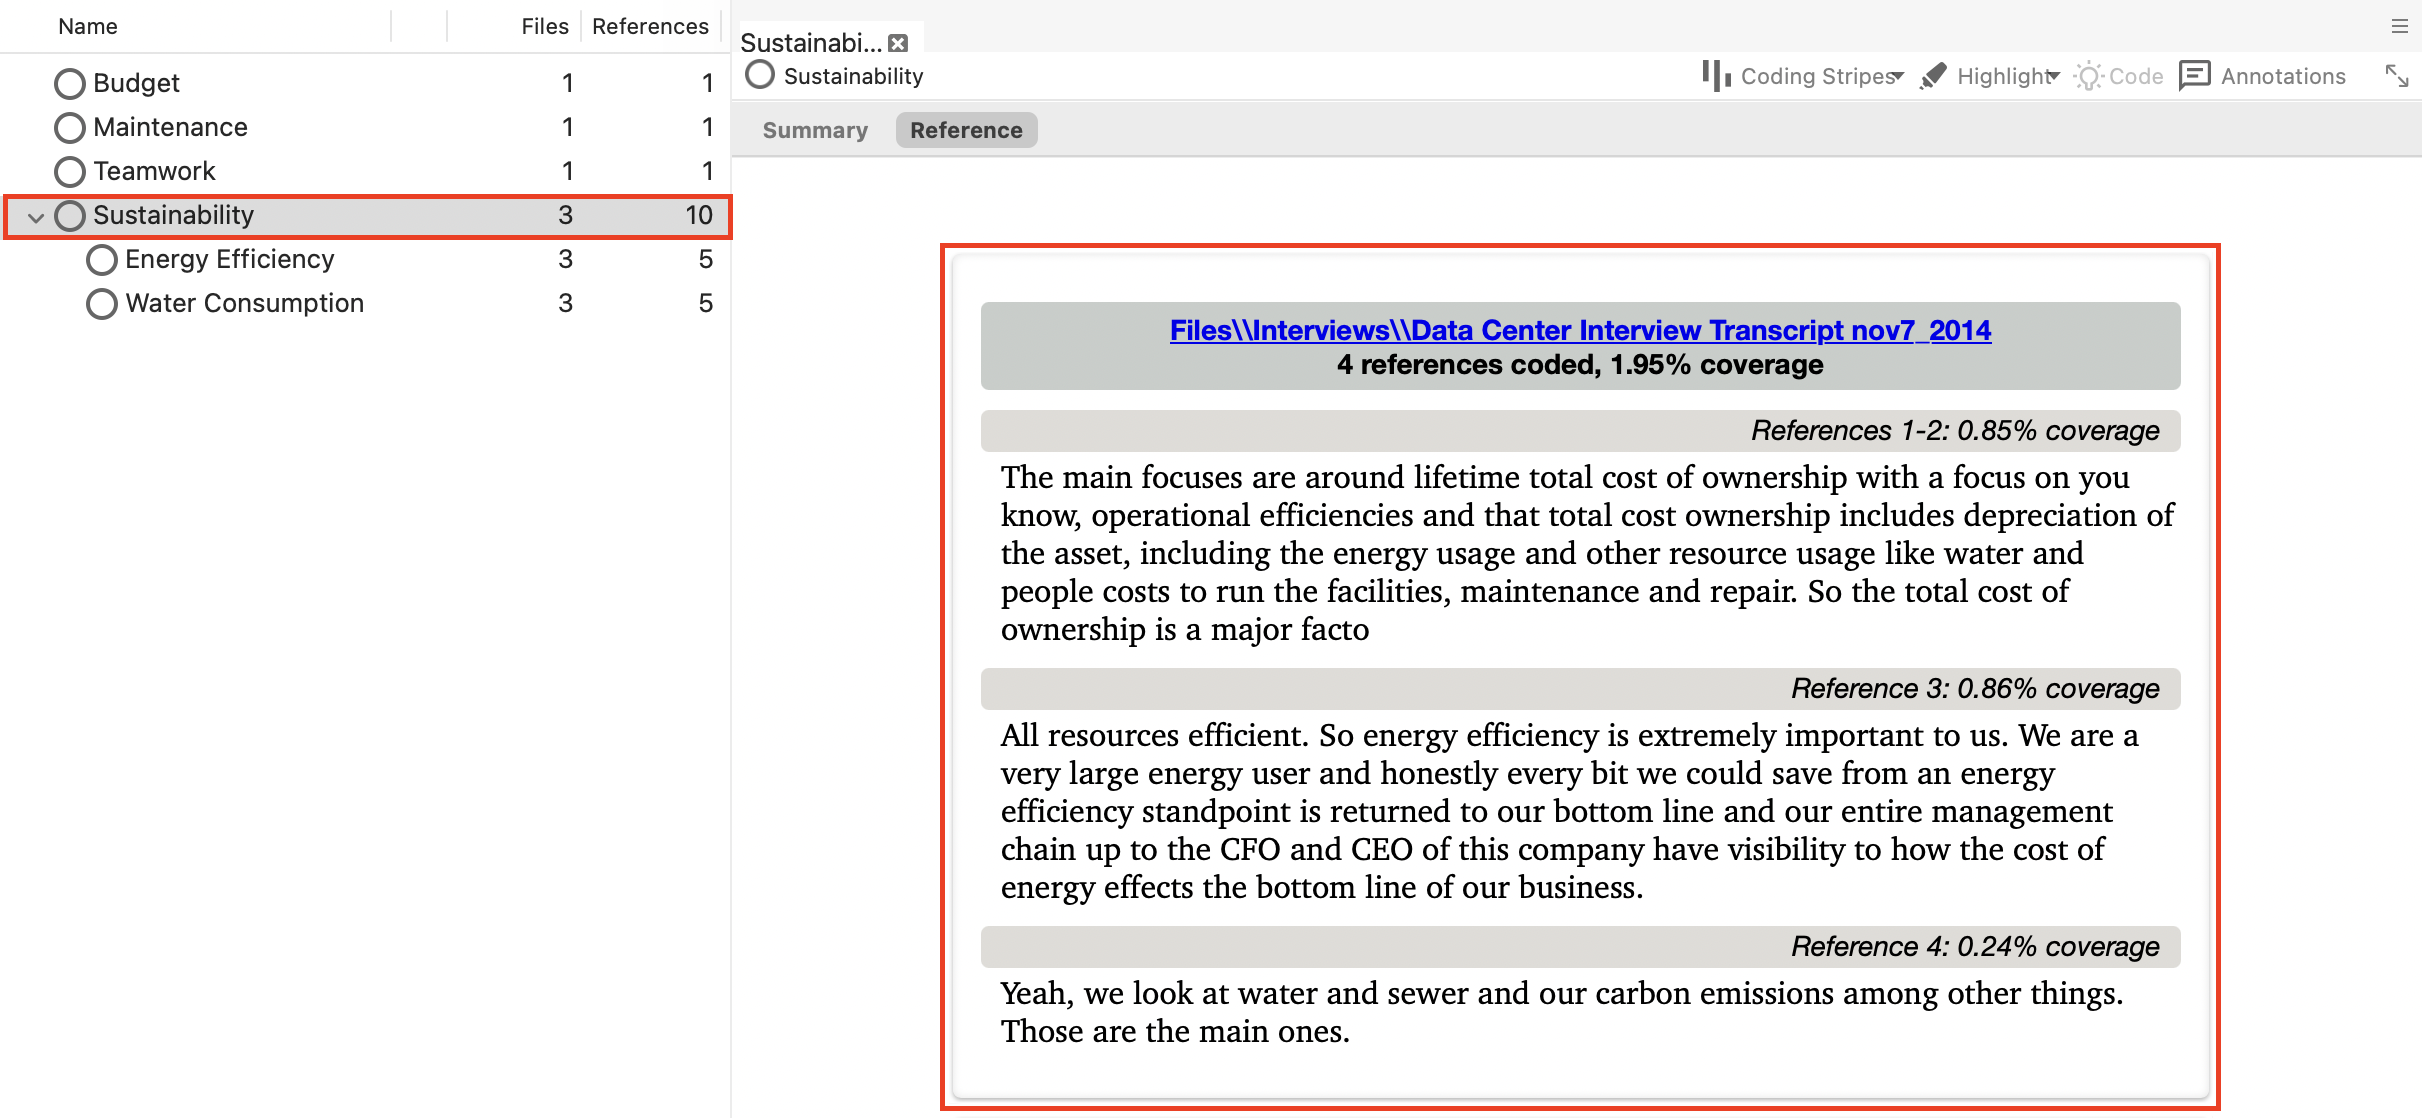
In the window with all the Sustainability references, highlight all the text. A quick way to do this is to click anywhere in that window and press the Command key and A on your keyboard at the same time to select all.
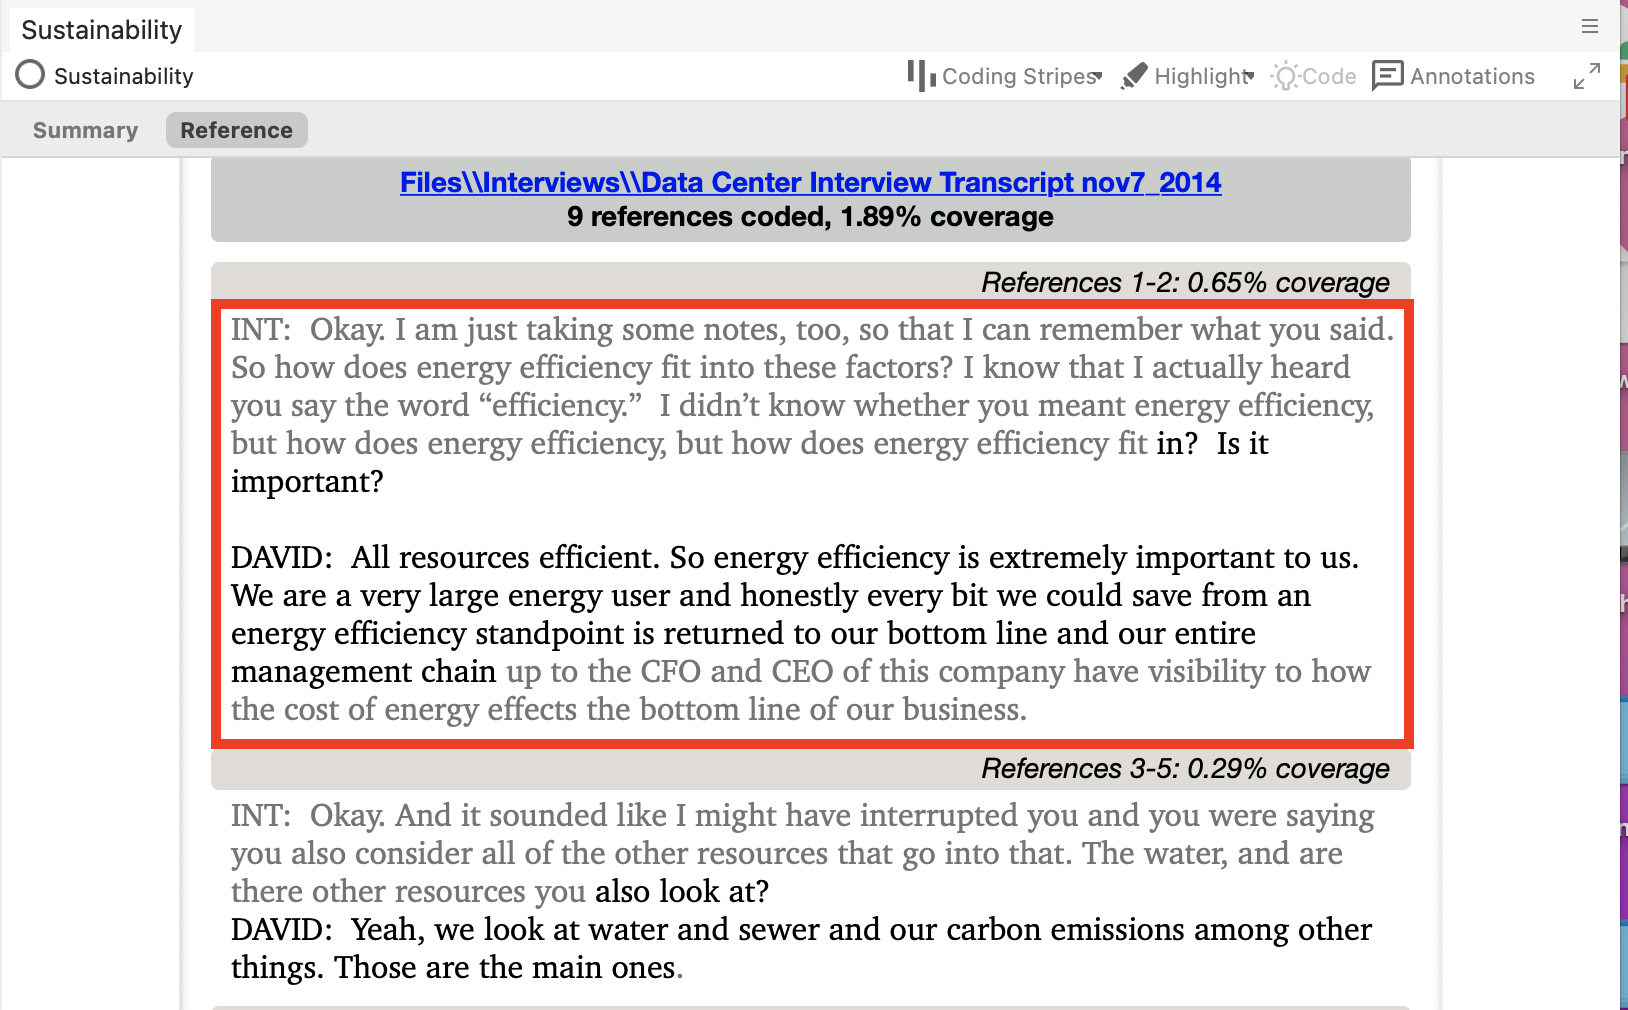
Then go to the View menu from the top menu bar, and select Coding Context, and then select Broad.
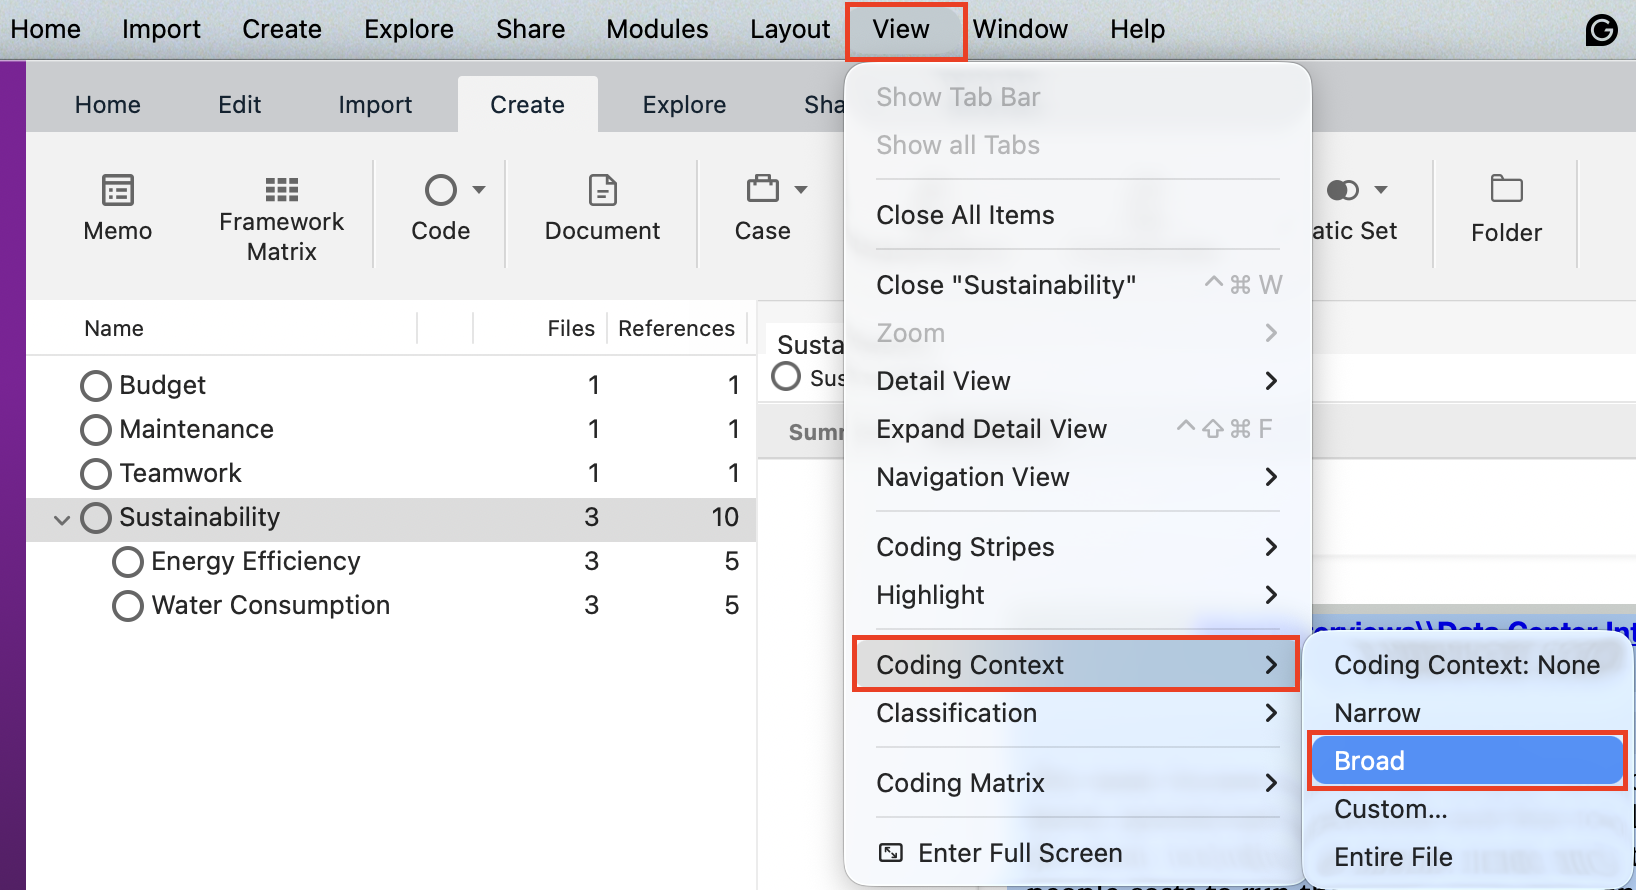
You will see that the references have changed. There is grey text that isn’t coded, but comes directly before or after the coded text to give you more context for what you have coded. This is useful when examining small snippets of coded text. You can apply this Broad context (or explore the other options in the menu) any time you are presented with a list of references.
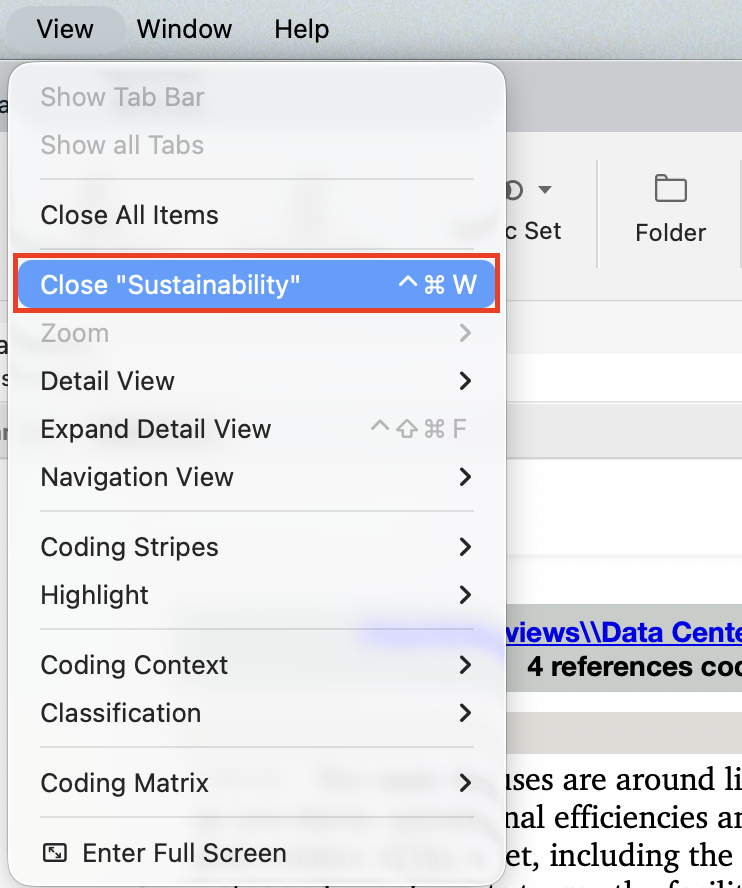
Close the window for now by clicking on Close “Sustainability” in the View drop-down menu.
Another way to get a better idea of how your files are coded is to use coding stripes and highlighting. First, go to your interviews folder. You can see how many codes have been applied to the content and how many references in the document have been coded.
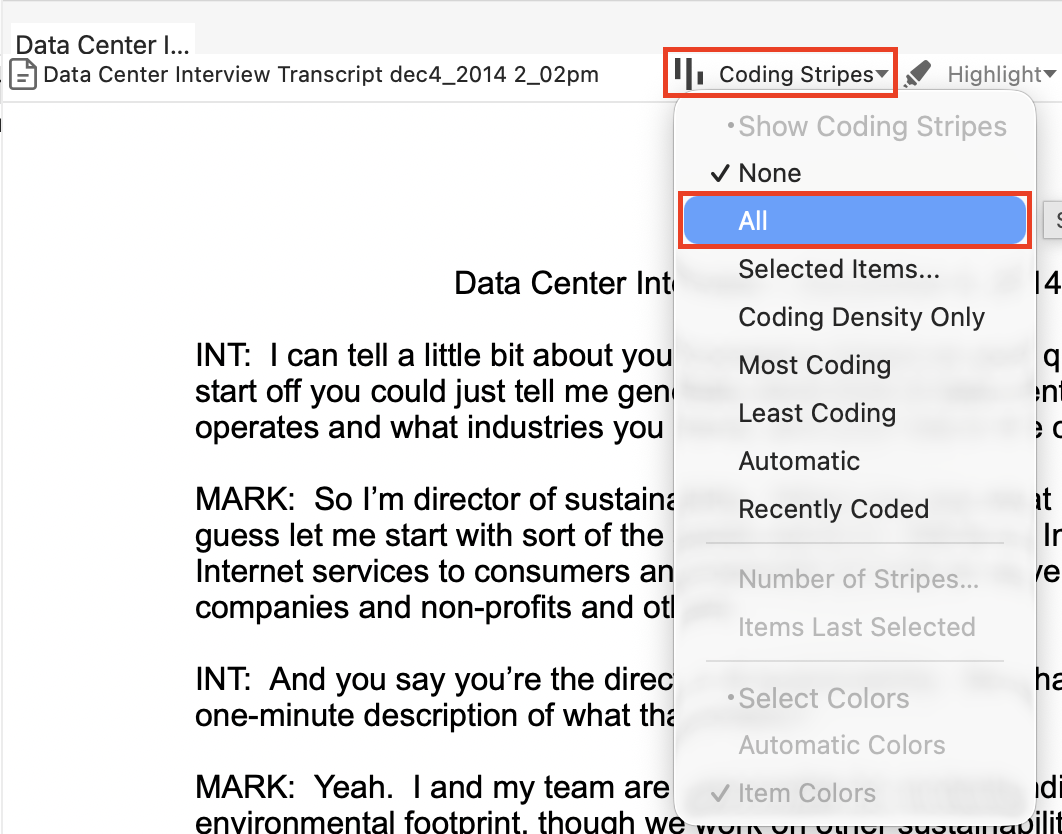
Double click on an interview that has some coded references.
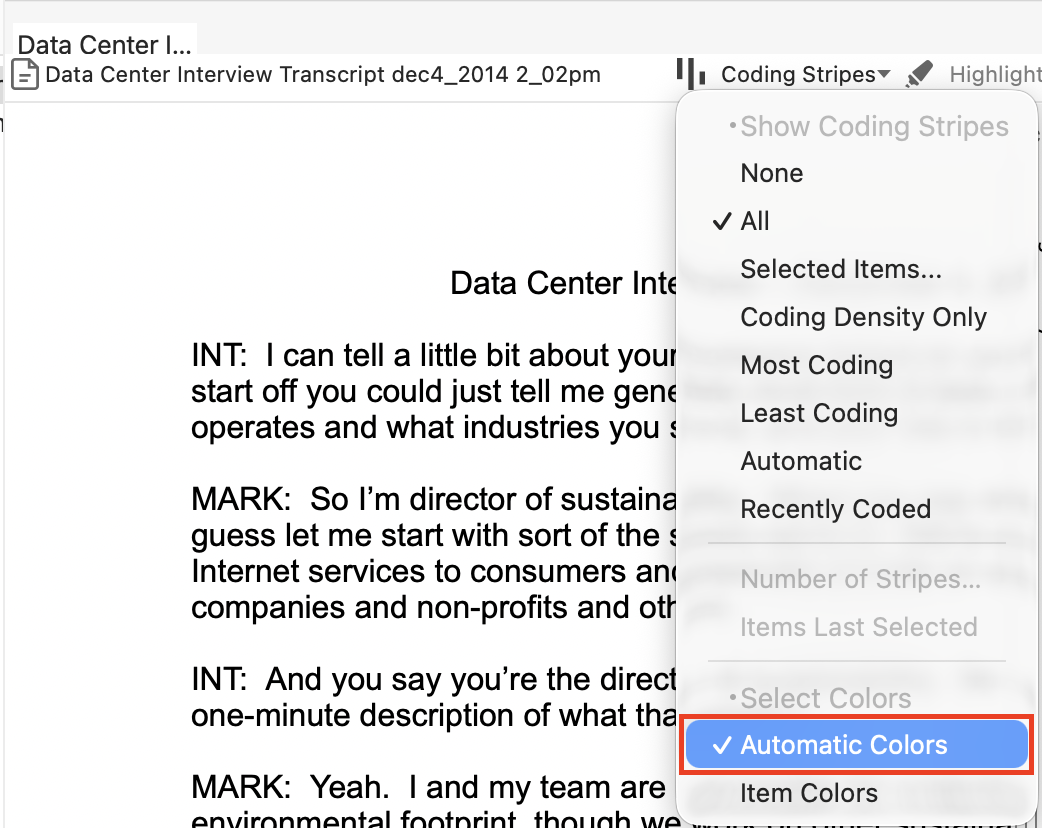
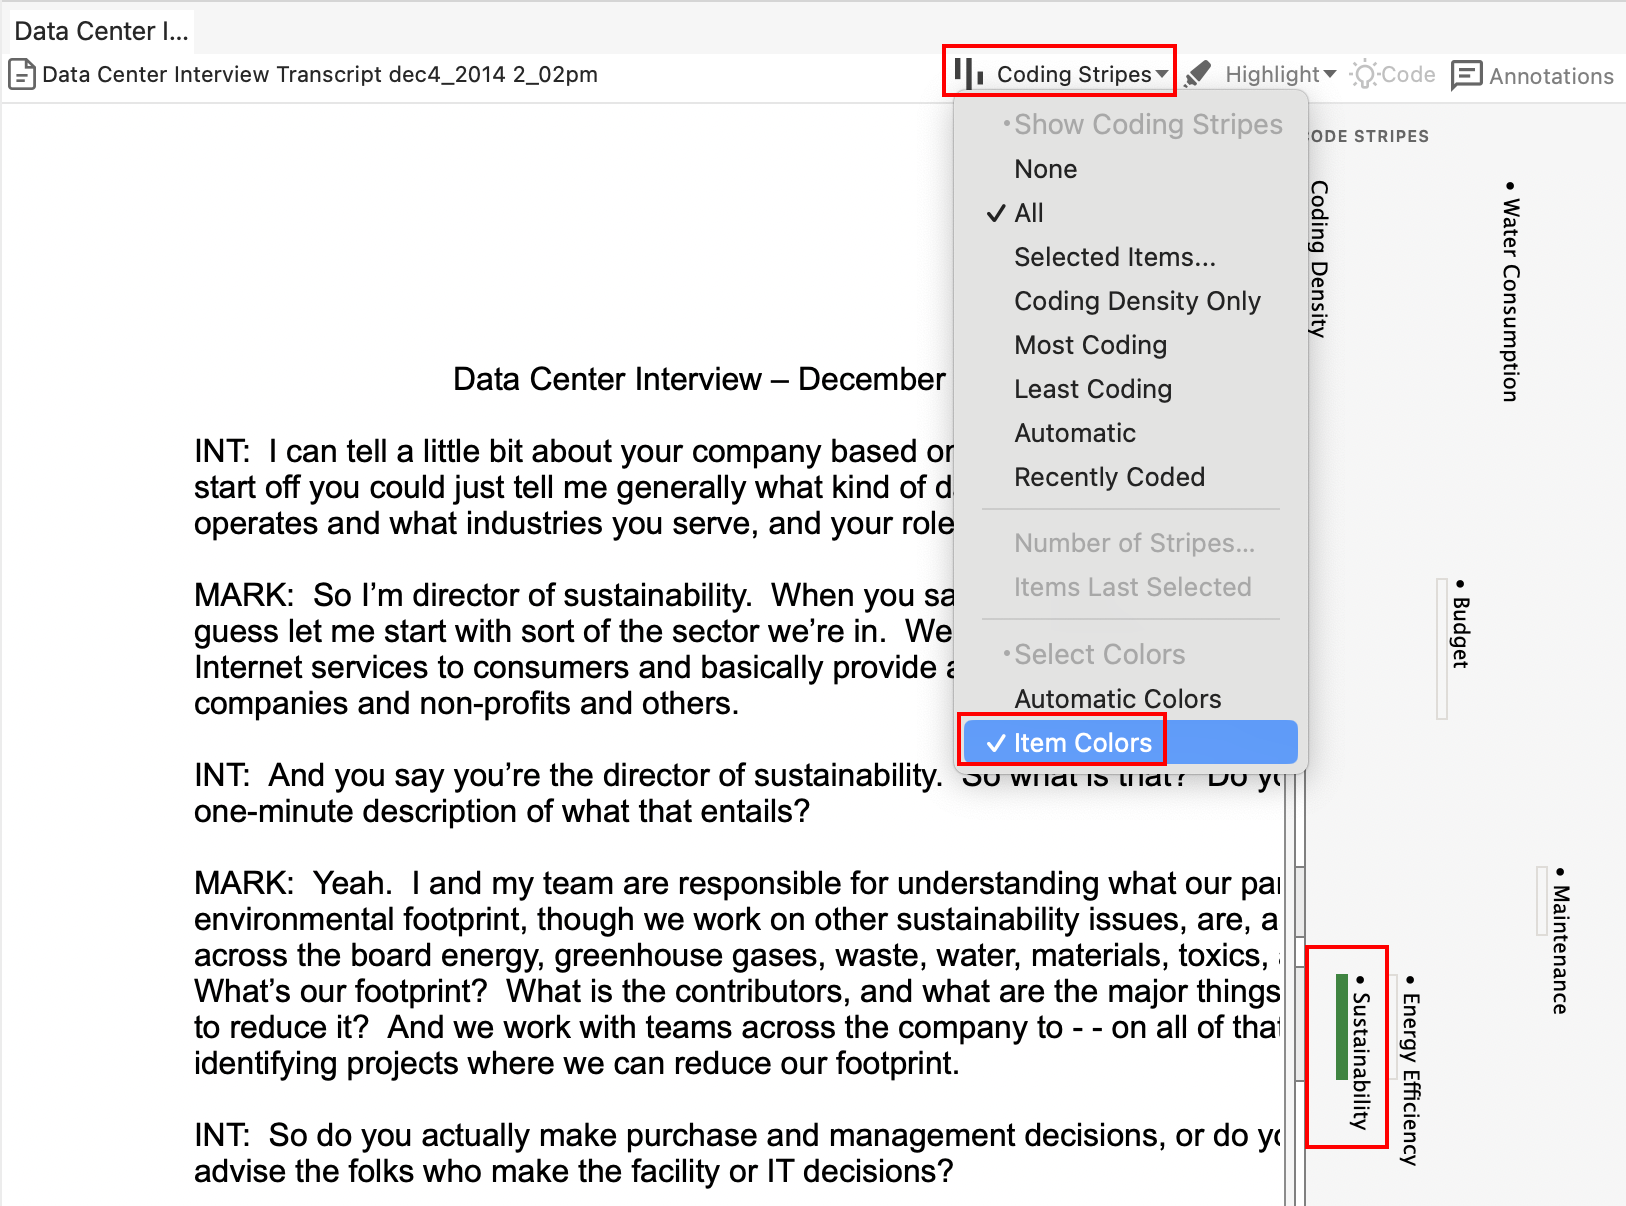
At the top of the selected file tab, from the Coding Stripes drop-down menu, select All. Then go back into the Coding Stripes drop-down menu again and select Automatic Colors. It will automatically select colours to differentiate the codes. You should see coloured stripes along the right to tell you what parts of the document have been coded and how.

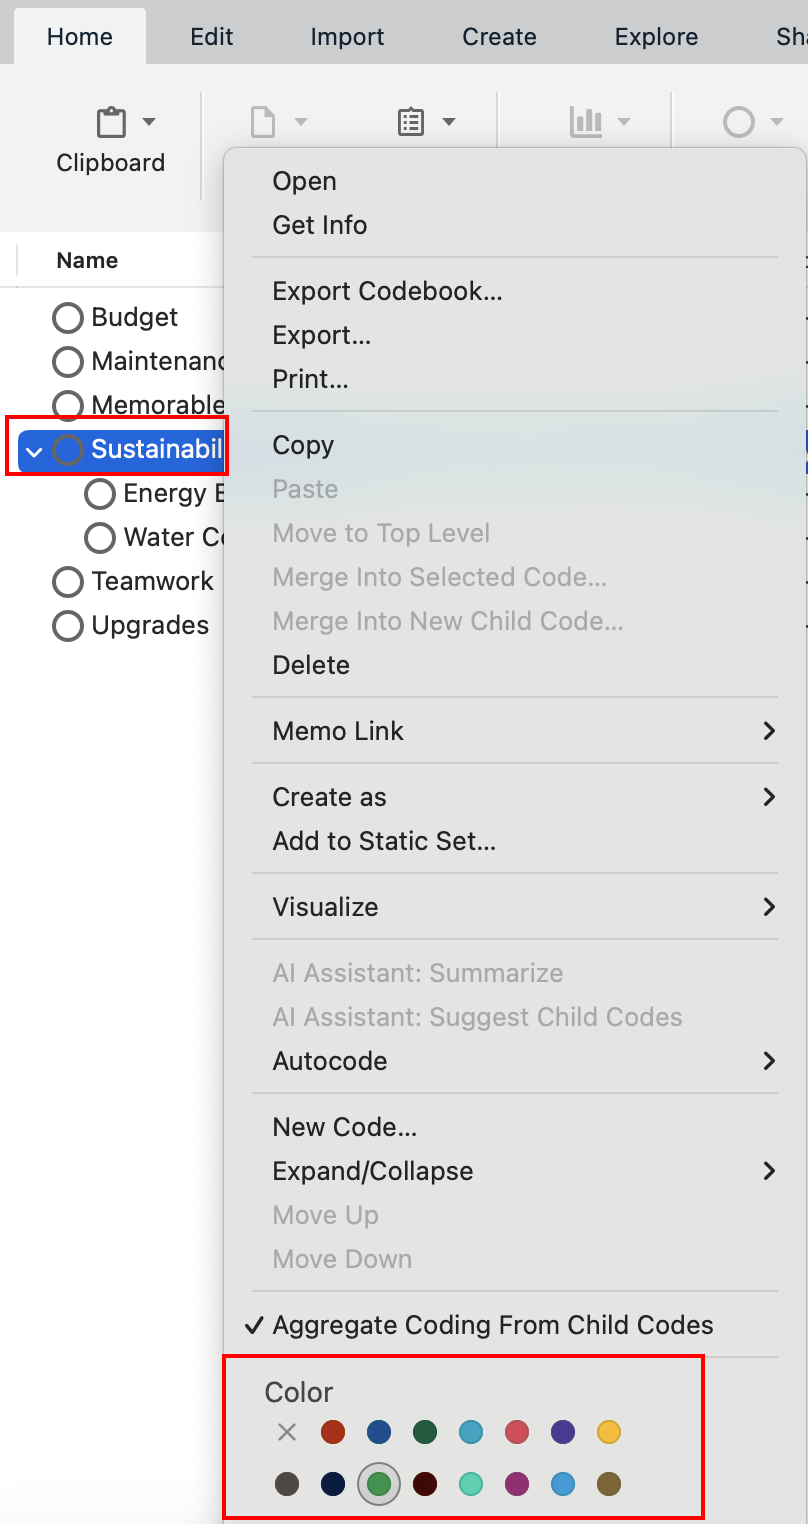
Note that you can customize the colours if you’d like by holding down the Control key and clicking on each code, and then picking your colour of choice in the Color section. After you’ve set up all your colours, click anywhere on the text of the interview, select the Coding Stripes drop-down menu, and select Item Colors instead of leaving Automatic Colors selected.
At the top of the selected file tab, from the Highlight drop-down menu, select Coding for All Codes or Cases.
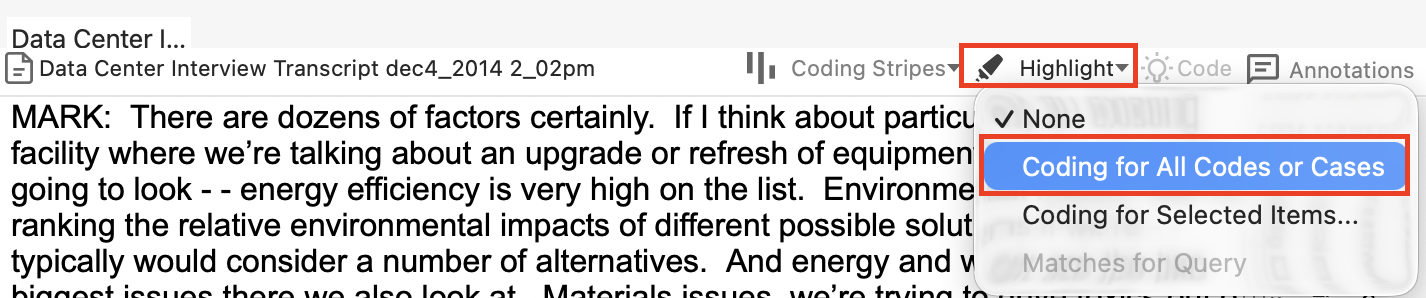
You will see the coded text in yellow highlighting throughout the document.

Note: Both Highlight and Coding Stripes can also be found in the View menu in the top menu bar.
Technique: Qualitative Data Analysis | Tools: NVivo