Word Frequency and Text Queries
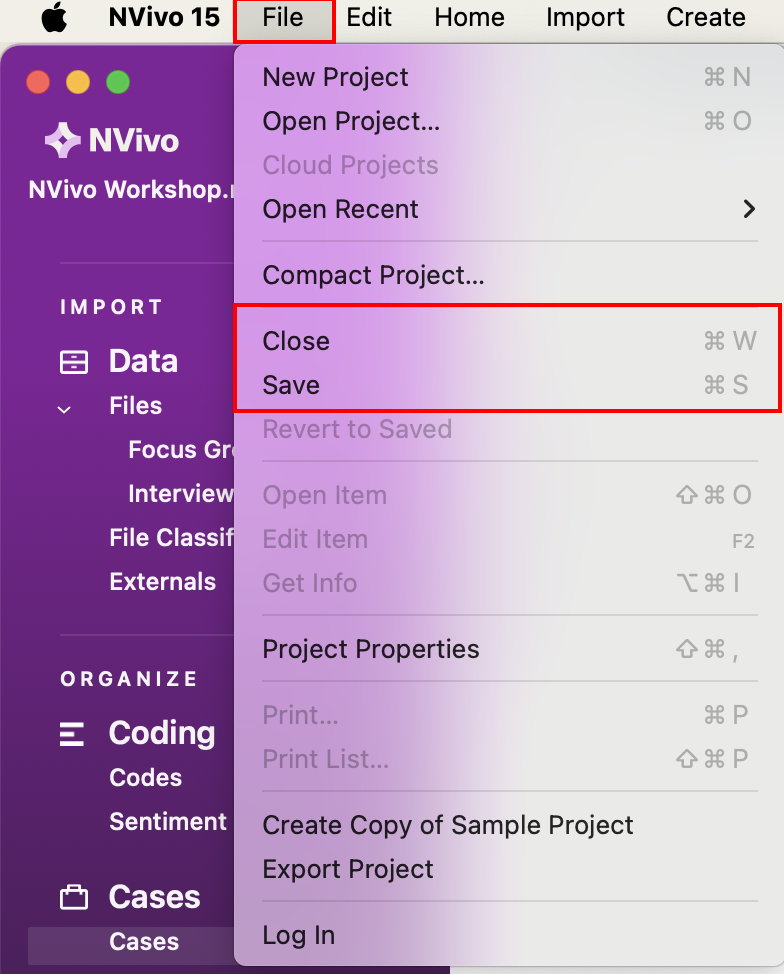
First, make sure you have saved and closed any previous projects you had open using the File Menu from the menu bar at the top.
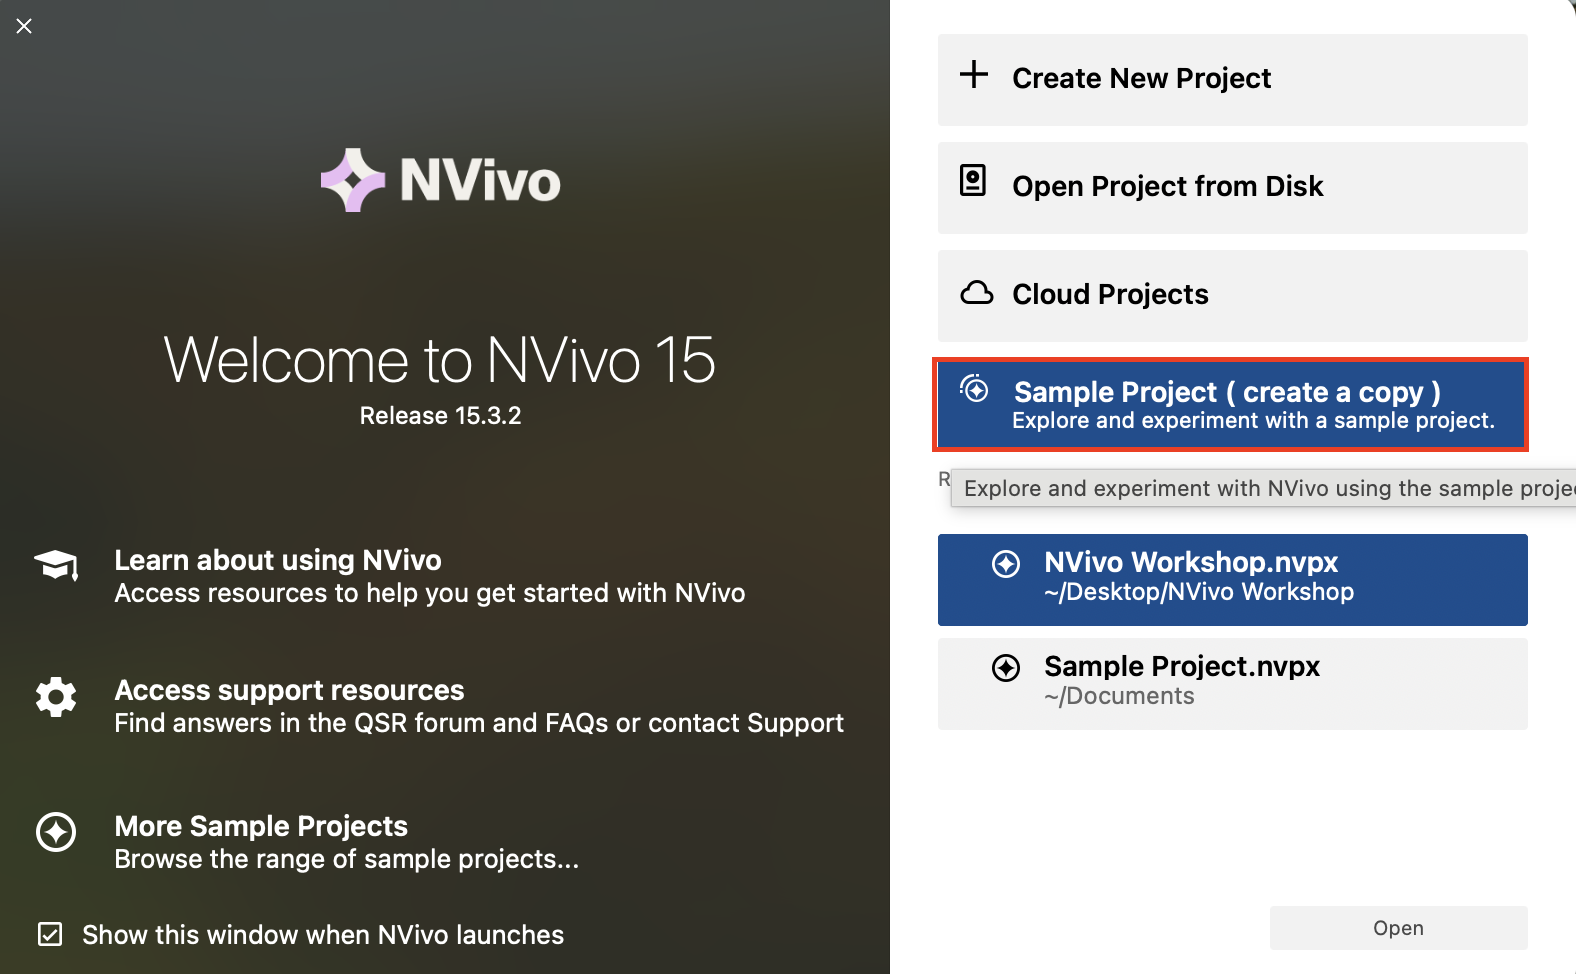
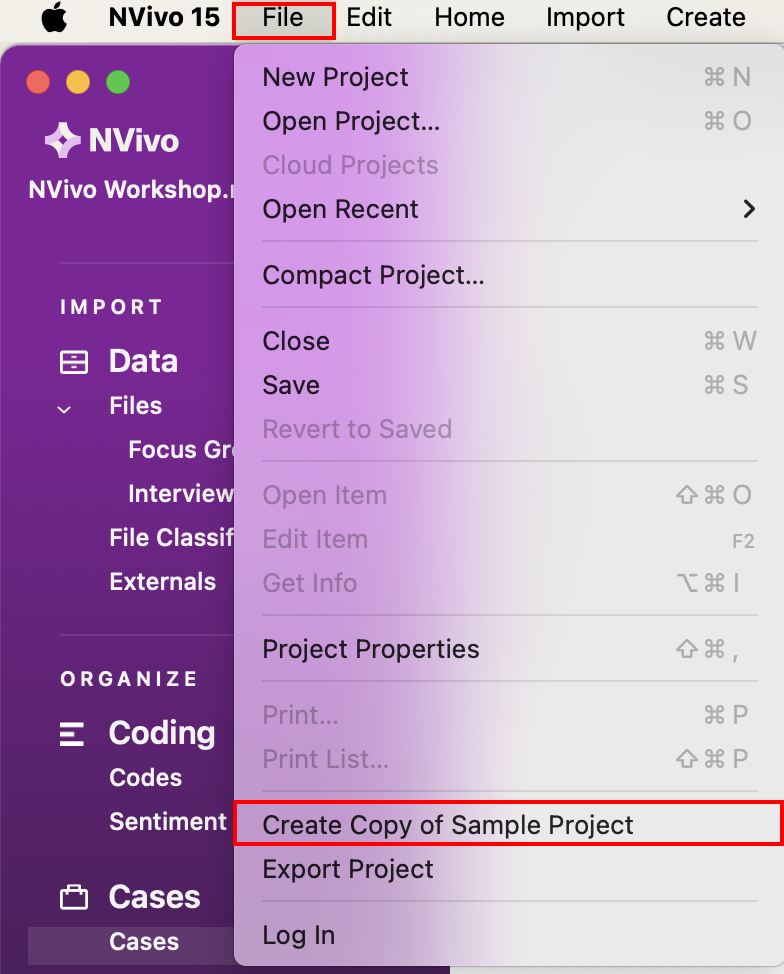
Then from the Start Screen or File Menu, select Create Copy of Sample Project to use a ready-made project that comes with NVivo. Data in this sample project are drawn from a two-year research study (2008- 2009) undertaken by researchers from the Duke University Nicholas School of the Environment at the Duke Marine Laboratory in Beaufort, N.C. The study documented community perceptions of development and land-use change on coastal communities in the Down East area of Carteret County, North Carolina, USA.
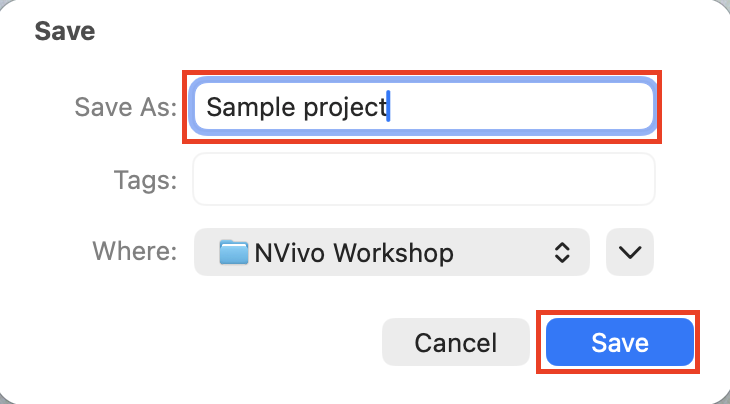
A window will pop-up asking if you want to rename the project and if you want to adjust where it saves. Let’s keep the name, but make sure it is saving with your other workshop files. Then click on Save. If an NVivo Tour window opens, close it.
Next let’s see how queries can help us make sense of this project. Go to the Explore menu to see all the queries available to you.

Let’s start with the third option – the Word Frequency query, which helps us to identify frequently occurring terms in content. This is a great query to start with to get a sense of the content or topic of your data, by looking at the most common words used in a particular file or your whole project. Go to the Explore menu and select Word Frequency.

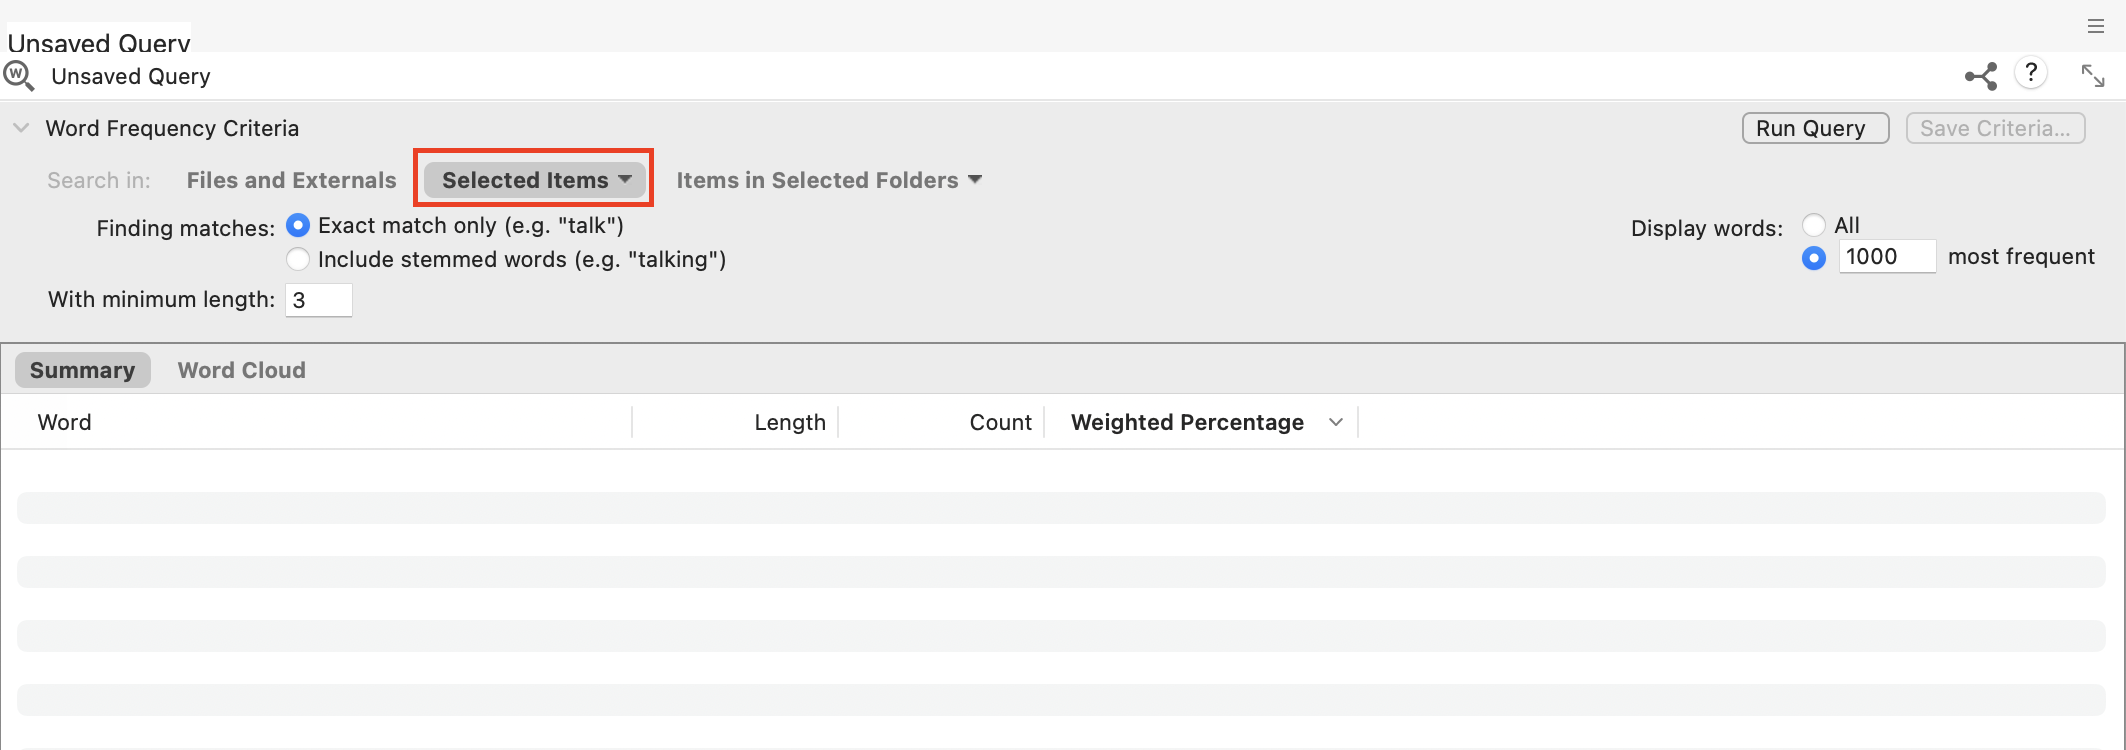
First, you’re asked where you want to search. This is a common setting for most queries. The default option is to search everywhere in the project. You could however, select particular files or folders that you want to search by choosing the second or third options. For example, if we only want to search Interviews, and we’ve been very organized and put all of our interview transcripts into a folder called Interviews, we could select the third option, Items in Selected Folders. However, our interview folder has a combination of text, plus audio and video files. If we want to only select the text transcripts, we’d select the second option. Let’s try that. Choose Selected Items for this example.
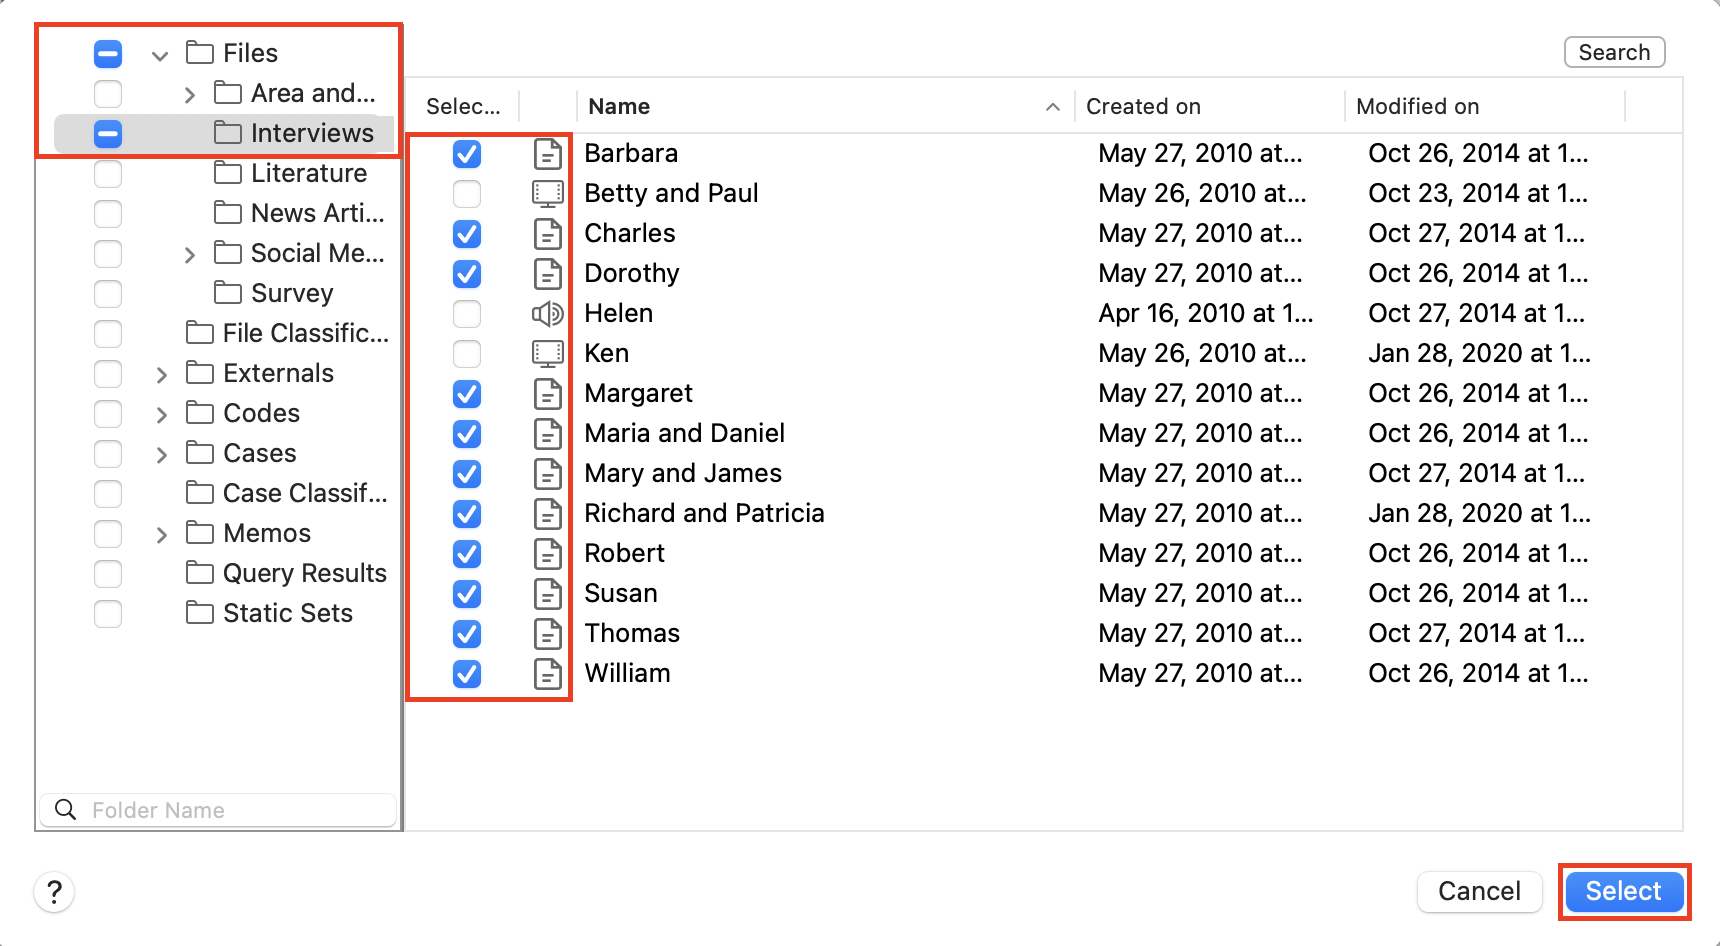
Then expand Files in the folder tree to see our interview folder. Put a checkmark next to the Interviews folder to select everything in that folder to start, but then unselect the two video files and one audio file (that have different icons). So only the text transcripts should be selected for our search. Then click on Select.
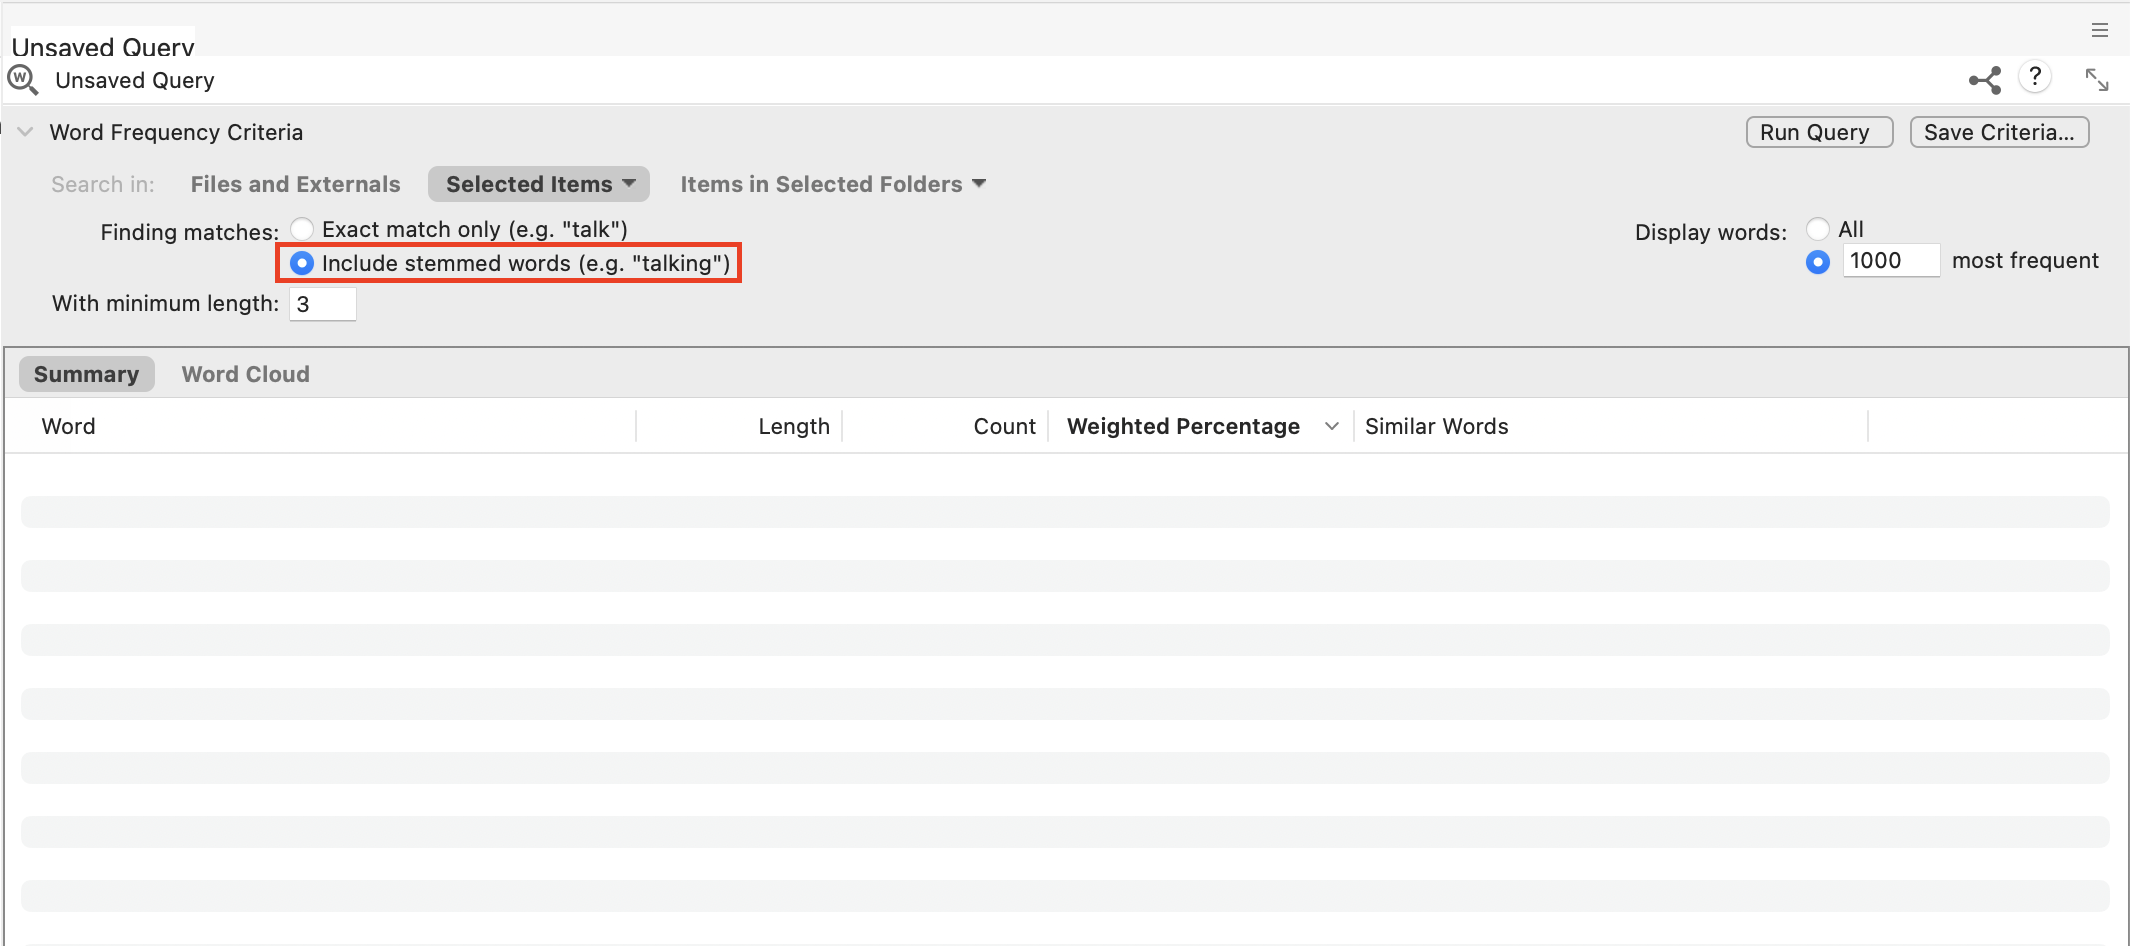
Now we can make adjustments to the settings of our word frequency query. Next to Finding matches, there are some useful settings. If you select the second option, include stemmed words, it can group a word with all its different word endings together, so they don’t take up distinct spots in our top words list. For example, “run,” “runs,” and “running” would just be grouped together and then tallied once. Select Include stemmed words for this example.
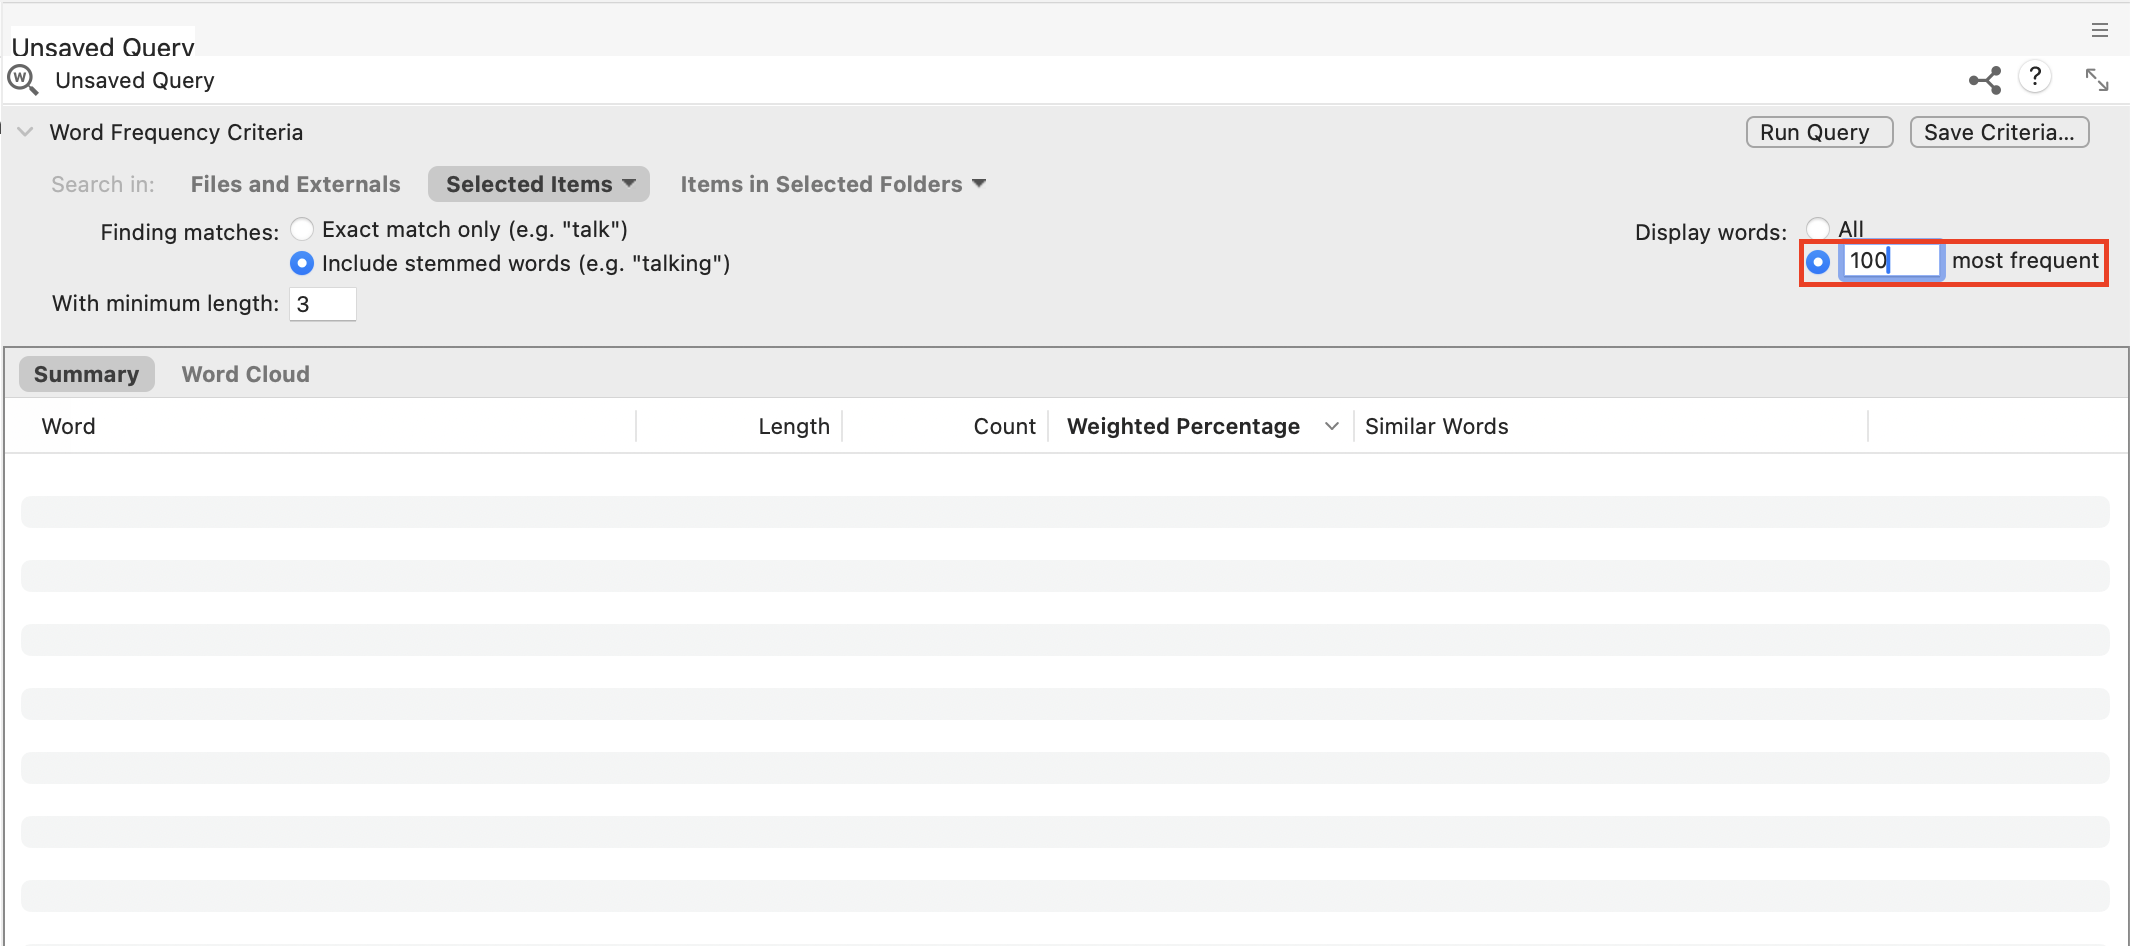
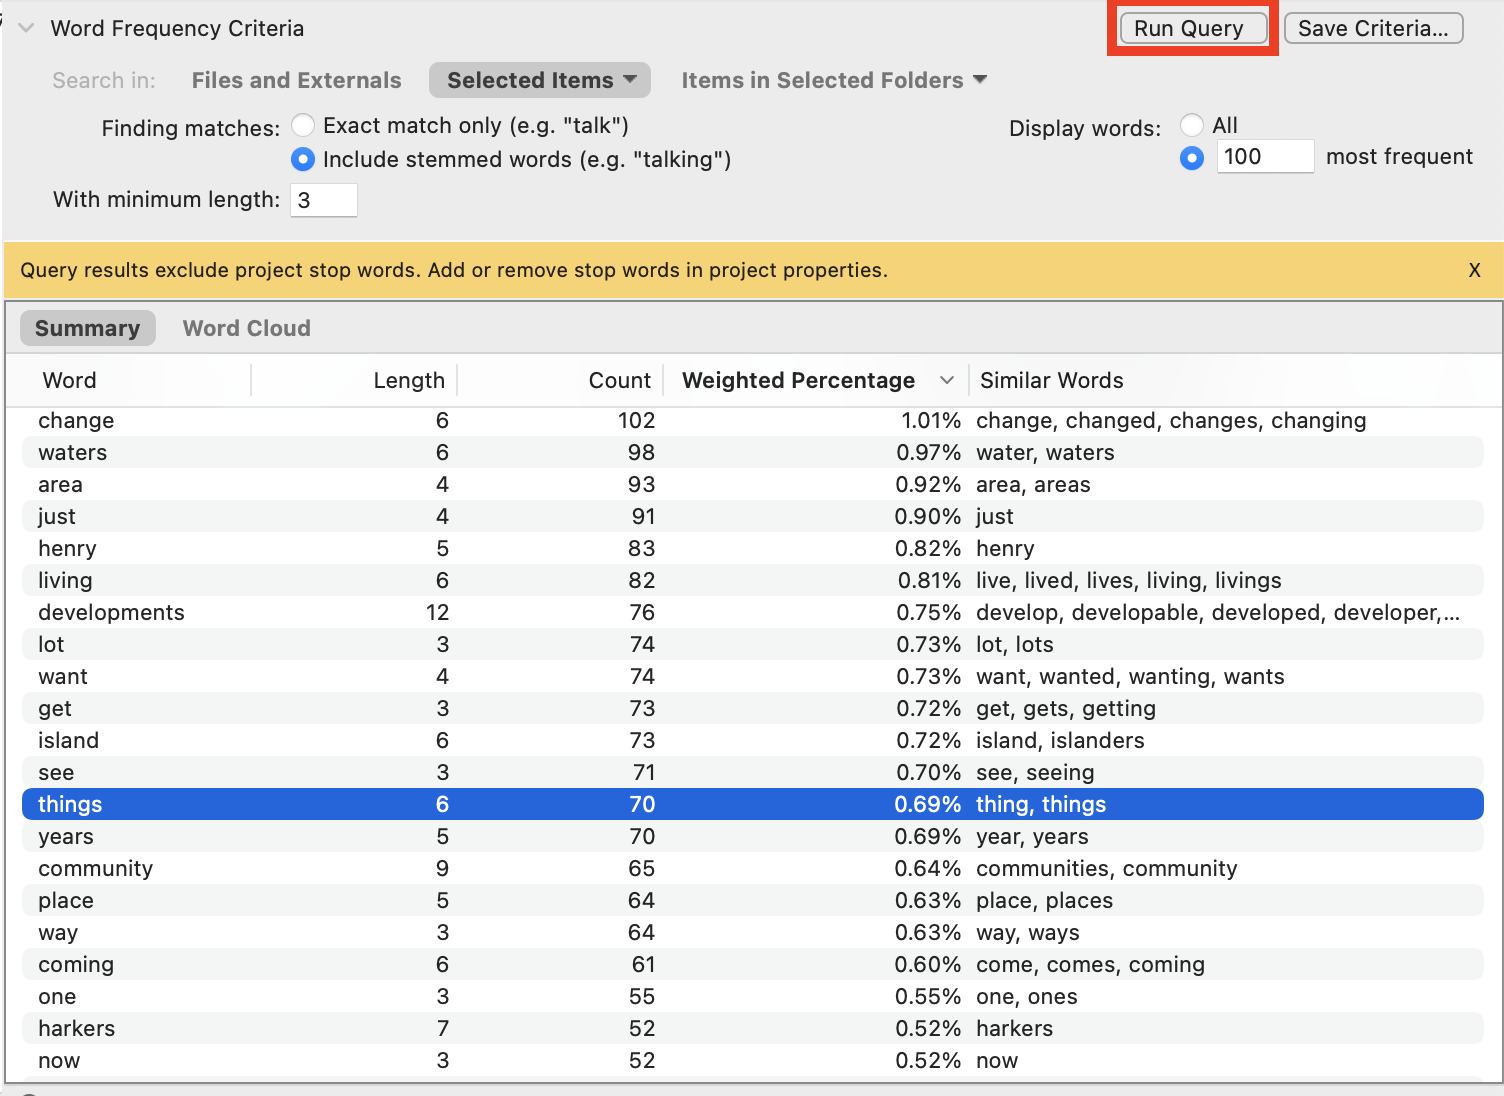
Next, instead of 1000 words, let’s change Display words on the left to 100 most frequent for this example. Minimum word length can remain at 3 characters.
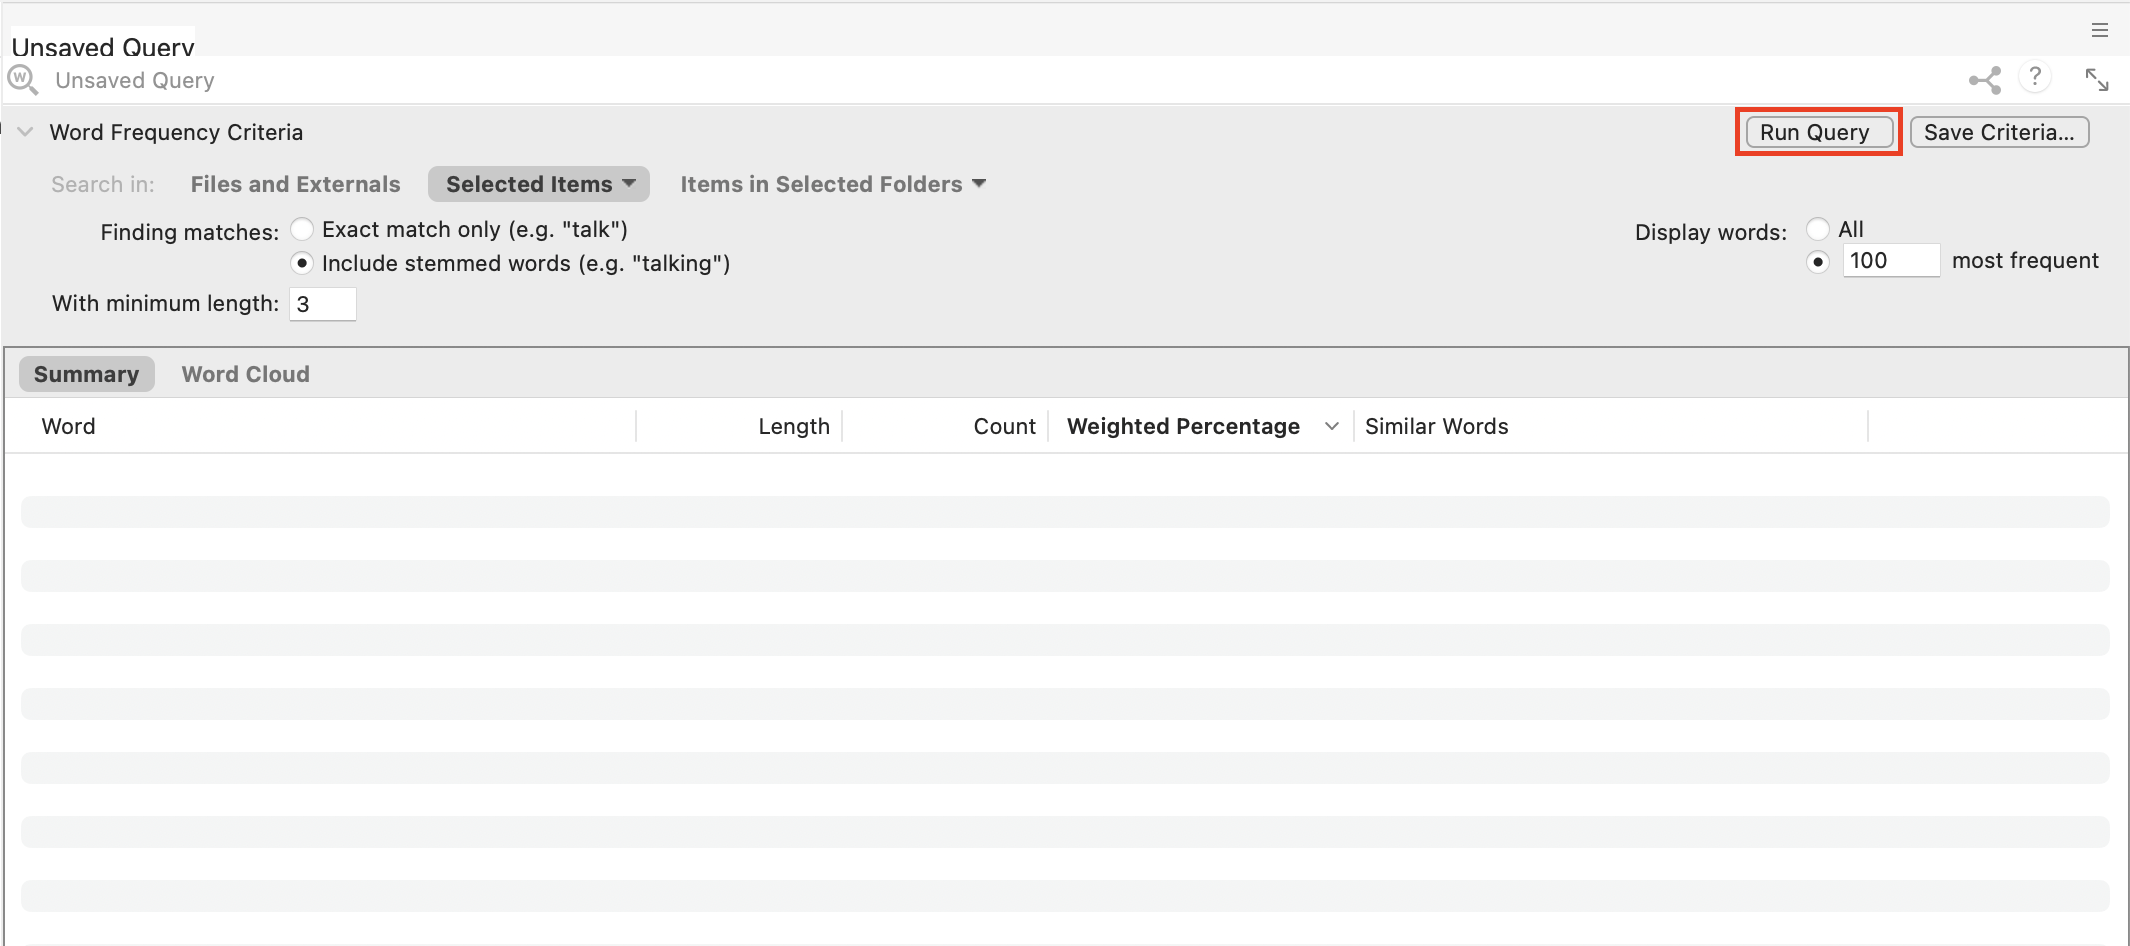
When all the settings are in place, click on Run Query on the top right.
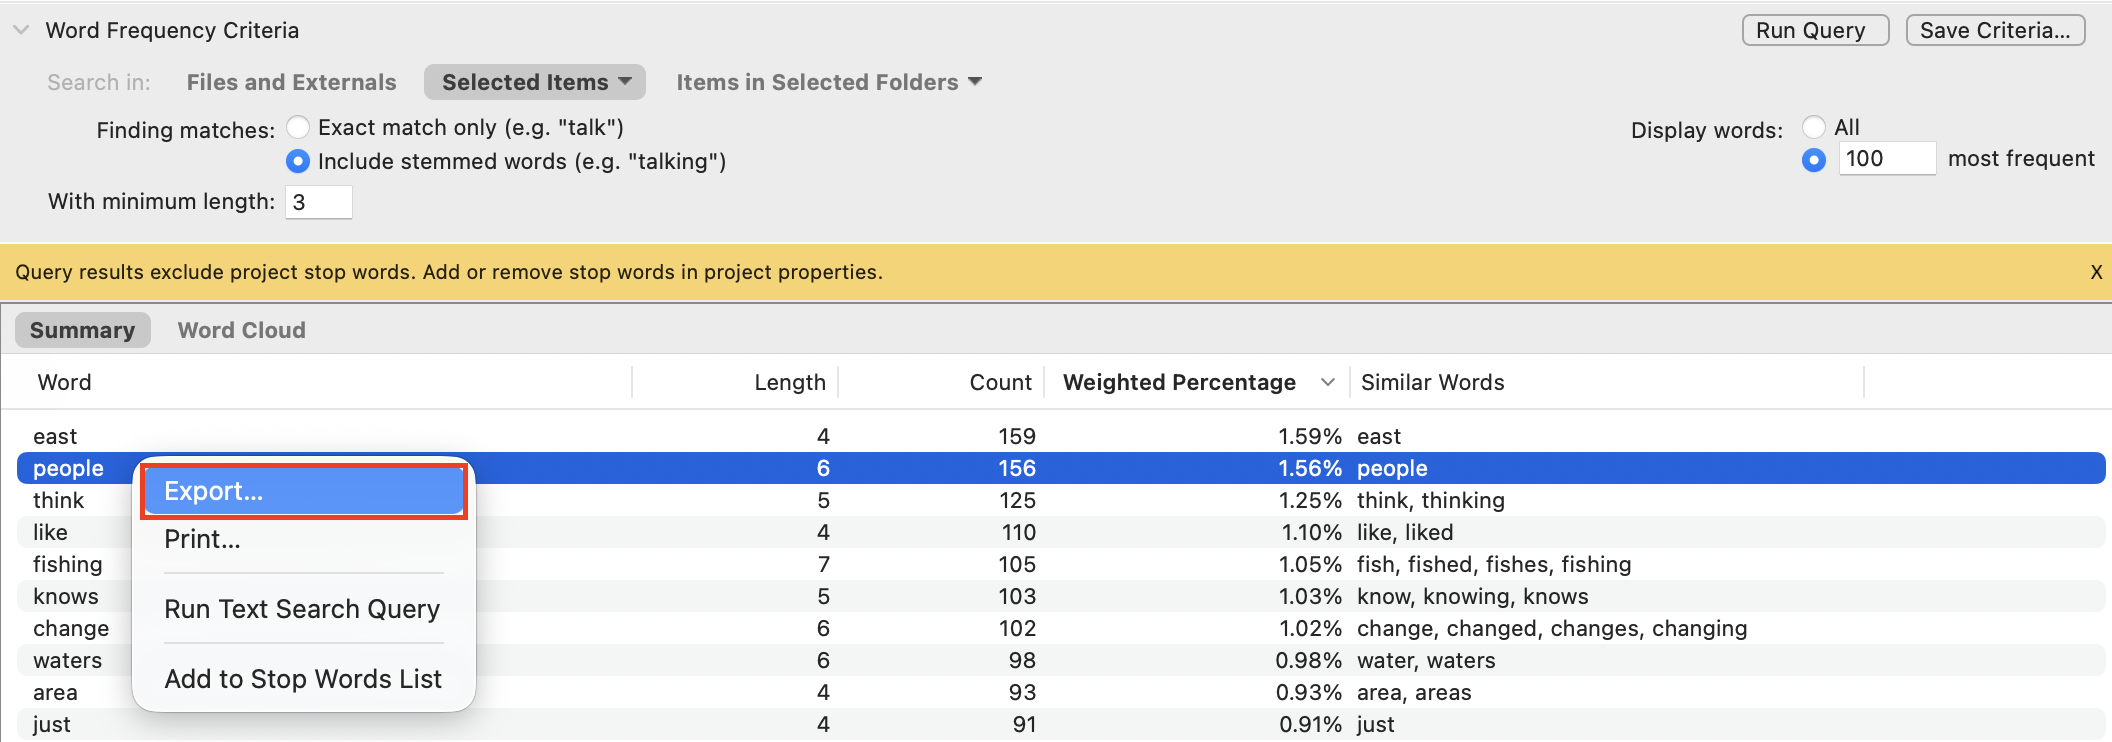
Now we should see the results of our query. You should see a list of the top most common words in our interview transcripts, sorted with most common at the top. It tells you how many times the word (or group of similar words in our case) occurred and the last column shows you what words were grouped together.
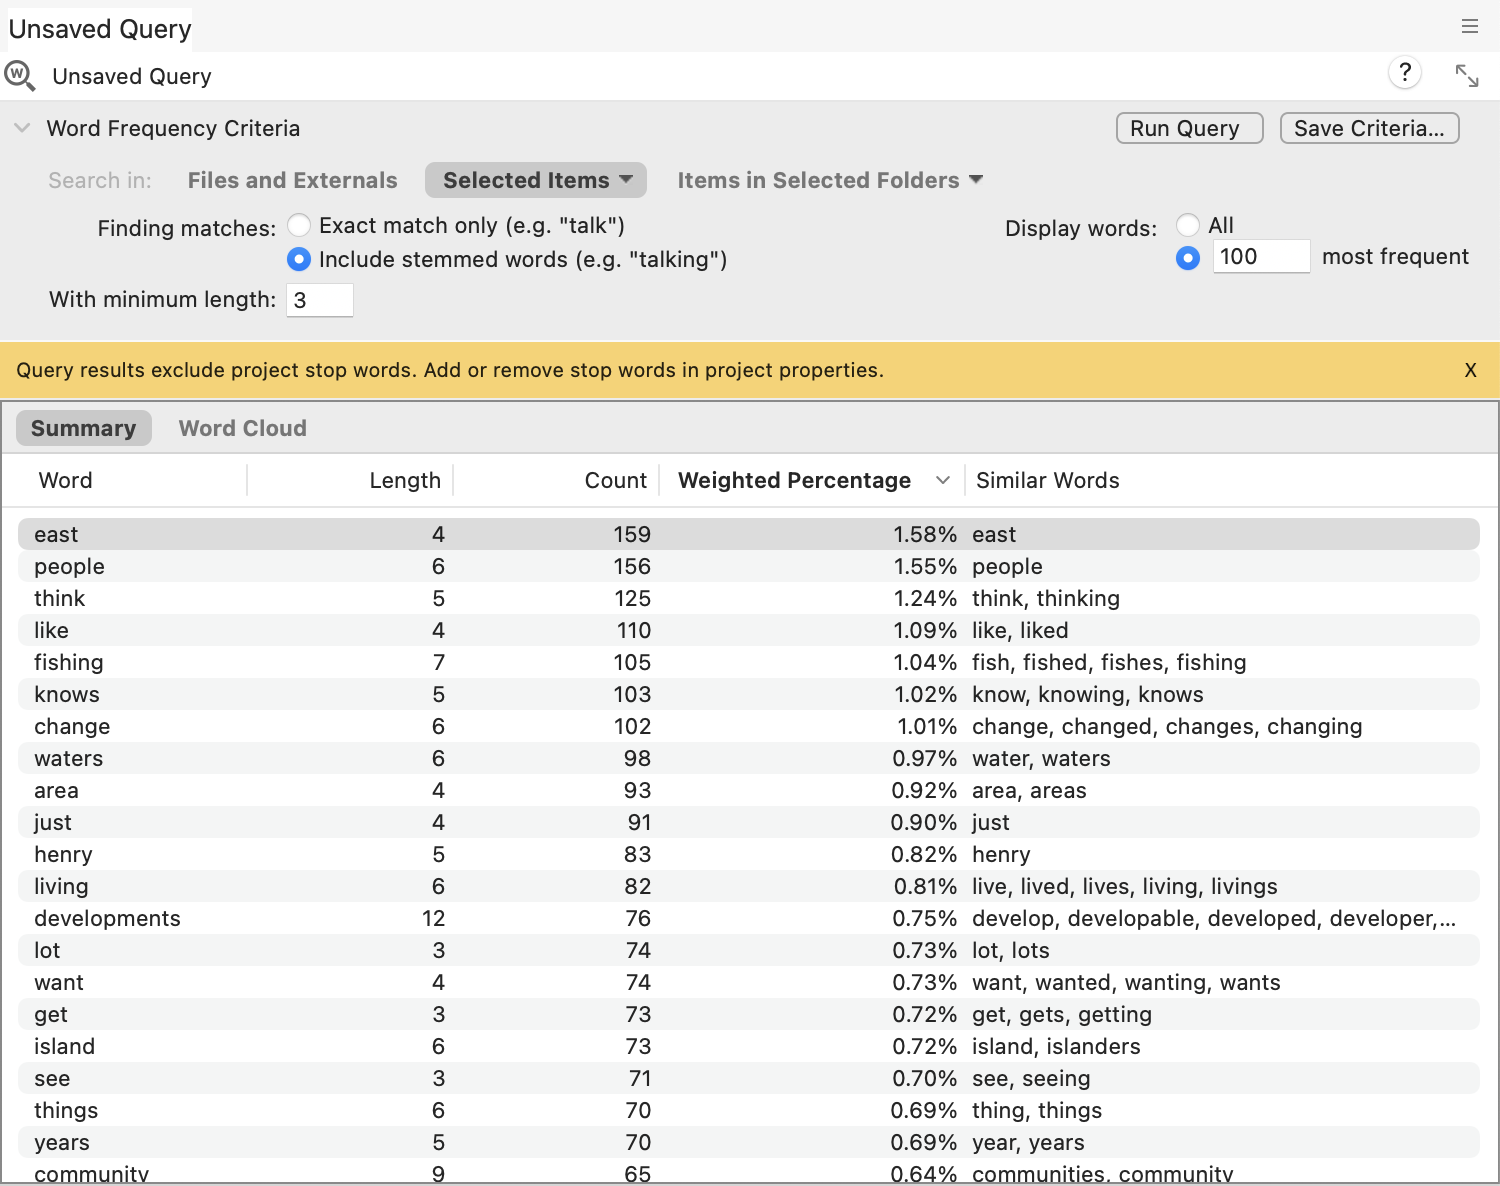
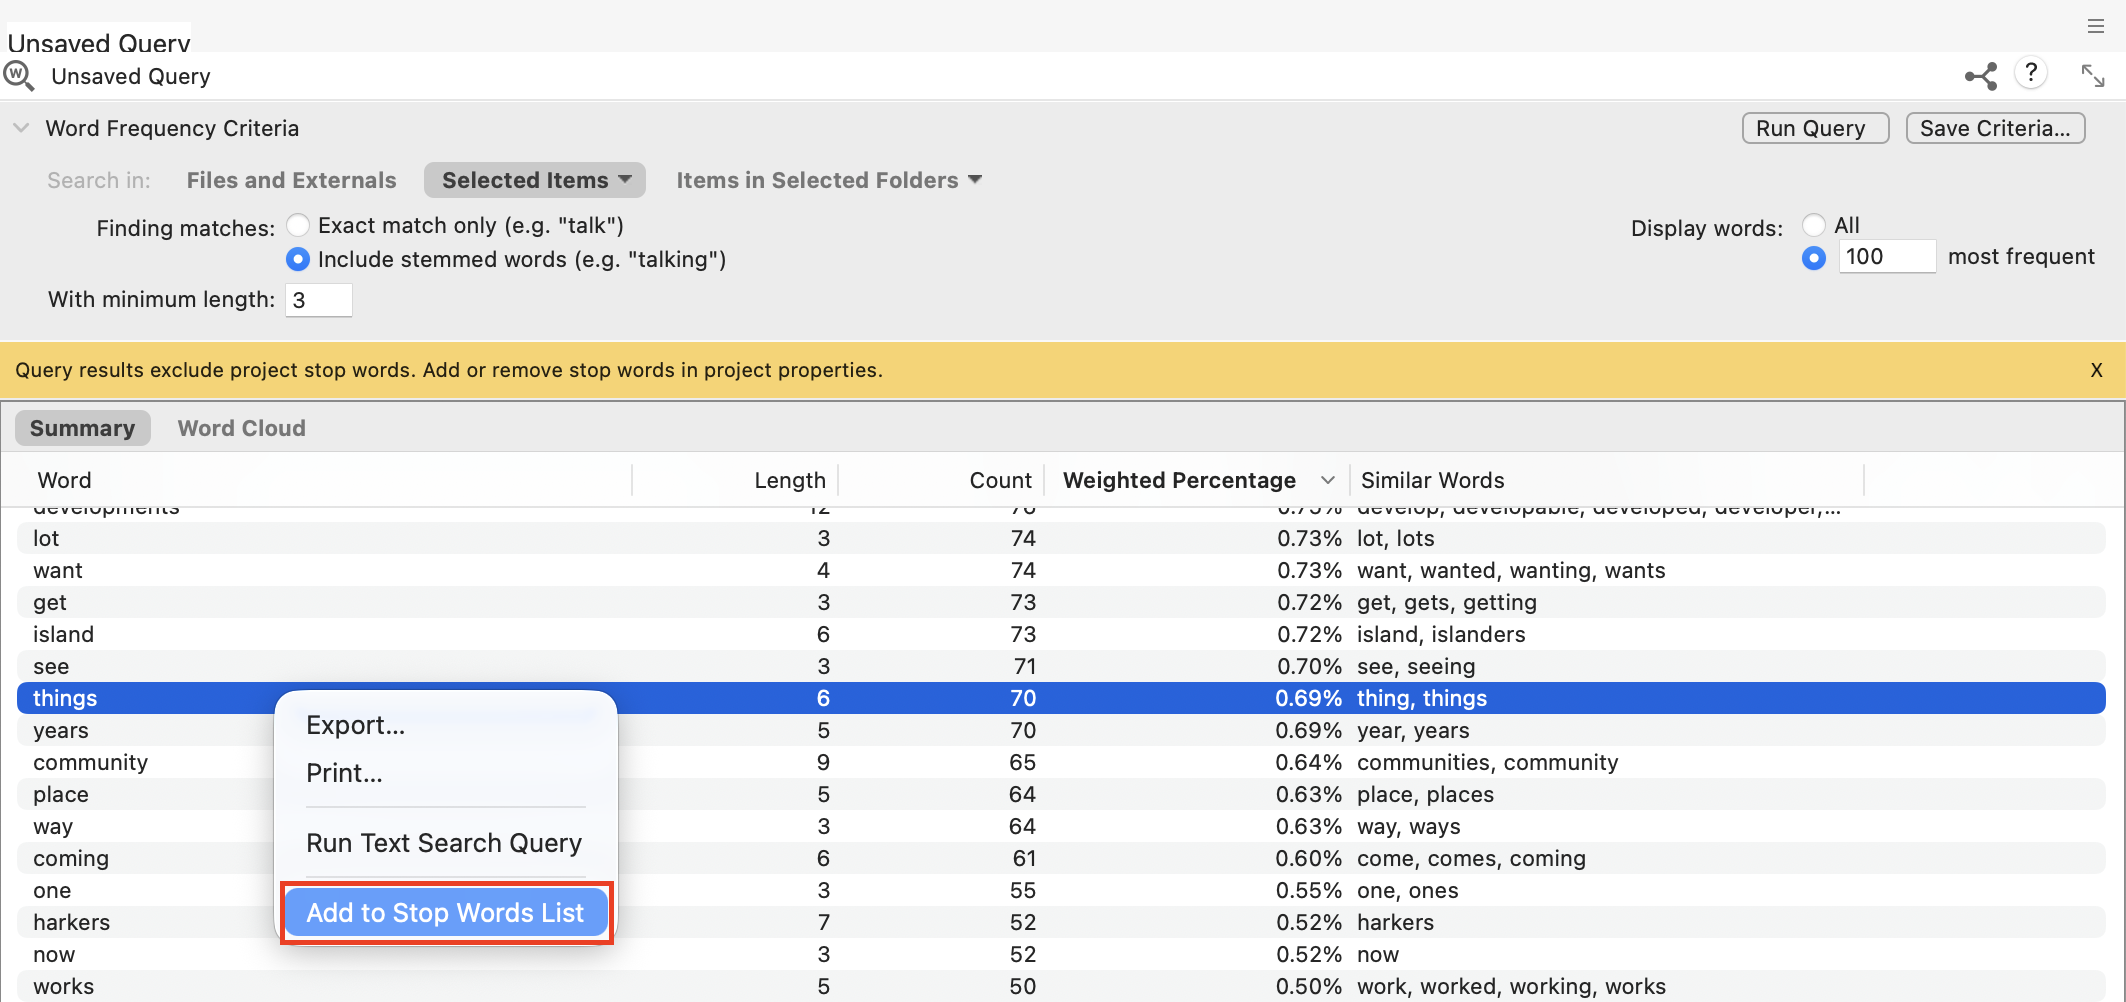
Just to note, word frequency lists normally ignore stop words, which are really common words that wouldn’t be useful to analysis. For English, that would be words like “a,” “the,” “and,” etc. When you’re looking at this list of results, if you see a word that doesn’t really have much meaning in this context, such as “things,” you could add it to the stop words list and re-run the query so it’ll ignore it. Let’s try an example. Hold down the Control key and click on “things” and select Add to Stop Words List.
Then click on Run Query to re-run the query. You should see that “things” is now missing from the list.
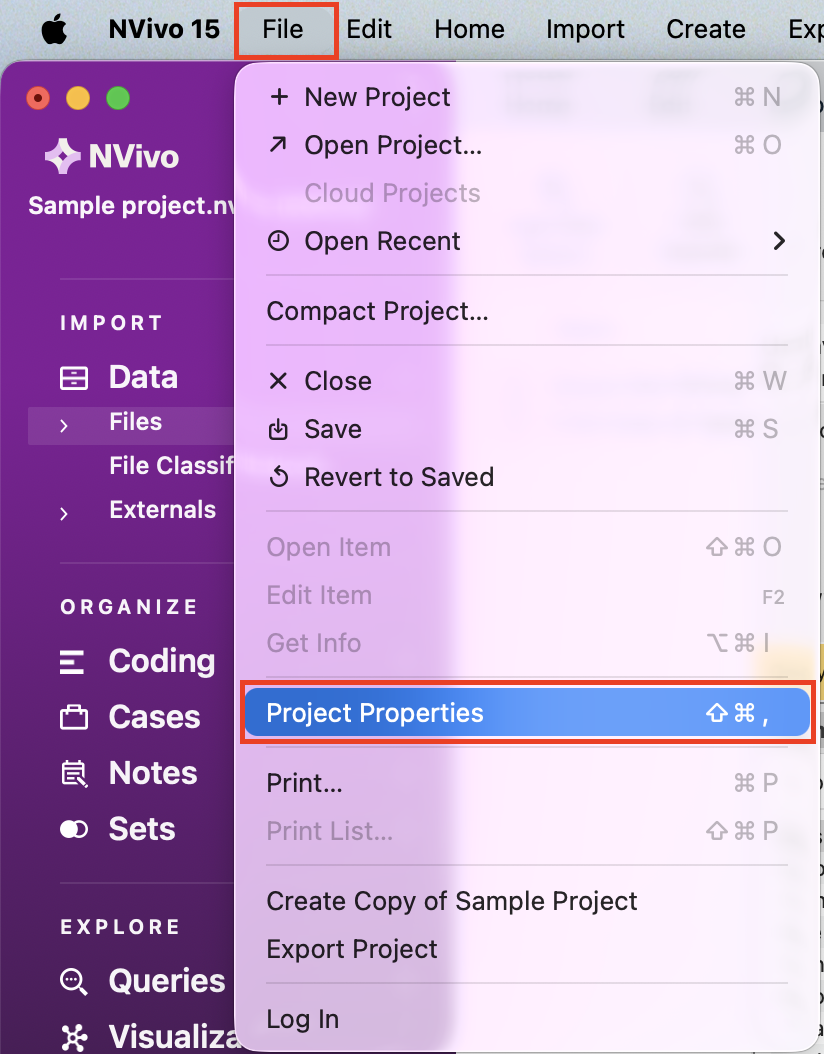
To see the Stop Words list, and even reset it, you have to go to the File menu from the menu bar at the top, and select Project Properties.
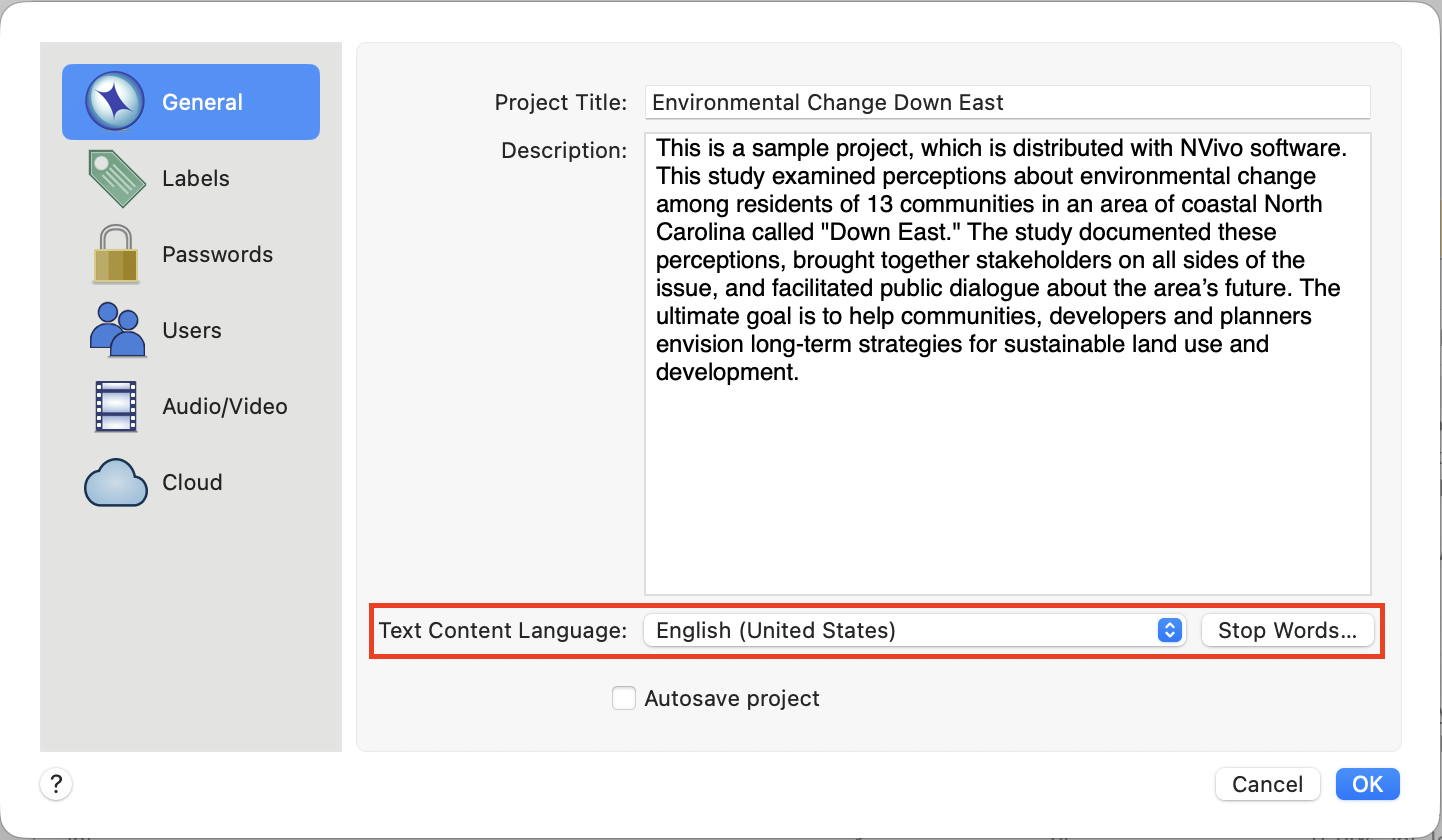
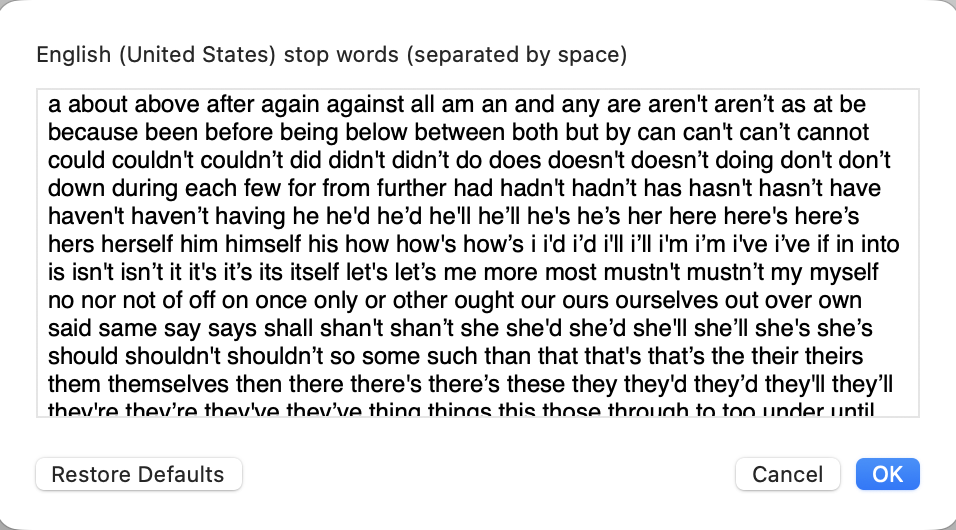
Here in the General tab, you can select the Text Content Language. The default is English (United States), but you can see other options. This doesn’t affect the interface, but is important for certain queries, such as word frequency queries and affects the stop words list. For example, you could have an English interface for NVivo, but be analyzing interview transcripts that are in French, by selecting French here. Click on the Stop Words… button to see the list of stop words in use. You can manually add words separated by spaces to this big list if you want. There is a Restore Defaults button that can be used to reset the list to the default, but for now let’s just click cancel twice and go back to the results of our query.
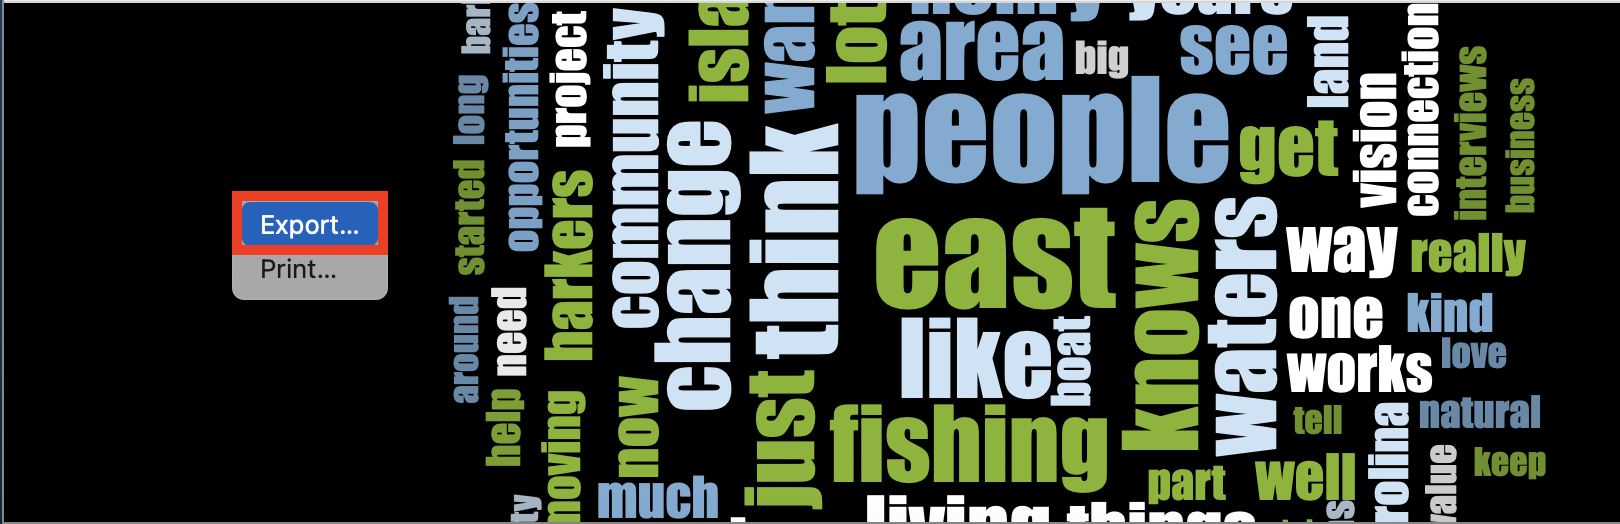
You can also export these results into a spreadsheet by holding down the Control key and clicking on the table and selecting Export.
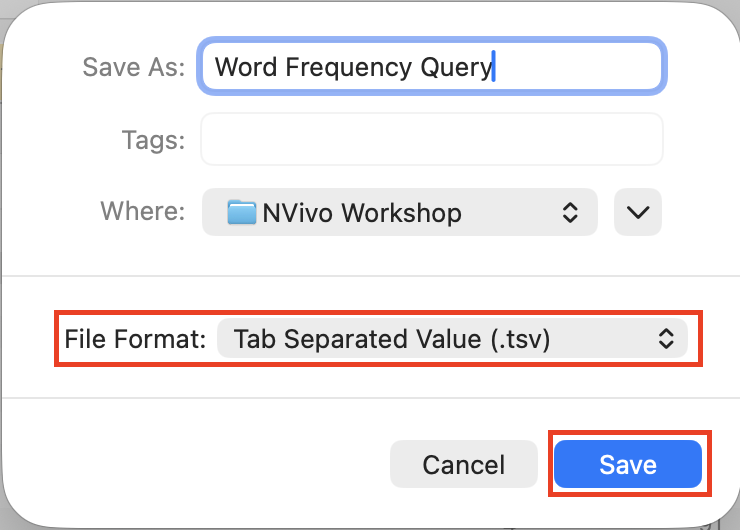
Browse to the workshop folder, give the file a name or keep the default, change the File Format to Spreadsheet (.csv), and click on Save.
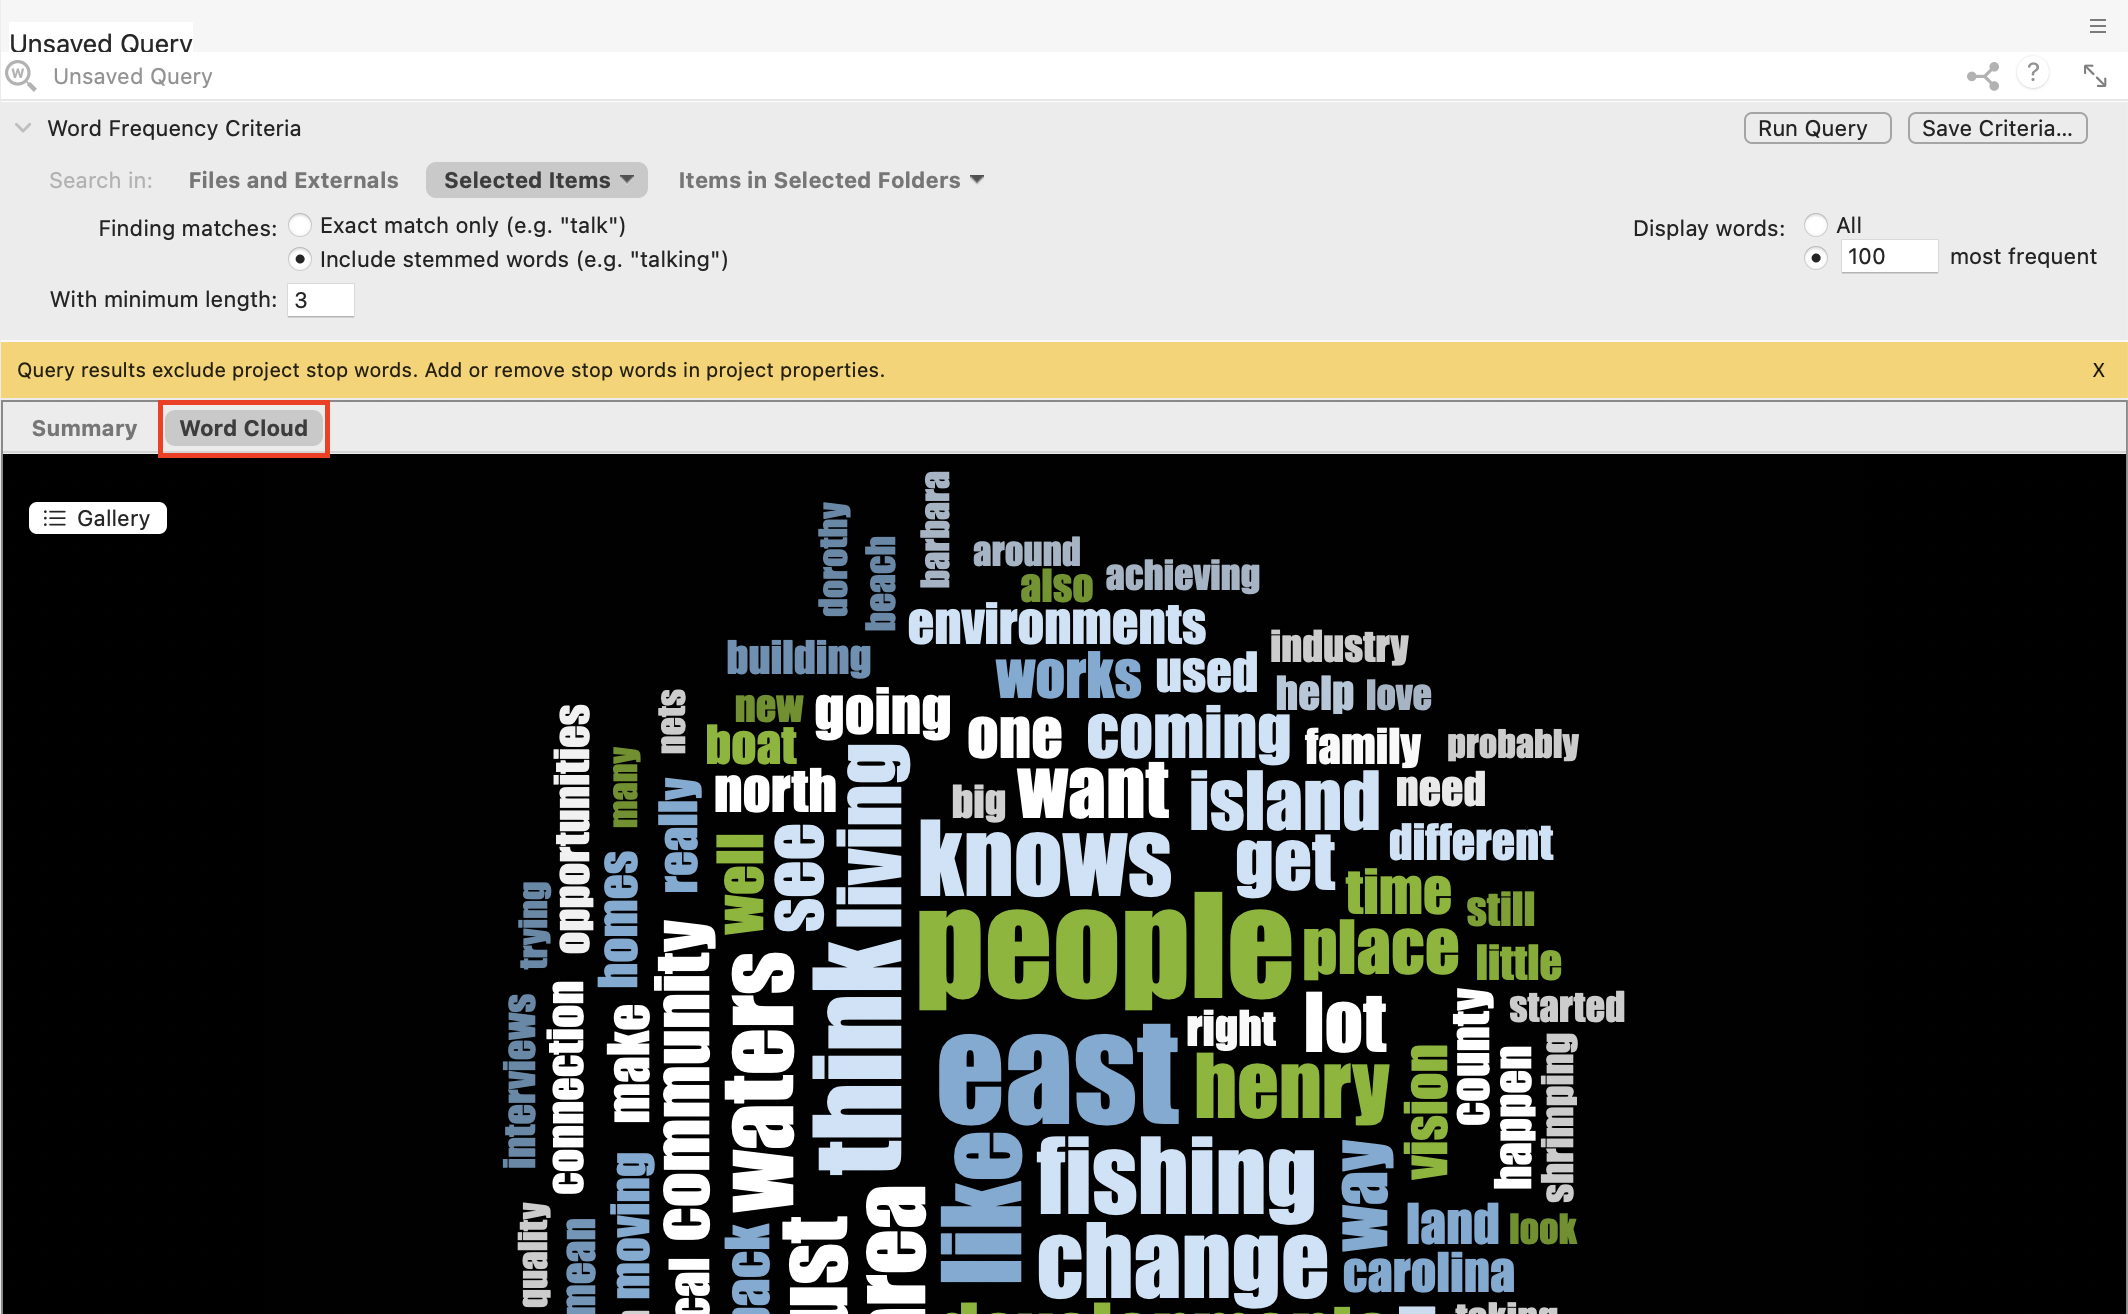
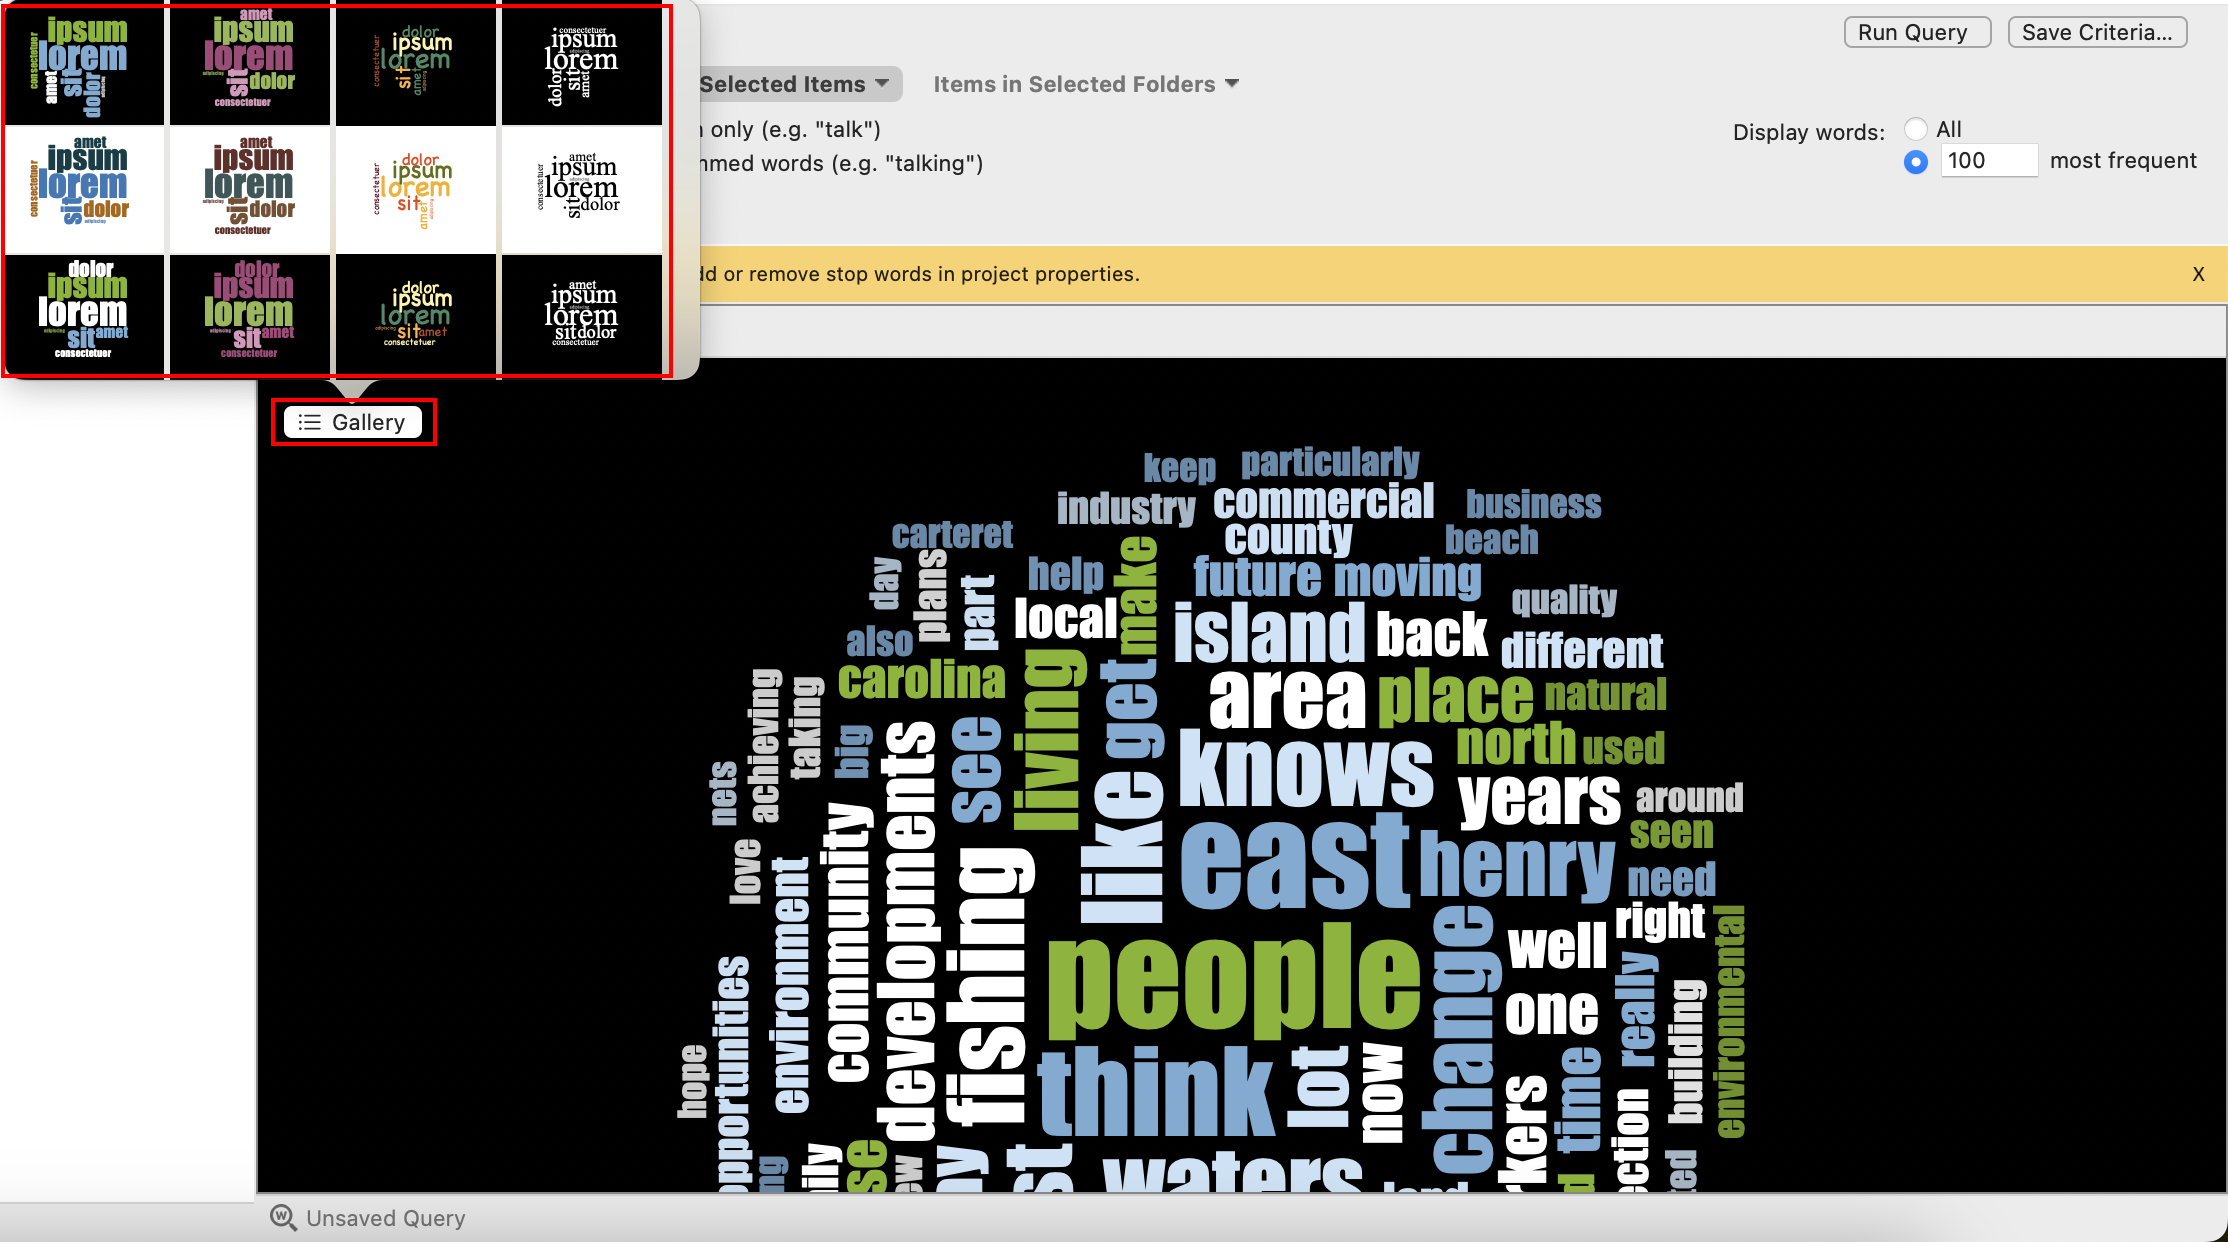
If we go back to the query results window, just above the table, you will see two tabs: Summary and Word Cloud. We are in the Summary tab. Click on Word Cloud. This shows the more frequent words, where the larger the word is, the more frequently it occurs, which is a common way to display this type of result. (Might take a few seconds to load). You can click on the Gallery button to select different themes to customize your word cloud.
You can also hold down the Control key and click on the word cloud, and then select Export to export it as an image or PDF to use later in a report.
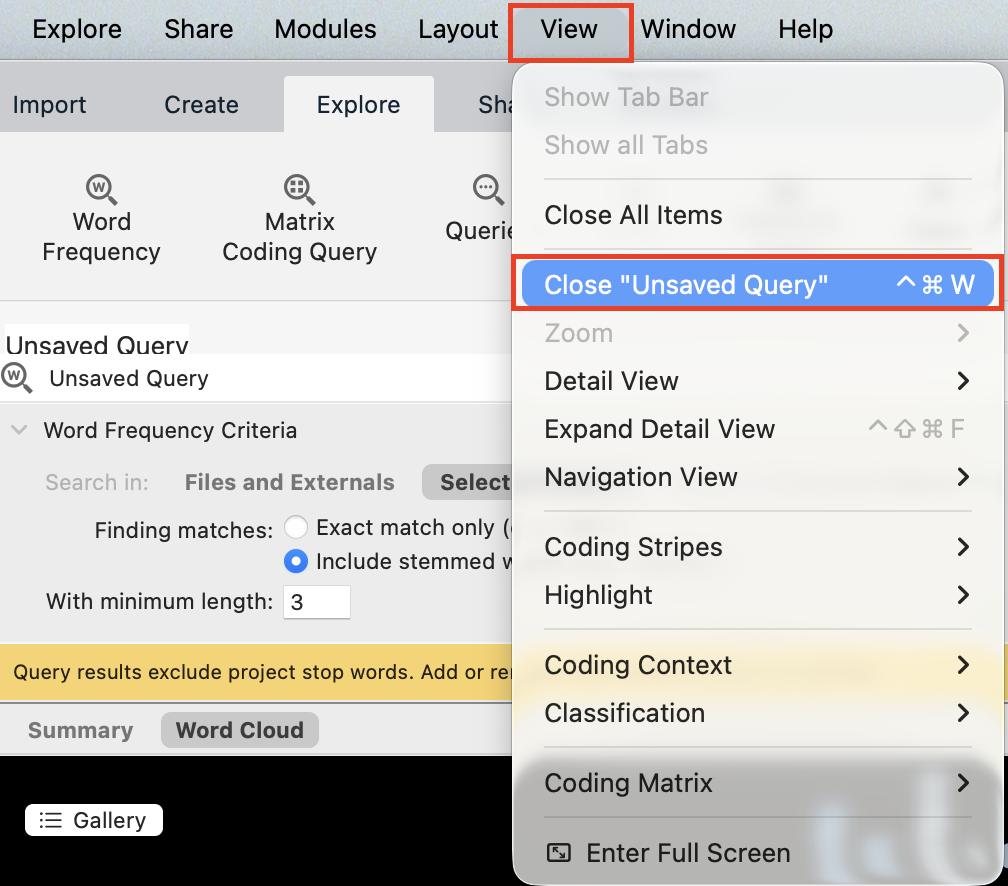
Once you’re done looking at the results of a query, close the tab. We will cover saving queries later in the tutorial.
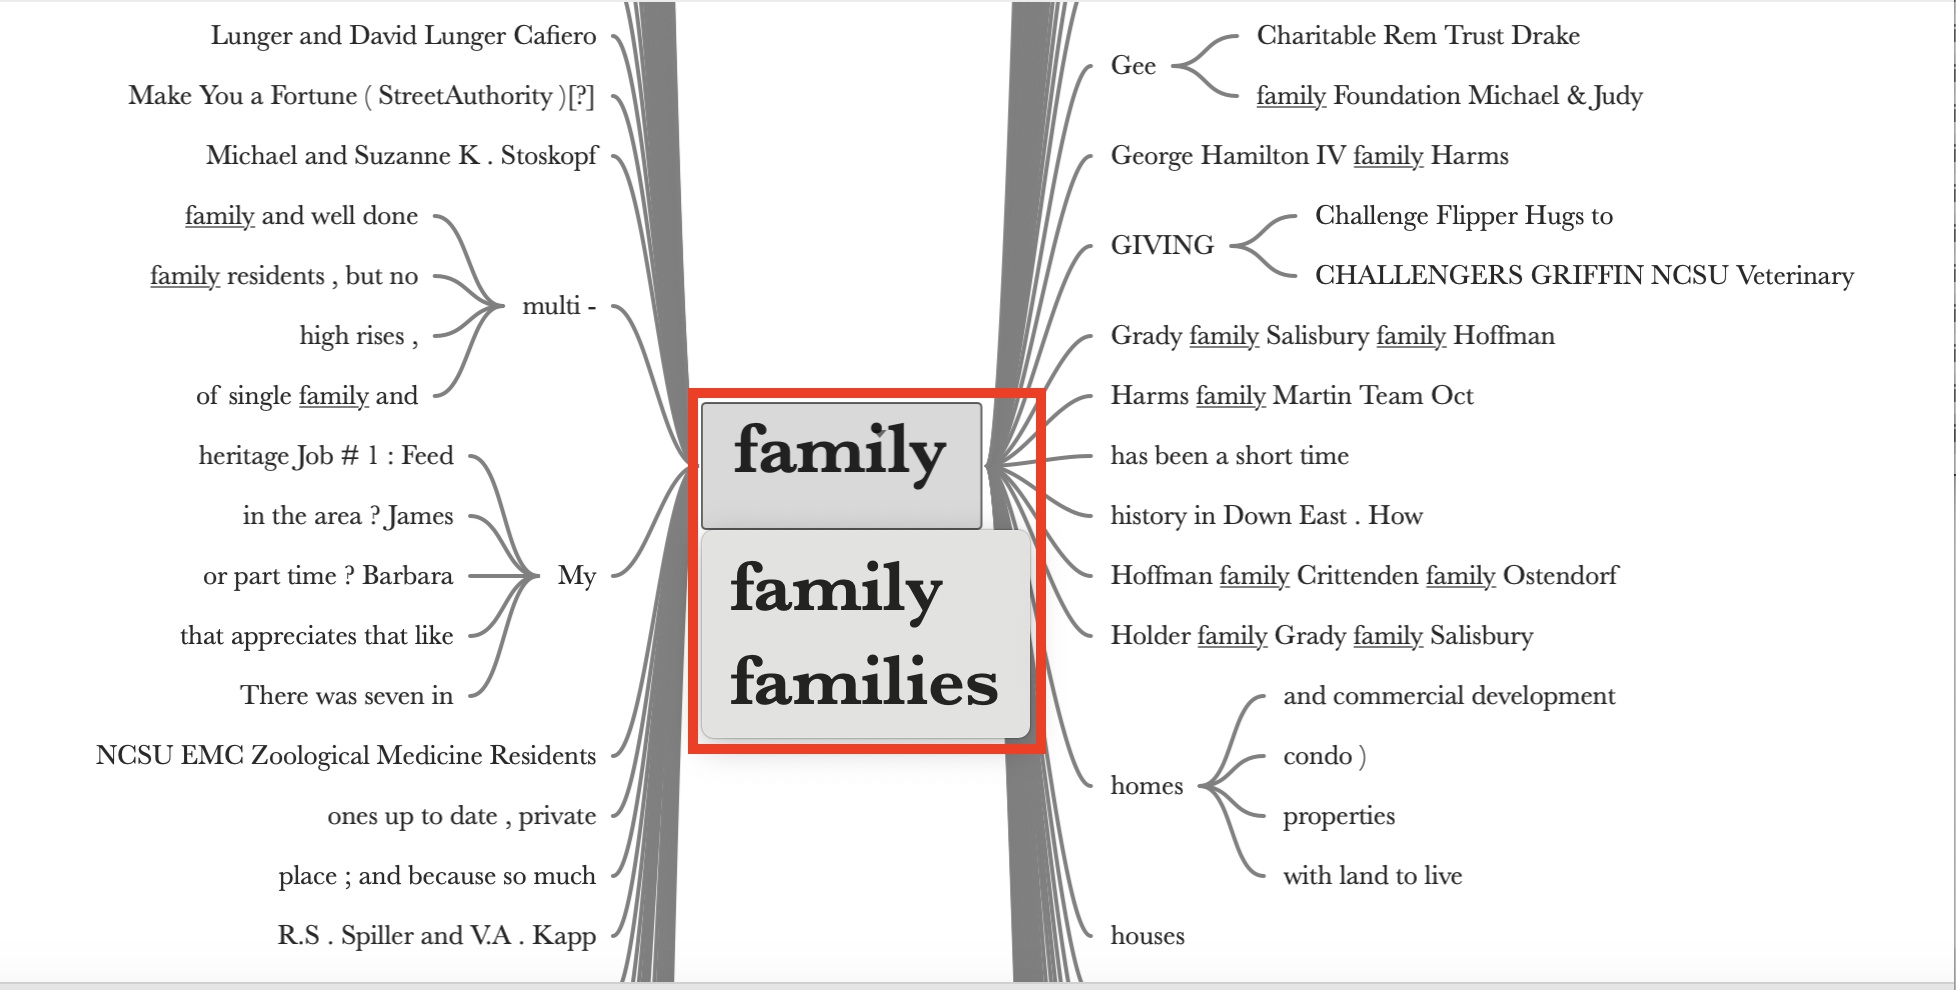
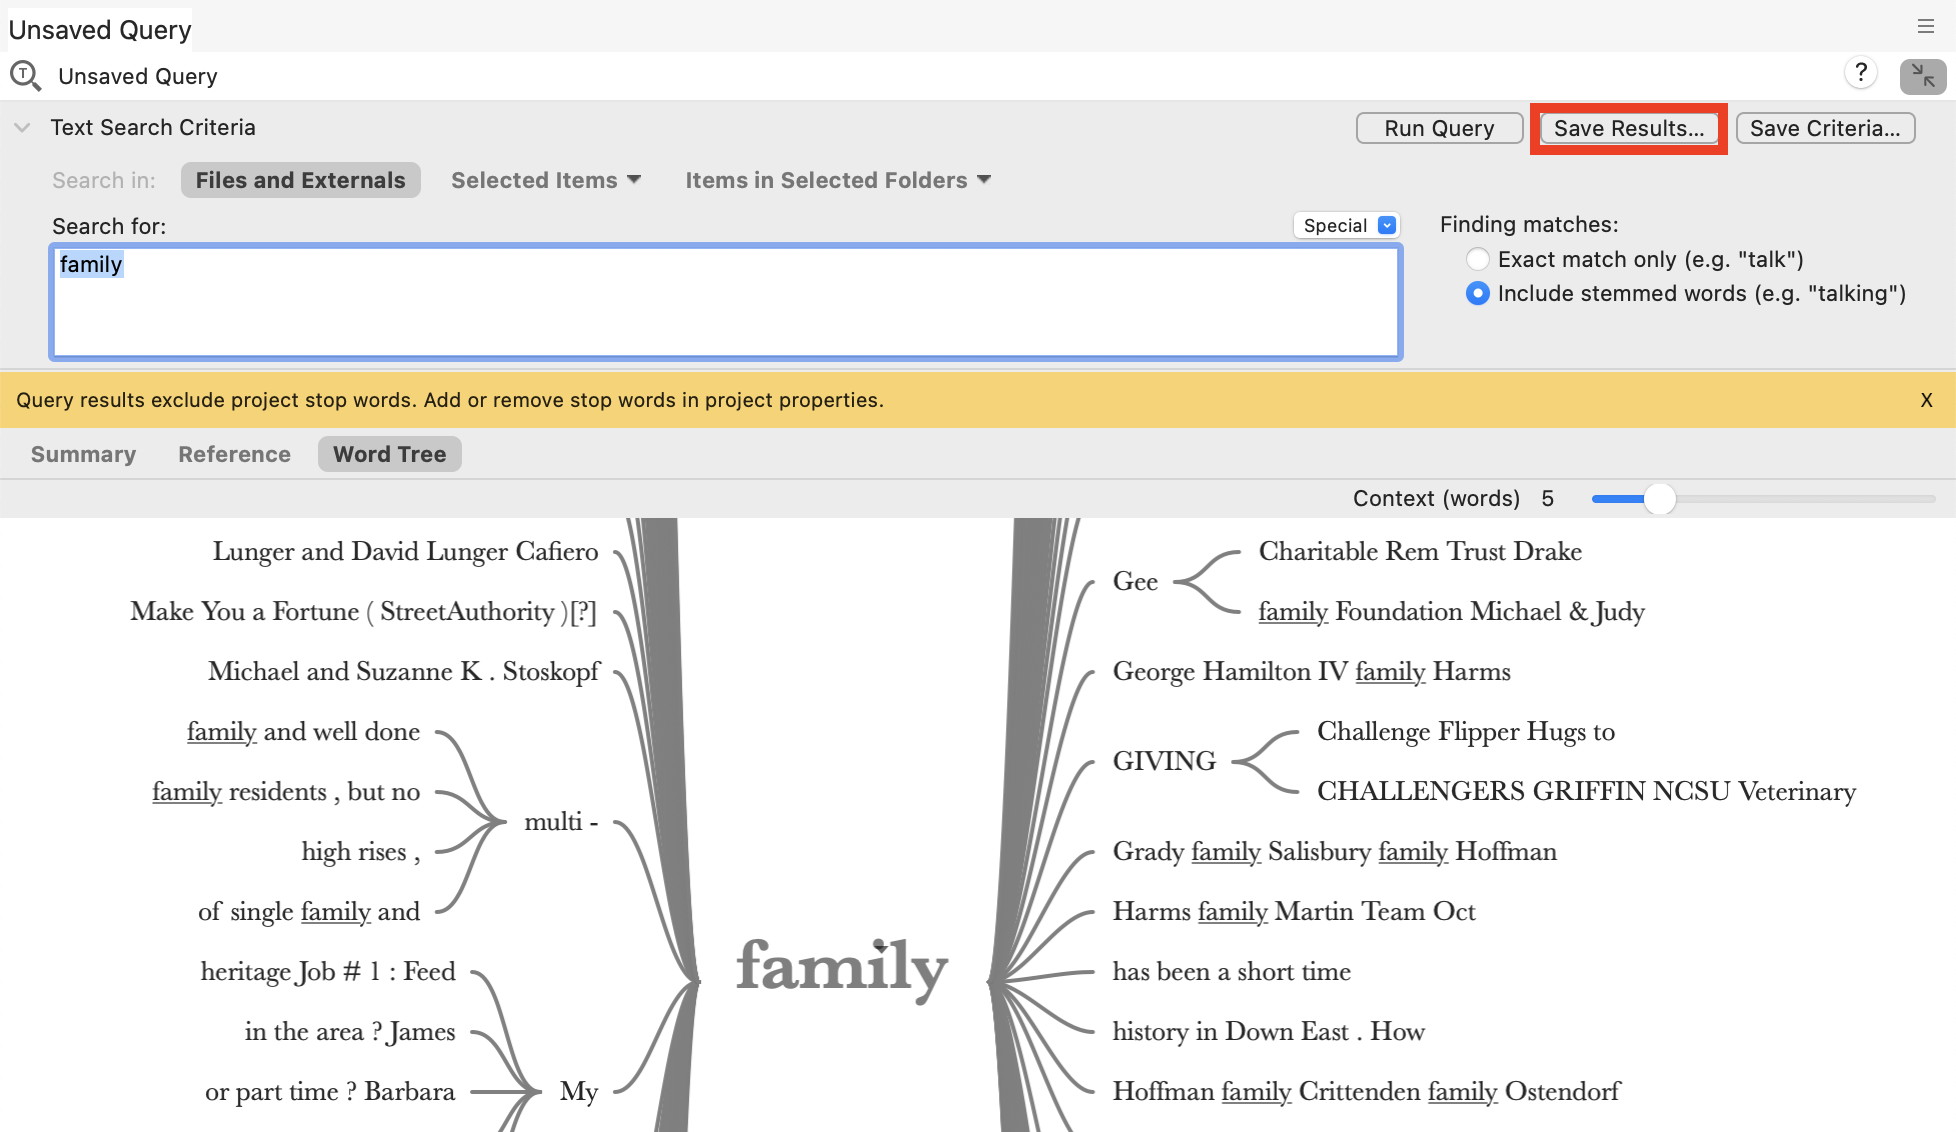
Next, let’s look at the Text Search query, which can be used to see where particular terms occur in the content. Go to the Explore menu and select Text Search.

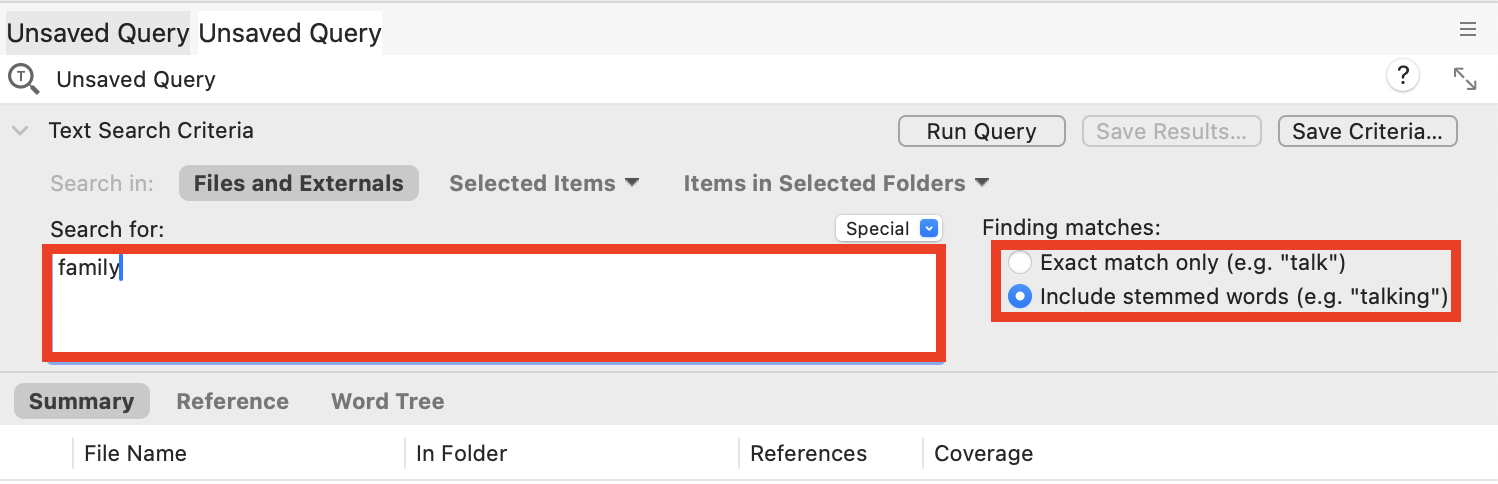
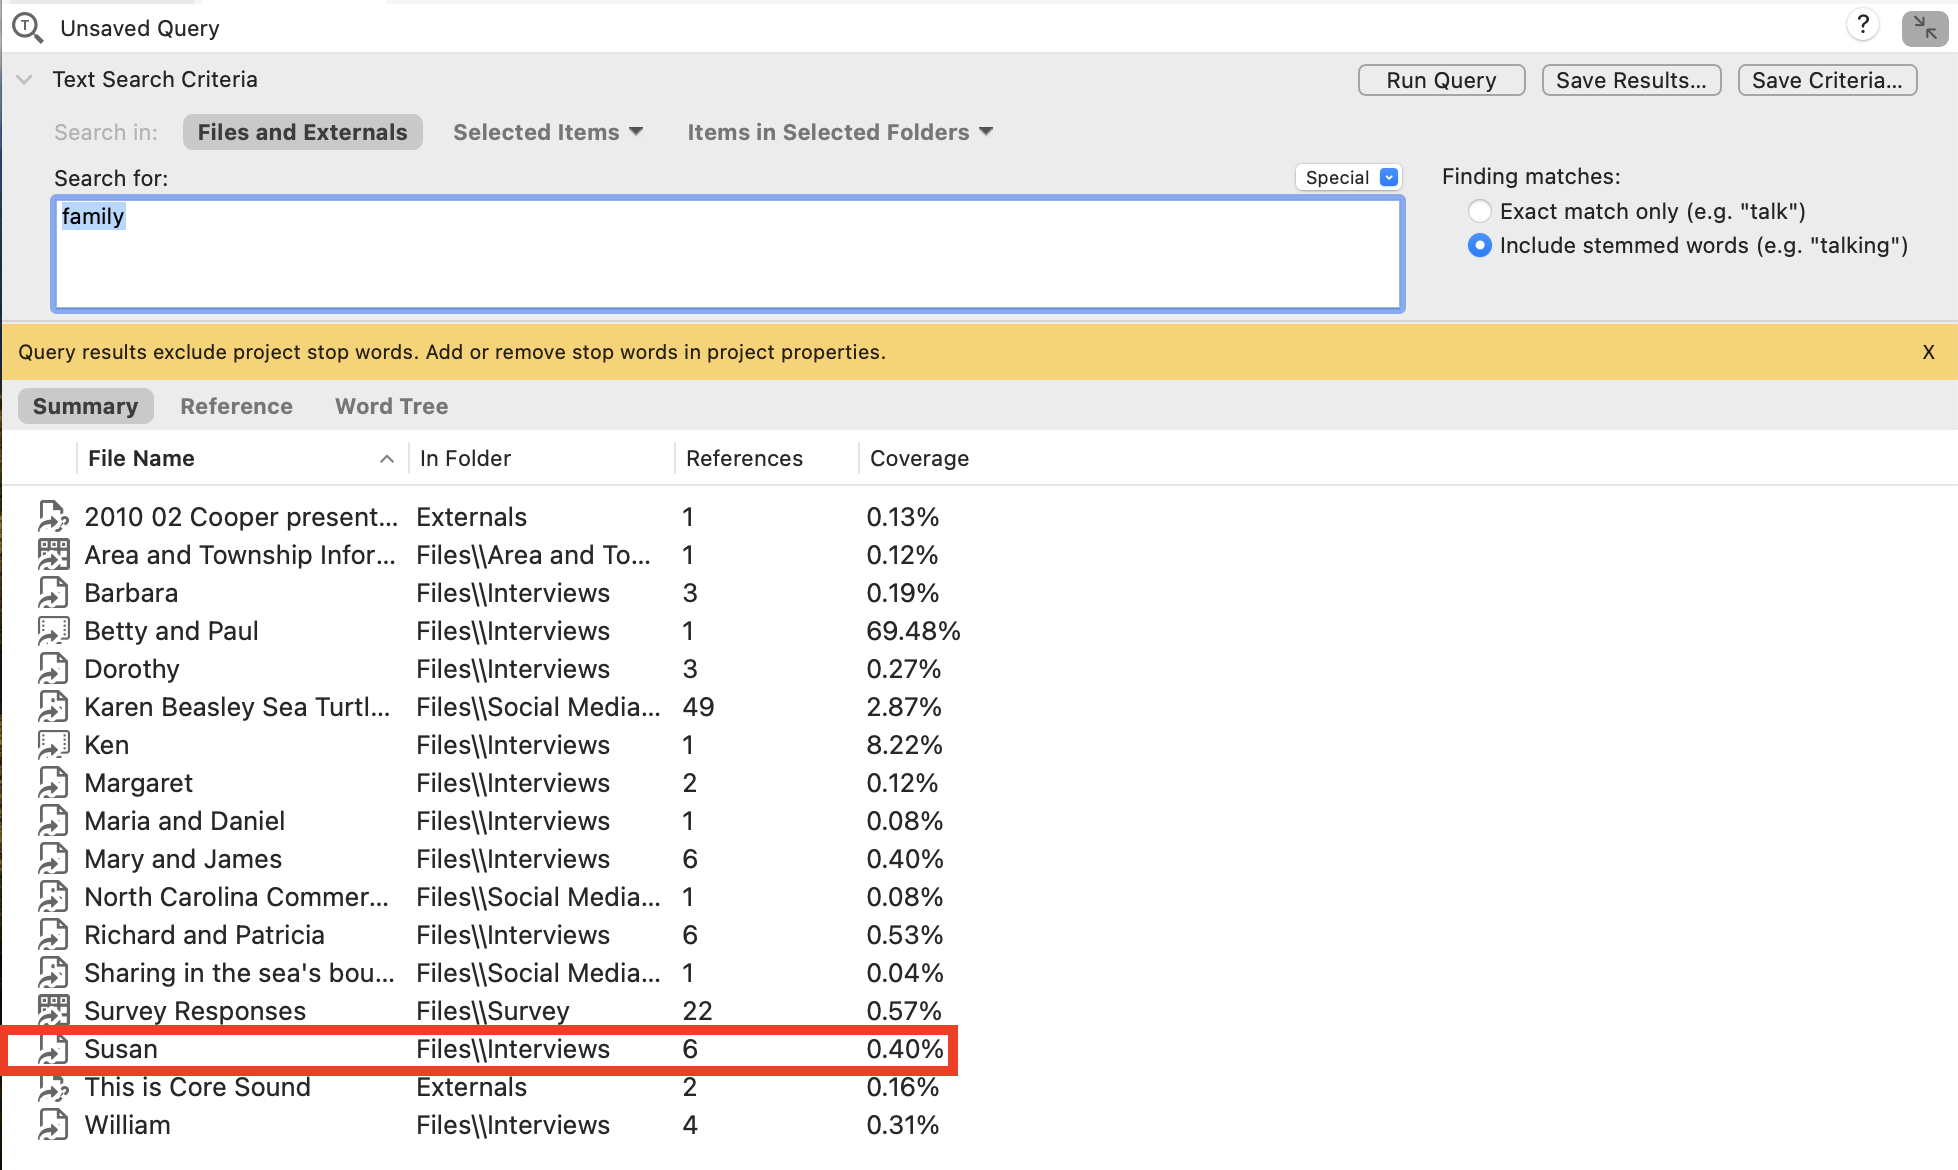
You can use it to find a word or phrase. You can search for phrases by putting them in quotation marks. Let’s try typing “family” in the search box and choose Include stemmed words, so that it will also search for “families” similar to what we did in the Word Frequency query.
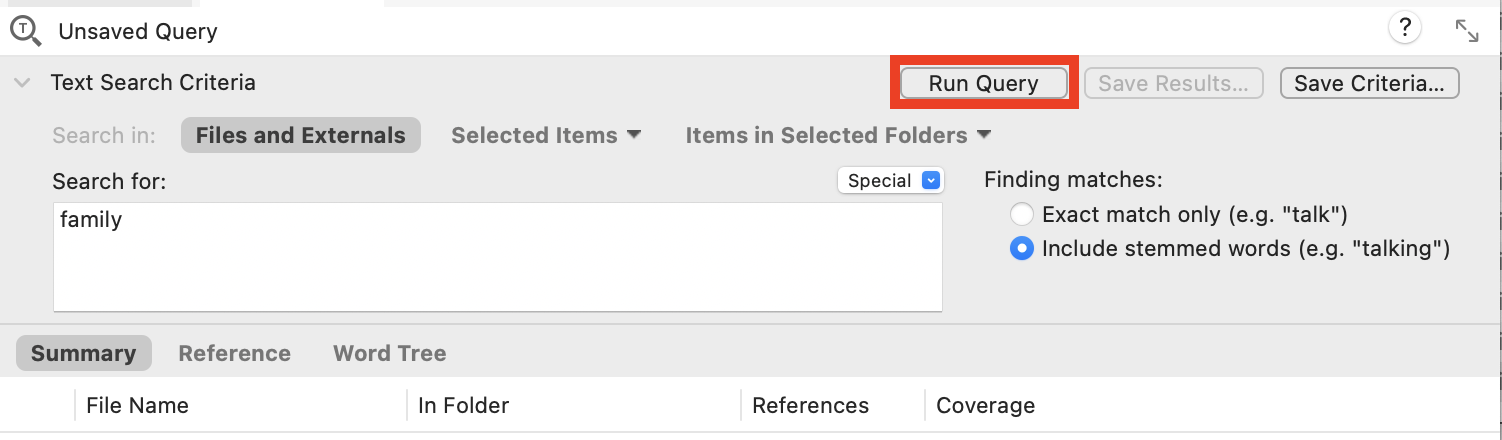
Next, we would select where it should search. As before the default is all the documents in the project. Let’s keep the default this time and just run the query. Select Run Query at the top.
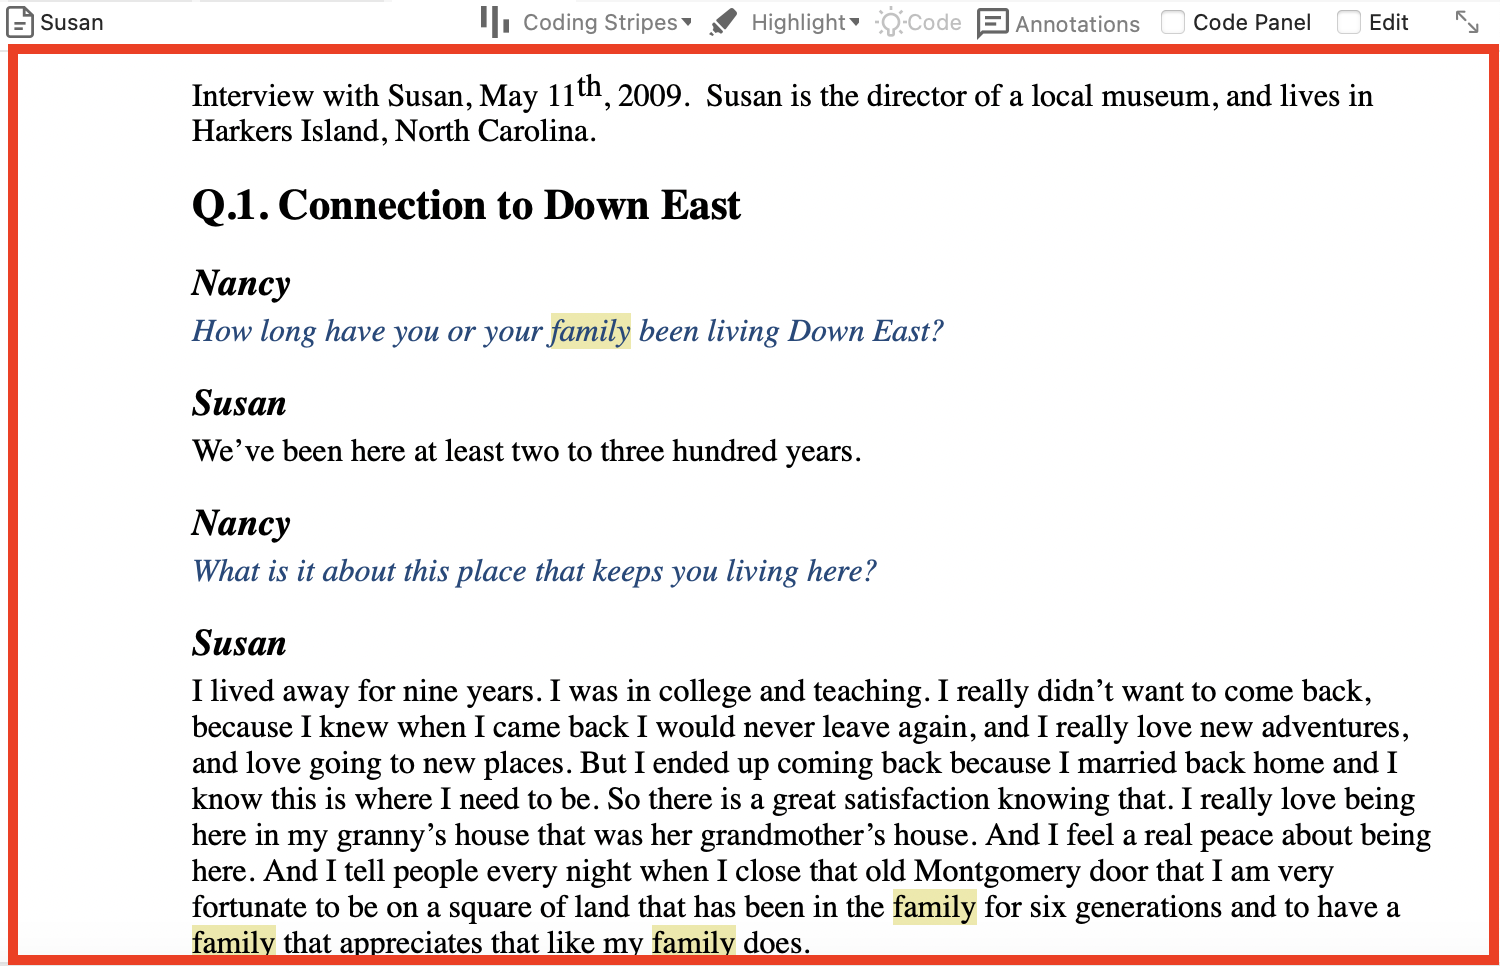
You will be presented with a list of project files that contain that reference. You can double click on a file to see the references. Try that with the item called “Susan,” which you can see has 6 references.
This opens up Susan’s interview transcript. You can use this to help find references that you might want to code.
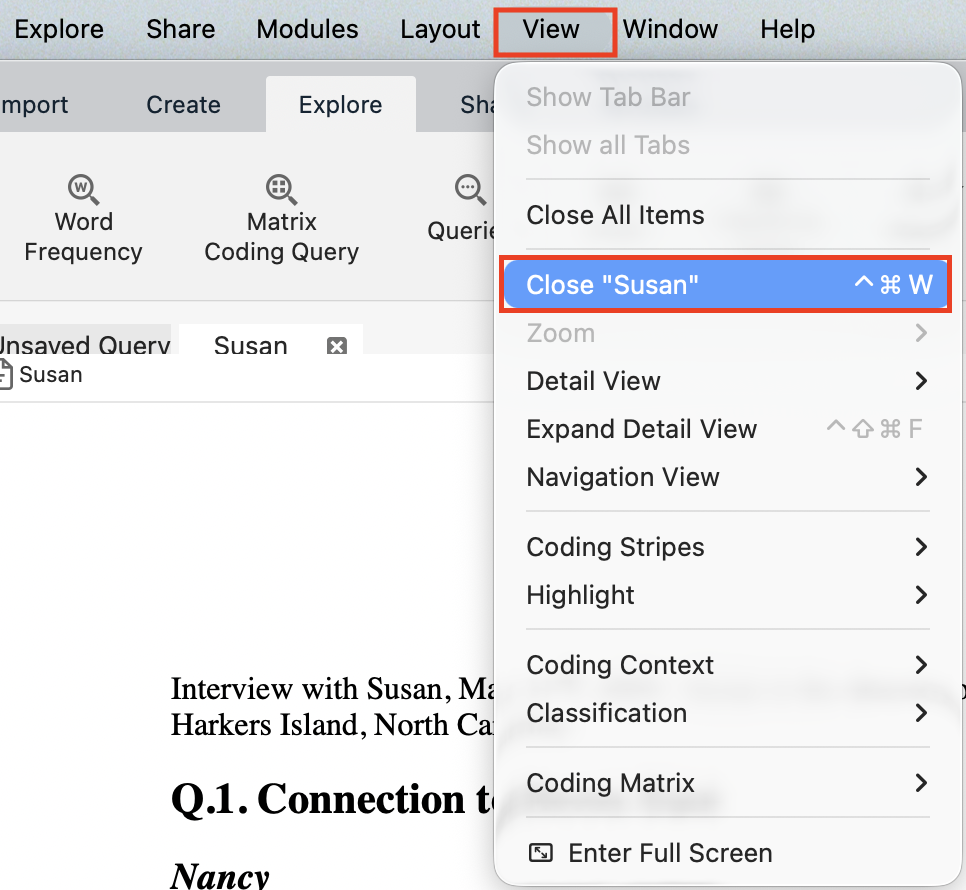
Go to the View drop-down menu, and click on Close “Susan” to go back to the query results, or hover over the Susan tab and click on the X .
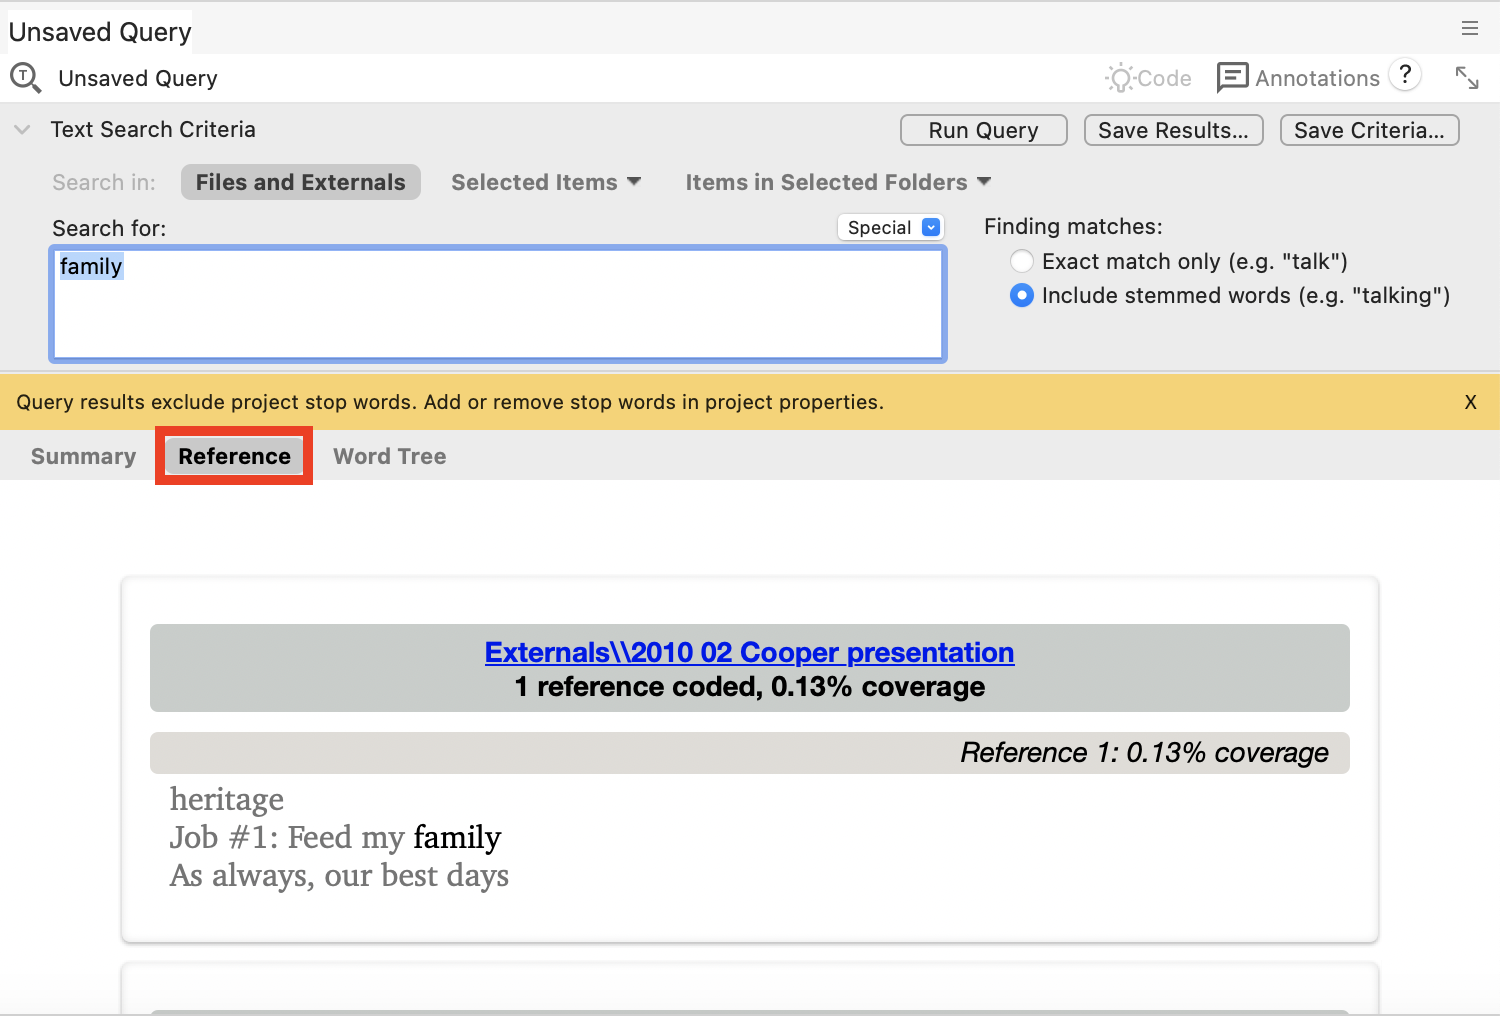
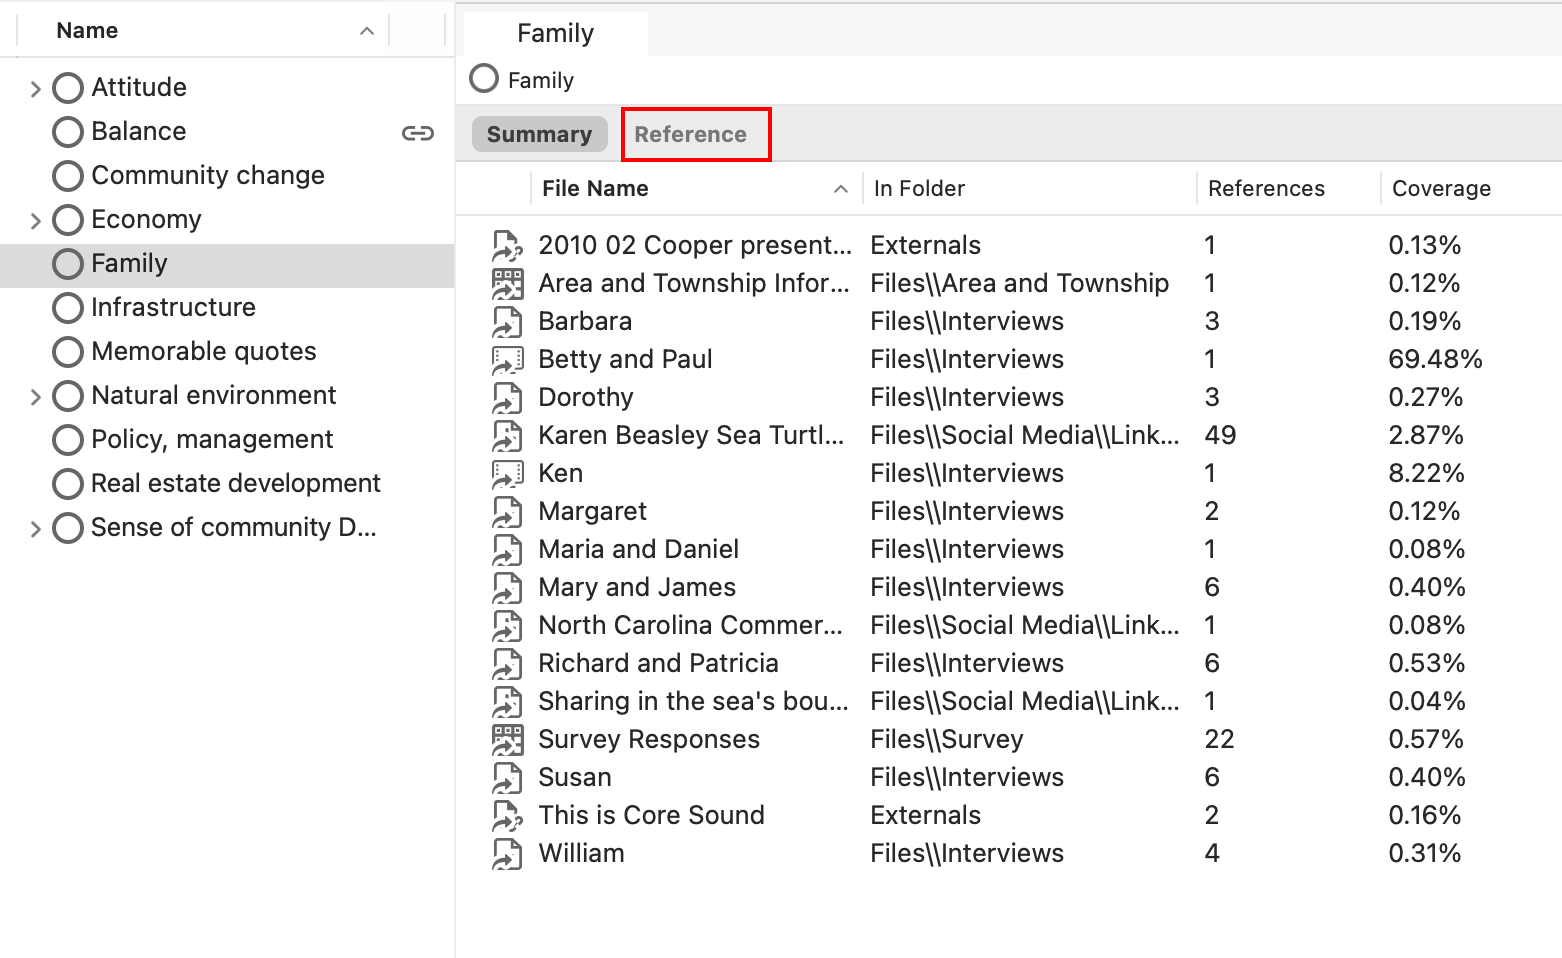
Above the results you will see the Reference tab. You can click on the Reference tab to see all of the references together in one page.
Click on the final tab, Word Tree, which shows you what words often come before and after the term or phrase you searched for. This is useful to understand how that word or phrase is being used.

You can click on family to toggle between “family” and “families.”
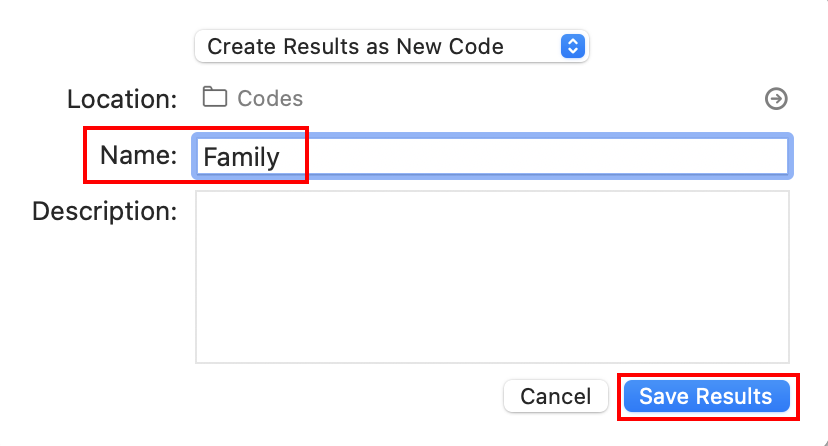
We can save the results in a code. In a way, it autocodes the search term to a new code we can call Family. Click on Save Results… at the top right.
For the location, click on the small arrow and pick Codes and then click on Select.
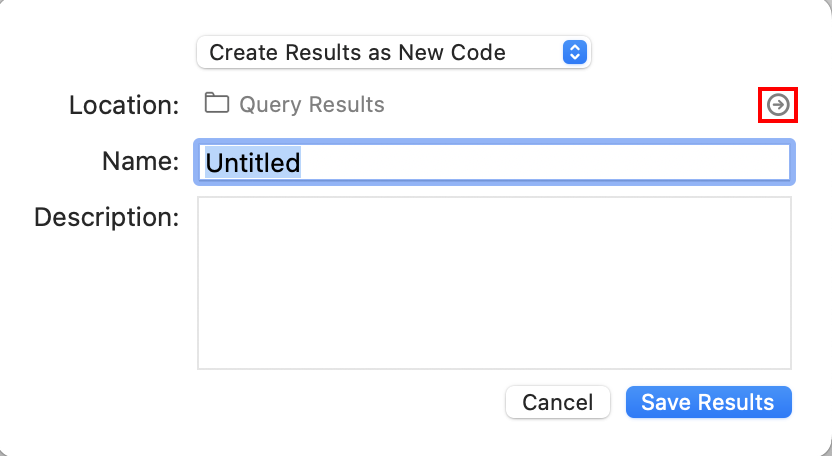
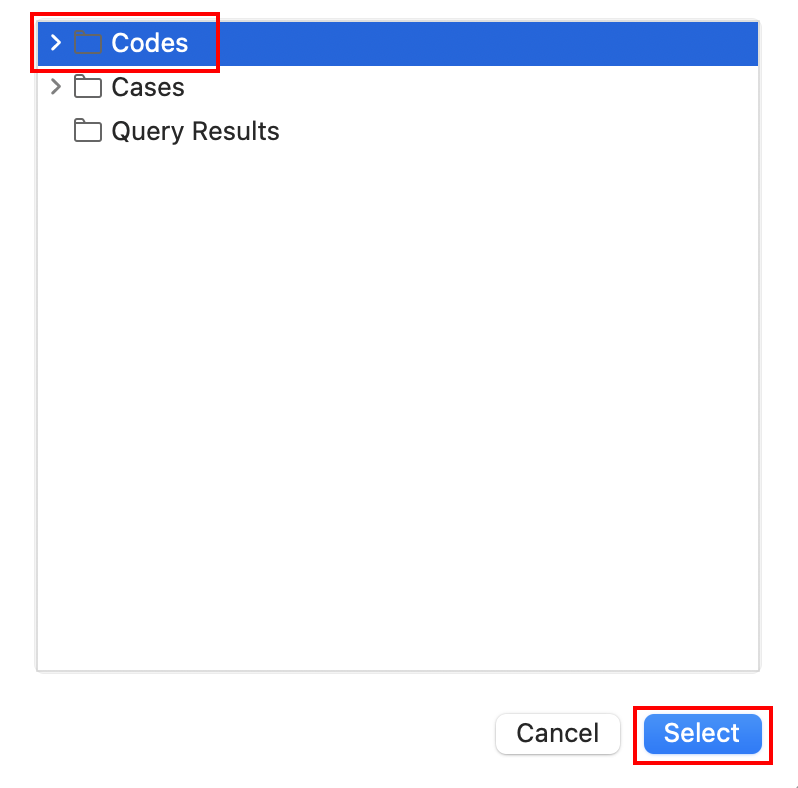
Call it “Family” and click on Save Results.
Close any windows open. Then using the left menu, under Coding, go to the Codes folder. You will see a new code called Family.
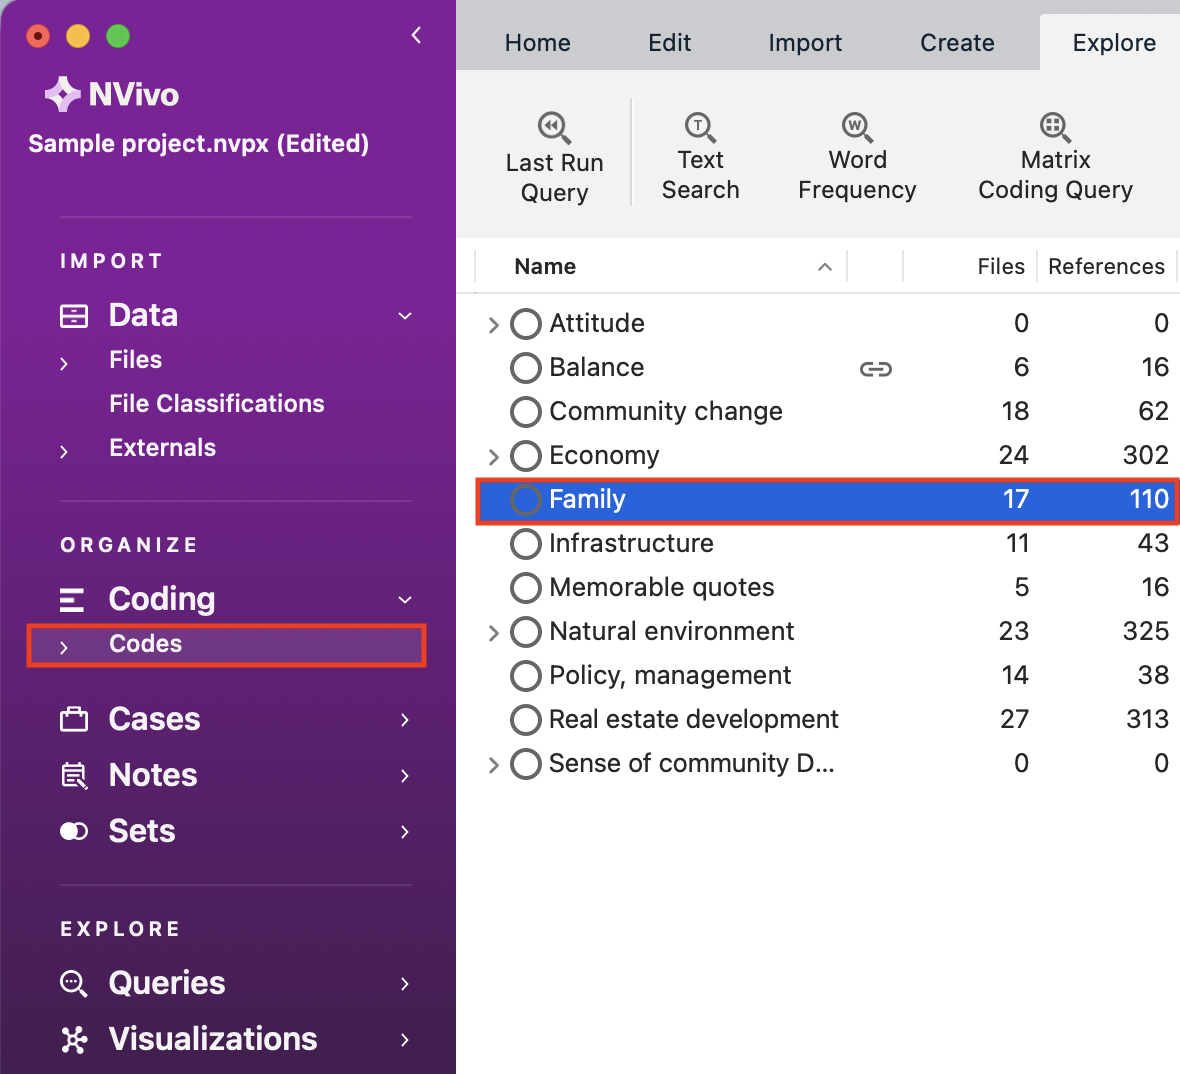
Double click on the new Family code and select the Reference tab to view the results again.
Click anywhere in the references and press the Command key and “A” on your keyboard at the same time to select all.
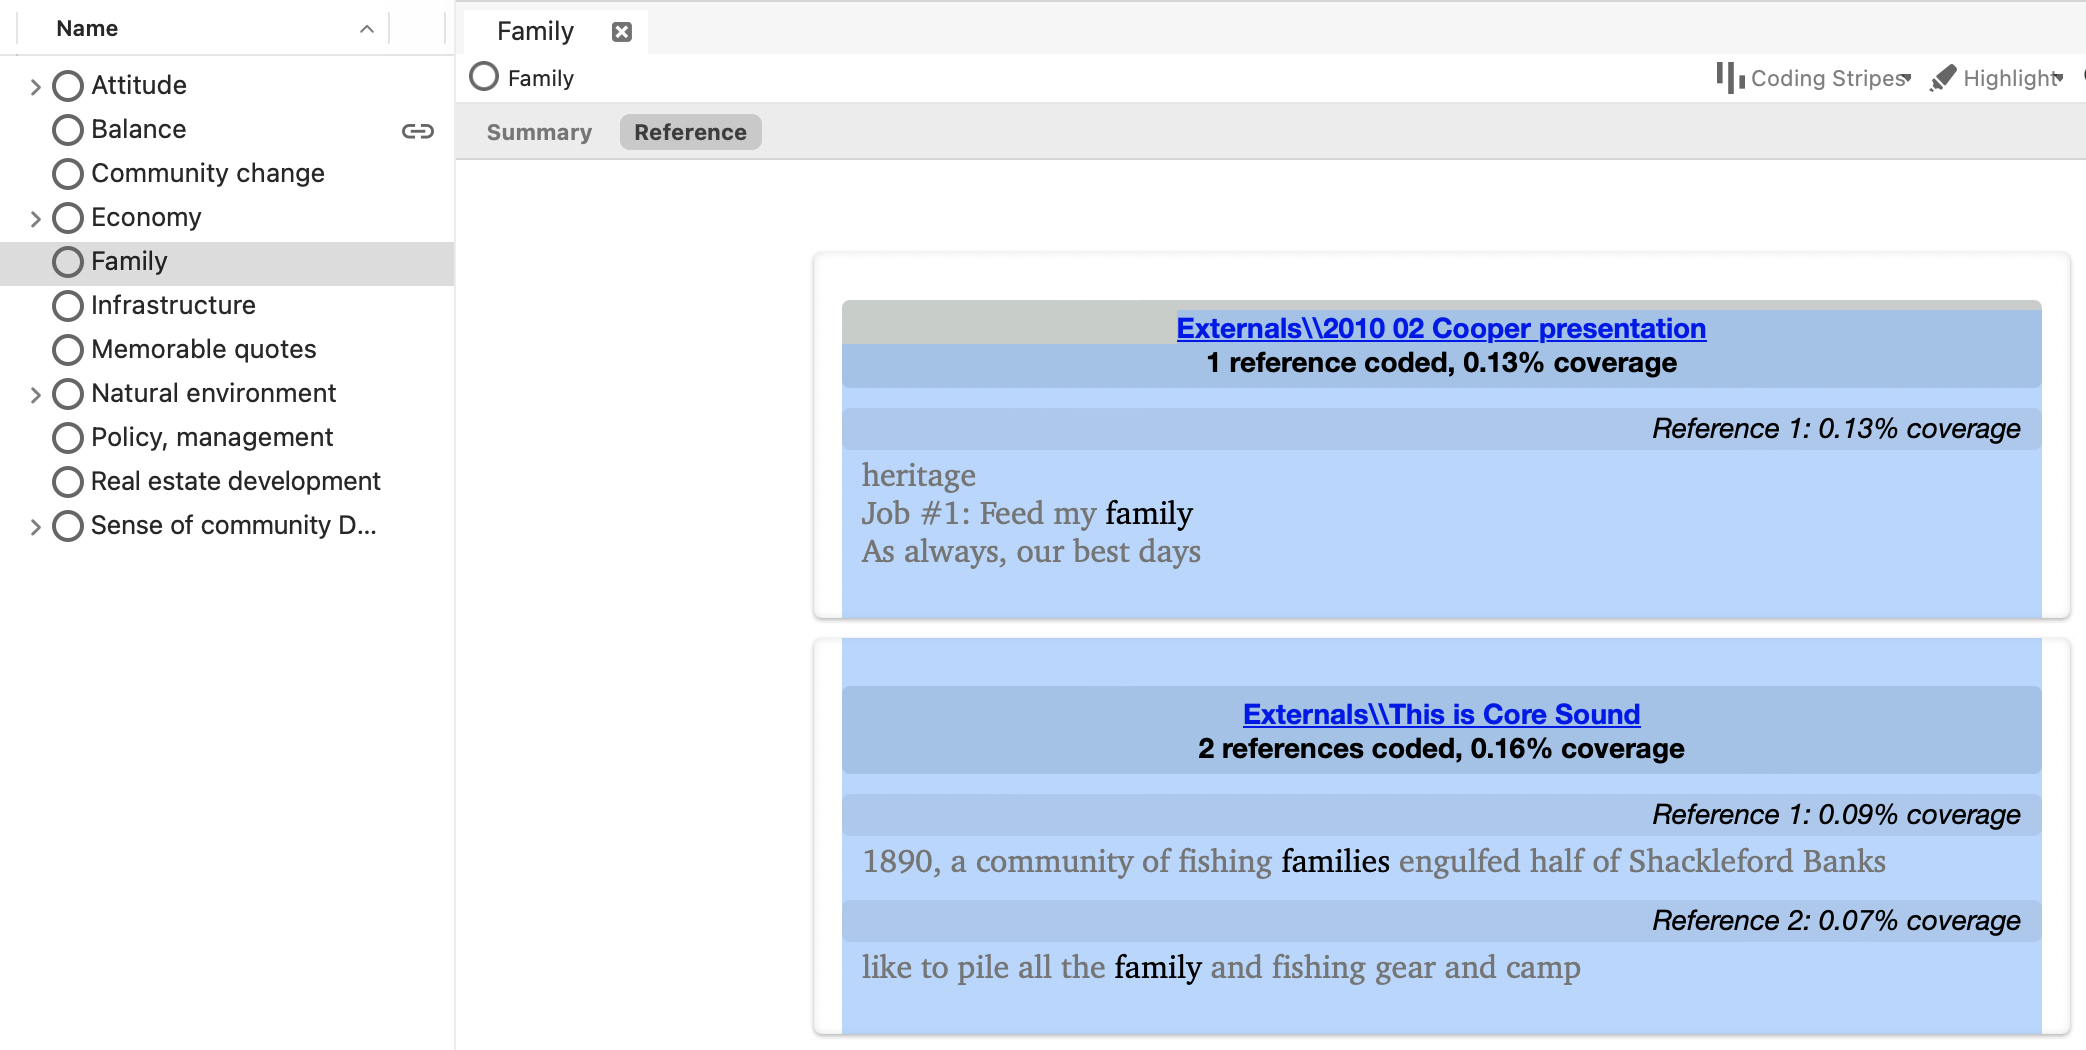
Go to the Home menu, and then click on the drop-down arrow next to Spread Coding and select Custom…
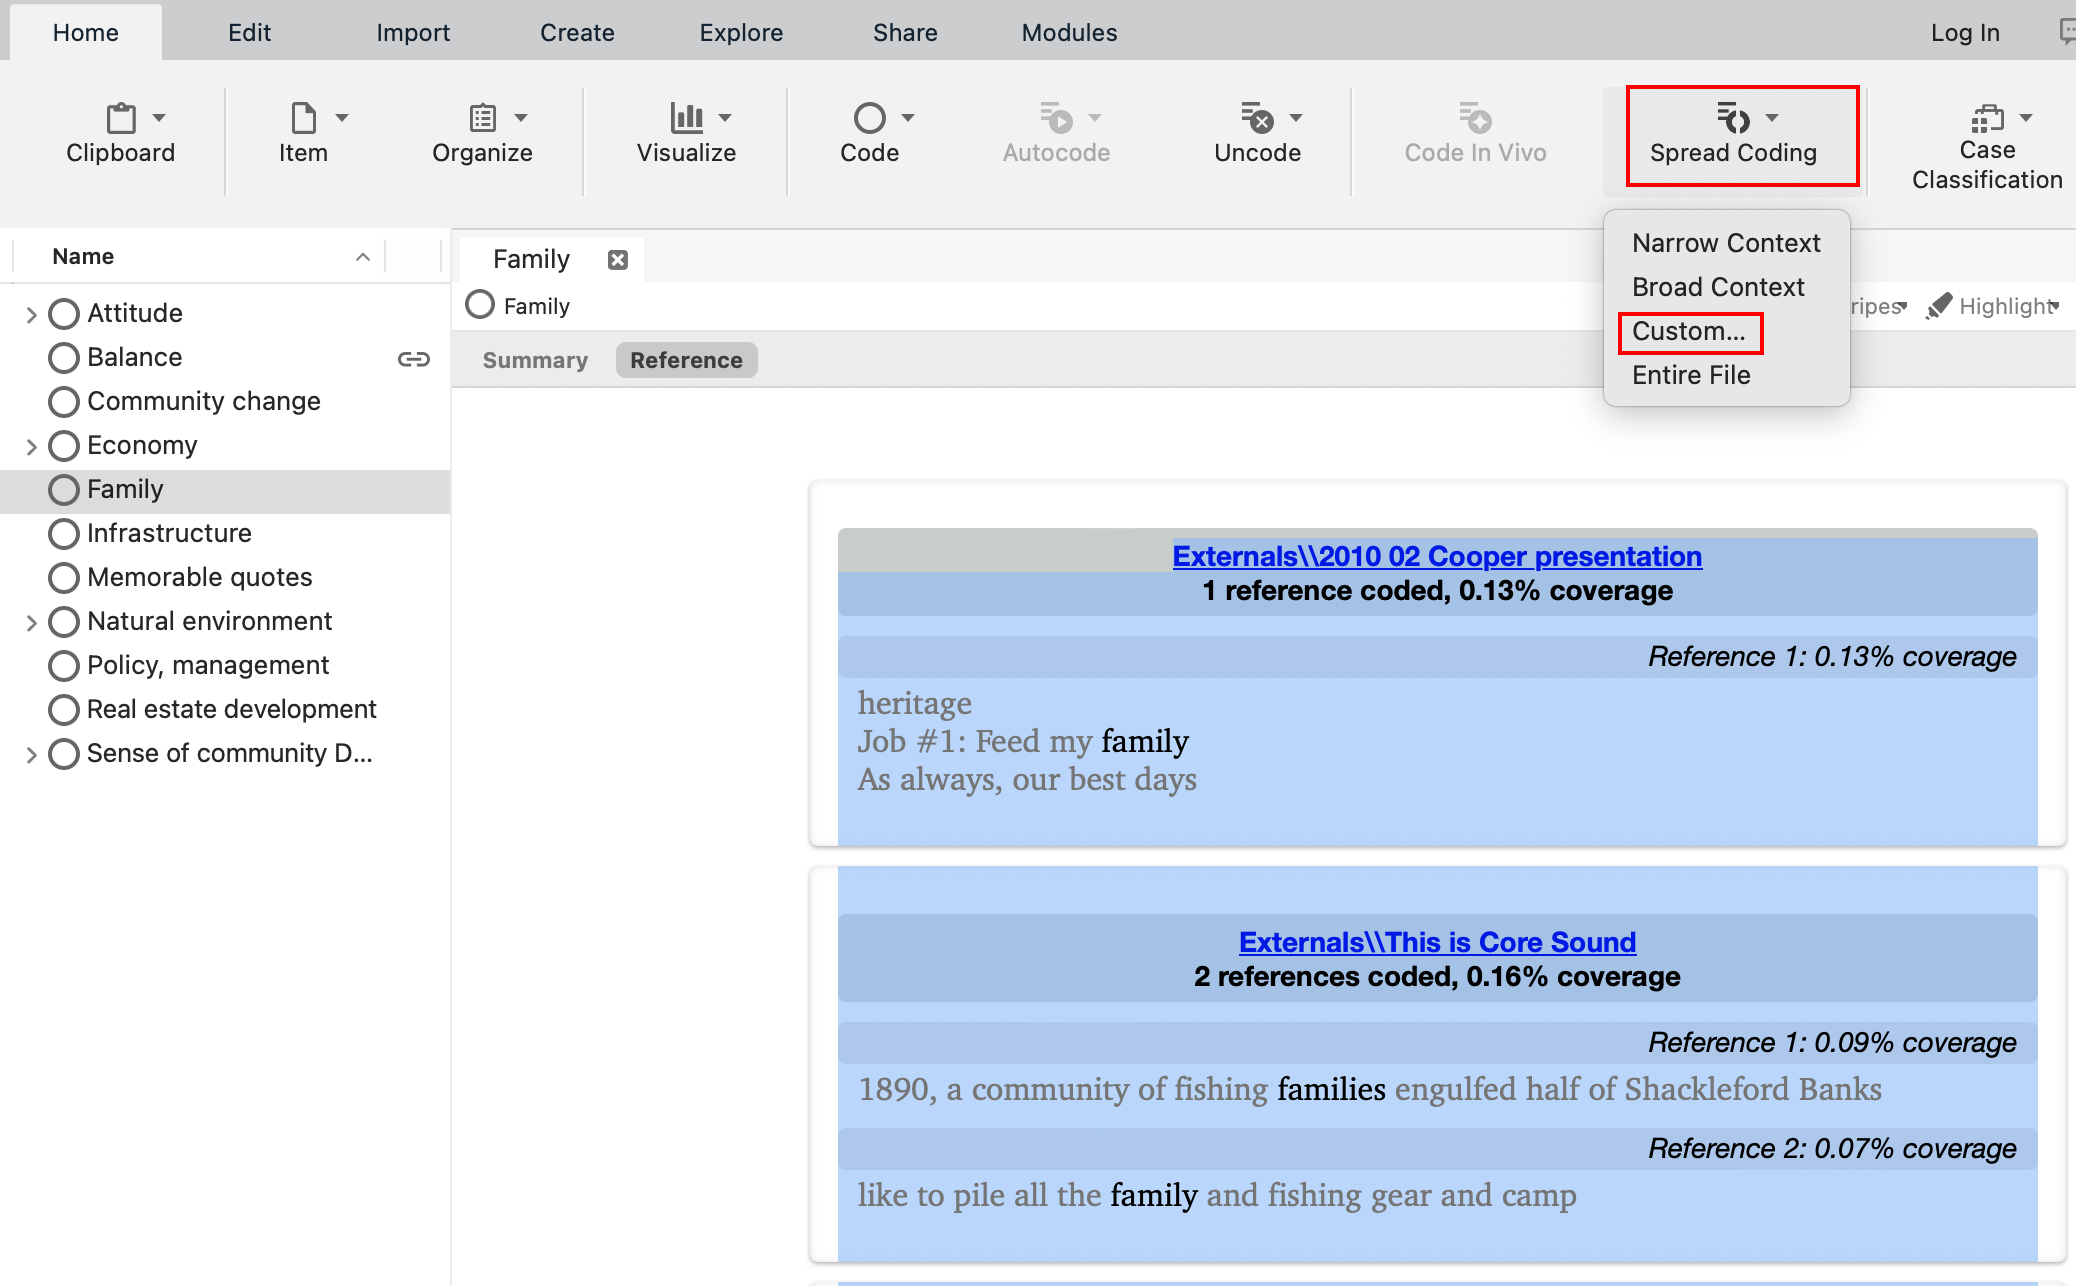
Select Surrounding paragraph and then click on OK.
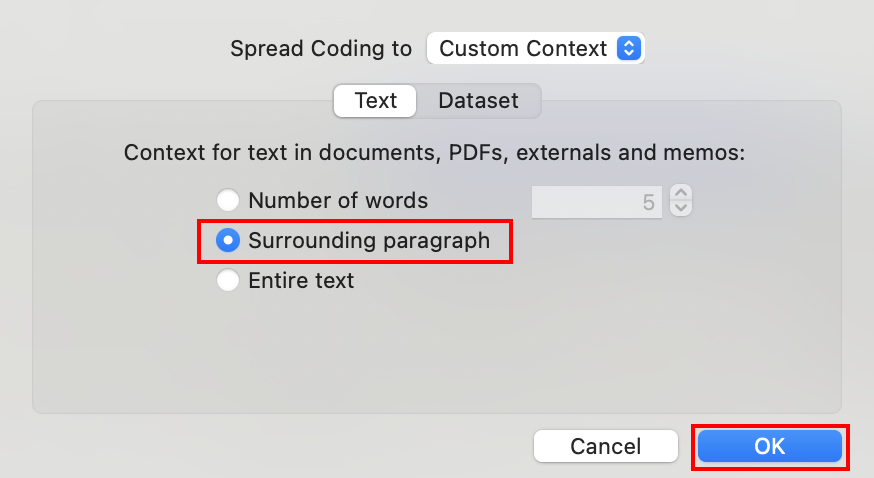
Now the coding results have changed so that instead of just the word family being coded, the coding has spread to the surrounding paragraph. So, this is a way to do some coding through text searches.

Test Your Understanding 1
Using the Query menu run a Word Frequency query for the project to find the top 50 words, including stemmed words. Only search News Articles. What was the most common word?
Next run a Text query for the project to find the phrase “climate change” in all project items. How many project items were in the results?
Click here for the answers.
Technique: Qualitative Data Analysis | Tools: NVivo