Case Classification and Cases
If you have demographics or other important attributes that you want to incorporate into your study, case classifications and cases can help. For example, if you were analyzing interview transcripts, you might want to create a case classification called “Interviewees” with attributes such as their name, age, education, job title, etc. Once your case classification is in place that defines what characteristics you want to capture for your interviewees, you could then create one case for each interviewee with those attributes filled in. So for example, if you interviewed someone named Geeta, you would create a case called Geeta (or some ID number if needed for confidentiality) with information about Geeta. You would then use that Geeta case to code all the files/content that are associated with Geeta (where the Case acts like a code). Later you can then run queries that incorporate that information to answer questions such as, do executives talk more about sustainability? We will talk about how to run queries later in the tutorial.
You can manually create case classifications and cases by using the left menu, under Cases. You can right click on case classification and create a new classification or right click on cases to create a new case. But often times, it is easier and more common to upload a spreadsheet with all the information for the cases. Let’s try that now.
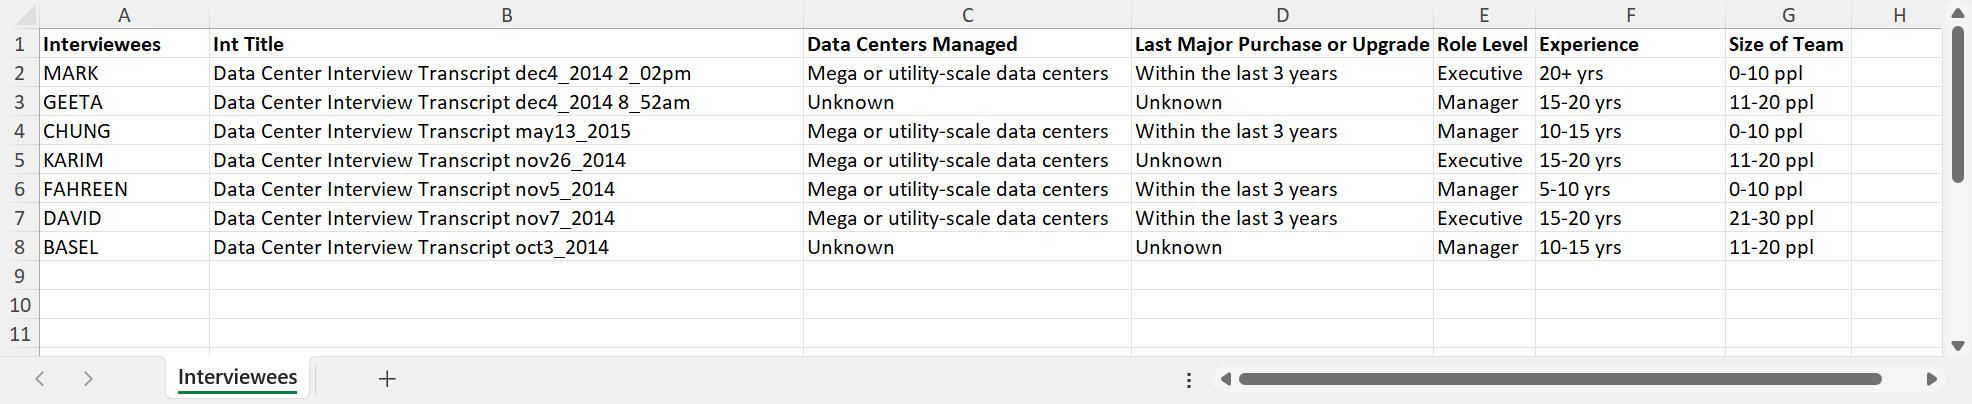
For our project, we have a spreadsheet called Interviewees. Open it up in Excel and take a look. It lists our interviewees and their attributes. Numeric attributes in NVivo work best in queries when they are transformed into categorical variables. You can see examples where experience and size of teams are ranges instead of a number. NVivo would call this a classification sheet. Now close it and go back to NVivo.
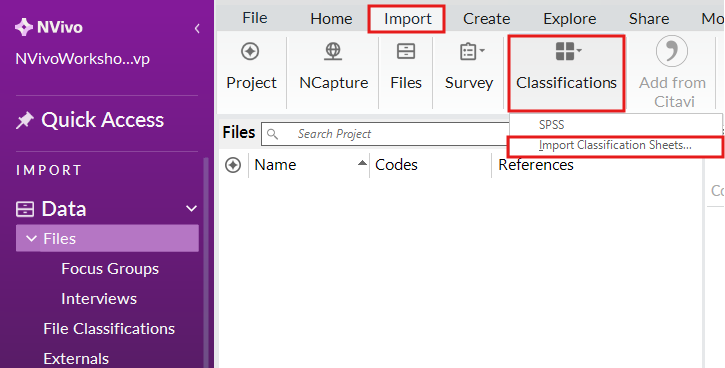
Go to the Import menu, and from the Classifications drop-down menu, select Import Classification Sheets…
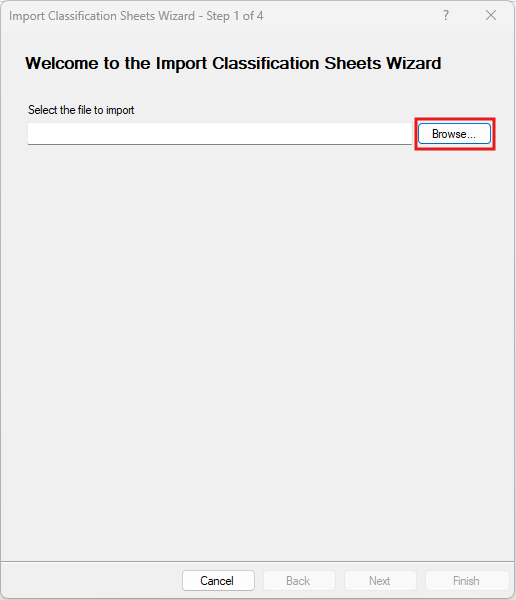
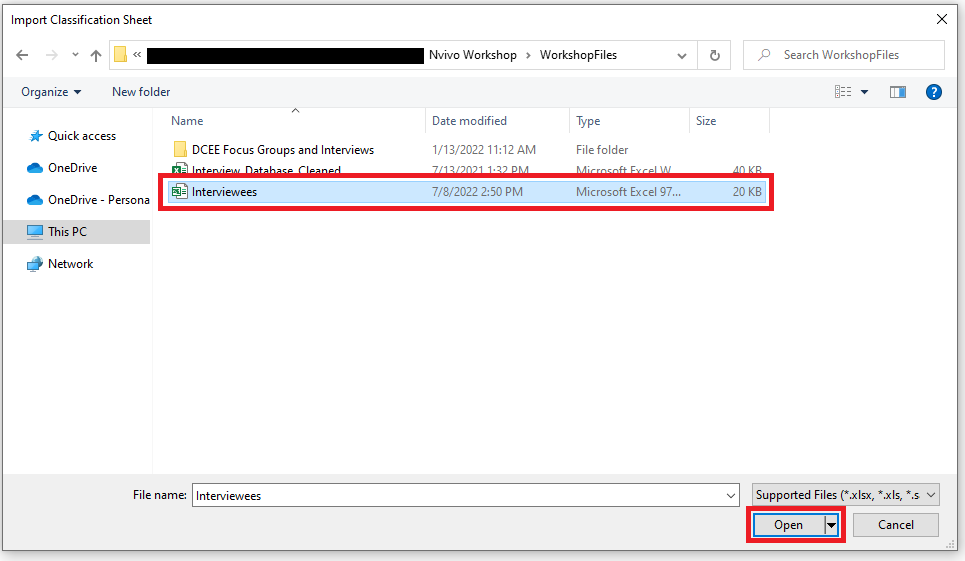
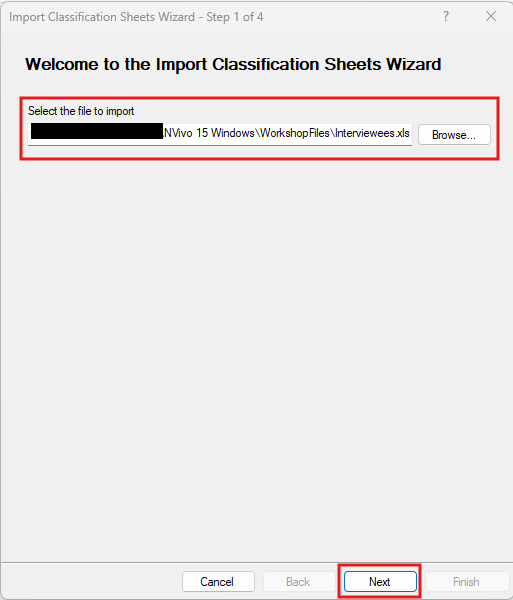
Browse to the Interviewees spreadsheet and click on Next.
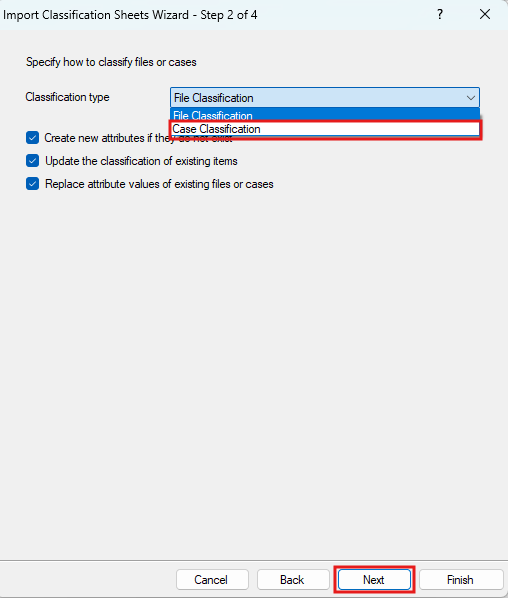
From the Classification Type drop-down menu, select Case Classification. Keep the rest of the defaults (i.e., everything has a checkmark) and click on Next.
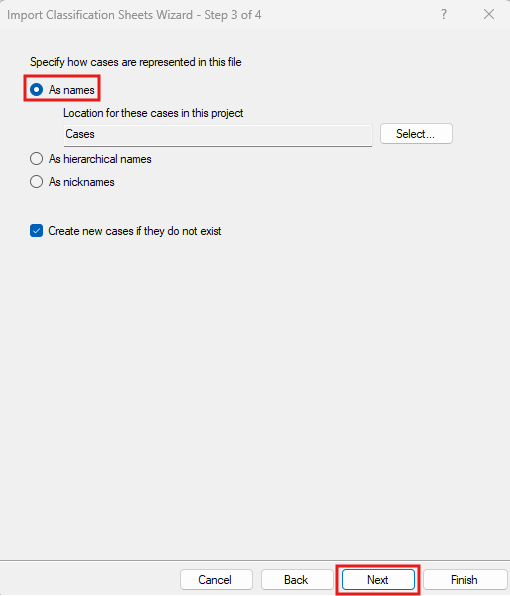
Our classification sheet’s first column provides the name of each case (i.e., the interviewee’s first name). So select As names if not already selected. Also keep Create new cases if they do not exist checked so that our cases will be created. Then click on Next.
This last step allows us to specify how dates, times and numbers should be imported. We can keep the defaults here. Click on Finish.

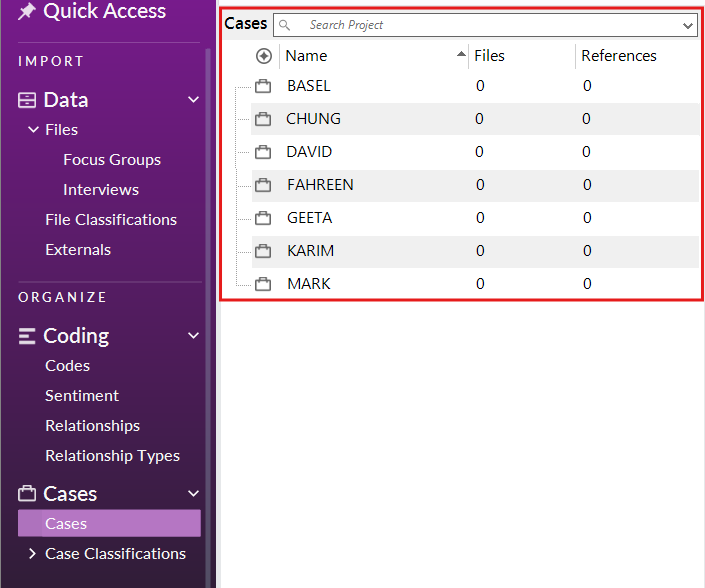
Our case classification (i.e., our imported spreadsheet) should be displayed. Using the left menu, under Cases, select Cases to see our newly created cases. These cases can now be used in coding the same way codes are used.

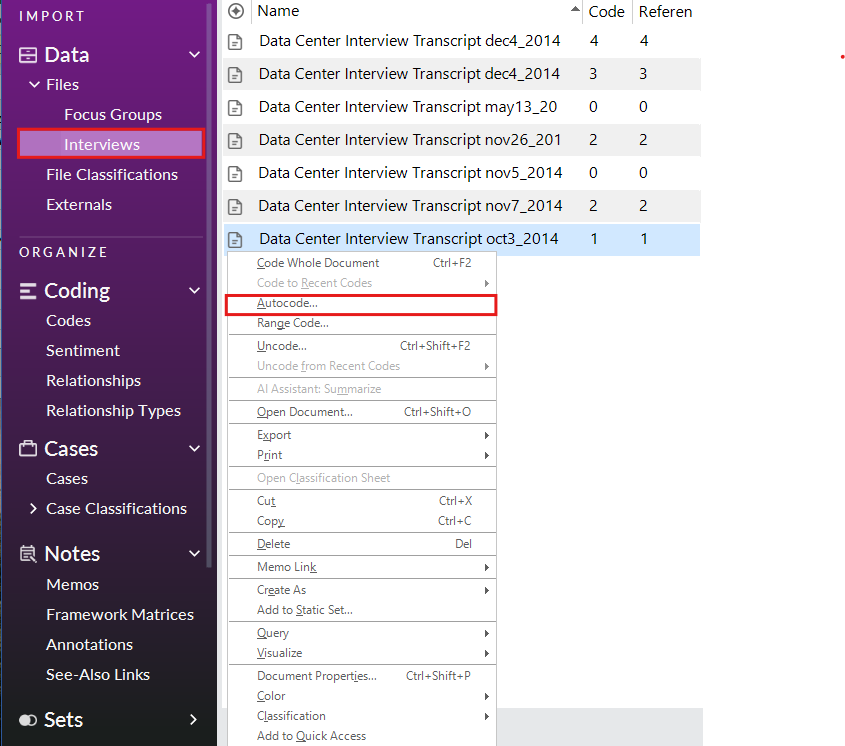
We can take advantage of NVivo’s autocoding features to allow us to identify the interviewee’s responses in a file and code them automatically into the appropriate case. Using the left menu, under Data > Files, go to the Interviews folder and right click on the interview transcript called “Data Center Interview Transcript oct3_2014”. Select Autocode…
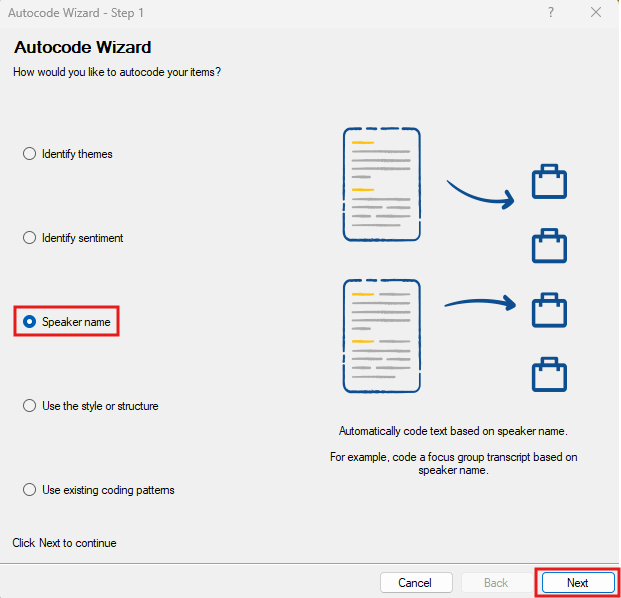
You are presented with a wizard with different autocoding features. I encourage you to explore some of them on your own. For now, let’s select Speaker name. This is going to automatically code text based on speaker name. Then click on Next.
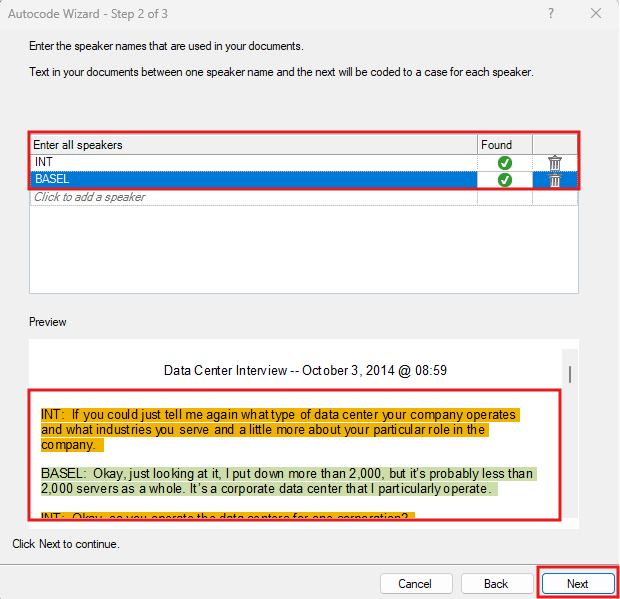
Our transcripts are formatted in a consistent manner so we can always pick out who is speaking because the text is labeled as “INT:” for the interviewer’s words, and the person’s name in capital letters followed by a colon for the interviewee’s words. We need to tell NVivo who are all the unique speakers in this document. Under Enter all speakers, type in “INT” and hit Enter. Then type in BASEL and hit the TAB key. You should check the preview below to confirm that NVivo is picking up each unique speaker by highlighting them in different colours. If it looks correct, click on Next.
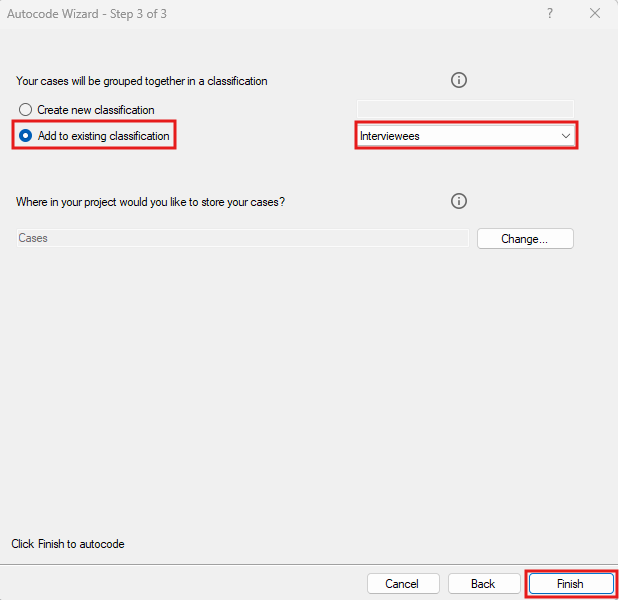
Make sure Add to existing classification is selected and from the drop-down next to it, Interviewees is selected. Then click on Finish. This should code everything that Basel said in the transcript with Basel’s case.
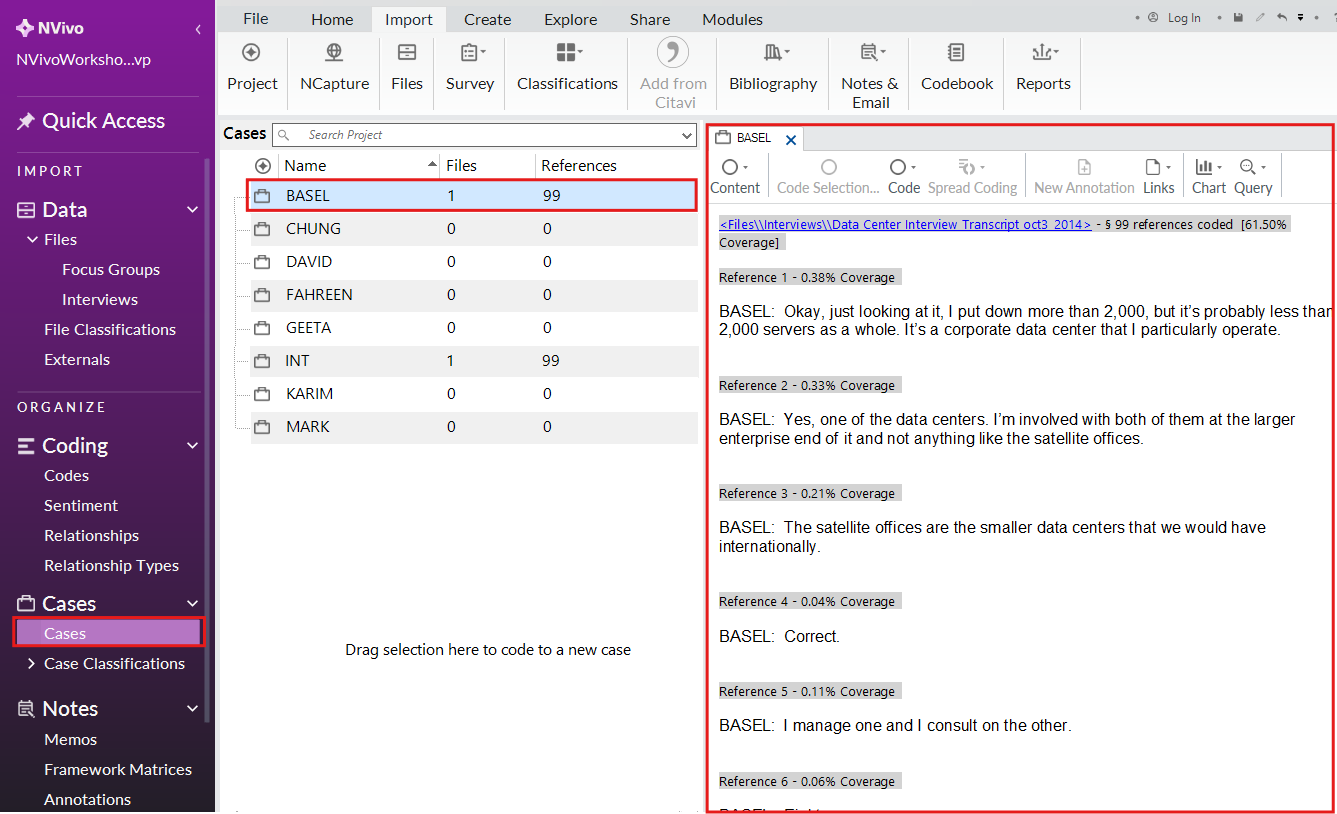
Using the left menu, under Cases, click on Cases to see cases again. Double click on the BASEL case. You should see everything that Basel said in his interview. These words are coded to this case. The BASEL case code is now linked to Basel’s interview responses.
Technique: Qualitative Data Analysis | Tools: NVivo