Explore the Interface
Let’s briefly look around before we get started. First off, NVivo will present you with a tour of the tool. You can just close that window for now.
The left side menu helps you navigate the various items of your project, such as your files, codes, notes, queries, etc. We will look at these sections as we use the tool.

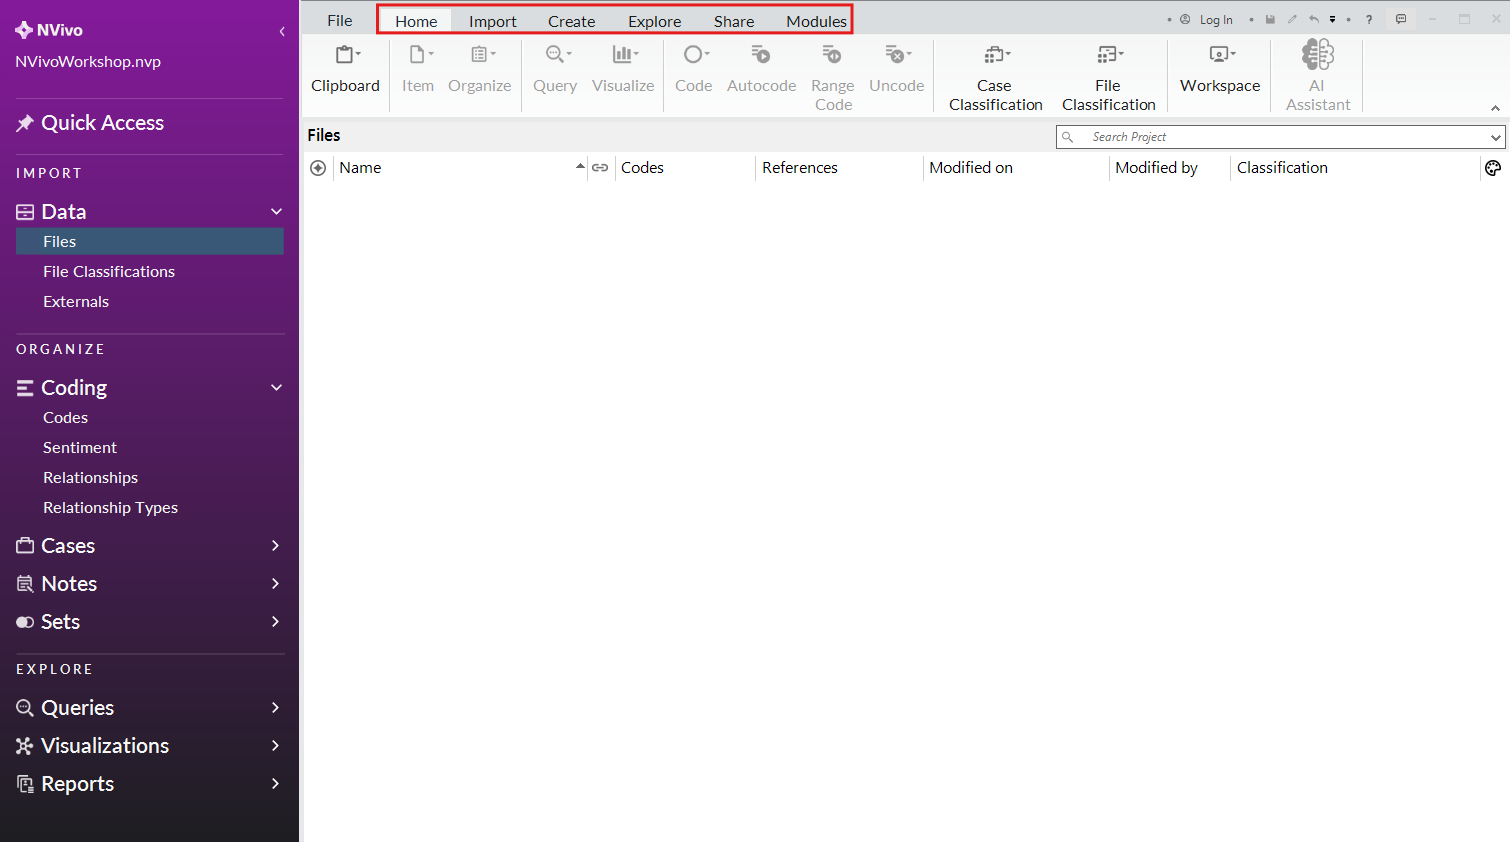
At the top are various ribbon menus, similar to Microsoft tools, such as Word or Excel. These menus and their options will change depending on what is selected.
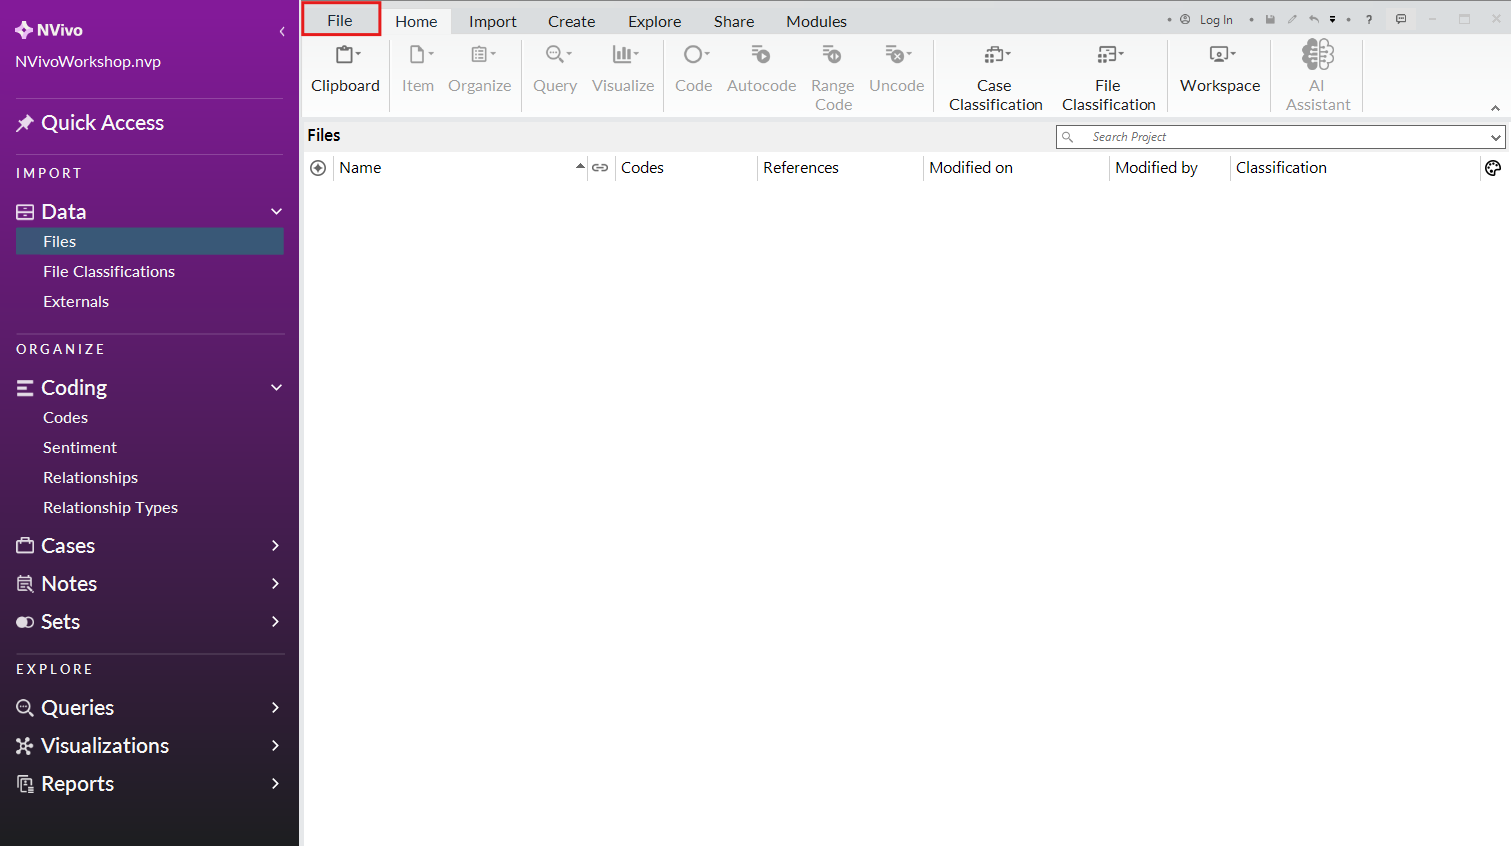
NVivo will ask you to save your project every 15 minutes. But if you want to save it manually, create or open a new project, get help or change your program settings, you can use the File menu at the top left.
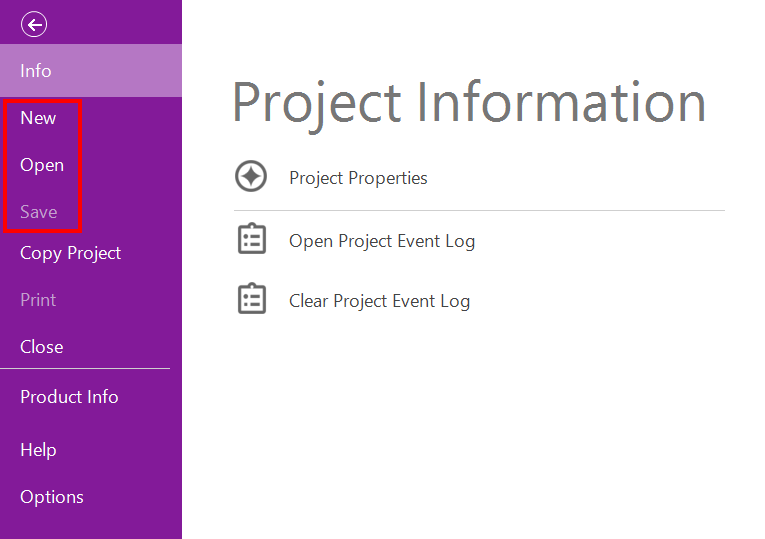
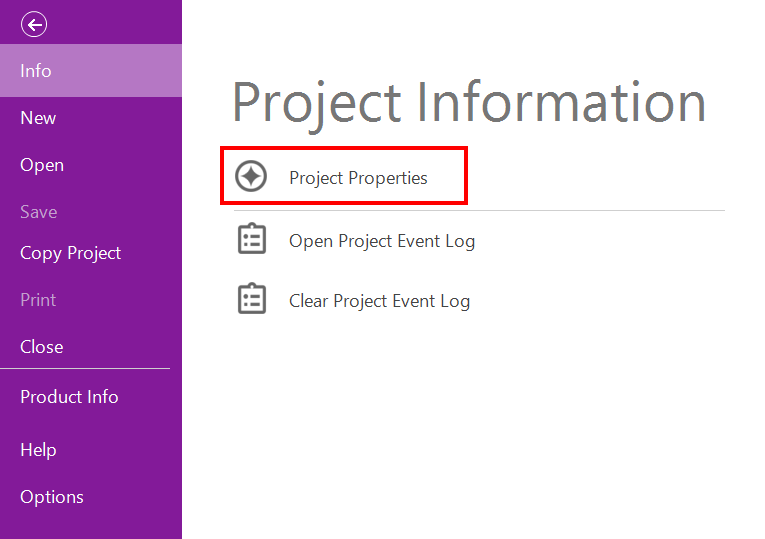
If you select Project Properties, you will see a tab for Save and Recovery, where you can check if autosave is turned on and where your automatic backup files are saving.
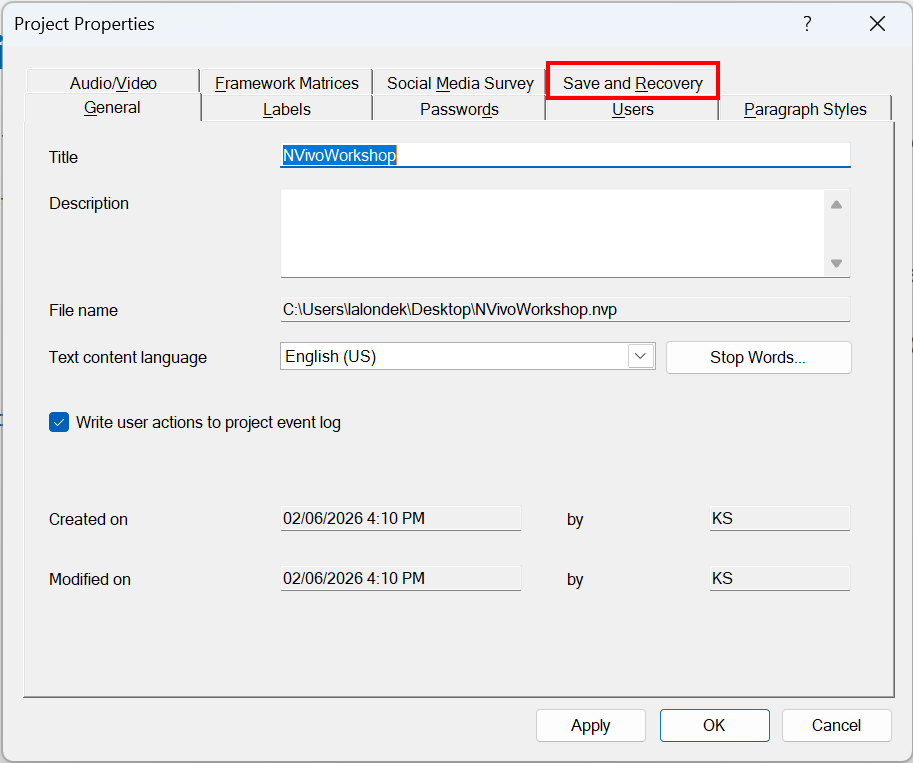
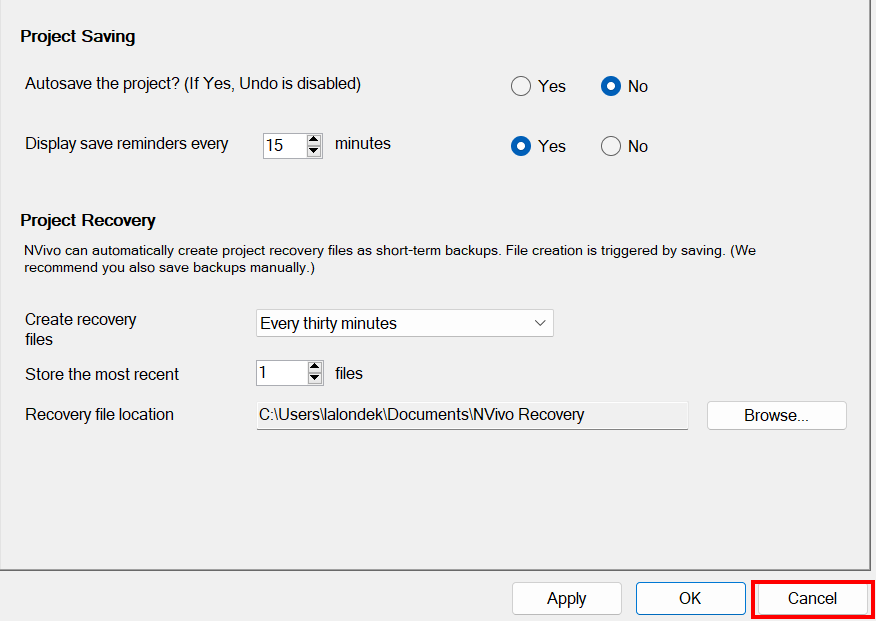
Make note of these settings as they are important to your work. If autosave is turned on, NVivo will autosave frequently, but then you can’t use the Undo feature. If NVivo crashes and your project file gets corrupted, knowing you have backup files and where they are located is essential. We can keep the defaults for now (i.e., autosave is turned off, backups are saving in an NVivo Recovery folder in your Documents folder), so click Cancel.
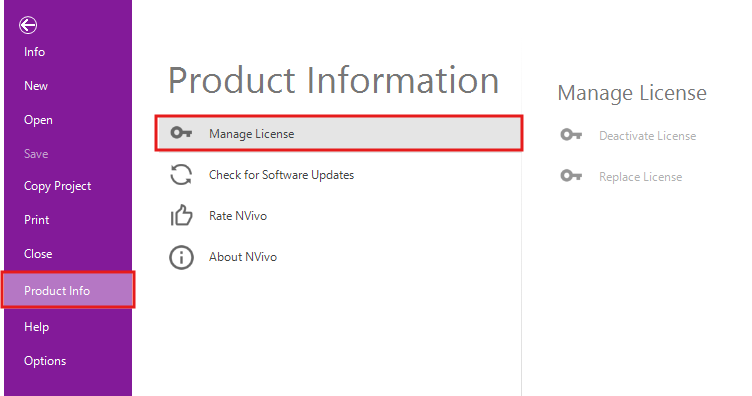
If you select File, and then Product Info, you will see an option for Manage License, where you can update your license key, when you receive a new one.
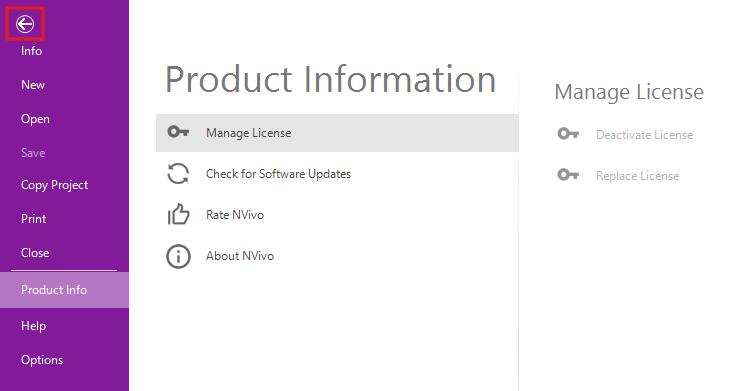
Click on the top left arrow to get back to NVivo’s main screen.
Technique: Qualitative Data Analysis | Tools: NVivo