Word Frequency and Text Queries
First, make sure you have saved and closed any previous projects you had open.
From the main screen, select Sample Project, Multi-method. This will open a ready-made project that comes with NVivo. Data in this sample project is drawn from a two-year research study (2008-2009) undertaken by researchers from the Duke University Nicholas School of the Environment at the Duke Marine Laboratory in Beaufort, N.C. The study documented community perceptions of development and land-use change on coastal communities in the Down East area of Carteret County, North Carolina, USA.
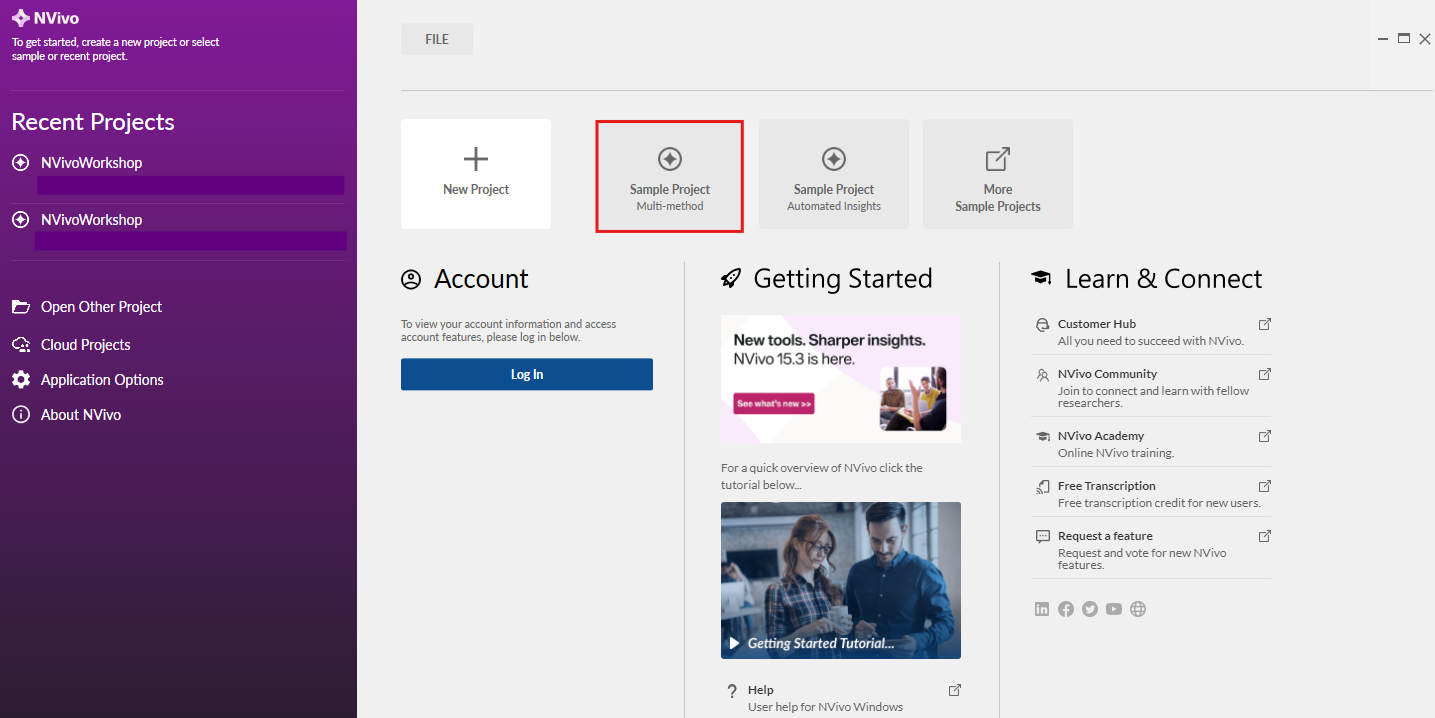
If an NVivo Tour window opens up, just close it for now.

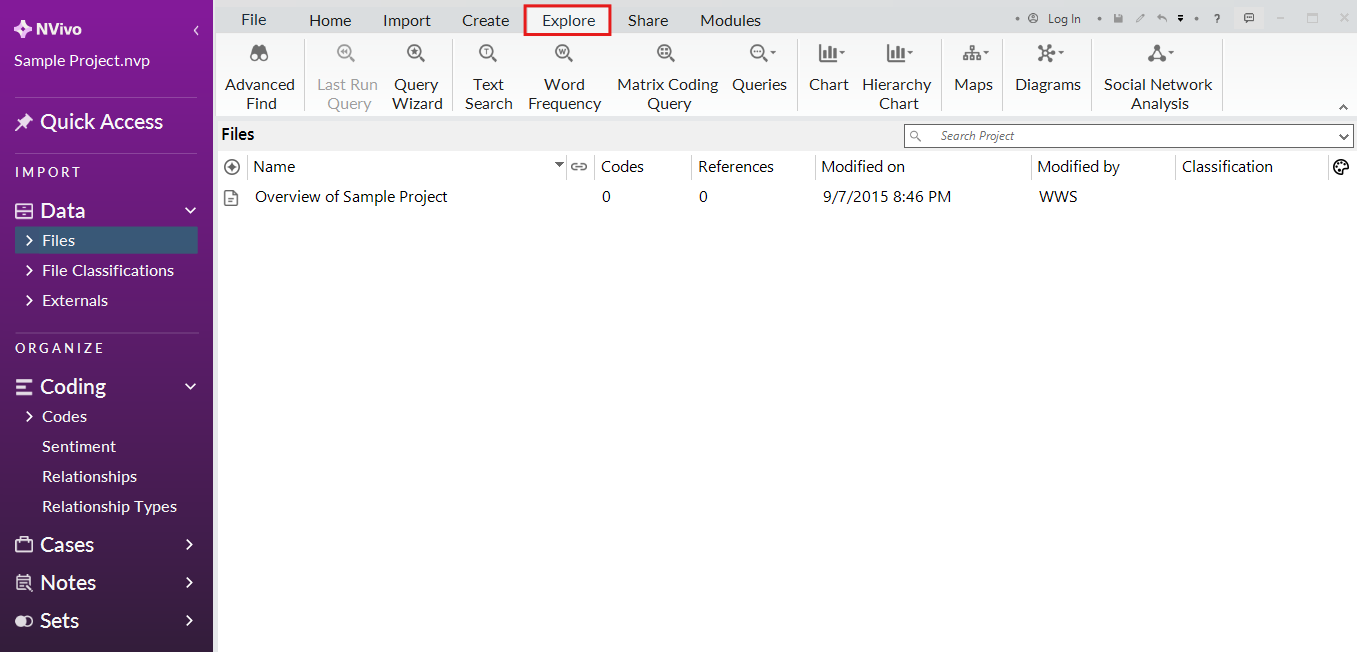
Let’s see how queries can help us make sense of this project. Go to the Explore menu to see all the queries available to you.
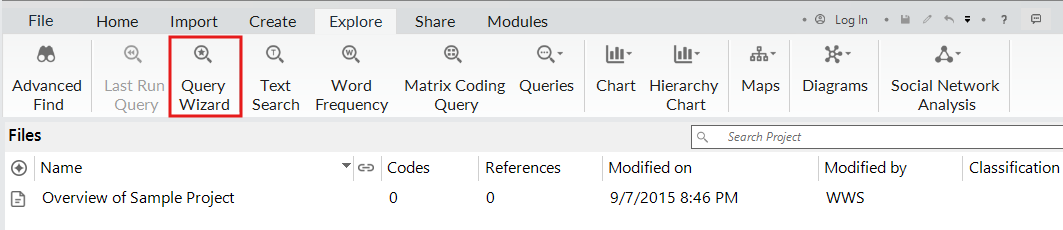
Windows users have a feature in NVivo called the Query Wizard that helps you decide upon the right query for the right task. It also helps break down the query so that you can understand the different options available. Let’s try that first. Click on Query Wizard.
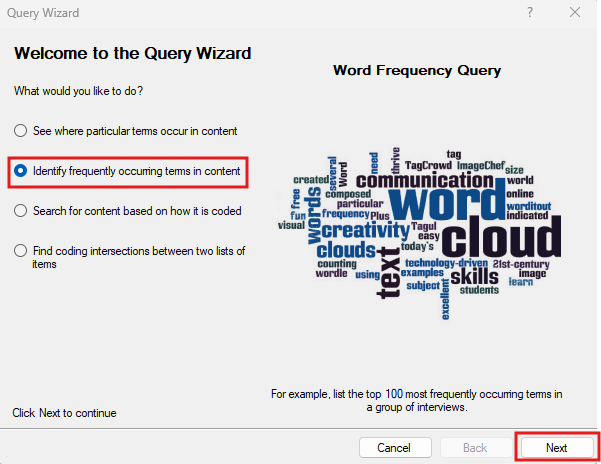
The four options correspond to the first four query types we are going to explore – you can see them named on the right as you select different options. The first two options are great to use near the beginning of a project to get to know your content and help you with coding, the other queries work better once you’ve worked on your project and have done some coding and potentially added cases.

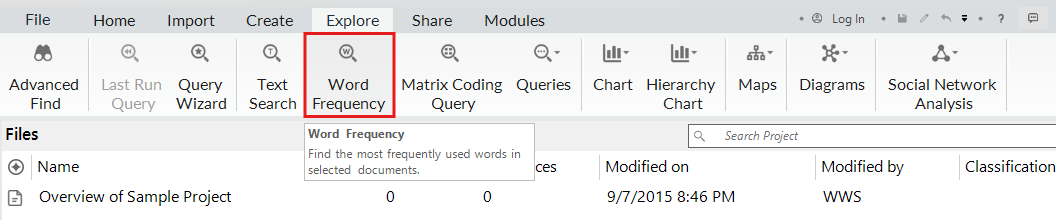
Let’s start with the second option – the Word Frequency query, which is described as “Identify frequently occurring terms in content.” If you don’t want to use the query wizard, you could also select Word Frequency from the Explore Ribbon directly. This is a great query to start with to get a sense of the content or topic of your data, by looking at the most common words used in a particular file or your whole project.
From the wizard, select the second option and then click on Next.
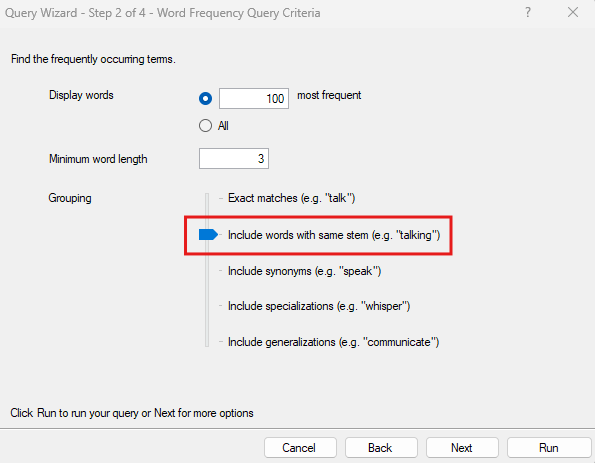
From here we can adjust the settings of our word frequency query. Instead of 1000 words, change that to 100. Minimum word length can remain at 3 characters.

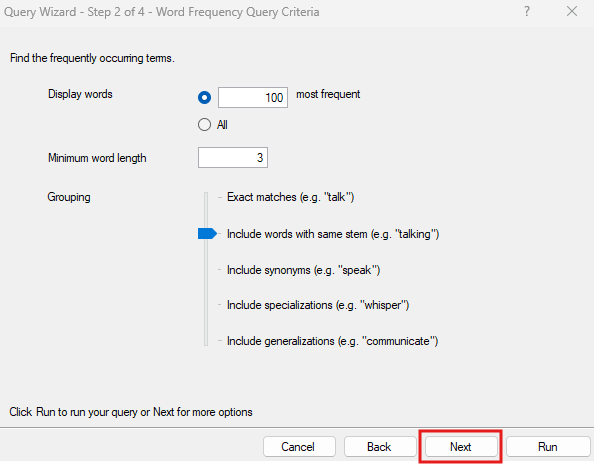
For grouping, this has some useful settings. If you select the second option, include words with the same stem, it can group a word with all its different word endings together, so they don’t take up distinct spots in our top 100 words. So for example, “run,” “runs,” and “running” would just be grouped together and then tallied once. You could go further and group synonyms, specializations or generalizations, but let’s just select stemming for this example. Drag the slider to the second option to Include words with same stem.
Once you’ve made your selections, click on Next.
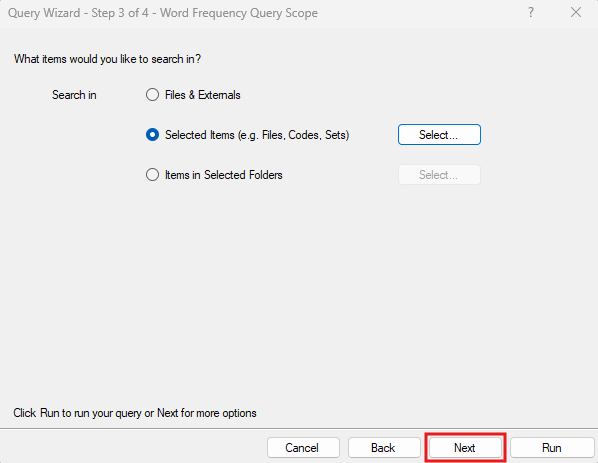
Next, you’re asked where you want to search. This is a common setting for most queries. The default option is to search everywhere in the project. You could however, select particular files or folders that you want to search by choosing the second or third options. For example, if we only want to search Interviews, and we’ve been very organized and put all of our interview transcripts into a folder called Interviews, we could select the third option. However, our interview folder has a combination of text, plus audio and video files. If we want to only select the text transcripts, we’d select the second option. Let’s try that. Choose Selected Items and click on the Select… button.
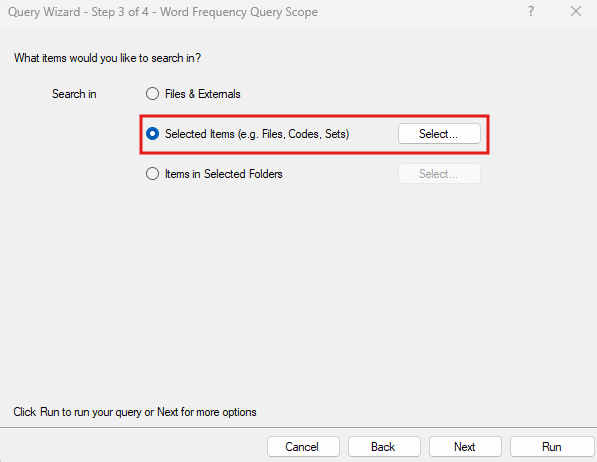
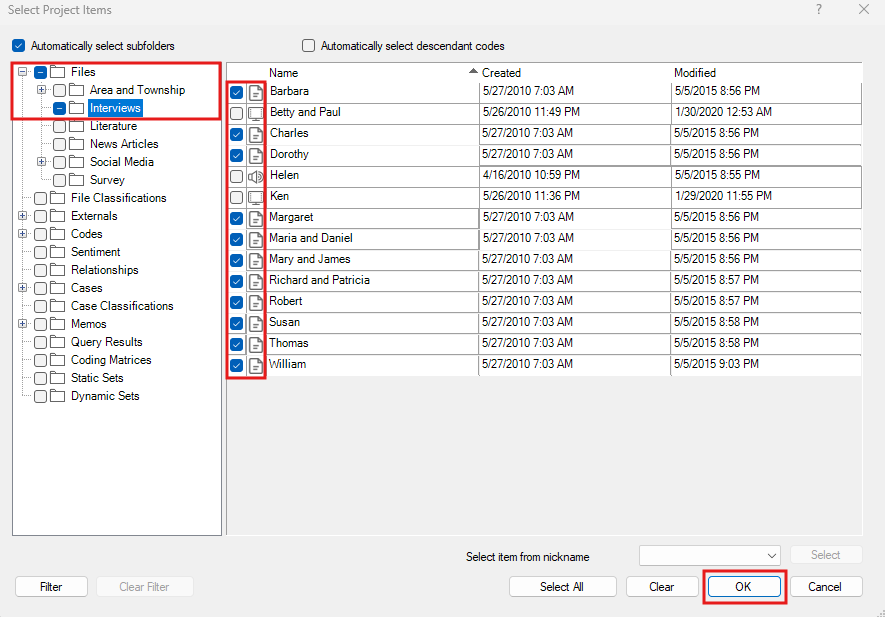
Then expand Files in the folder tree to see our interview folder and select it to view its contents. Put a checkmark next to the Interviews folder to select everything in that folder to start, but then unselect 2 videos and 1 audio file (they have different icons). So only the text transcripts should be selected for our search. Then click on OK.
Then click on Next.
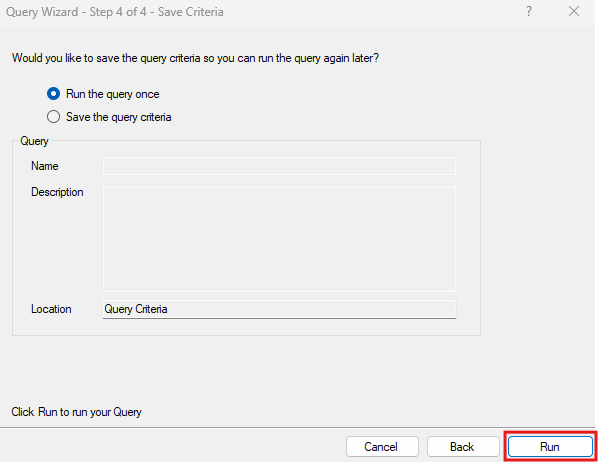
Next, you’re asked if you just want to run this query once, or if you want to save it and add it to your project in the Search section on the left because you could see yourself running this query often. In this case, let’s just run it once, but later we will save a query that we want to revisit. Leave the defaults and click on Run.
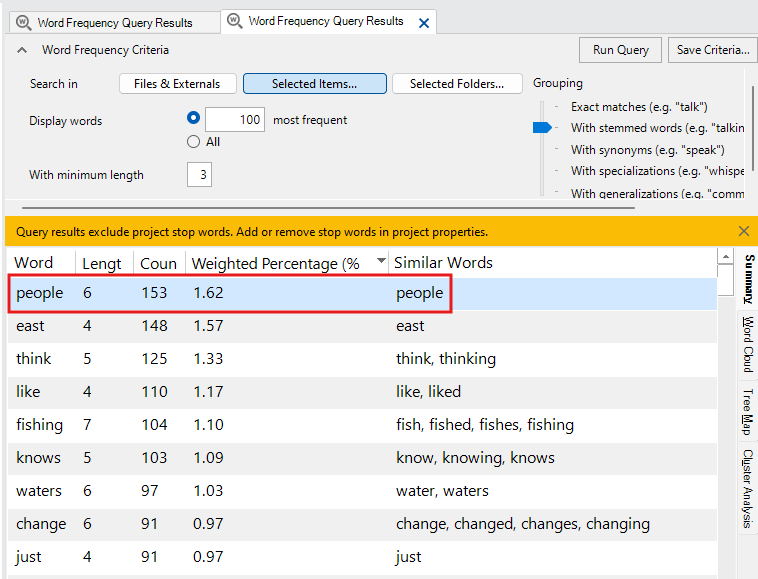
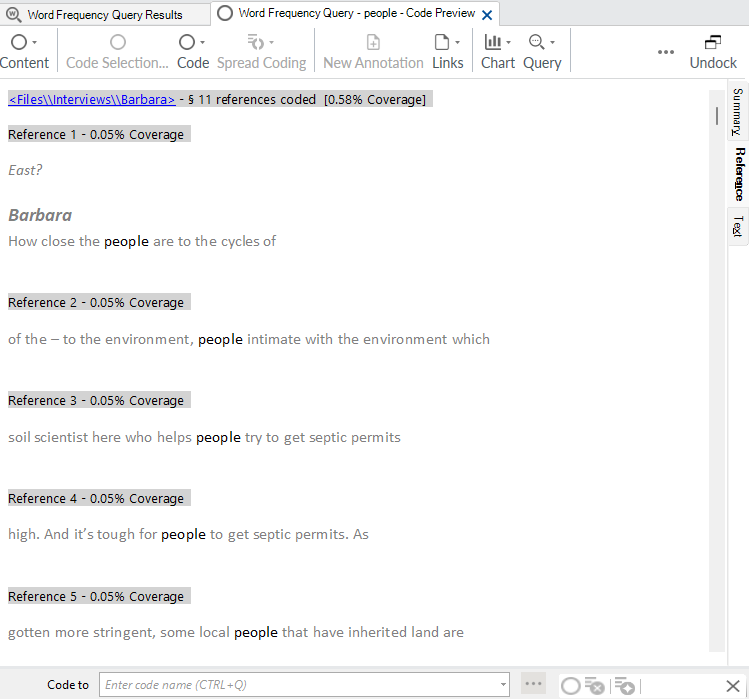
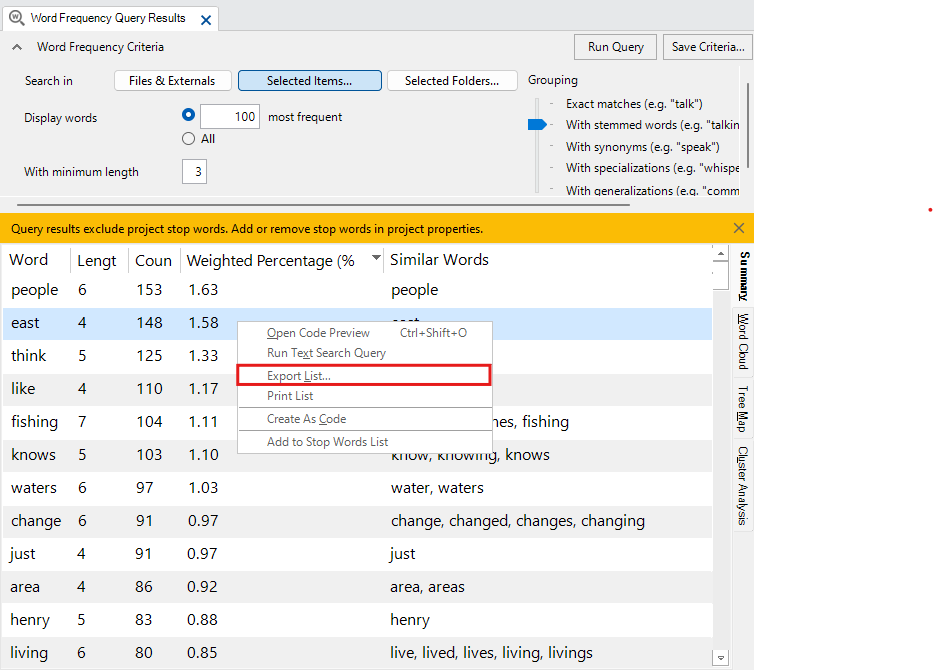
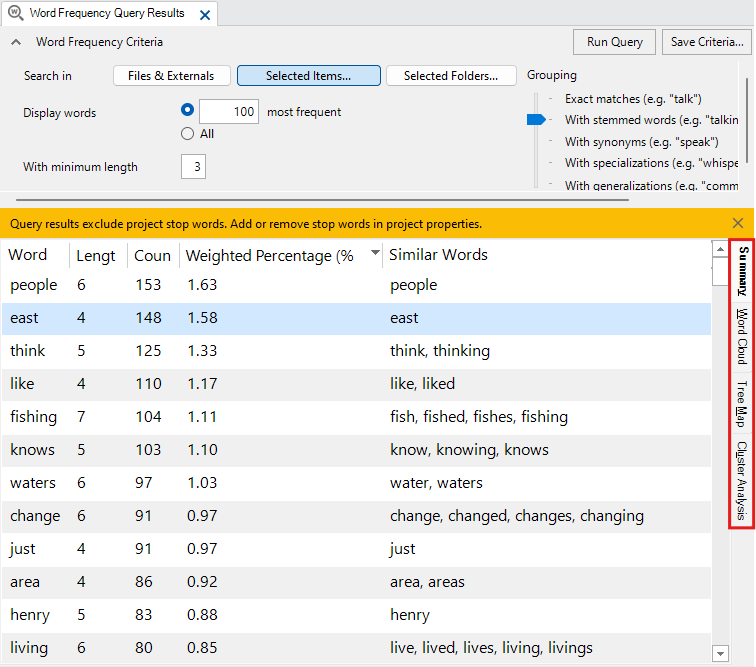
Now we should see the results of our query. You should see a list of the top most common words in our interview transcripts, sorted with most common at the top. It tells you how many times the word (or group of similar words in our case) occurred and the last column shows you what words were grouped together. Note: If you double click on any word in the list, you’re given a list displaying each instance of the word in context.
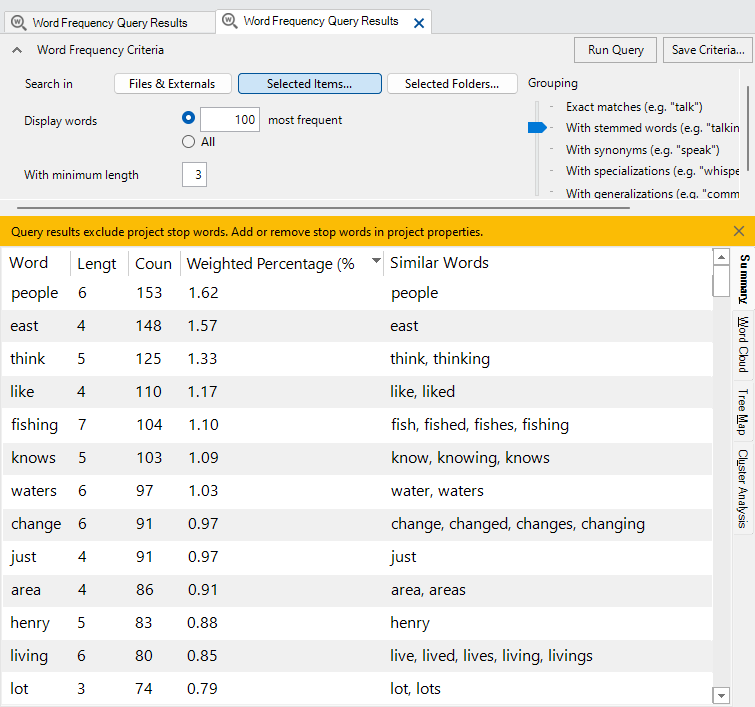
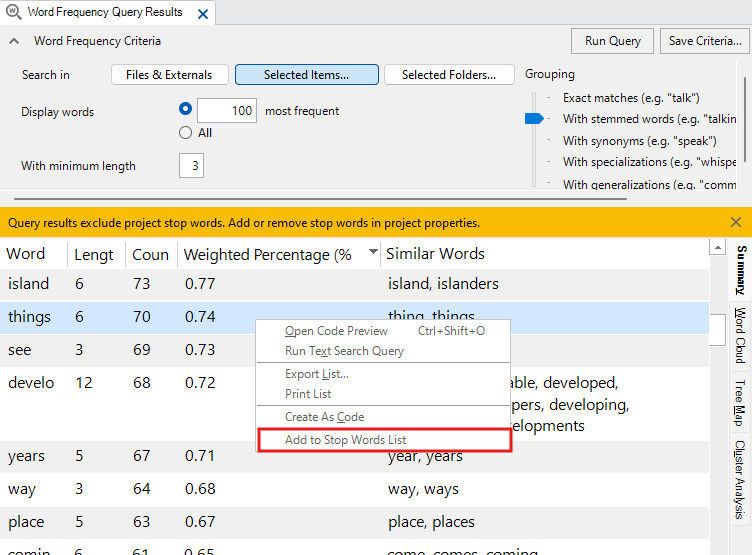
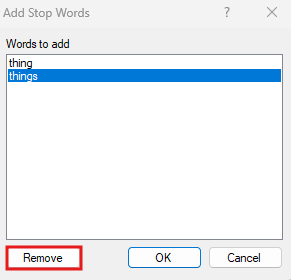
Word frequency lists normally ignore stop words, which are really common words that wouldn’t be useful to analysis. For English, these are words like “a,” “the,” “and,” etc. When you’re looking at this list of results, if you see a word that doesn’t really have much meaning in this context, such as “things,” you could add it to the stop words list and re-run the query so it’ll ignore it. To do this, right click on “things” and select Add To Stop Words List. As we had stemming turned on, it presents you with all the words you’ll be adding to the Stop Words list to check. You can remove individual words from this list if you want, but let’s keep them both for now and click on OK. Then click on Run Query at the top right to re-run the query. You should see that “things” is now missing from the list.

To see the Stop Words list, and even reset it, go to the File menu, and under Project Information, select Project Properties.

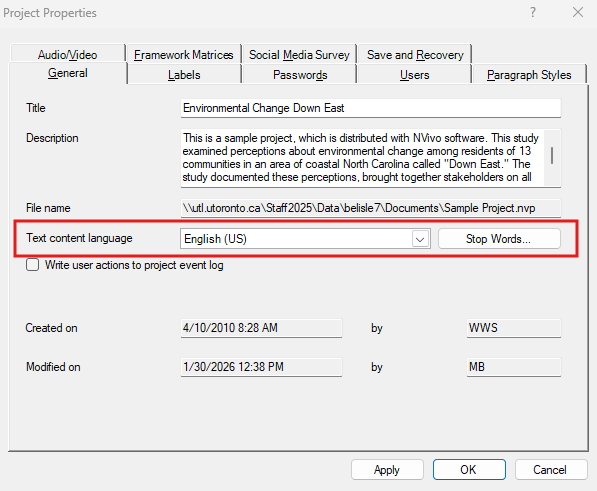
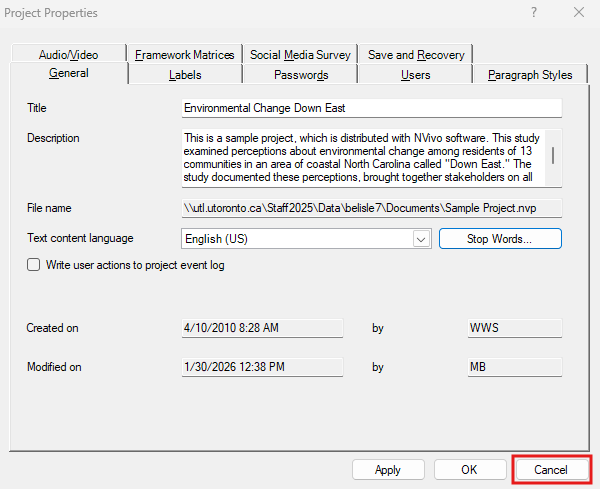
Here you can select the Text Content Language. The default is English (US), but you can see other options. This doesn’t affect the interface, but is important for certain queries, such as word frequency queries and affects the stop words list. So for example, you could have an English interface for NVivo, but be analyzing interview transcripts that are in French, by selecting French here. Click on the Stop Words button to see the list of stop words in use. From here, you could select reset to reset the list to the default, if you wish. Let’s just click cancel twice for now and go back to the results of our query.

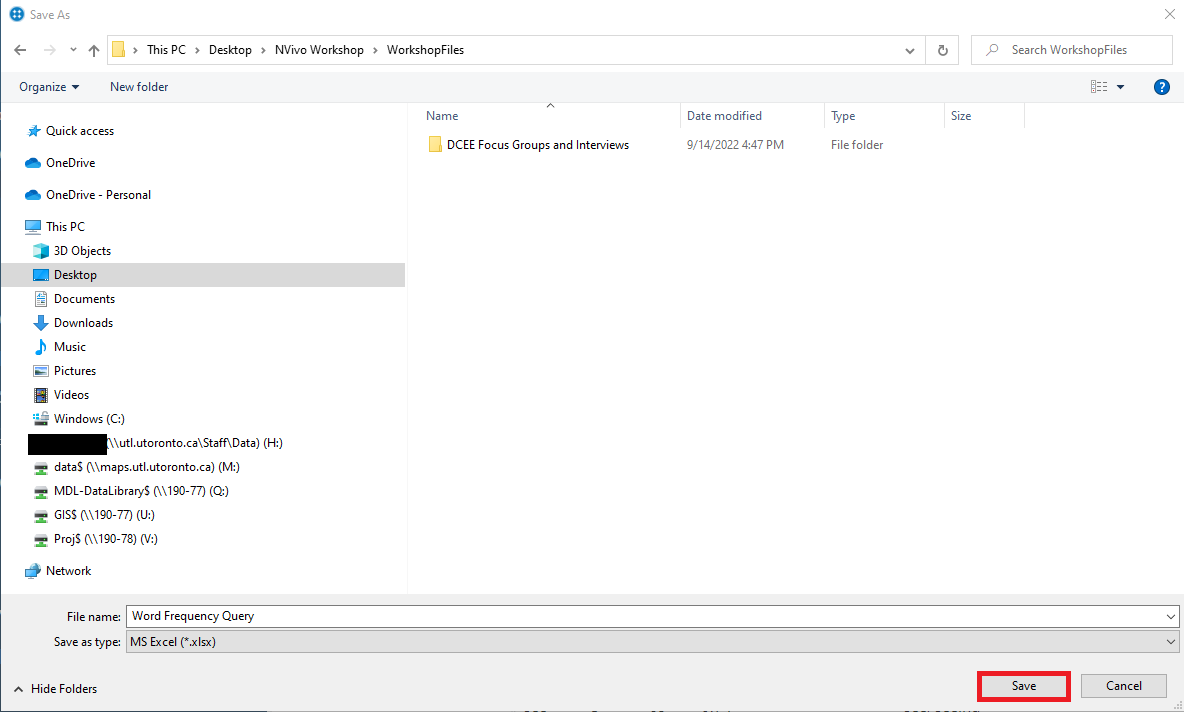
You can also export these results into a spreadsheet. Right click on the table and select Export List.
Browse to the workshop folder, give the file a name or keep the default and click on Save.
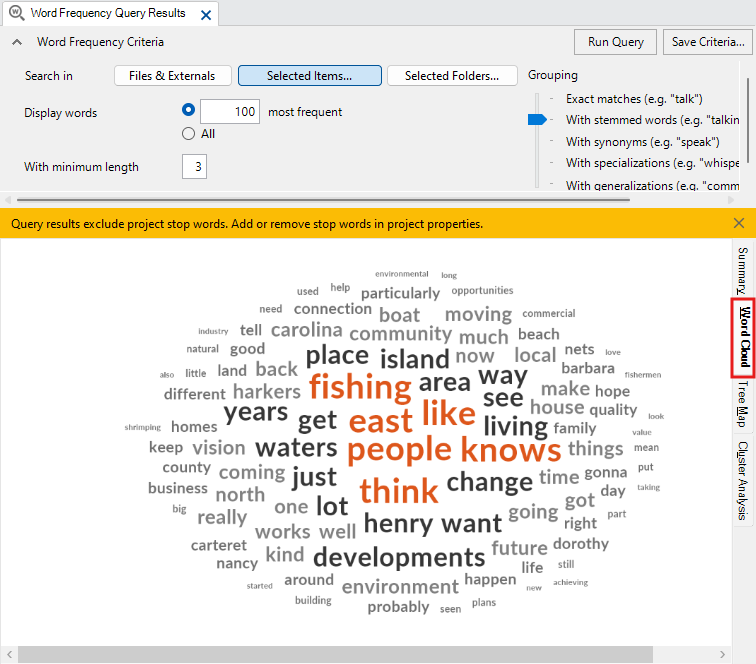
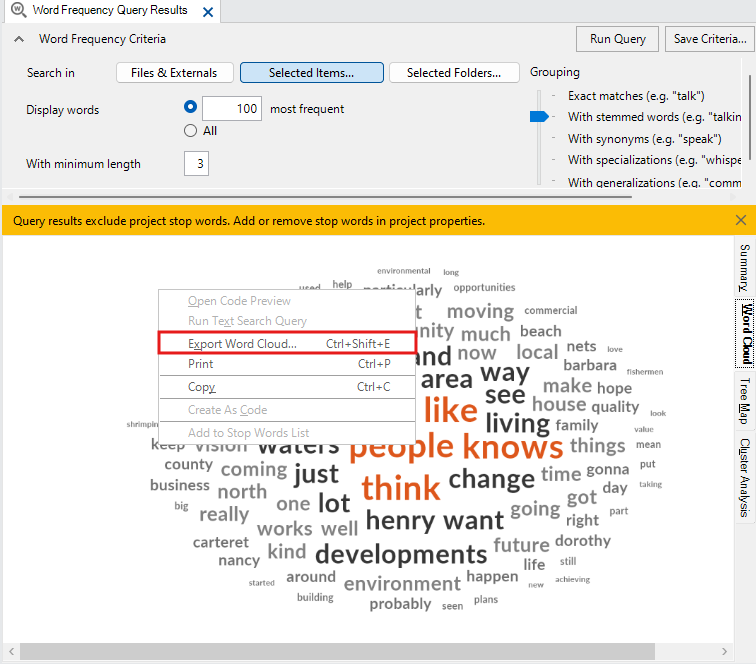
If we then go back to the query results tab, on the right hand side, you will see 4 tabs. We are in the summary tab. Click on Word Cloud.
This shows the most frequent words, where the larger the word is, the more frequently it occurs, which is a common way to display this type of result. (Might take a few seconds to load).
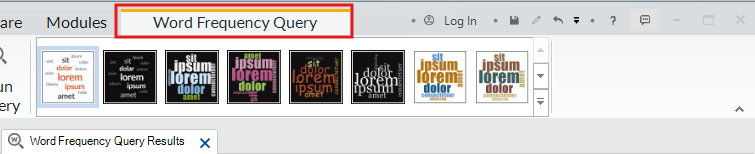
On the ribbon at the top, you will see a new context-specific menu called Word Frequency Query that gives you different themes you can choose to customize your word cloud.
You can also right click on the word cloud and export it as an image or PDF to use later in a report.
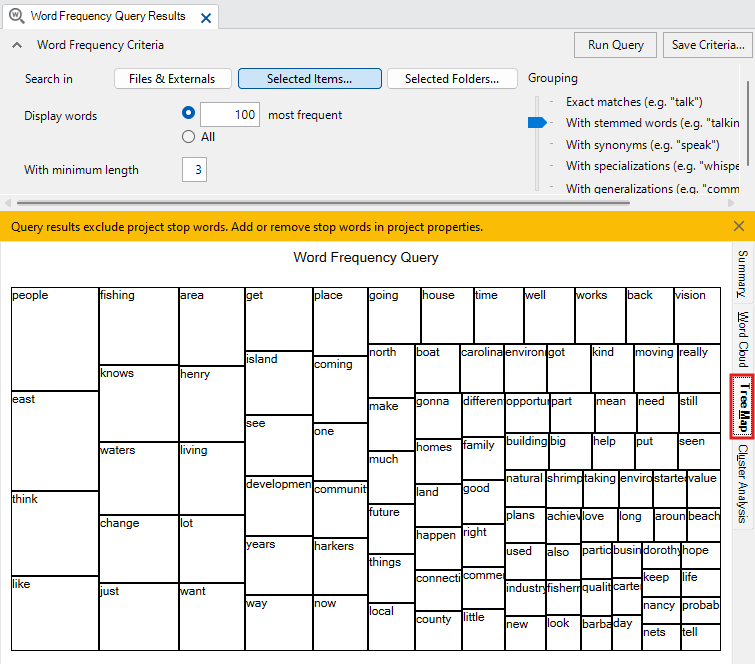
Go back to the word frequency query results window. Click on the third tab, Tree Map. A Tree Map is an alternative visualization for word frequencies. The size of the rectangle is proportional to the frequency, and the most frequent word will always be found in the top left corner, and the least frequent will be in the bottom right corner. Tree maps are more commonly used to show parts to whole with hierarchies (so a more complex rectangular pie chart), so they are not ideal for visualizing word frequency.
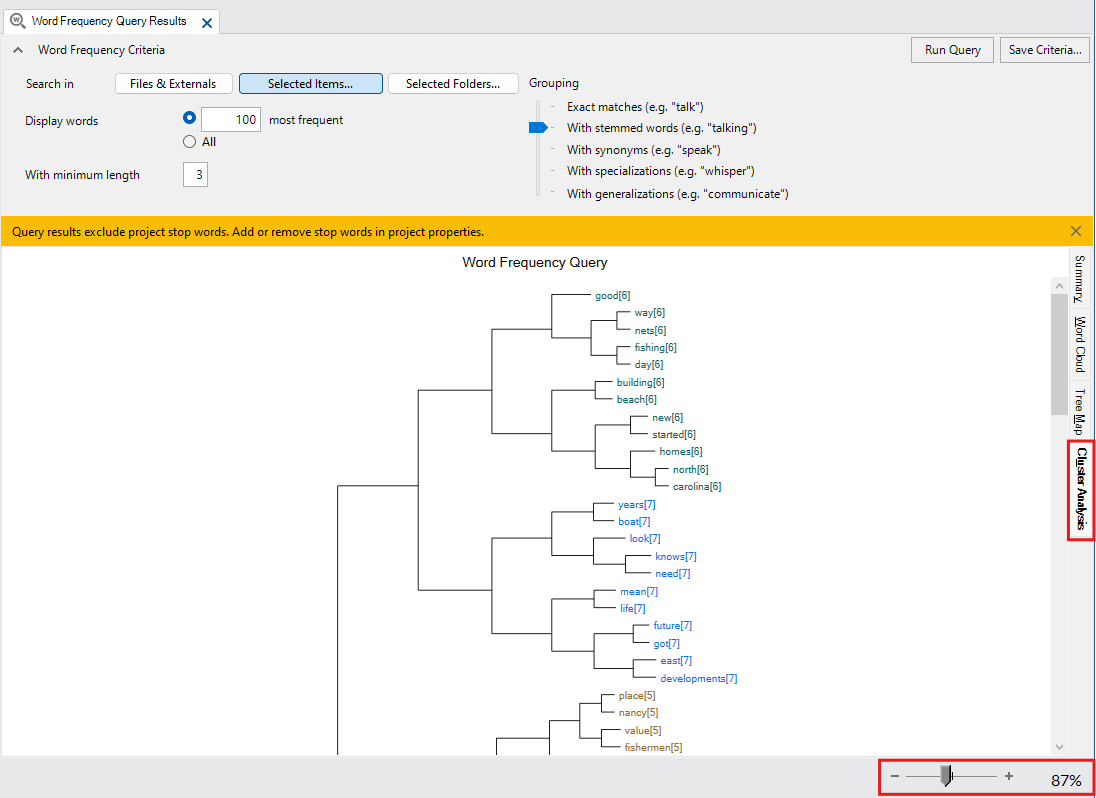
Click on the final tab, Cluster Analysis. This is a visualization where words that co-occur are clustered together in a hierarchical tree diagram called a dendrogram. You can zoom in using the slider on the bottom right. You can browse to see if there are some surprising groupings.
Note: NVivo’s visualization options are limited, and you can often get better visualizations by exporting your query results and importing them into other tools more suited for data visualization. If you’re interested in learning more tools and techniques for this, check out our data visualization guide!
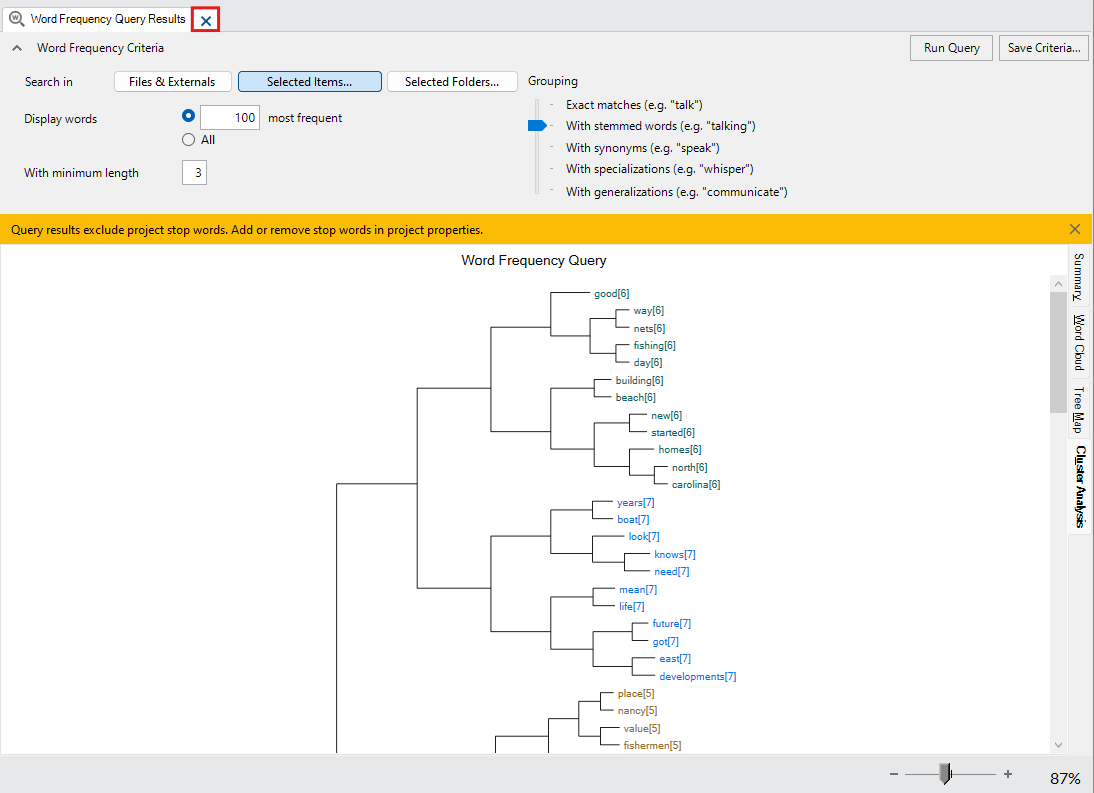
Once you’re done looking at the results of a query, you can just click on the x to close the query results window.
Next, let’s look at the Text Search query, which is described as “See where particular terms occur in the content” if you are using the query wizard. But this time, let’s go to the Explore menu and select Text Search directly.

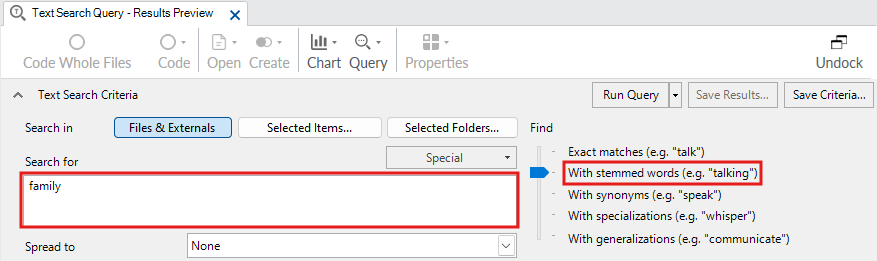
You can use it to find a word or phrase. You can search for phrases by putting them in quotation marks. Let’s try looking for mentions of “family”. Type “family” in the search box and choose With stemmed words, so that it will also search for “families” similar to what we did in the Word Frequency query. Note: You can run more complicated searches using operators.
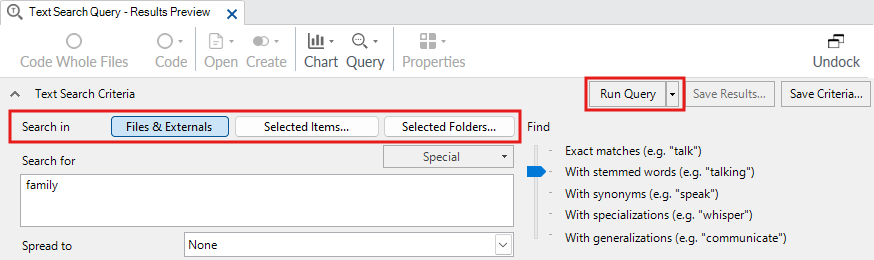
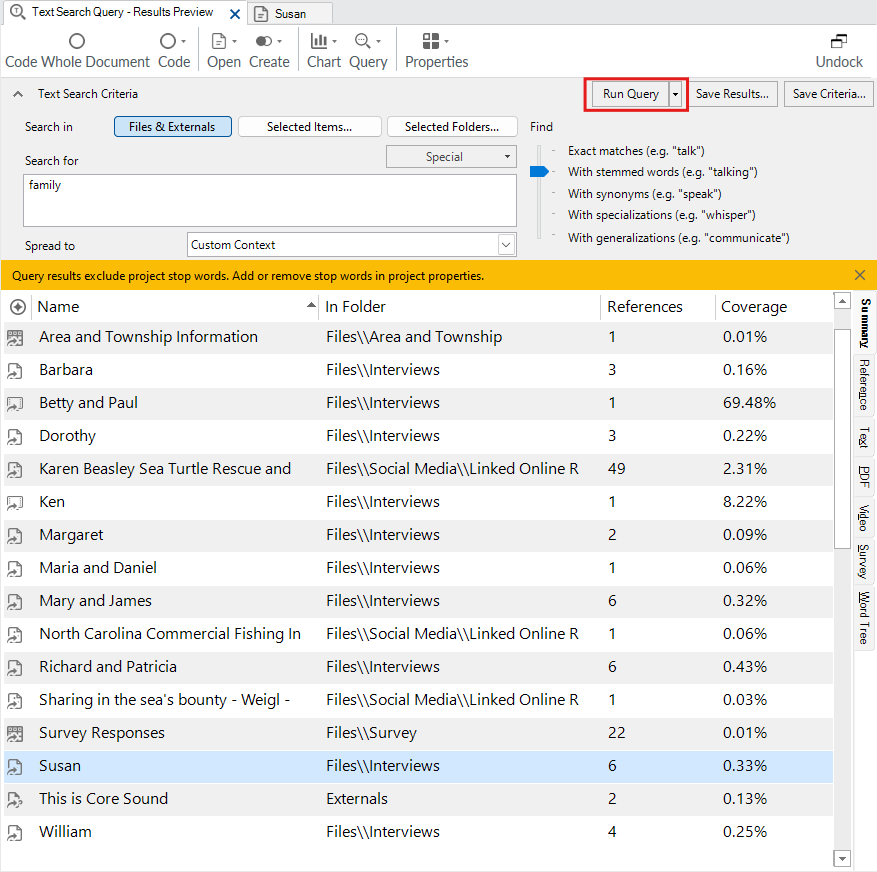
Next, we select where it should search. As before, the default is all the documents in the project. Let’s keep the default this time and just run the query. Click on Run Query.
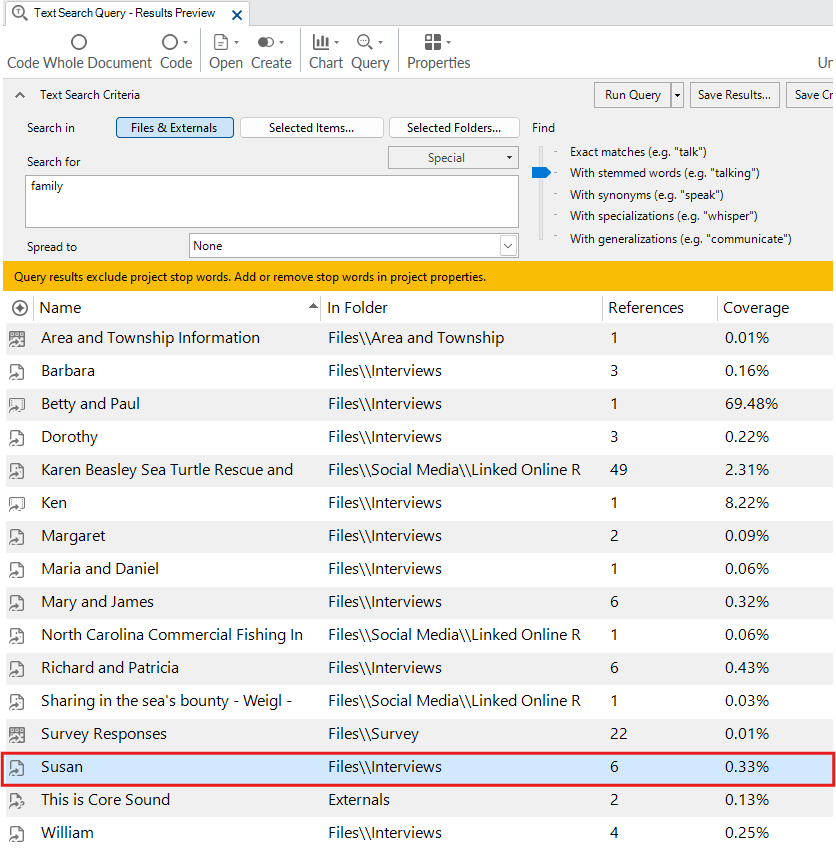
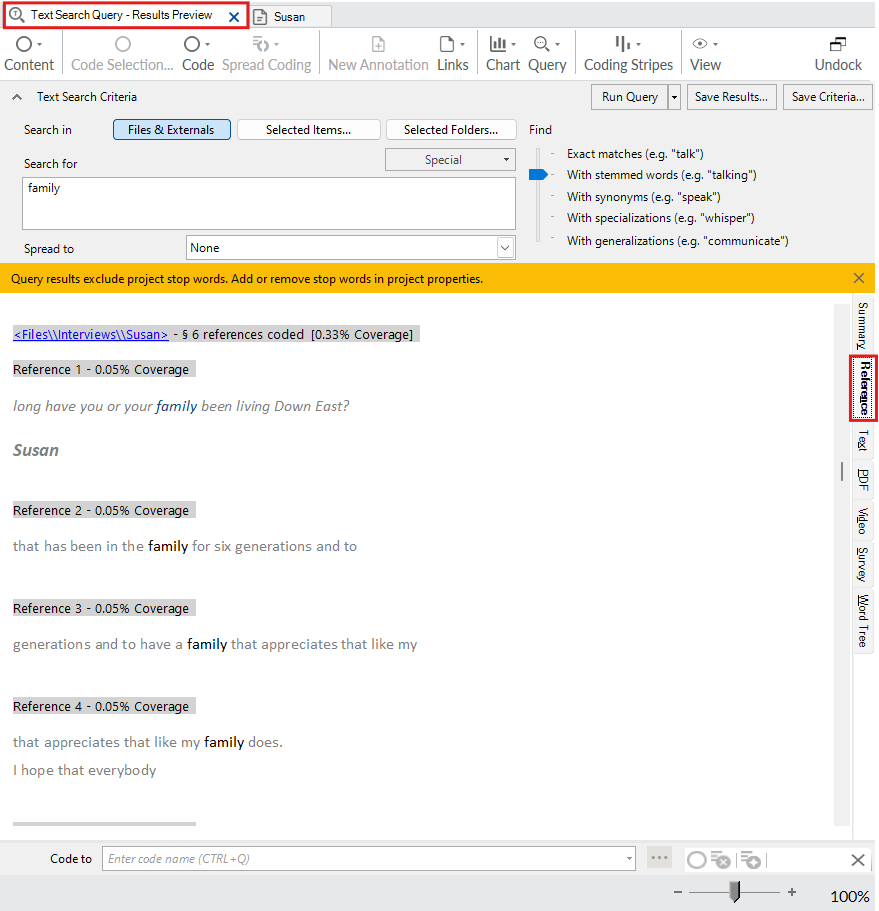
You will be presented with a list of project files that contain that reference. You can double click on a file to see the references. Try that with the item called “Susan,” which you can see has 6 references.
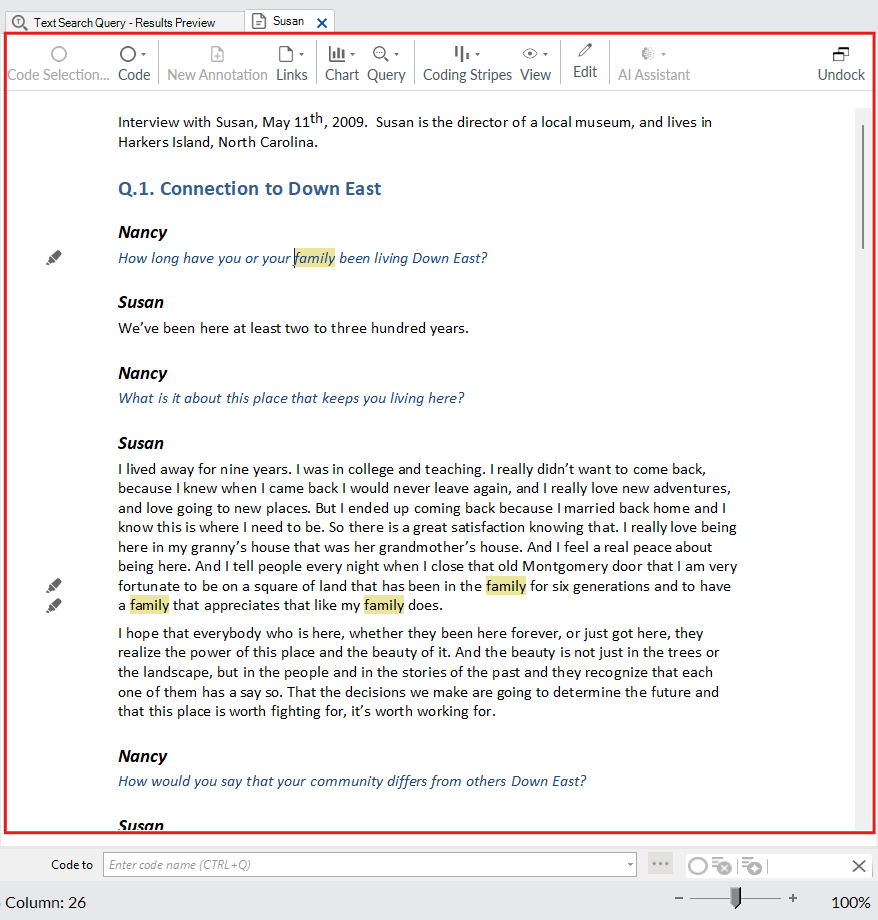
This opens up Susan’s interview transcript. You can use this to help find references that you might want to code.
If you go back to the query results, you will see on the right, the Reference tab. You can click on the Reference tab to see all of the references together in one page.
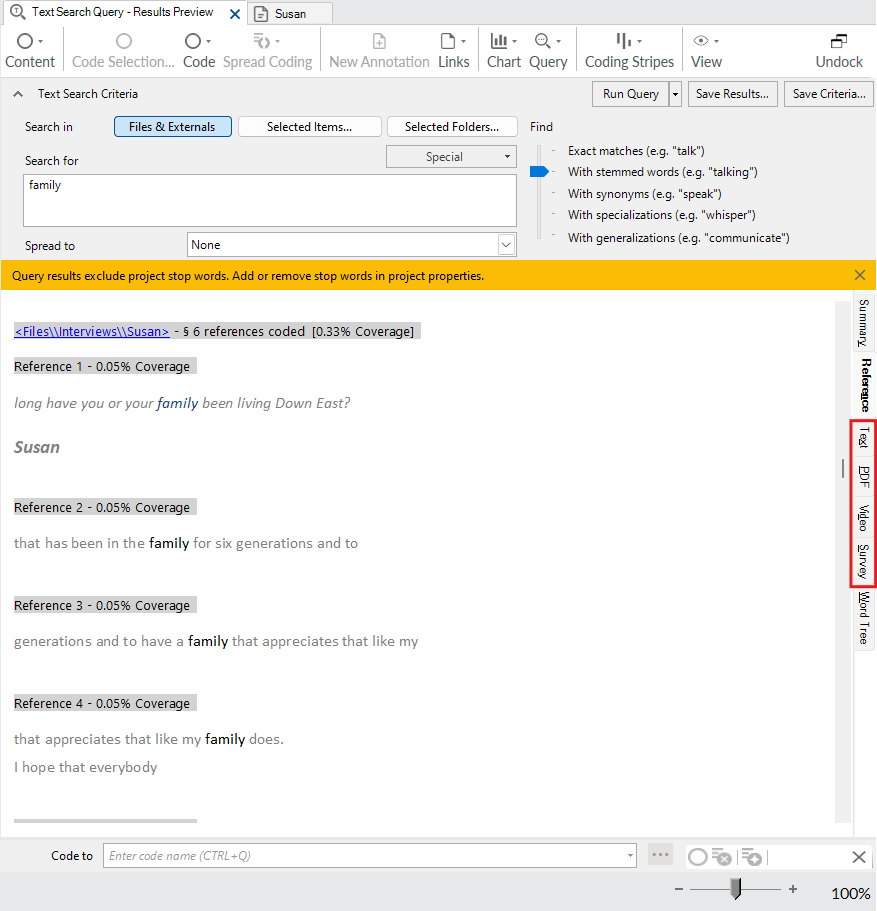
Other tabs on the right, such as text, PDF, video and survey, only show you references in that type of content, to narrow down your search.
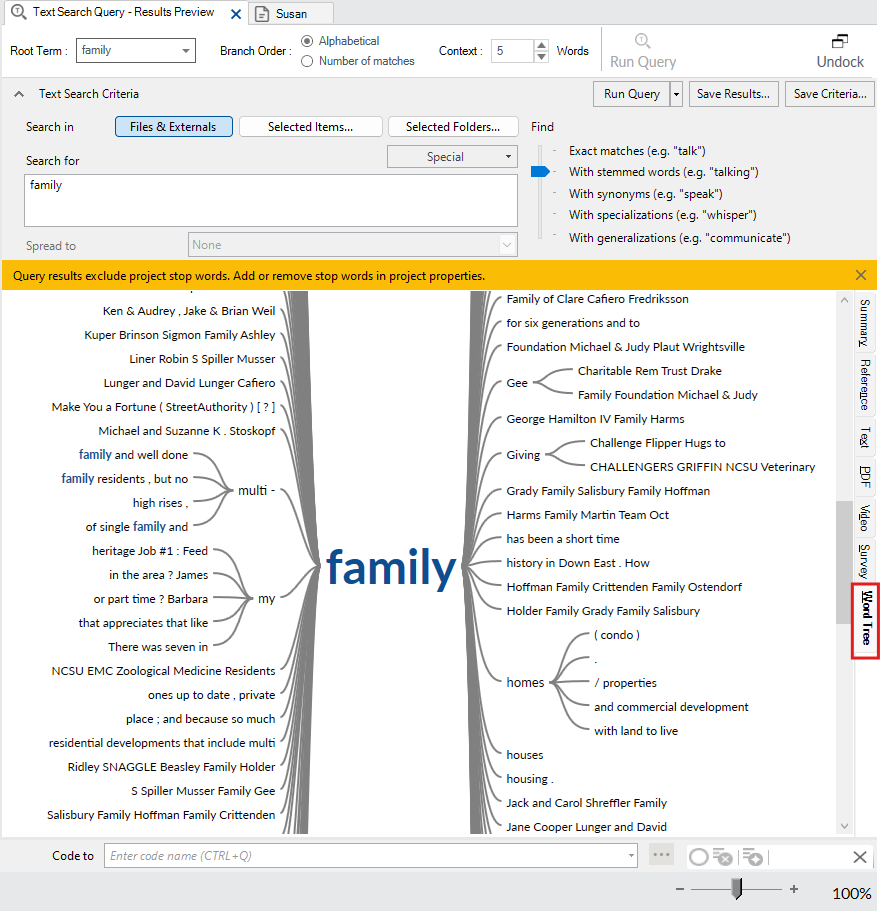
Click on the final tab, Word Tree, which shows you what words often come before and after the term or phrase you searched for. This is useful to understand how that word or phrase is being used.
Go back to the Summary tab. Where it says Spread to just below the search box, drop-down and select Custom Context.
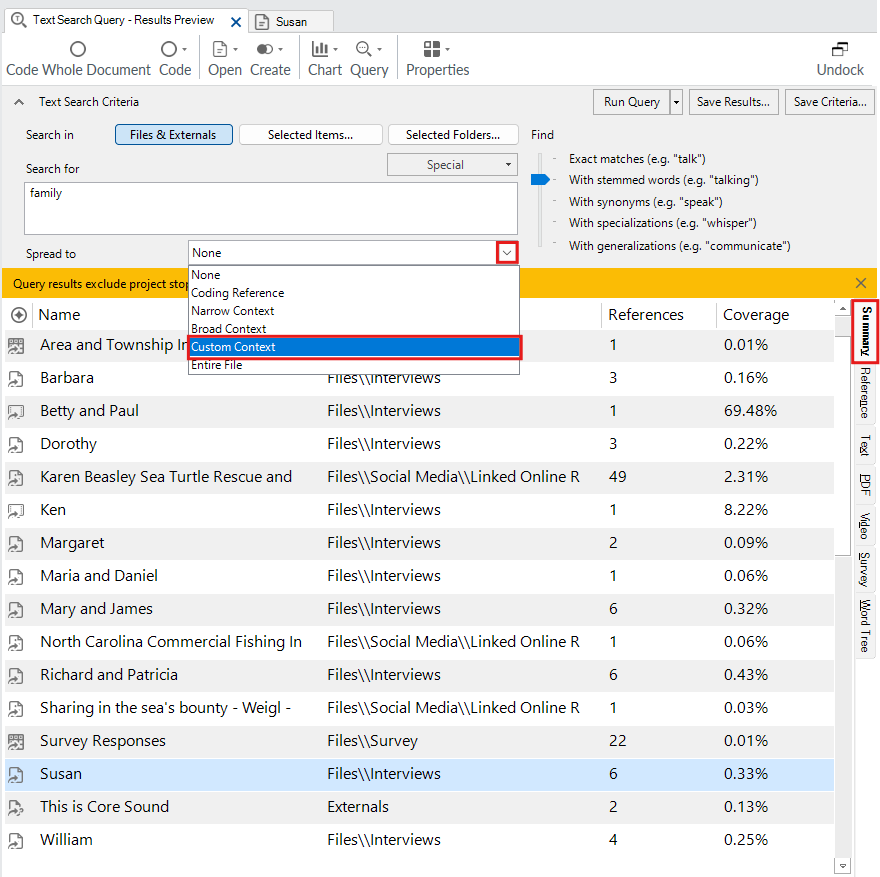
From the pop-up window, select Surrounding paragraph and click on OK.
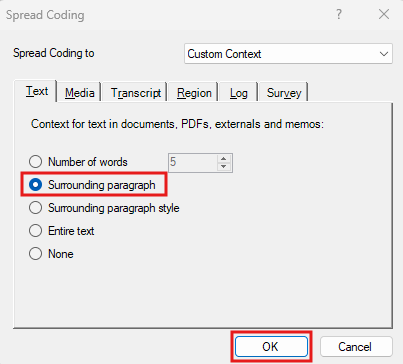
Re-run the query to grab more than just the word, but the surrounding paragraph.
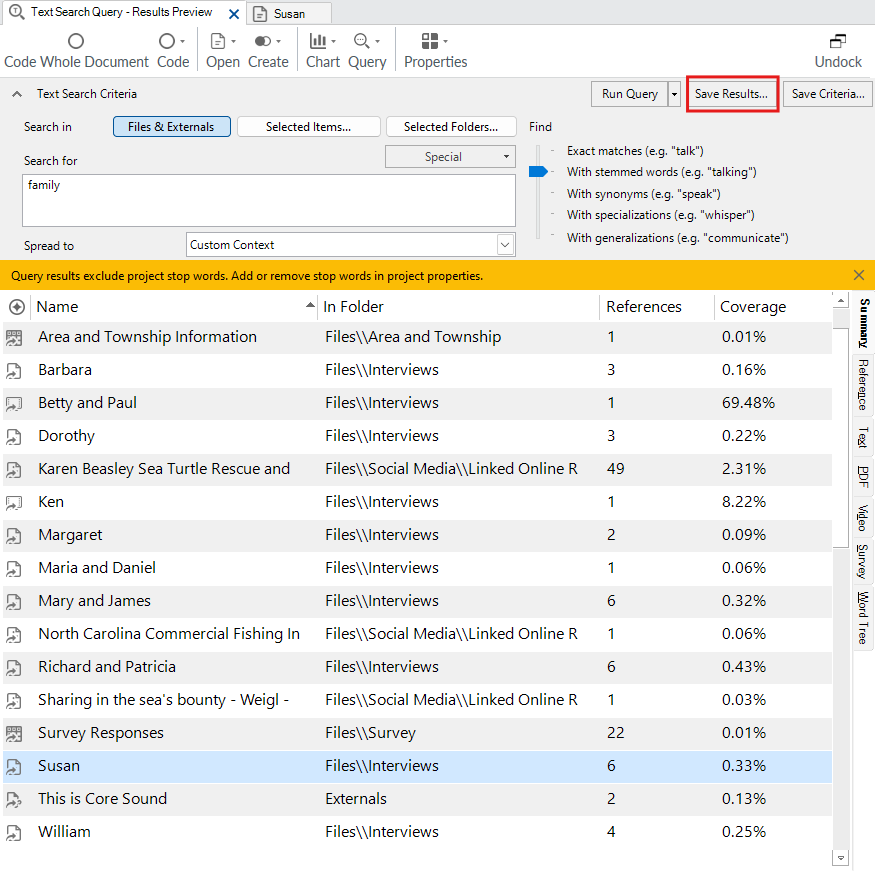
We can then save the results in a code. In a way, it autocodes the search term, and the words around the search term to a new code we can call Family. Click on Save Results… at the top right.
For the location, click on Select… and pick Codes.
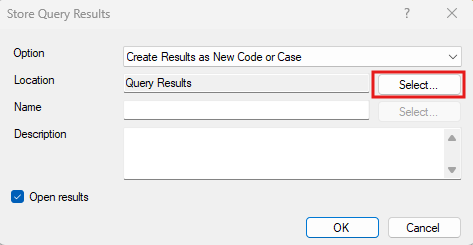

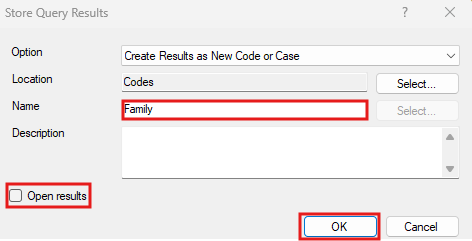
Call it “Family”, uncheck Open results, and click on OK.
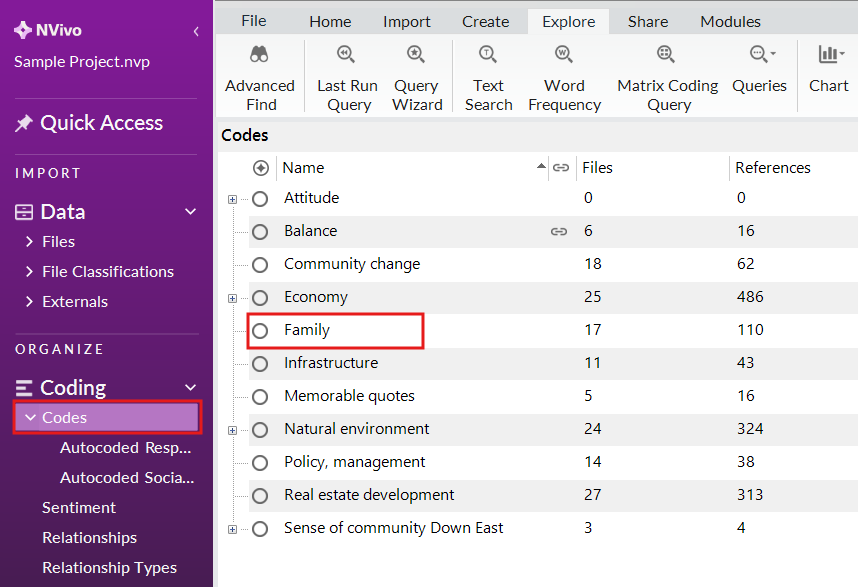
Go to Codes and you should see a new code called Family.
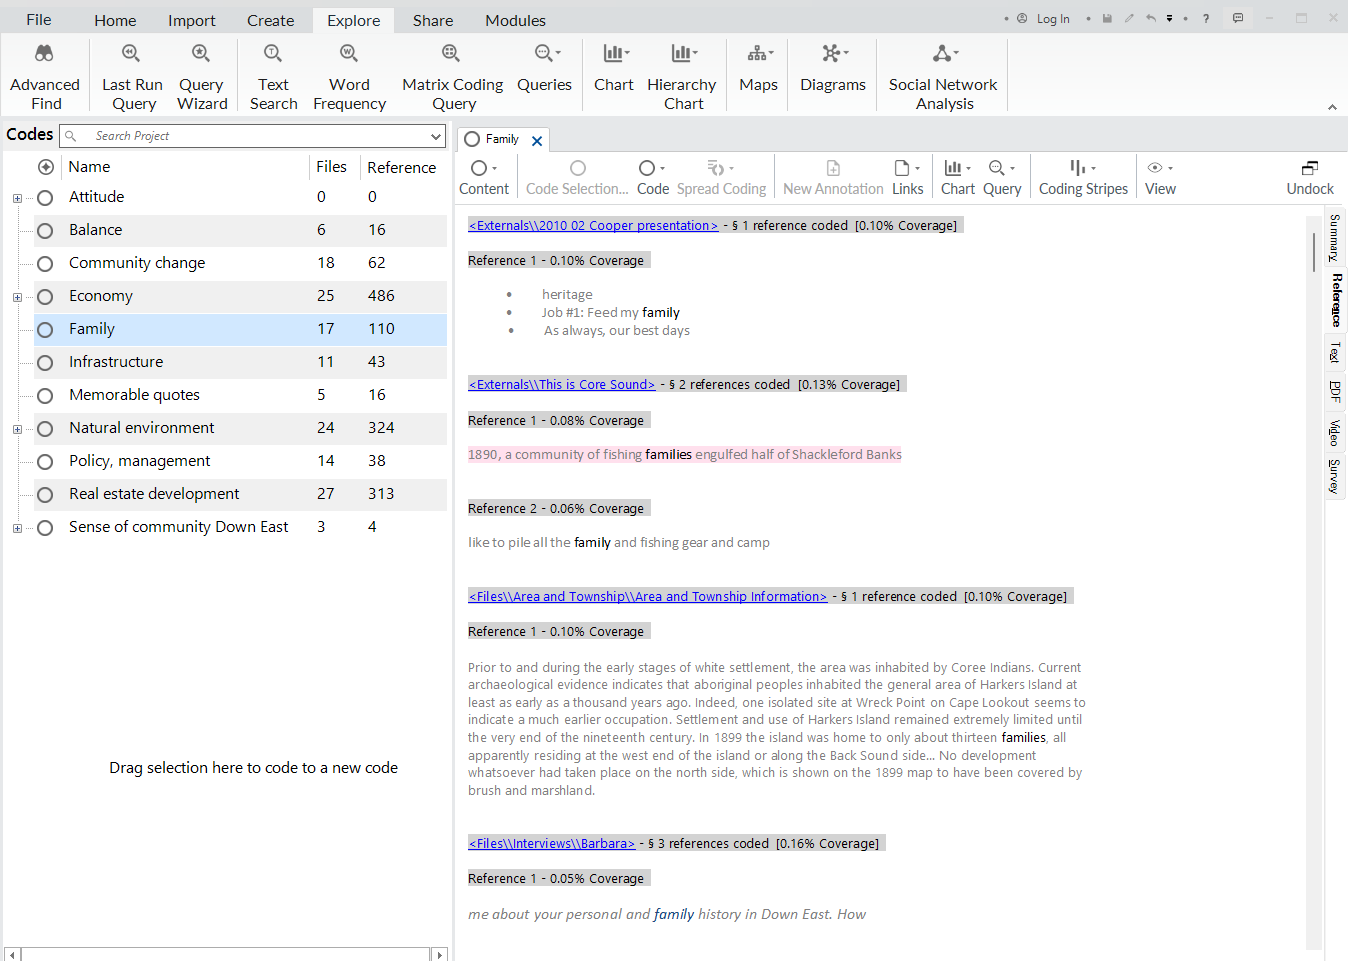
If you double click on it, you’ll see all the results from the query. So, this is a way to do some coding through text searches.
Test Your Understanding 1
Using either the Query Wizard or the Explore menu options run a Word Frequency query for the project to find the top 50 words, grouping with stemmed words. Only search News Articles. What was the most common word?
Next run a Text query for the project to find the phrase “climate change” in all project items. How many project items were in the results?
Click here for the answers.
Technique: Qualitative Data Analysis | Tools: NVivo