Creating Codes and Coding
One of the main tasks NVivo is used for is coding. NVivo has a Codes section from the left menu, but if you expand it, you will see folders such as Codes, Sentiment, etc. These codes act like containers to hold all the references to that code.
If you have already decided upon codes ahead of time (following a deductive approach to coding), you can add these codes to NVivo and then start using them. Other times, you will be reading your materials in NVivo and creating codes as you go (an inductive approach to coding). And sometimes you will do a combination of this. For this example, first, we will create a few codes that we will use to code our materials, and then I will show you how to create codes on the fly as you are reading.
From the Codes section on the left, right click on the Codes folder and select New Code.
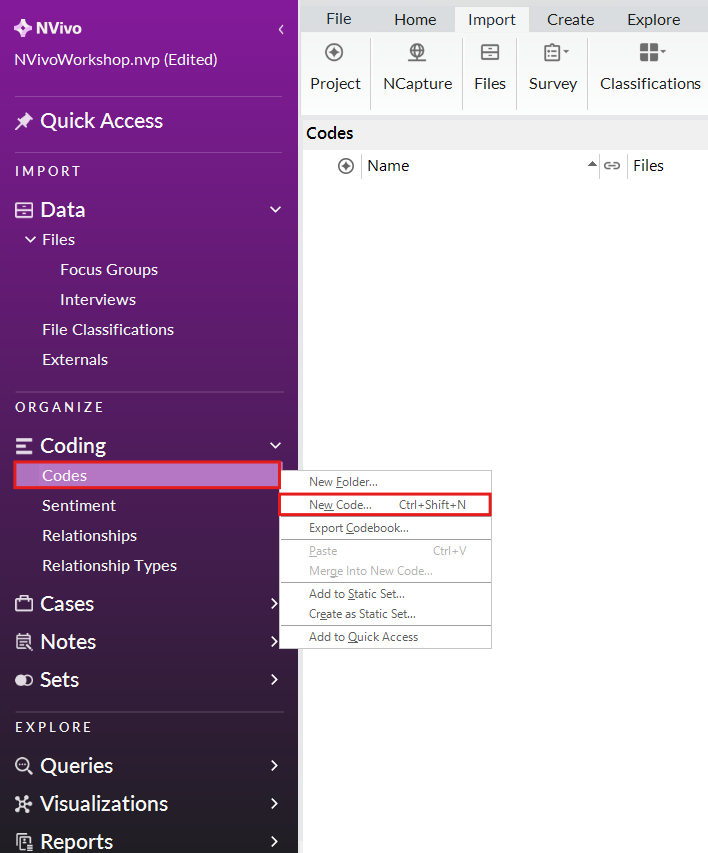
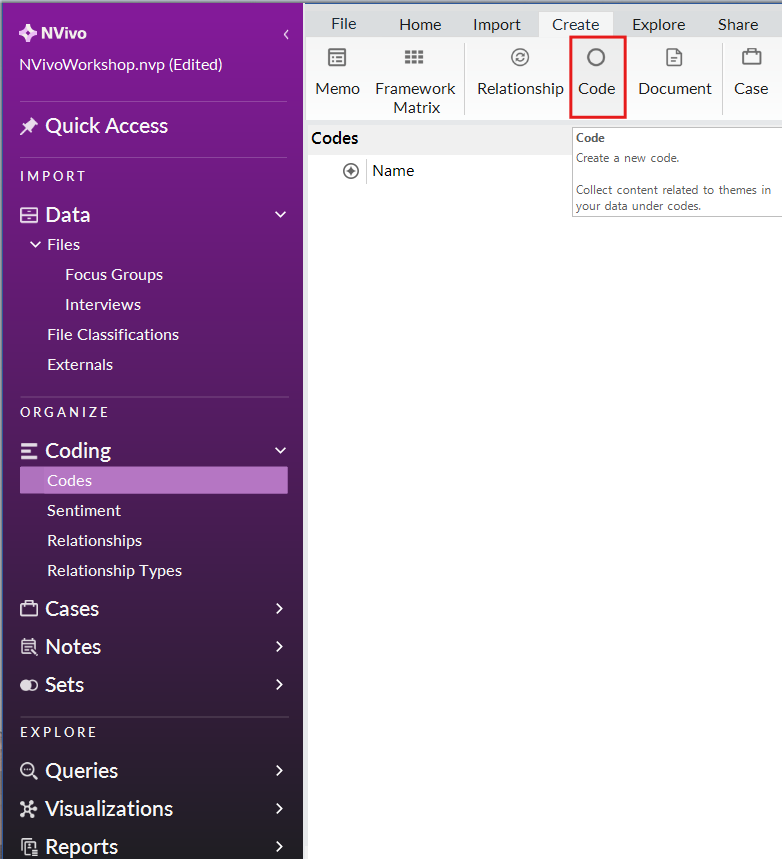
Alternatively, you can go to the Create menu and select Code to create a new code.
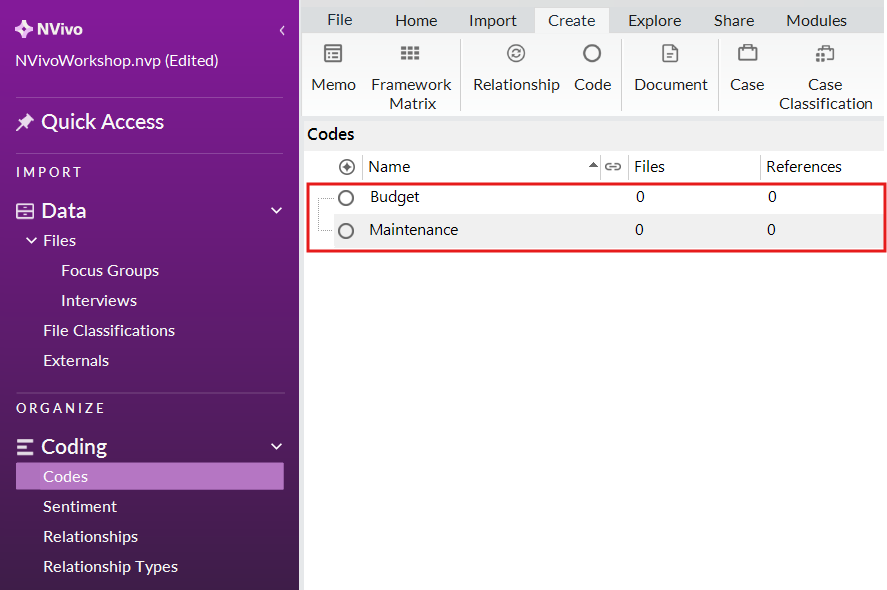
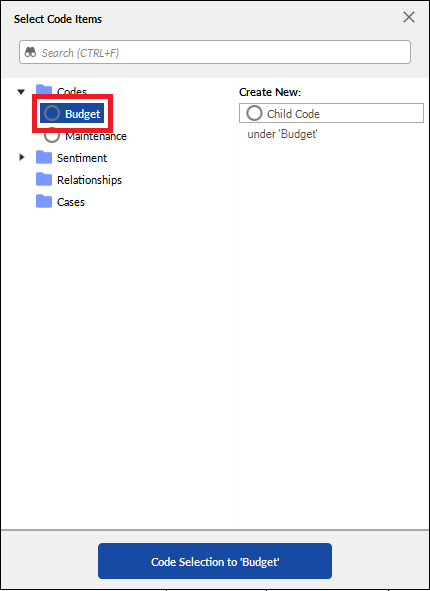
For the code name call it “Budget”.
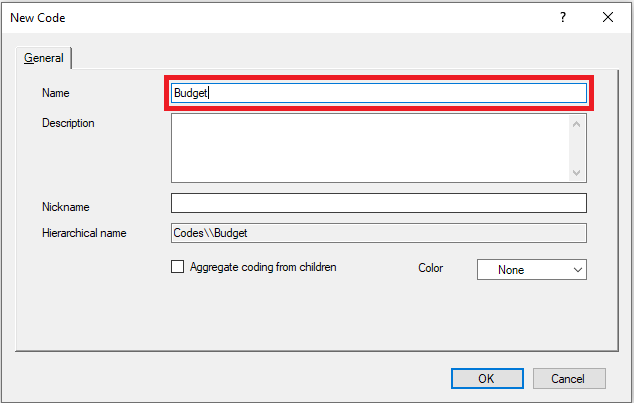
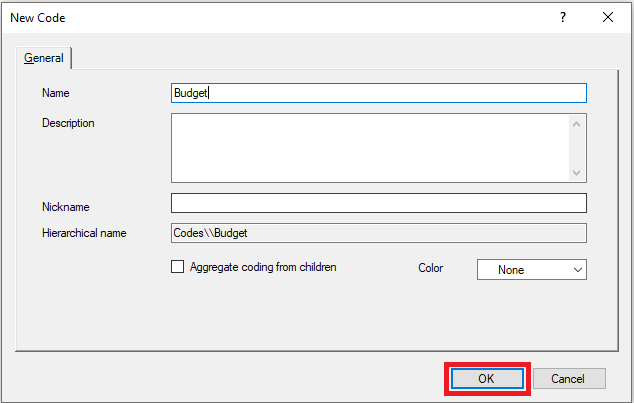
You can add a description for your codes if you like. This lets you describe them in more detail and give examples of where it would be applied to understand how to use it in coding. We will just leave it blank for now. The nickname field is used if your code name is a bit longer, but you want a quick nickname to select from a list when coding. Our code name is short, so we don’t need a nickname in this case. Ignore the “Aggregate coding from children” option for now. We will discuss it later. So let’s just select OK. You should now see our new Budget code listed in the Codes folder.
Repeat the last three steps to also create a code called “Maintenance.” If you make a mistake, you can always right click on a code and select Delete to remove it (be careful with this option if you have started coding!) or select Code Properties to rename it or add a description and nickname. You should now have two codes.
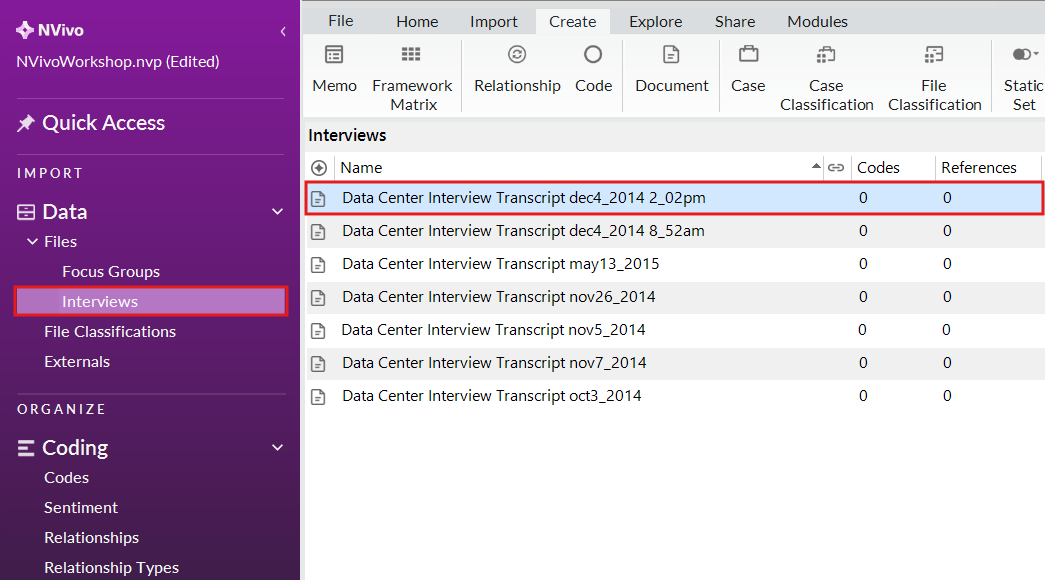
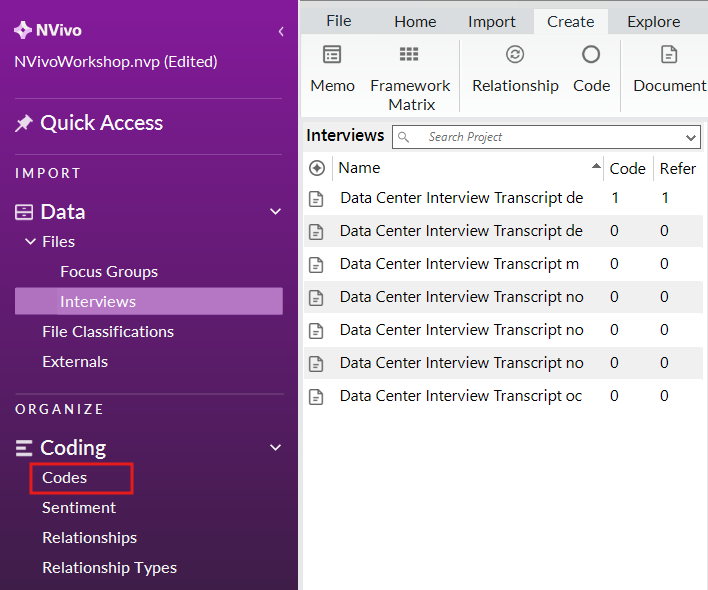
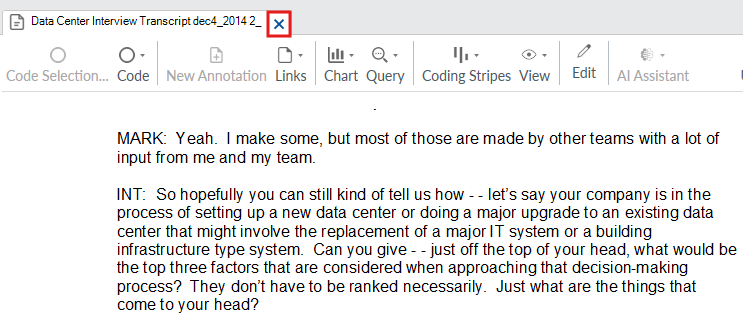
Now that we have a couple codes, let’s use them to do some coding. To open up one of our imported files, from the left menu, under Files, go to the Interview folder, and double click on the interview transcript called “Data Center Interview Transcript dec4_2014 2_02pm” to open it in NVivo.
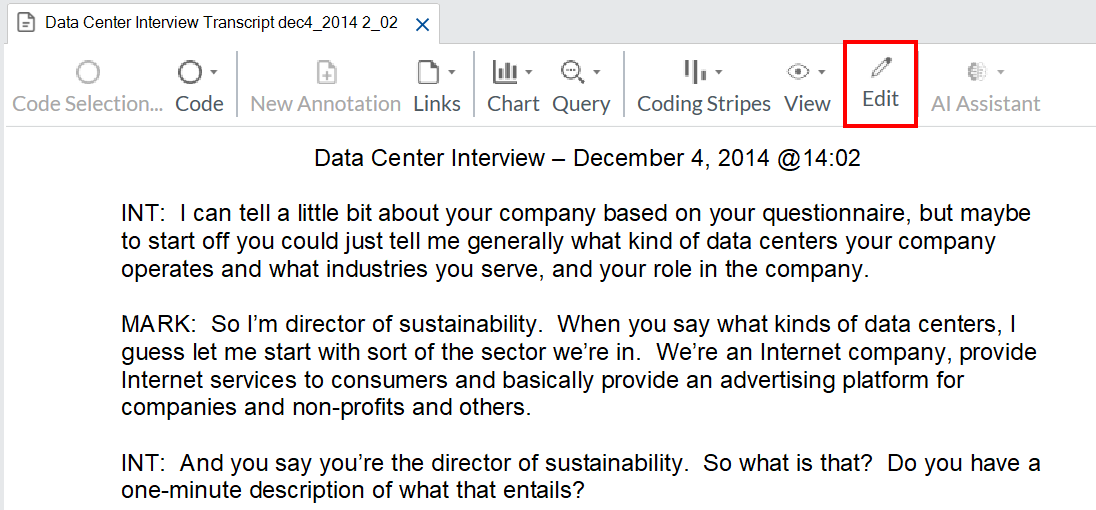
Note: NVivo can open a lot of different file types directly in the tool. The files will be open as read-only, meaning you can’t edit them. This is intentional to prevent error. However, if you happen to notice an error you want to correct, you can select Edit on the top left. Then you will be able to make changes to the file. You can deselect Edit when you’re done to save the edits.
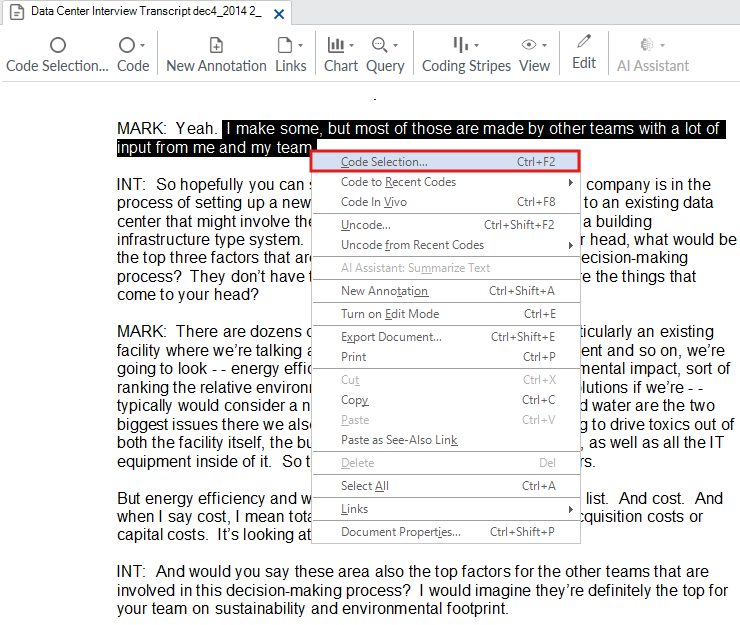
With the file open, you can then read through it and code. Highlight some text you want to code, and then right click and select Code Selection.
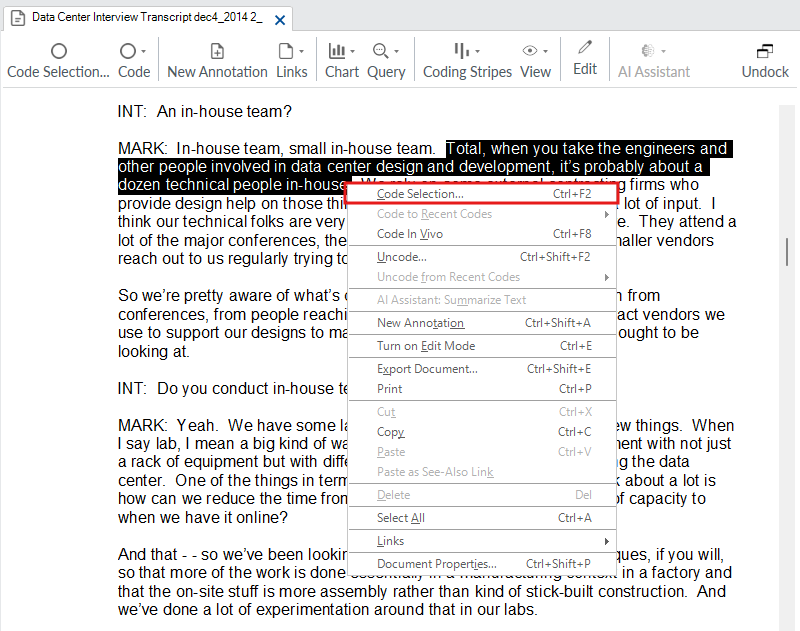
Next, select the code you want to use to code this text, such as Budget, and then click Code Selection to Budget. Now it is coded.
Note: Generally, you want the text to match the code, but for now, don’t worry if the text doesn’t match, this is just to quickly show you how it works.
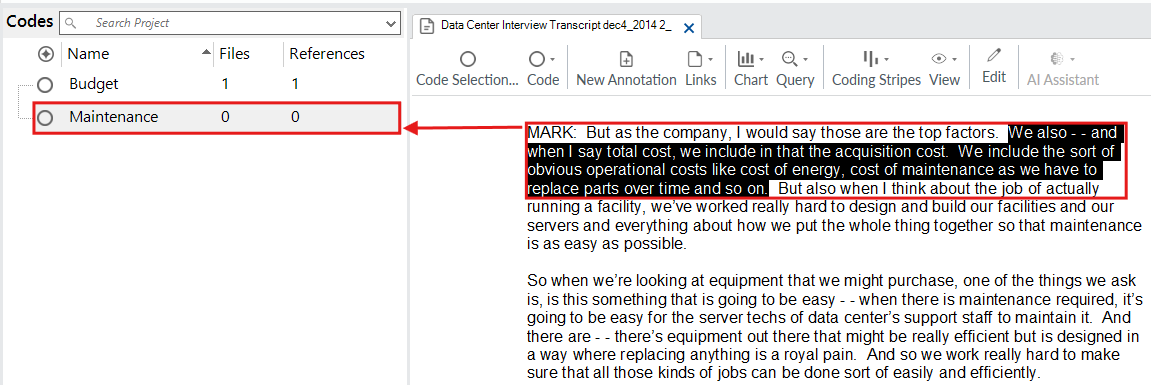
Let’s look at an alternative quick way to code. This time before you code, click on the Codes folder. This should open up the Codes list next to your transcript.
Highlight some text you want to code, and then drag the highlighted text over to the code you want to code it to. Let’s drag it over to the Maintenance code. This is a fast and visual way to code that lets you can see the full list of codes while you are coding.
So far we have been coding using our pre-made codes. However, sometimes, something unexpected might come up that you want to create a new code to code it. Highlight some text, and then right click and select Code Selection…
Now, instead of selecting an existing code, select Top-Level Code on the left.
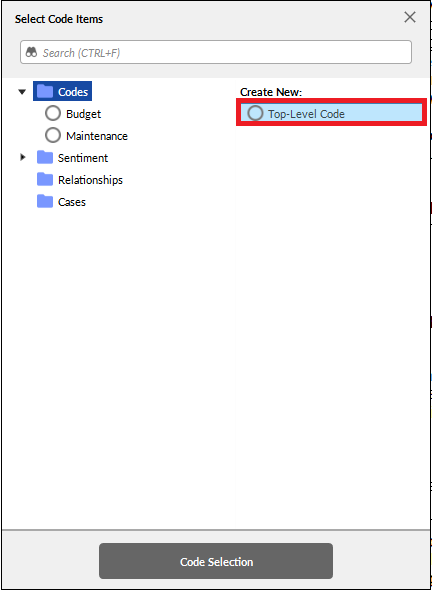
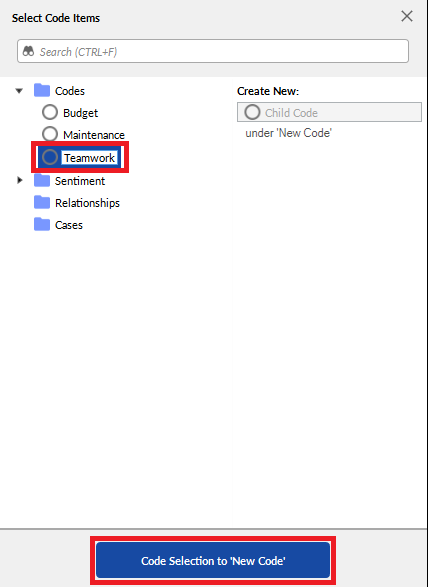
Here you can give it a name, for example, “Teamwork” and select Code Selection to ‘New Code’ to create a new code on the fly.
So far we have been coding Word documents, but let’s look at the PDFs we imported as well. First close the current interview transcript you have been working with.
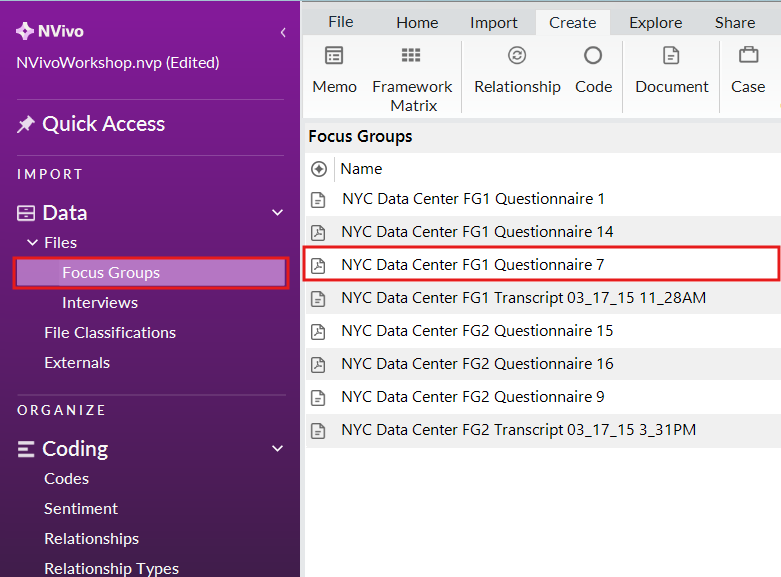
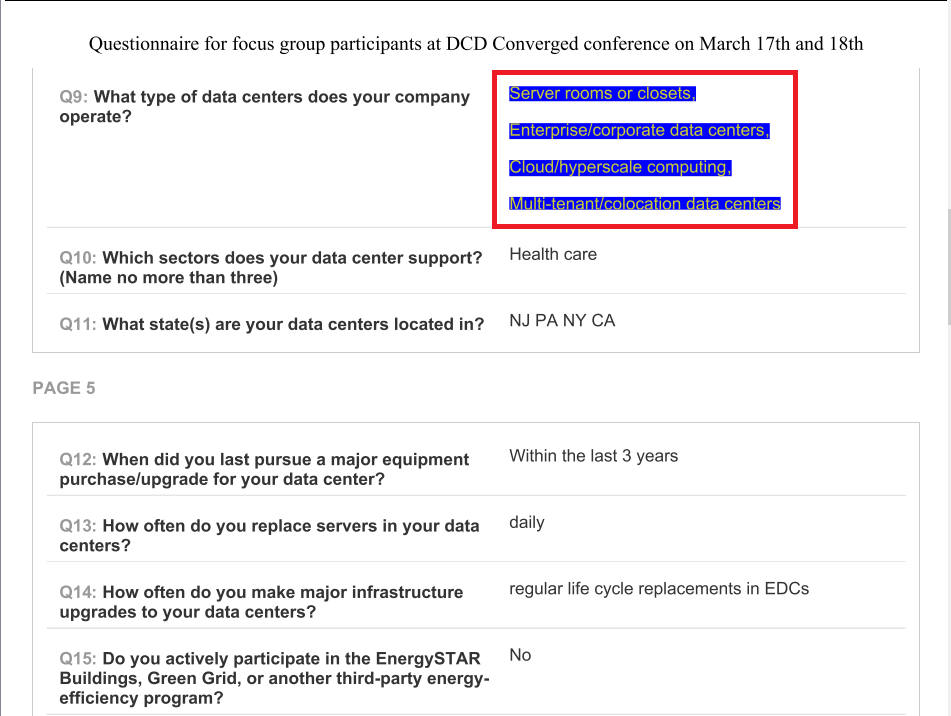
Go to the Focus Groups folder and open up “NYC Data Center FG1 Questionnaire 7.”
This PDF file has been OCR’ed, meaning you can select text and code it as we have done before. Try selecting some text and coding it.
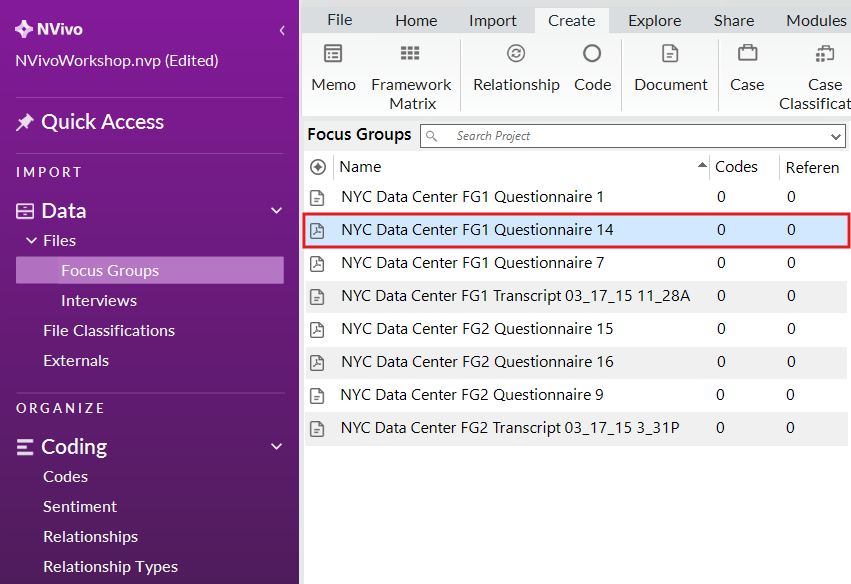
Now open up “NYC Data Center FG1 Questionnaire 14.”
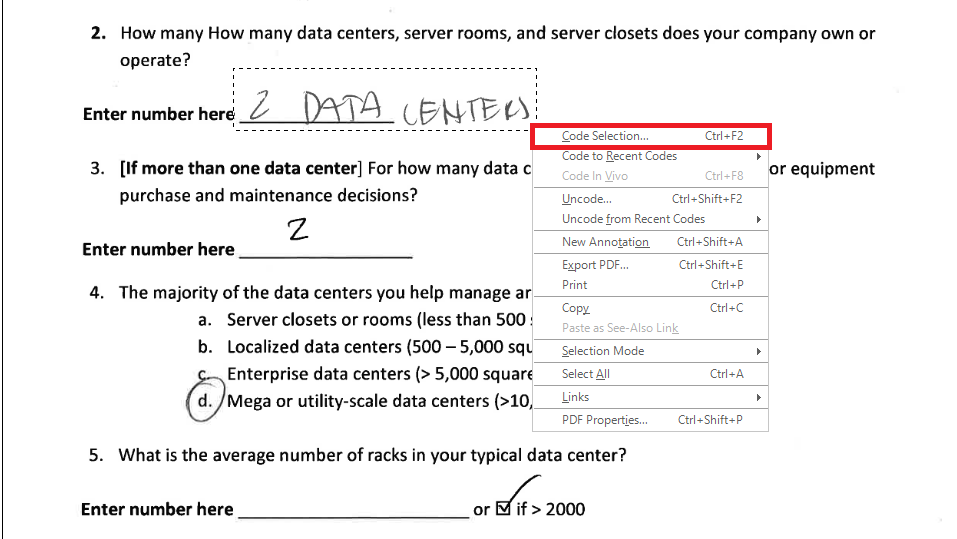
This PDF file has not been OCR’ed, meaning you can’t select the text and code it as we have done before. Instead NVivo treats this more like an image. Select Region from the menu at the top of the document.

Draw a box to select part of the PDF. You will then be able to code this part as normal by right clicking on the box and selecting Code Selection… and code as we have done before Generally, though, it is better to make sure that any PDFs you import into NVivo are OCR’ed for ease of coding. This will also be important when running queries, which we will look at later. For now, close these two PDFs.
Note: If OCR’ing PDFs is new to you, this guide might help.
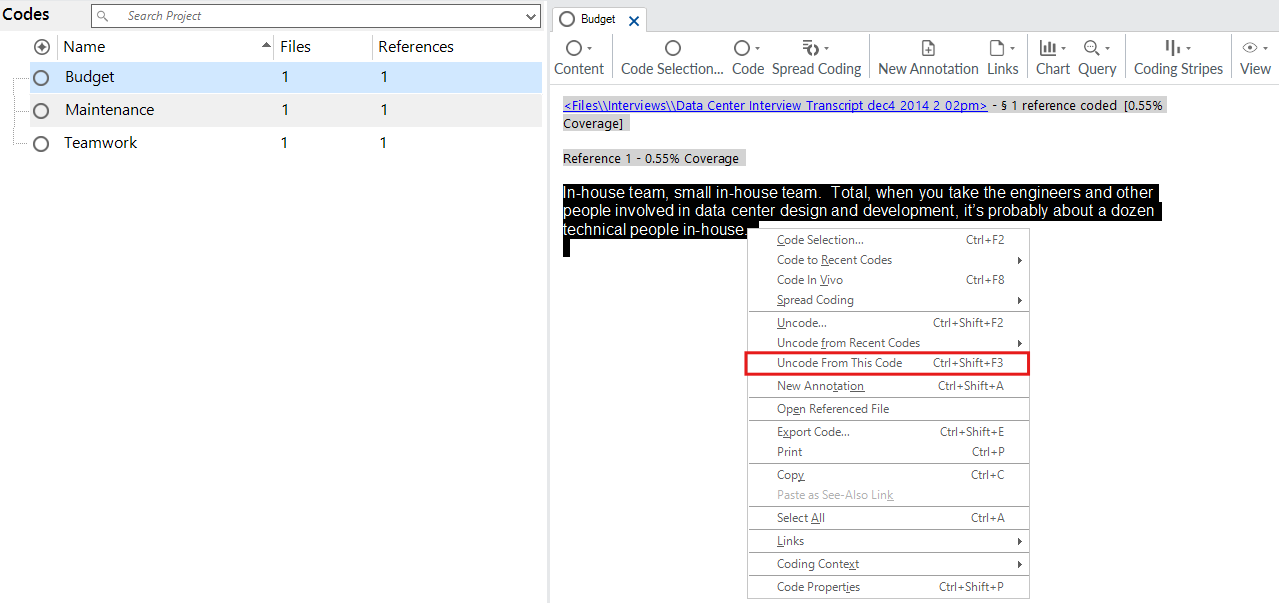
From the left menu, under Coding, go to the Codes folder and double click on a code that has some references (meaning it has been used to code some text). Here you will see all the snippets of text that were coded to this code.
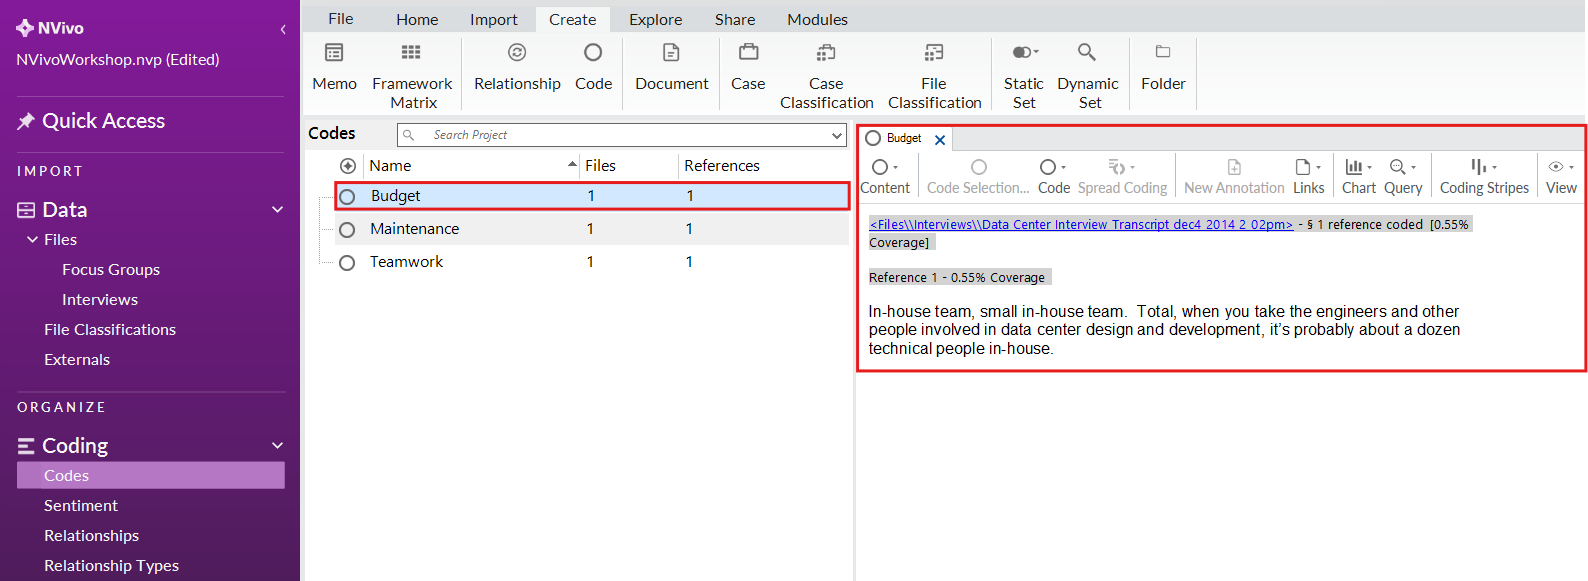
If you later realize that you mistakenly coded something you didn’t mean to code, you can uncode it. Highlight one of the references listed, and then right click and select Uncode From This Code.
Technique: Qualitative Data Analysis | Tools: NVivo