Access online layers
You can avoid making unnecessary uploads (and the creation of new hosted feature layers) by accessing data layers that others have already added to the ArcGIS Online ecosystem.
In particular, the ArcGIS Online Living Atlas, Esri’s curated collection of authoritative, free-to-use spatial datasets is a good place to start looking.
To search for and add Living Atlas layers to your own ArcGIS Online project:
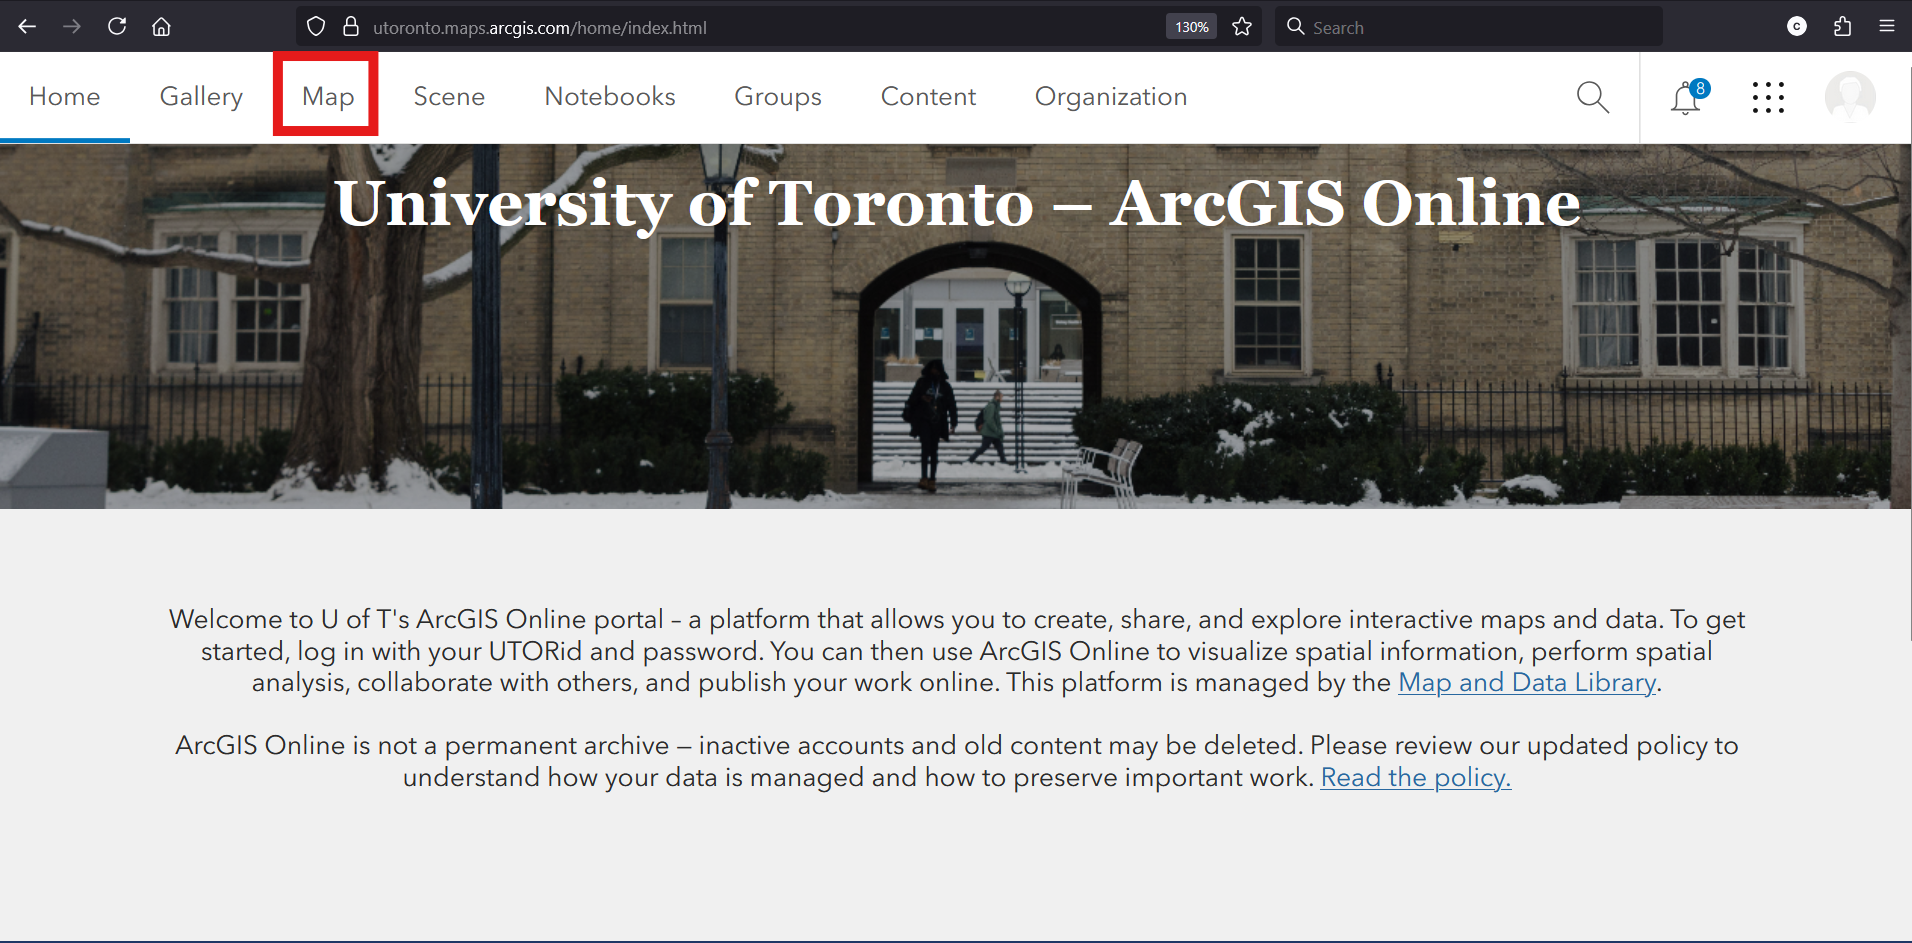
• Log in to ArcGIS Online. Click the Map tab to open the Map Viewer (or open an existing web map that you own).
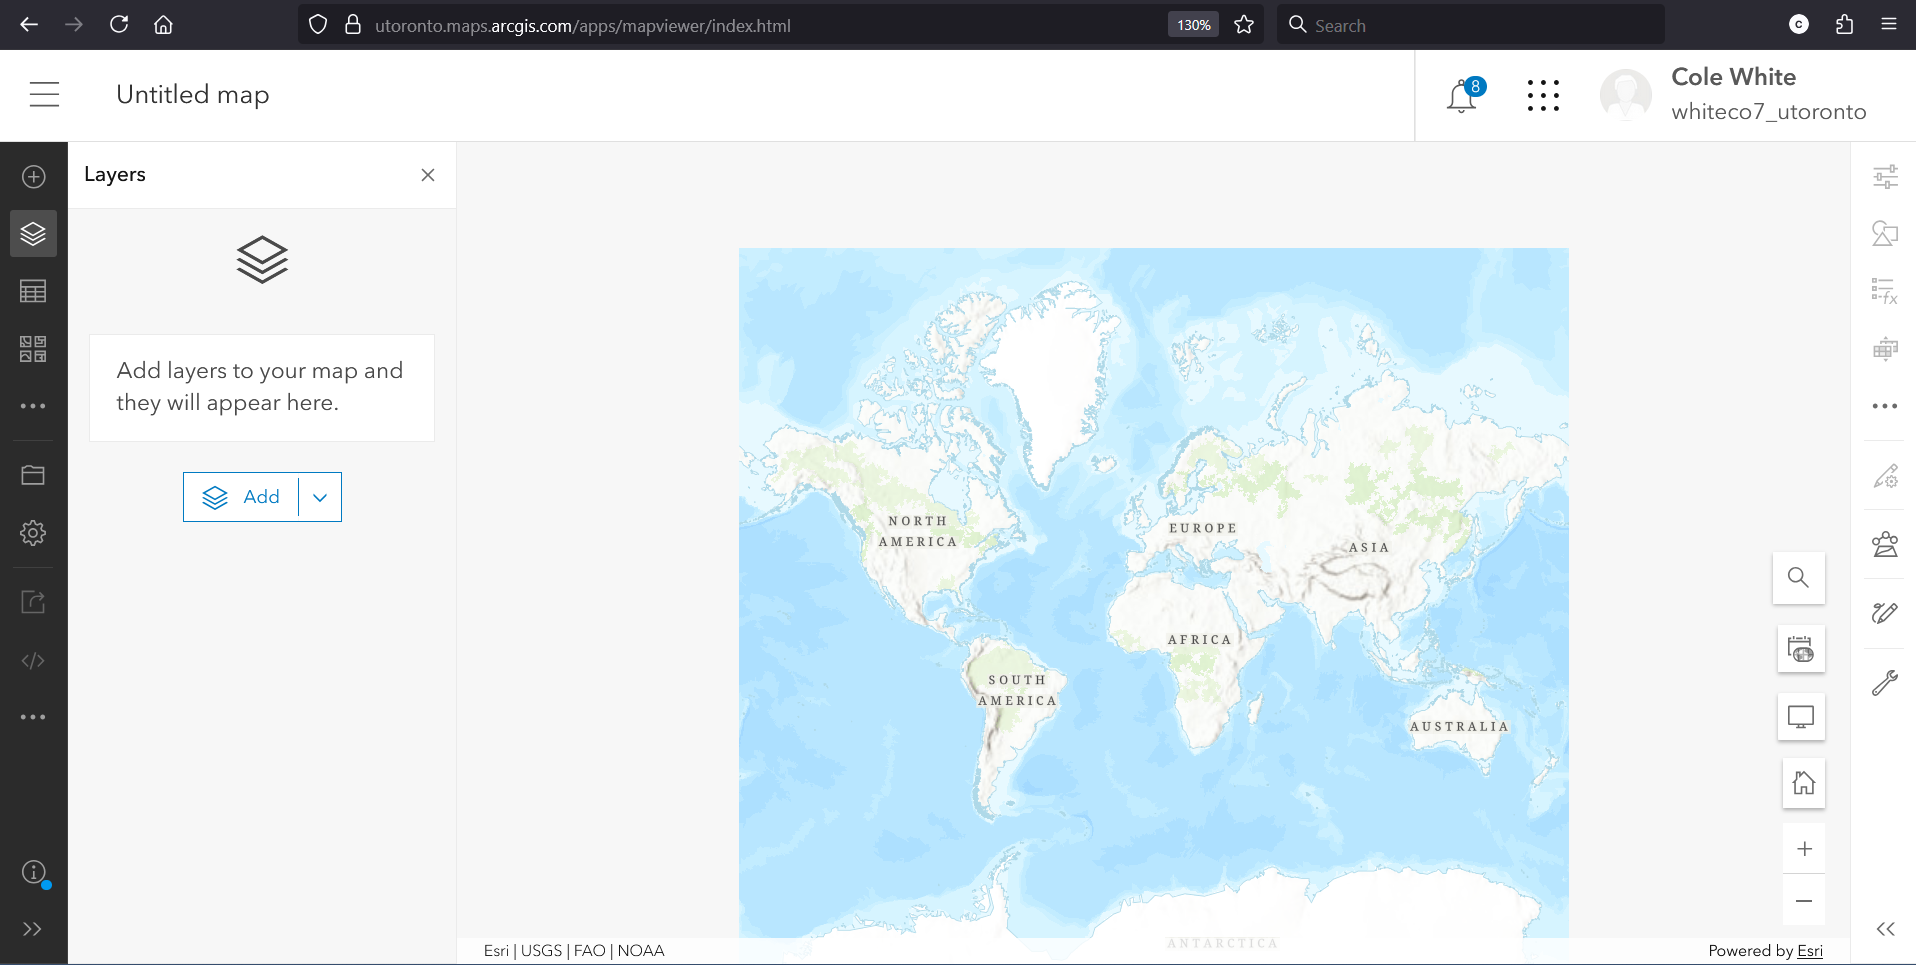
• Click the Add button.
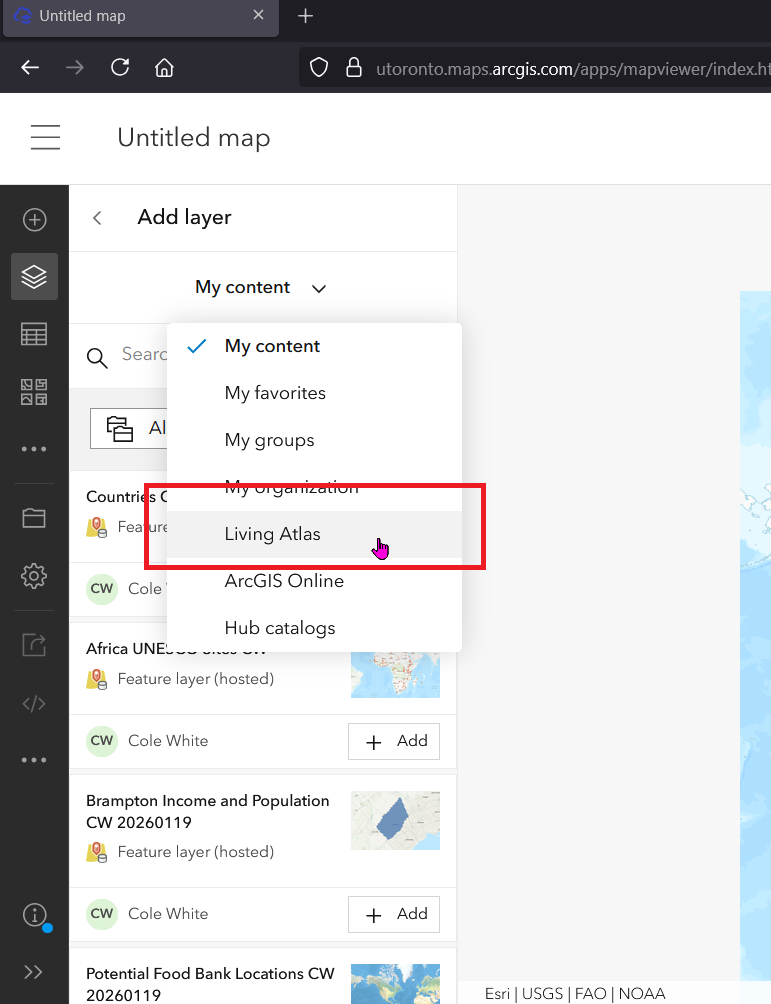
• Click the dropdown, and select Living Atlas
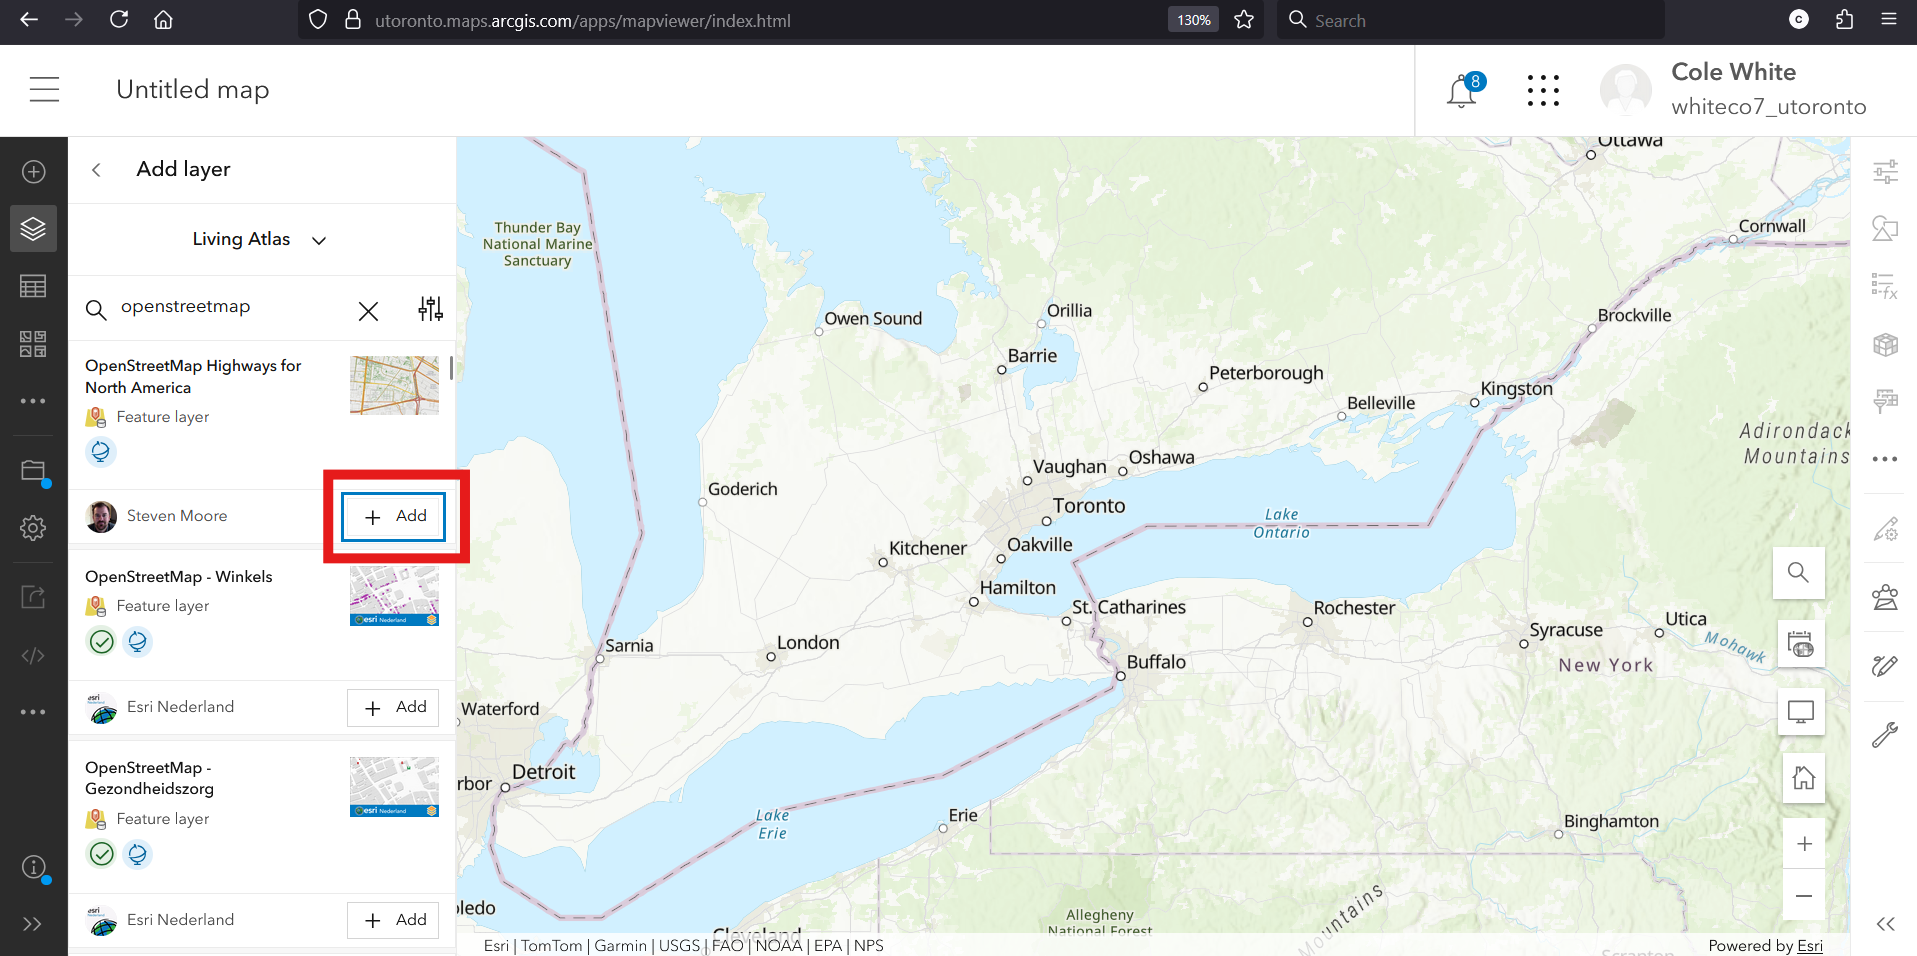
• Search for layers by name, Item ID, or owner. Click Add to add them to your map.
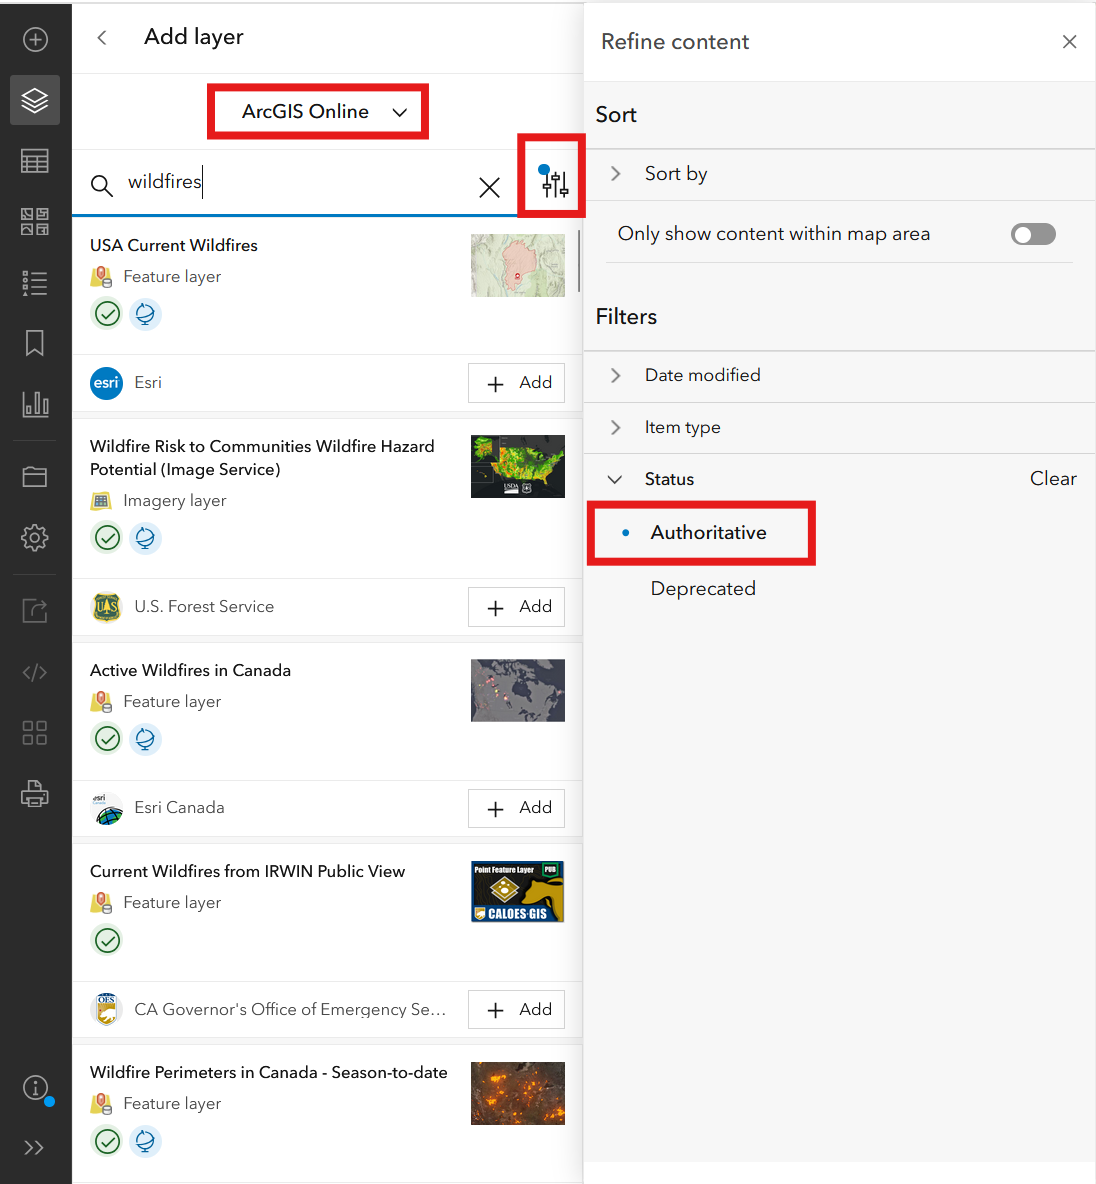
You can also search within the broader ArcGIS Online platform (not just Living Atlas) for reusable data, but make sure it comes from an authoritative source.
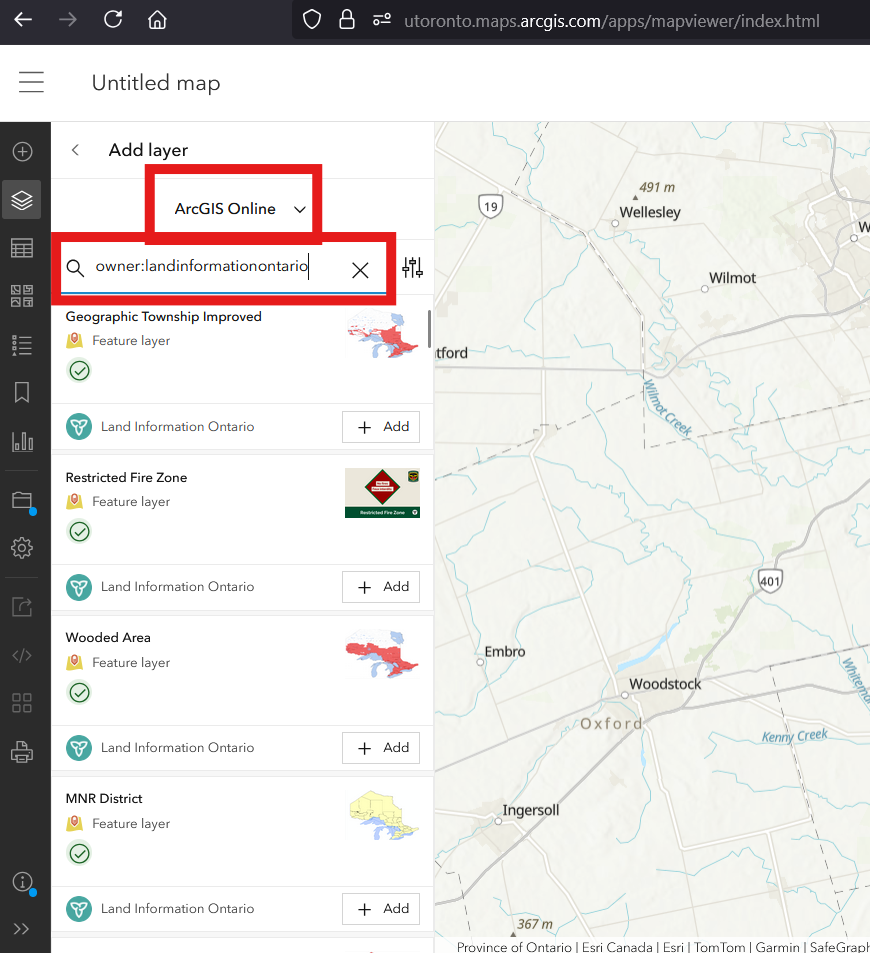
If you know the ArcGIS Online username of a good source, you can search for datasets they own using the ‘owner:’ flag. For example, if you search within ArcGIS Online with the query ‘owner:landinformationontario’, all of Geospatial Ontario’s official datasets will be returned - no need to download and re-upload them.
Additionally, it may be helpful to search within ArcGIS Online and apply a filter to return ‘authoritative’ results only. Example:
Note that some ArcGIS Online and Living Atlas layers might have certain capabilities, such as exporting the layer to a new format, turned off. Additionally, some of these layers may only display the features and not allow access to the underlying attributes. You should check the metadata for any other usage notes or licensing considerations.