Clipping data
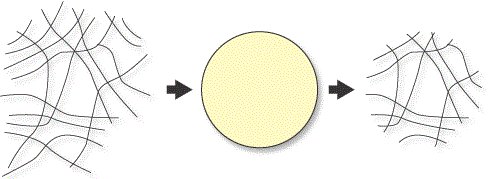
You may be working with a spatial layer that is much more geographically expansive than your study area. In this case, you can clip or subset the layer to your area of interest using ArcGIS Pro or QGIS before adding it to ArcGIS Online. If your layer is already uploaded, there are tools in ArcGIS Online that can do this as well.
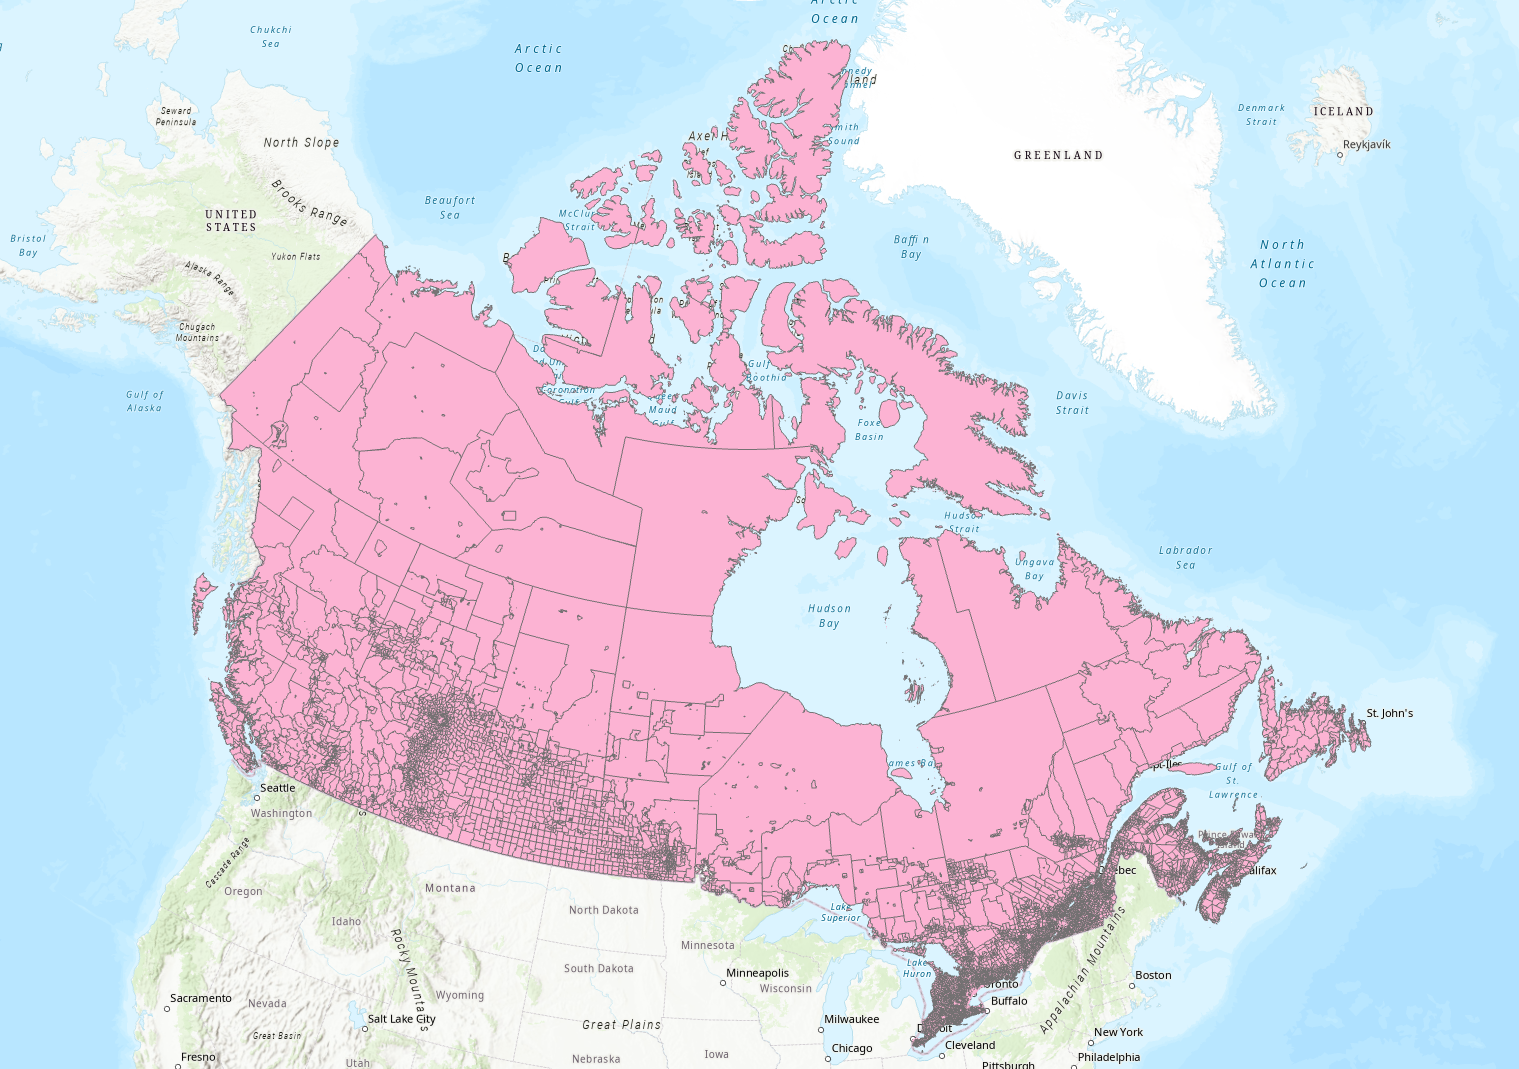
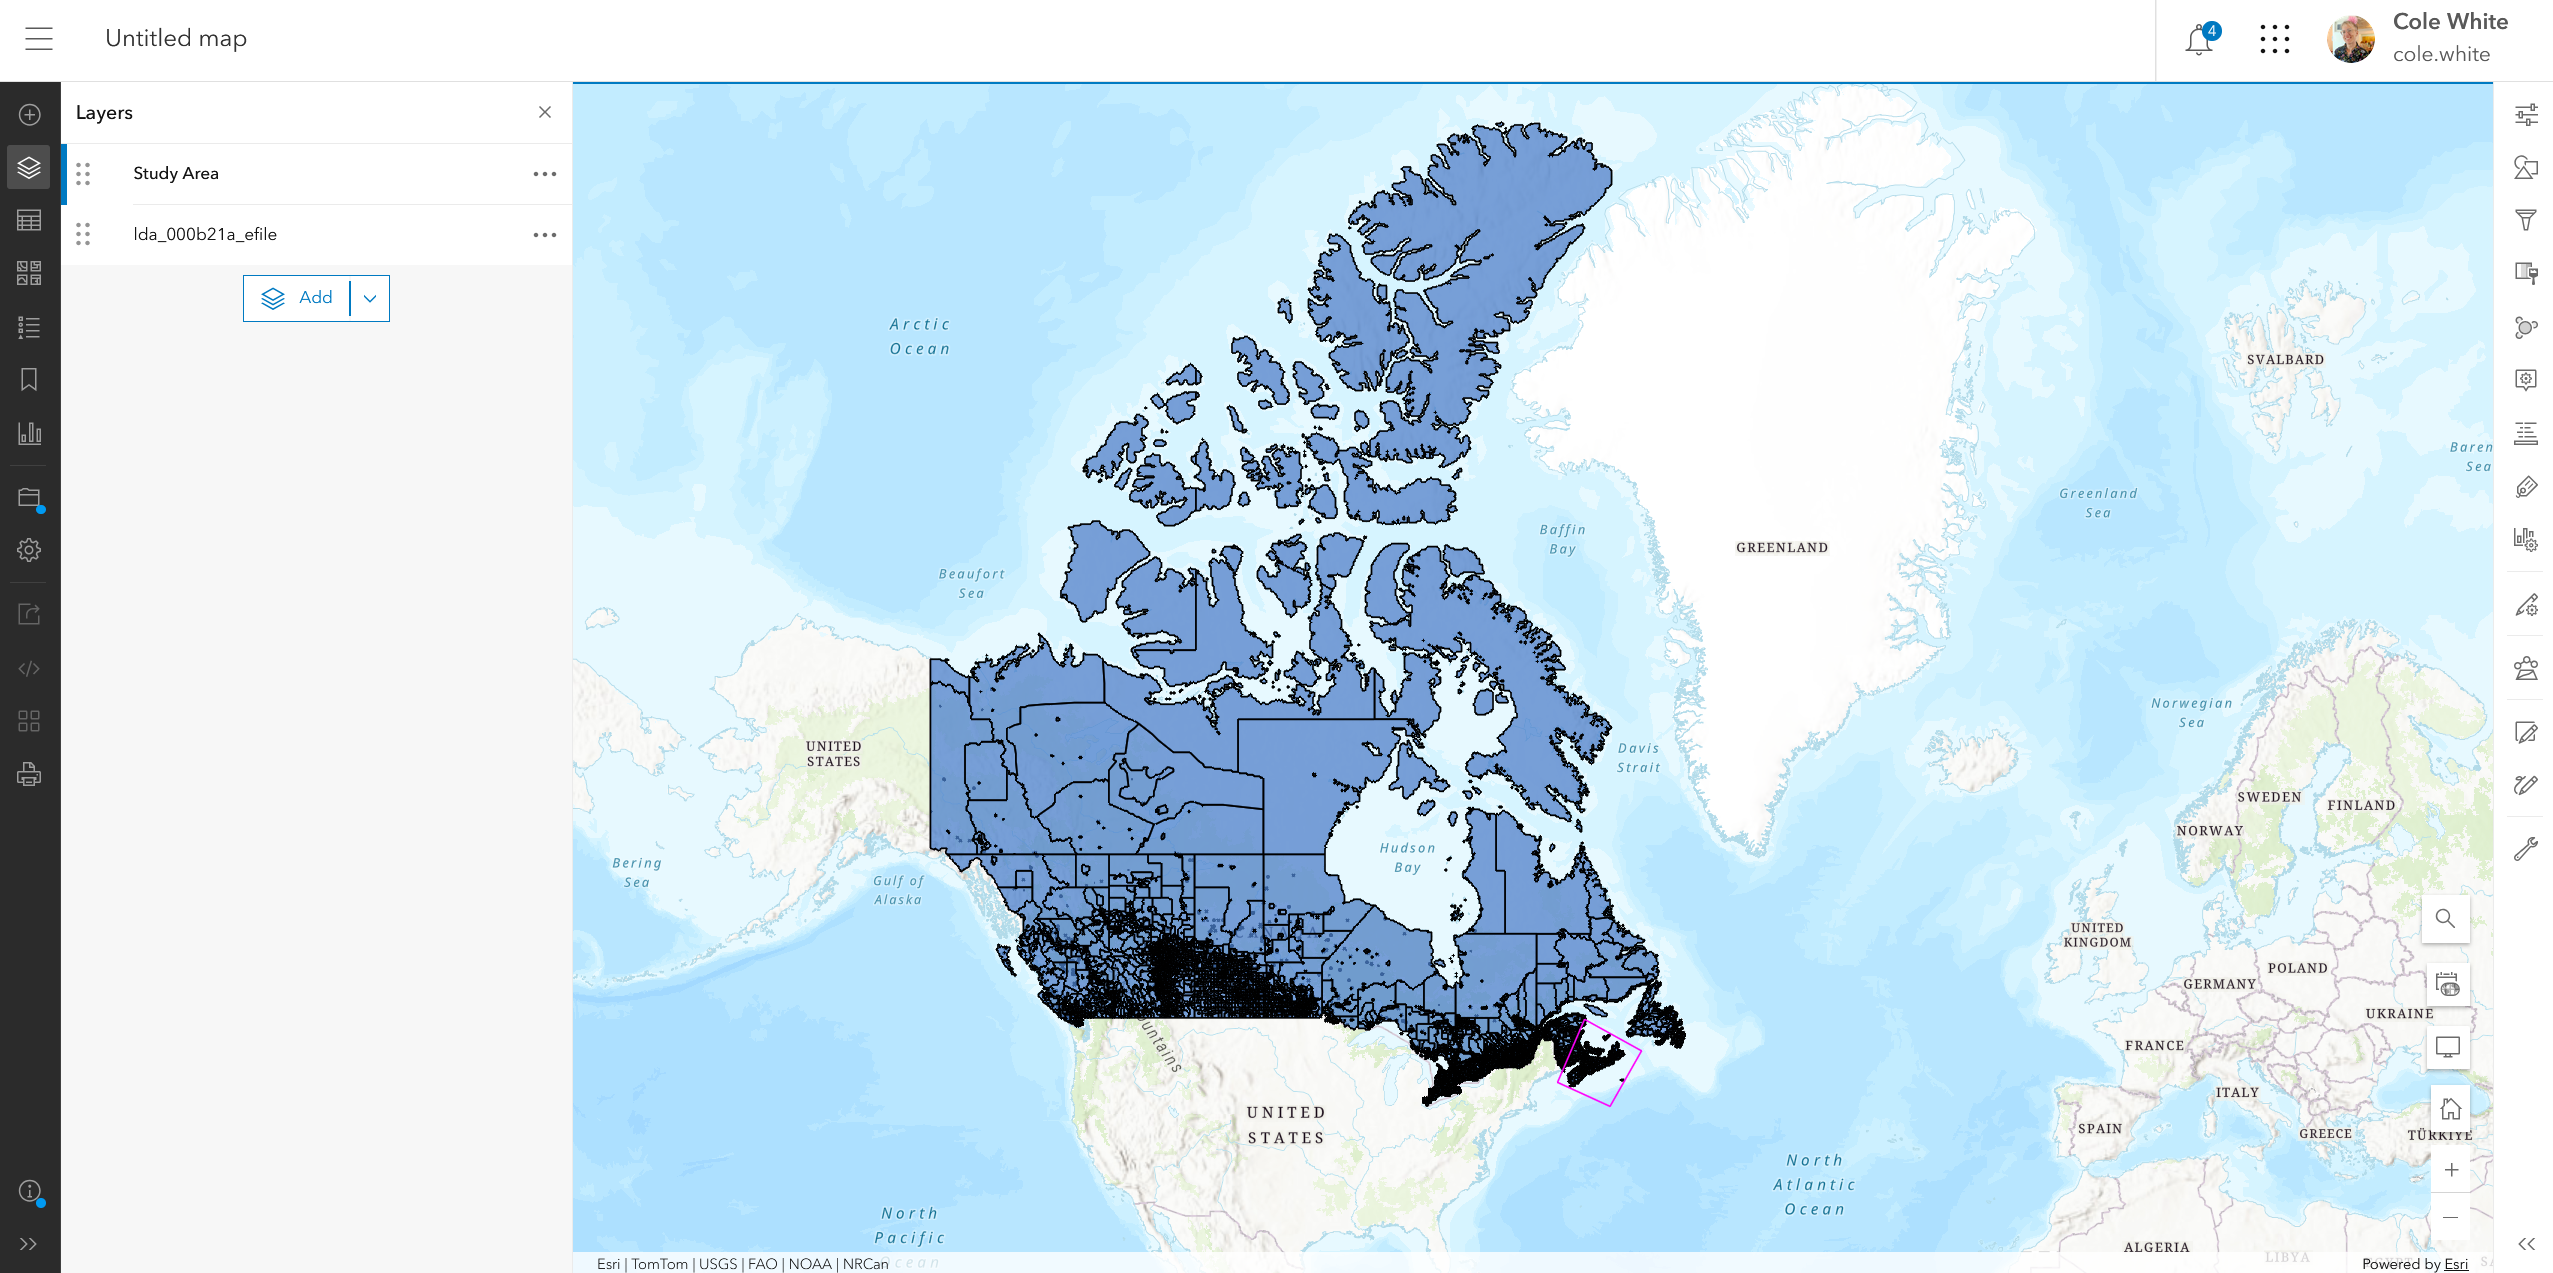
Example: This Statistics Canada layer (downloaded from this page), displays all census dissemination areas within Canada. It will consume about 500 MB (0.5 GB) of feature storage if uploaded to ArcGIS Online. However, if you only need to work with (for example) Nova Scotia’s dissemination areas, this will only account for about 20 MB of feature storage. By clipping or subsetting the data, you can save space by only uploading what you actually need.
The steps below outline how to clip a data layer using ArcGIS Pro, QGIS, and ArcGIS Online.
Jump to: ArcGIS Pro instructions | QGIS instructions | ArcGIS Online instructions
Clipping data in ArcGIS Pro
• Follow the steps in our Clipping vector data in ArcGIS Pro tutorial.
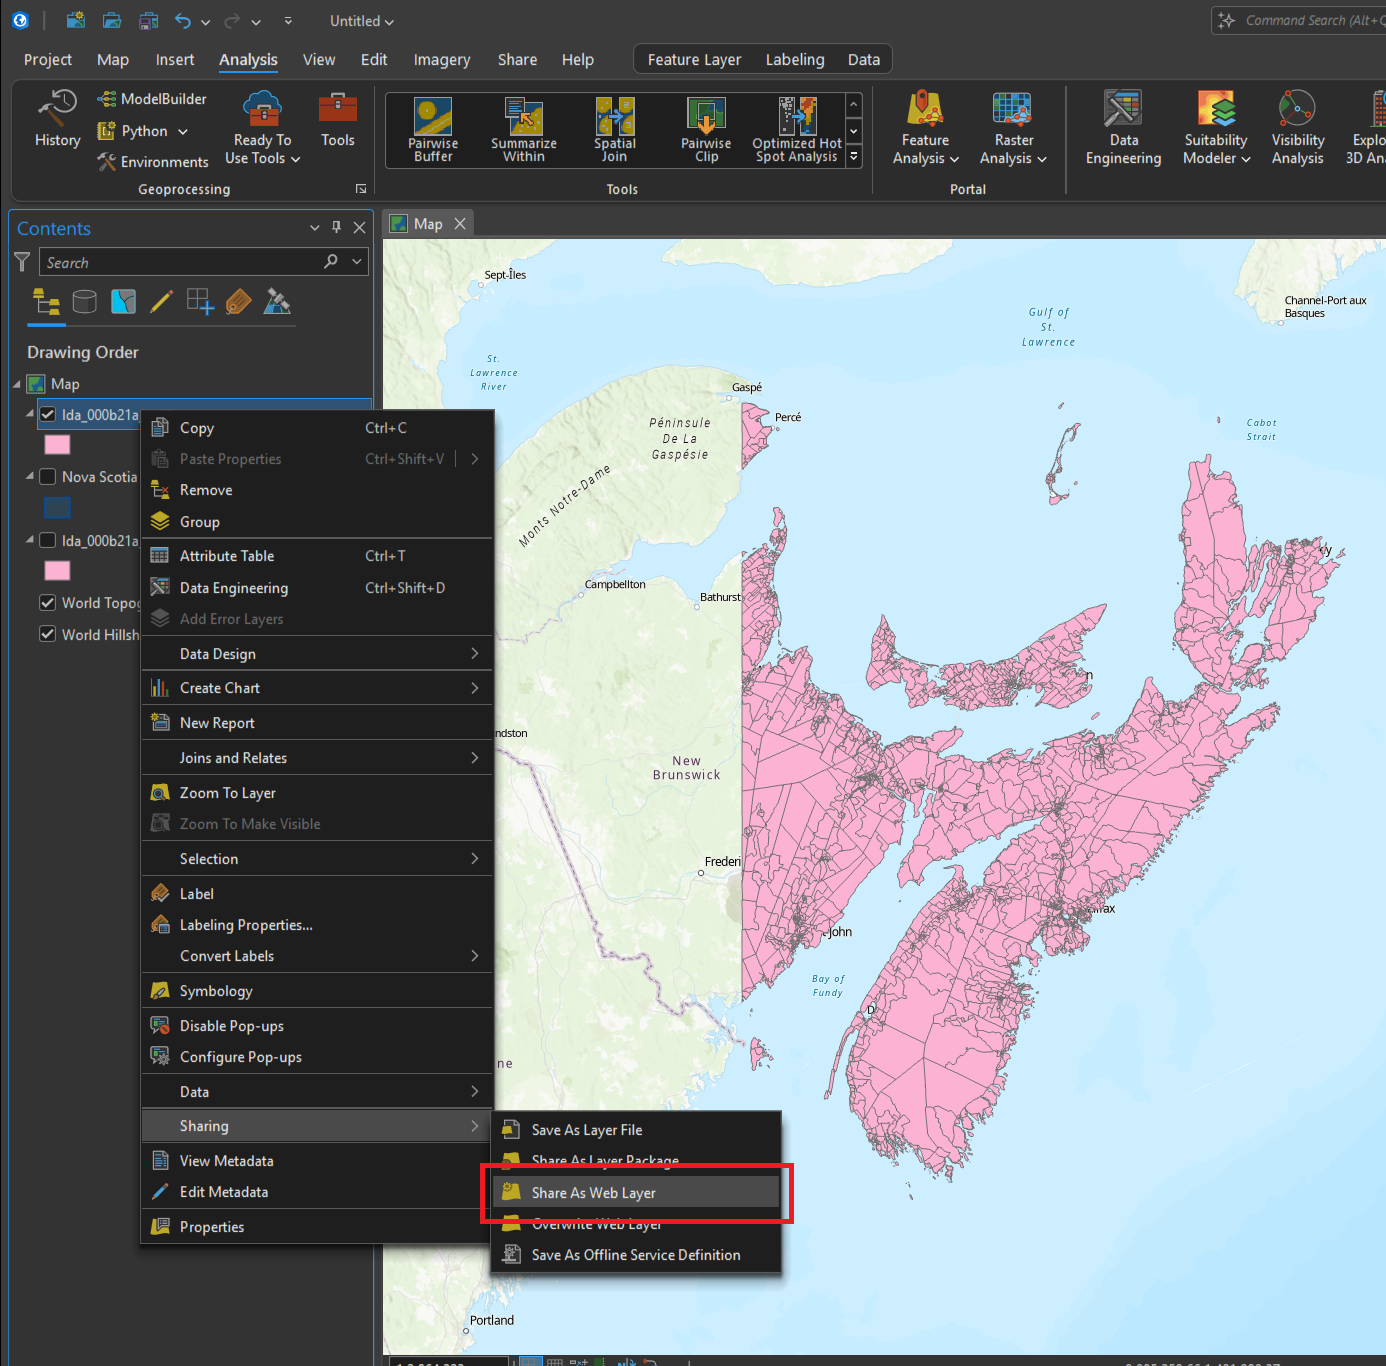
• Once you’ve created a clipped layer, it can be uploaded to ArcGIS Online by right-clicking its name in the Contents pane and choosing Sharing -> Share as web layer. (Alternatively, save the layer as a shapefile, zip/compress it, and upload the zip to ArcGIS Online).
Clipping data in QGIS
• MDL has a separate tutorial for this too. Follow the steps here.
• After performing the clip, zip (compress) the output shapefile and upload it to ArcGIS Online. More information on this is in Esri’s official documentation.
Clipping data in ArcGIS Online
We recommend using the desktop options described above to clip or otherwise preprocess your data. However, if your large data layer has already been uploaded to ArcGIS Online, or if you are unable to access QGIS or ArcGIS Pro, you can perform the clip in ArcGIS Online itself. After the data has been clipped, you will delete the original layer and keep only the output of the clip operation.
Here is how you can do this:
• Log in to ArcGIS Online. Open the large layer in the Map Viewer. Optionally add a clip layer representing your study area.
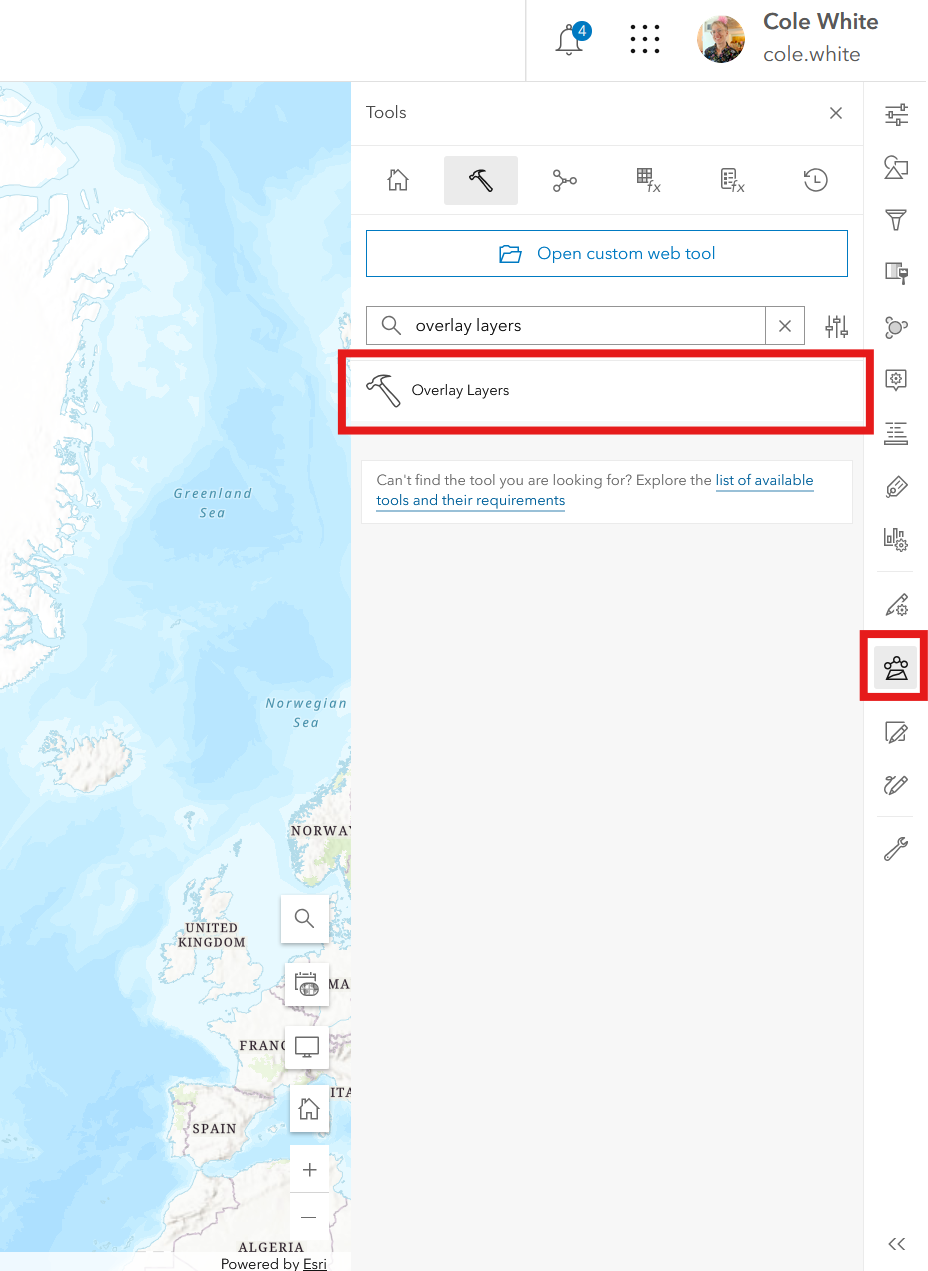
• Open Overlay Layers from the Analysis tools.
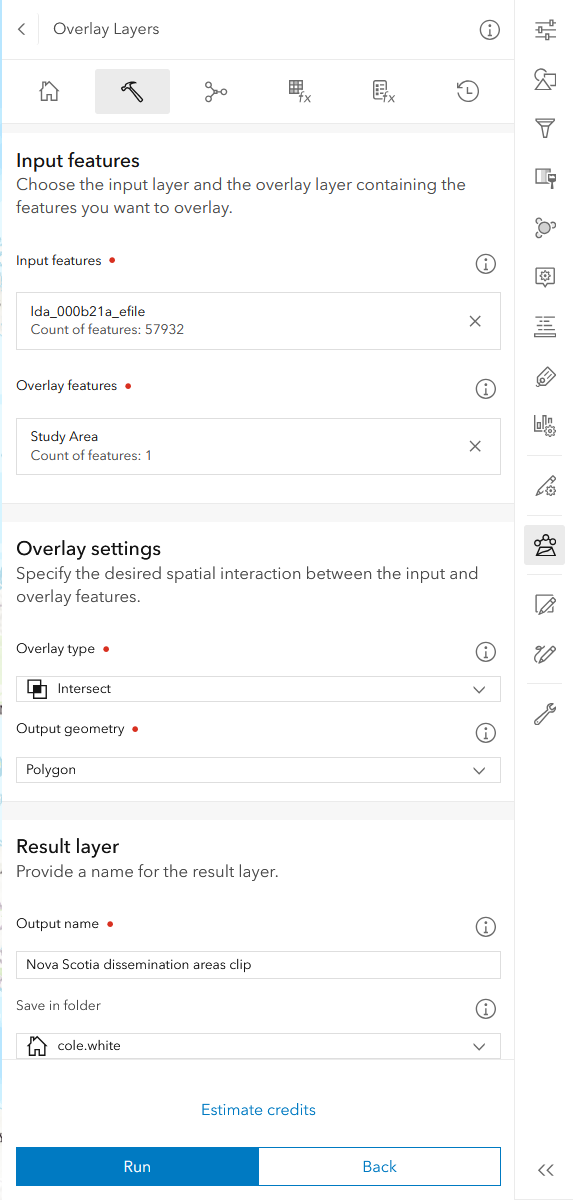
• Specify the large layer as the Input features. If you have a layer defining the area you’d like to clip, use this for the Overlay features, or click the pencil icon to draw an area of interest. Leave the Overlay type as Intersect. Give the Result layer a descriptive name and click Run.
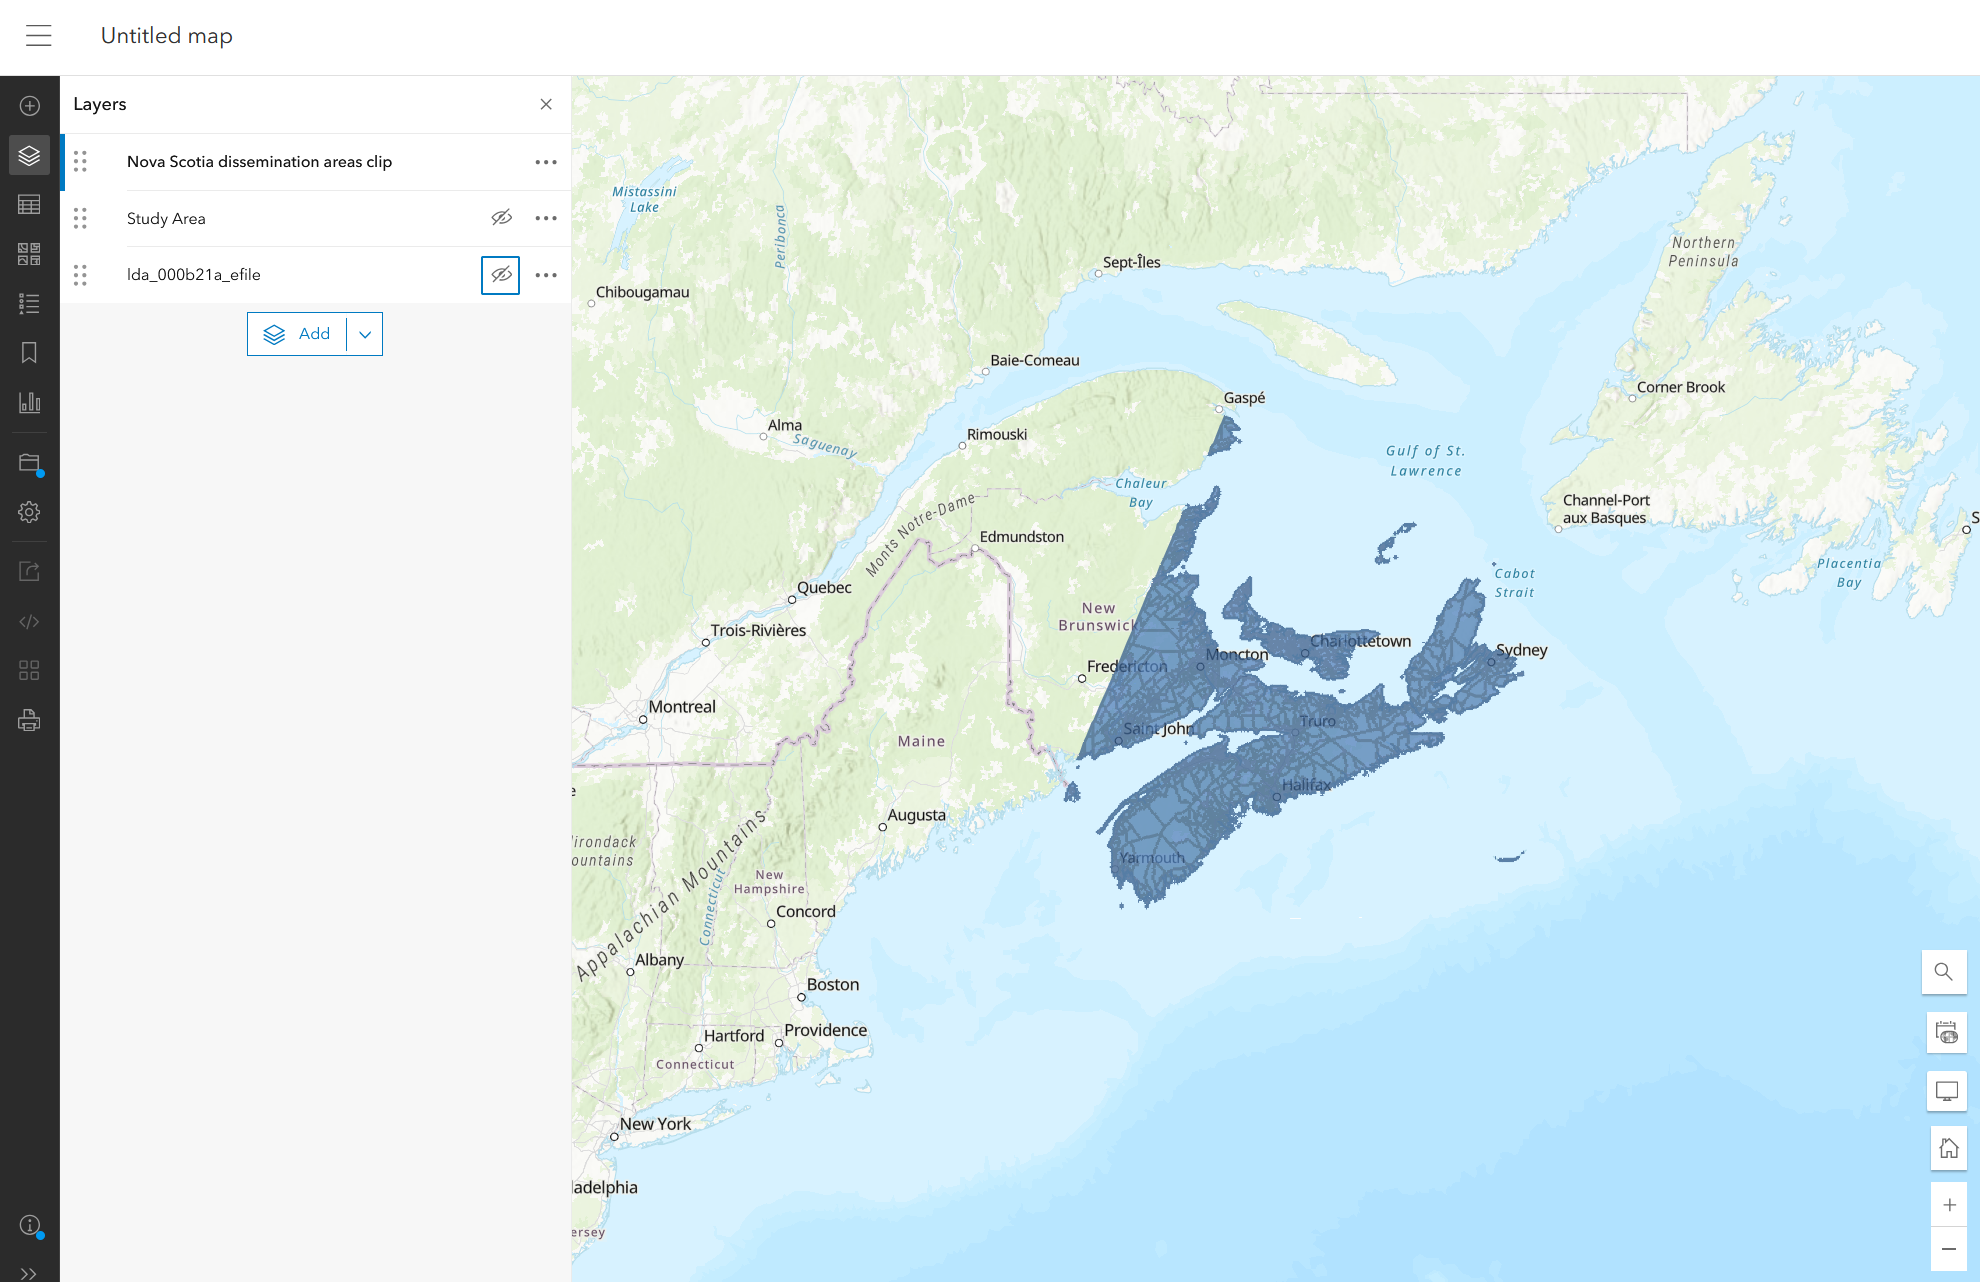
• The Overlay Layers tool will output a new, clipped layer.
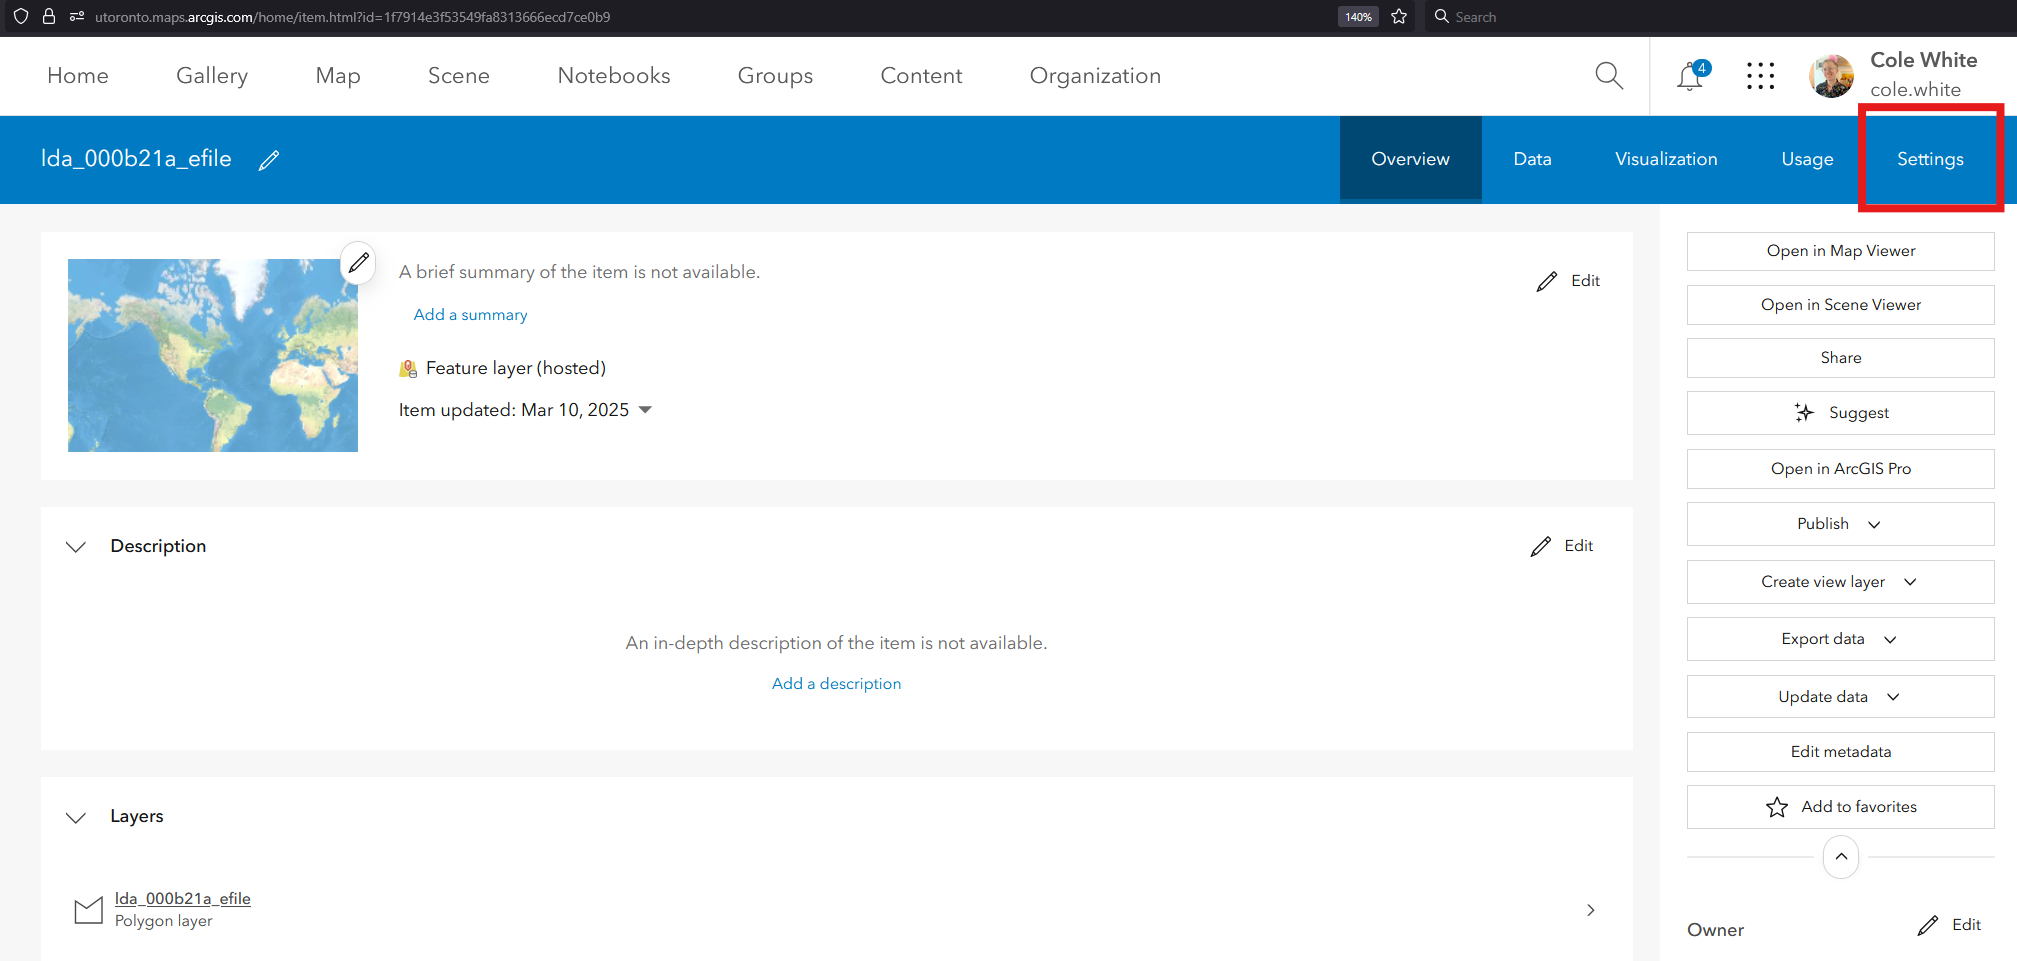
• Next, you will need to delete the original layer. Find the layer in your content and open its Item Details page. Click the Settings tab.
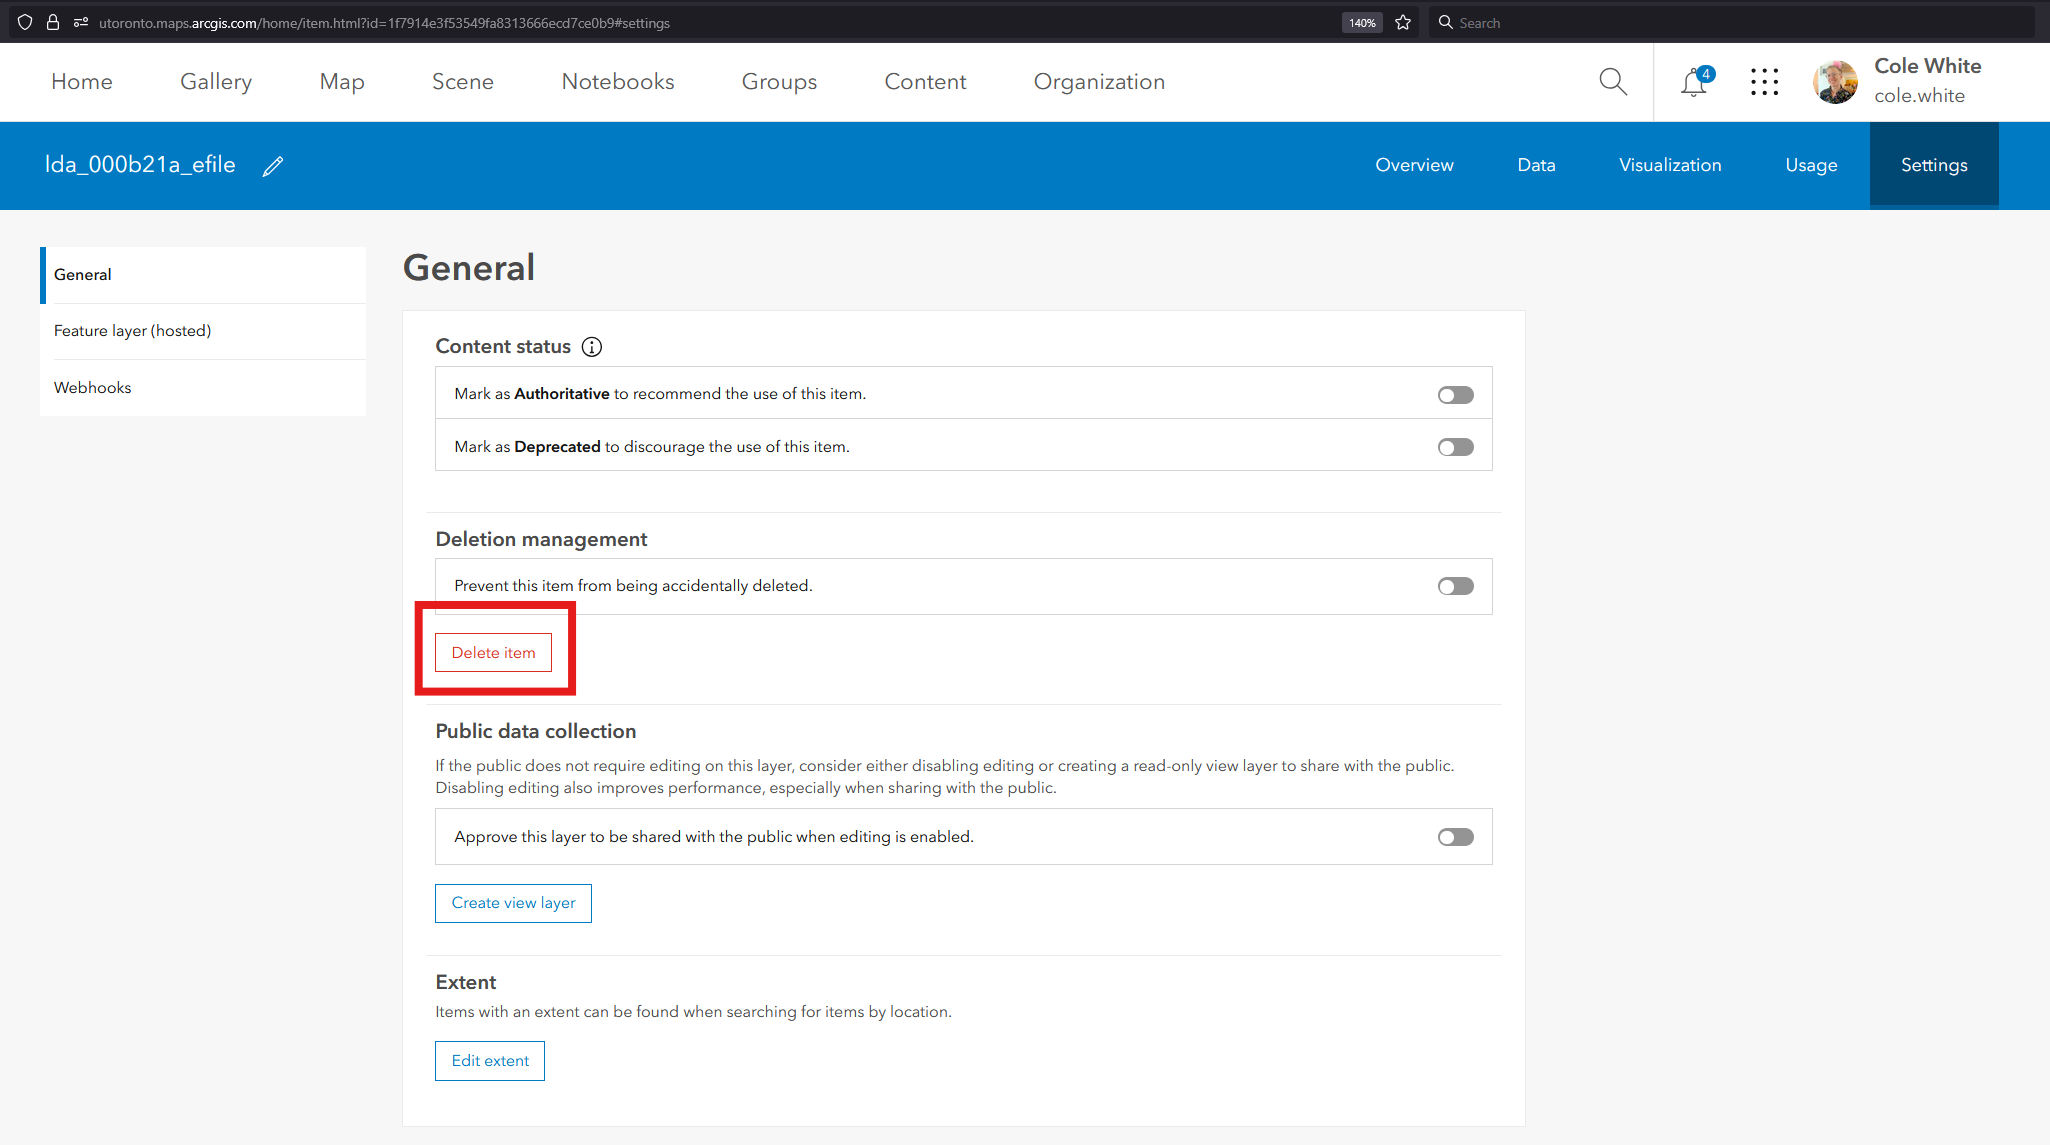
• Click the Delete button.
• Click the Show more button.
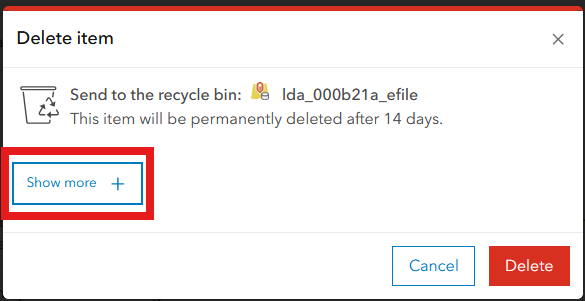
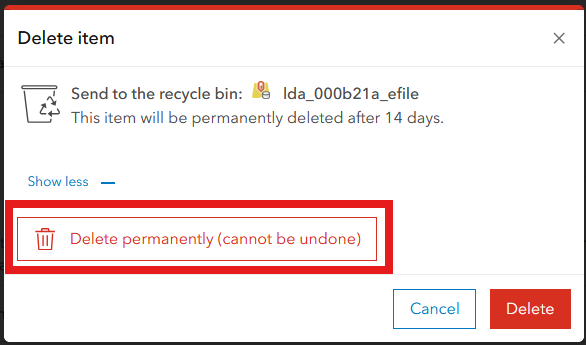
• Click Delete permanently (cannot be undone). The layer will be removed from UofT’s ArcGIS Online instance and space will be freed up.