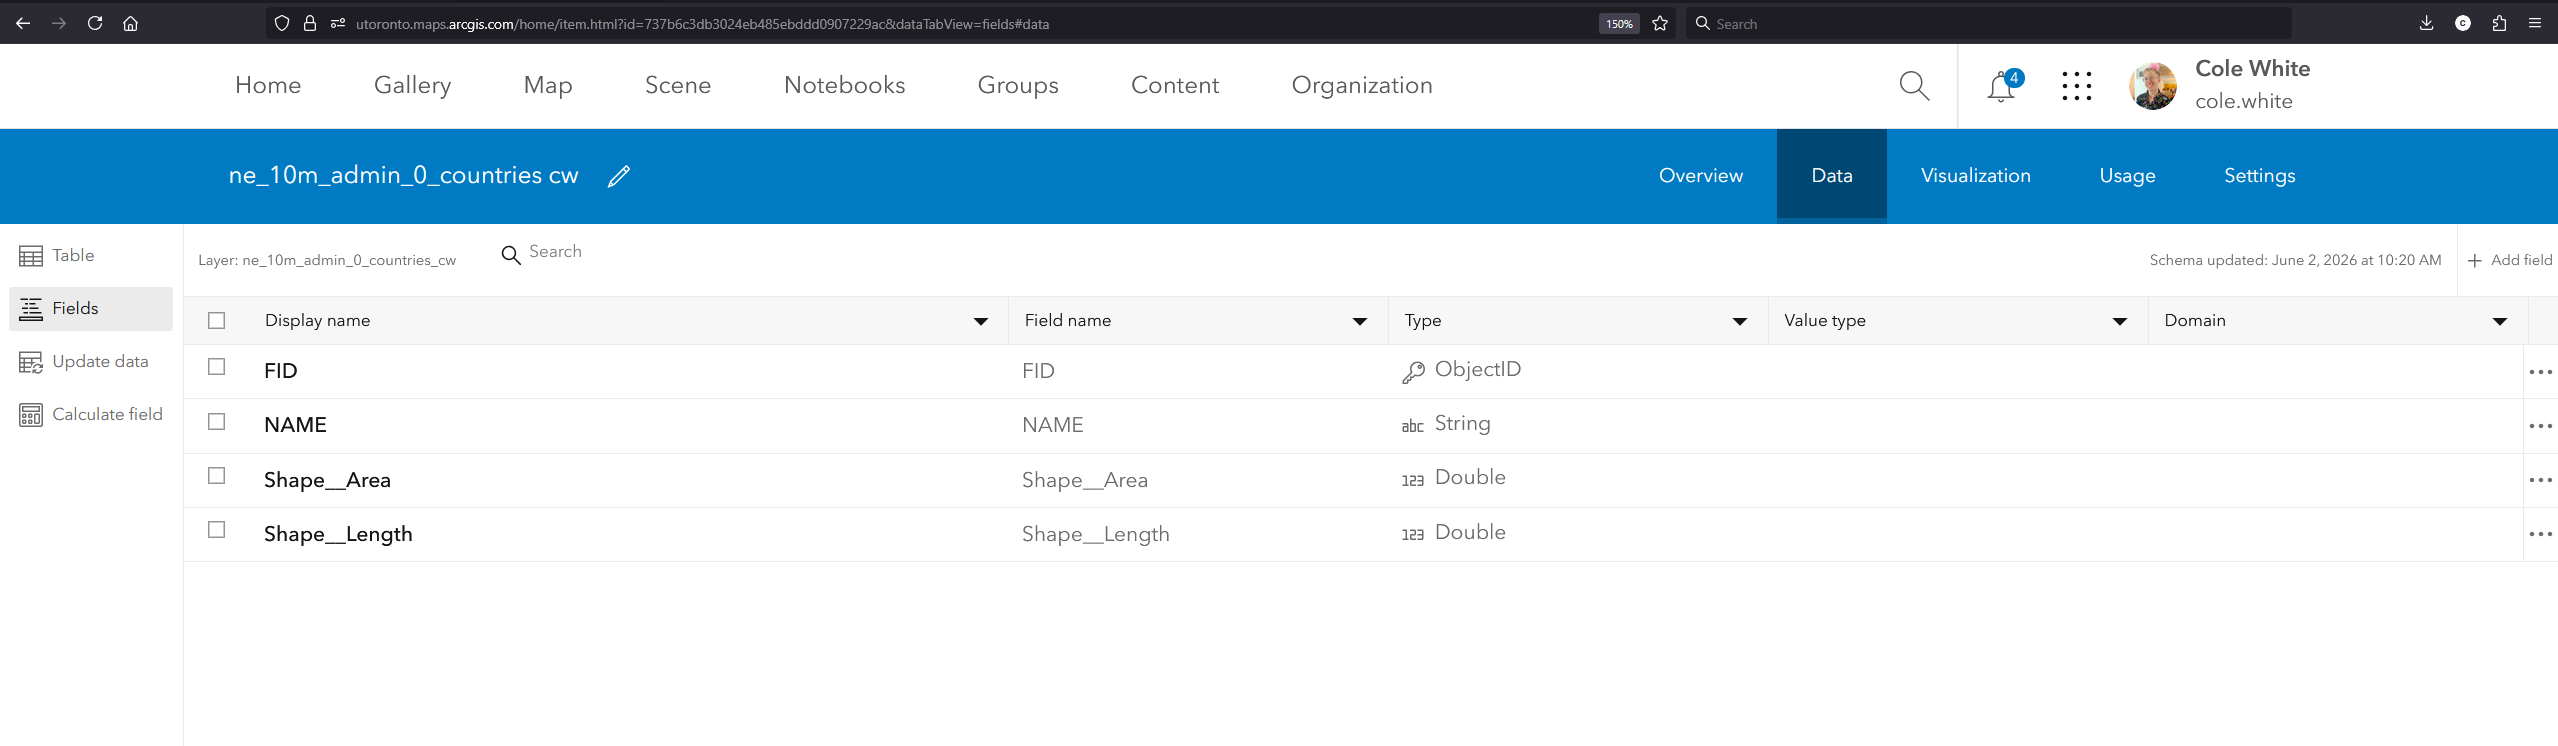
Reduce a layer’s complexity by removing unneeded fields
If your spatial dataset has a large number of unnecessary fields (columns), you can simplify it by removing the ones you don’t need.
Deleting excess fields will save space on the server and have the added benefit of giving you cleaner, more organized data to work with. This can be done in desktop GIS software before you upload the data, or it can be done directly in ArcGIS Online.
Jump to: ArcGIS Pro instructions | QGIS instructions | ArcGIS Online instructions
Removing unneeded fields in ArcGIS Pro
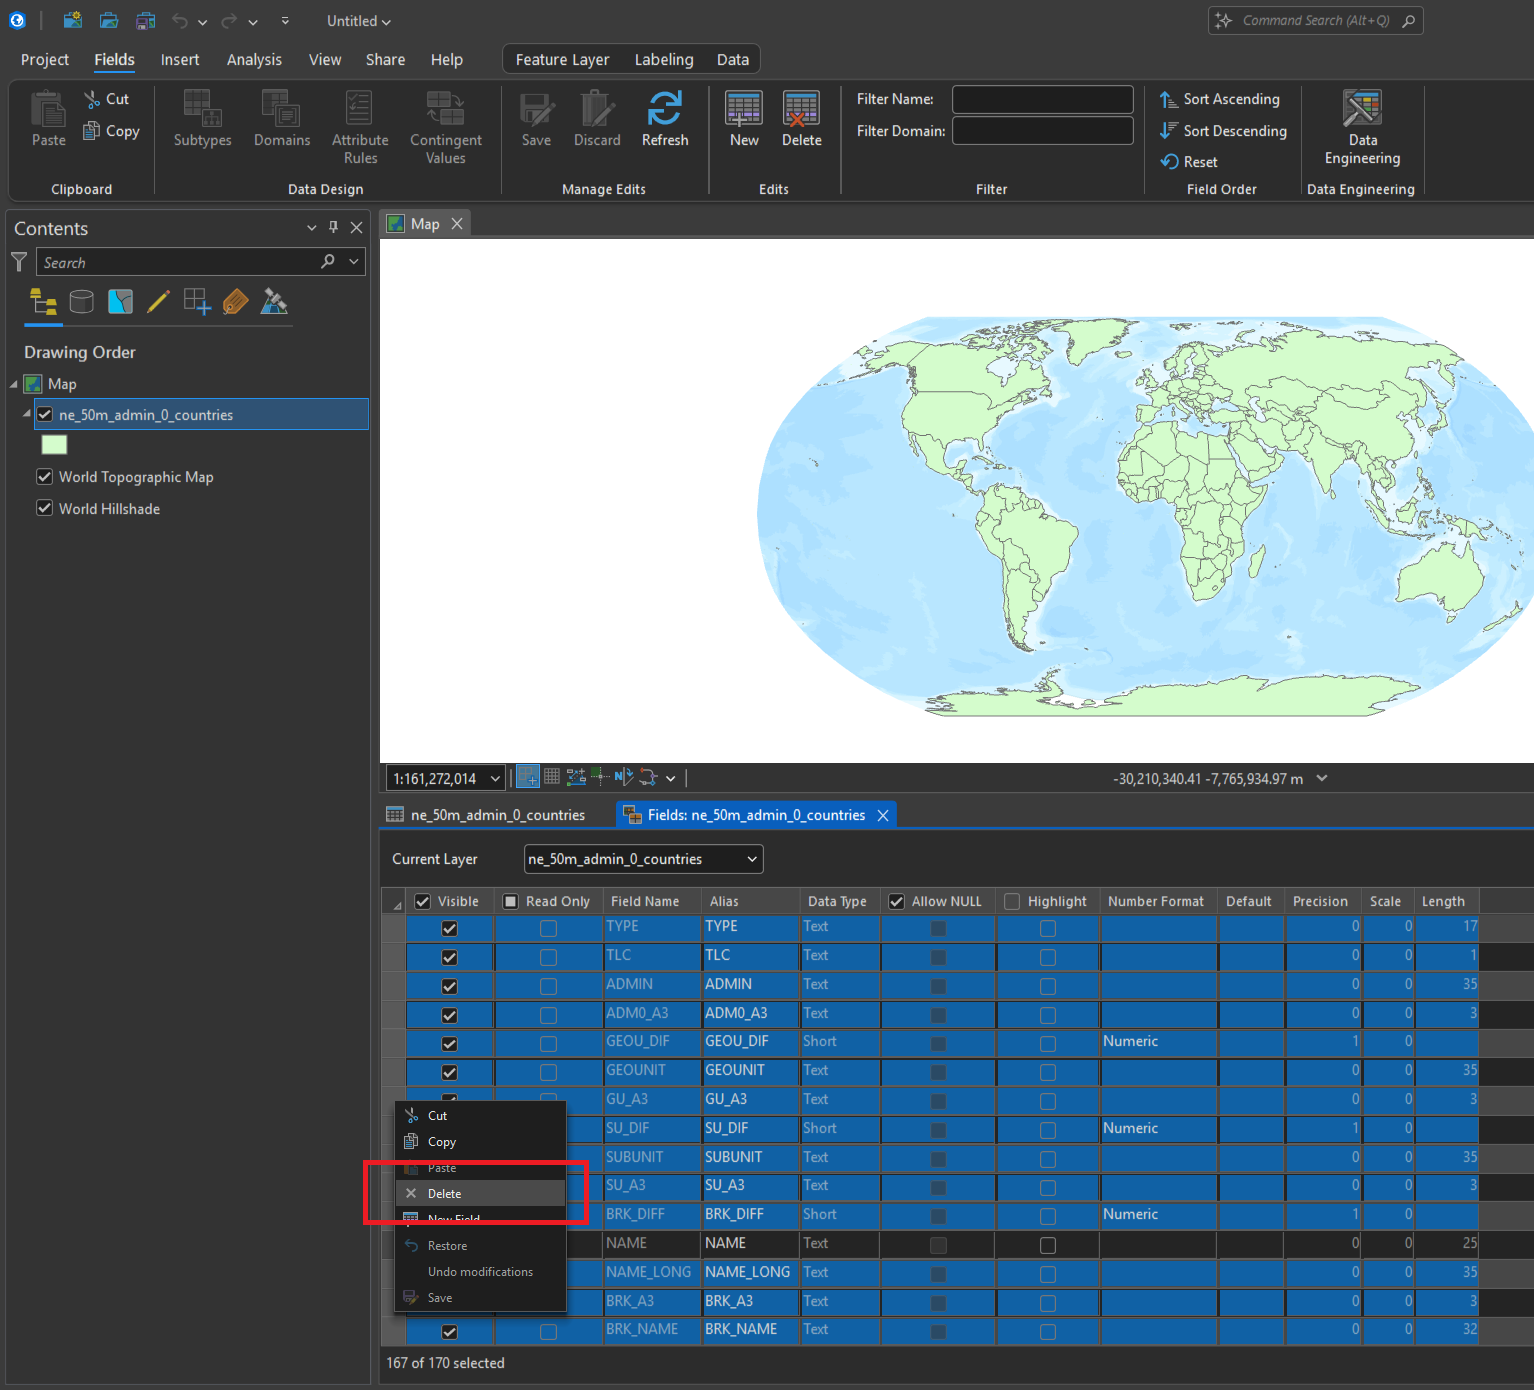
Example: This layer of world country boundaries (downloaded from Natural Earth) has 170 fields - that’s a lot! It may be, however, that you only need a few of these fields for your work. Here’s how you can remove the ones you don’t need.
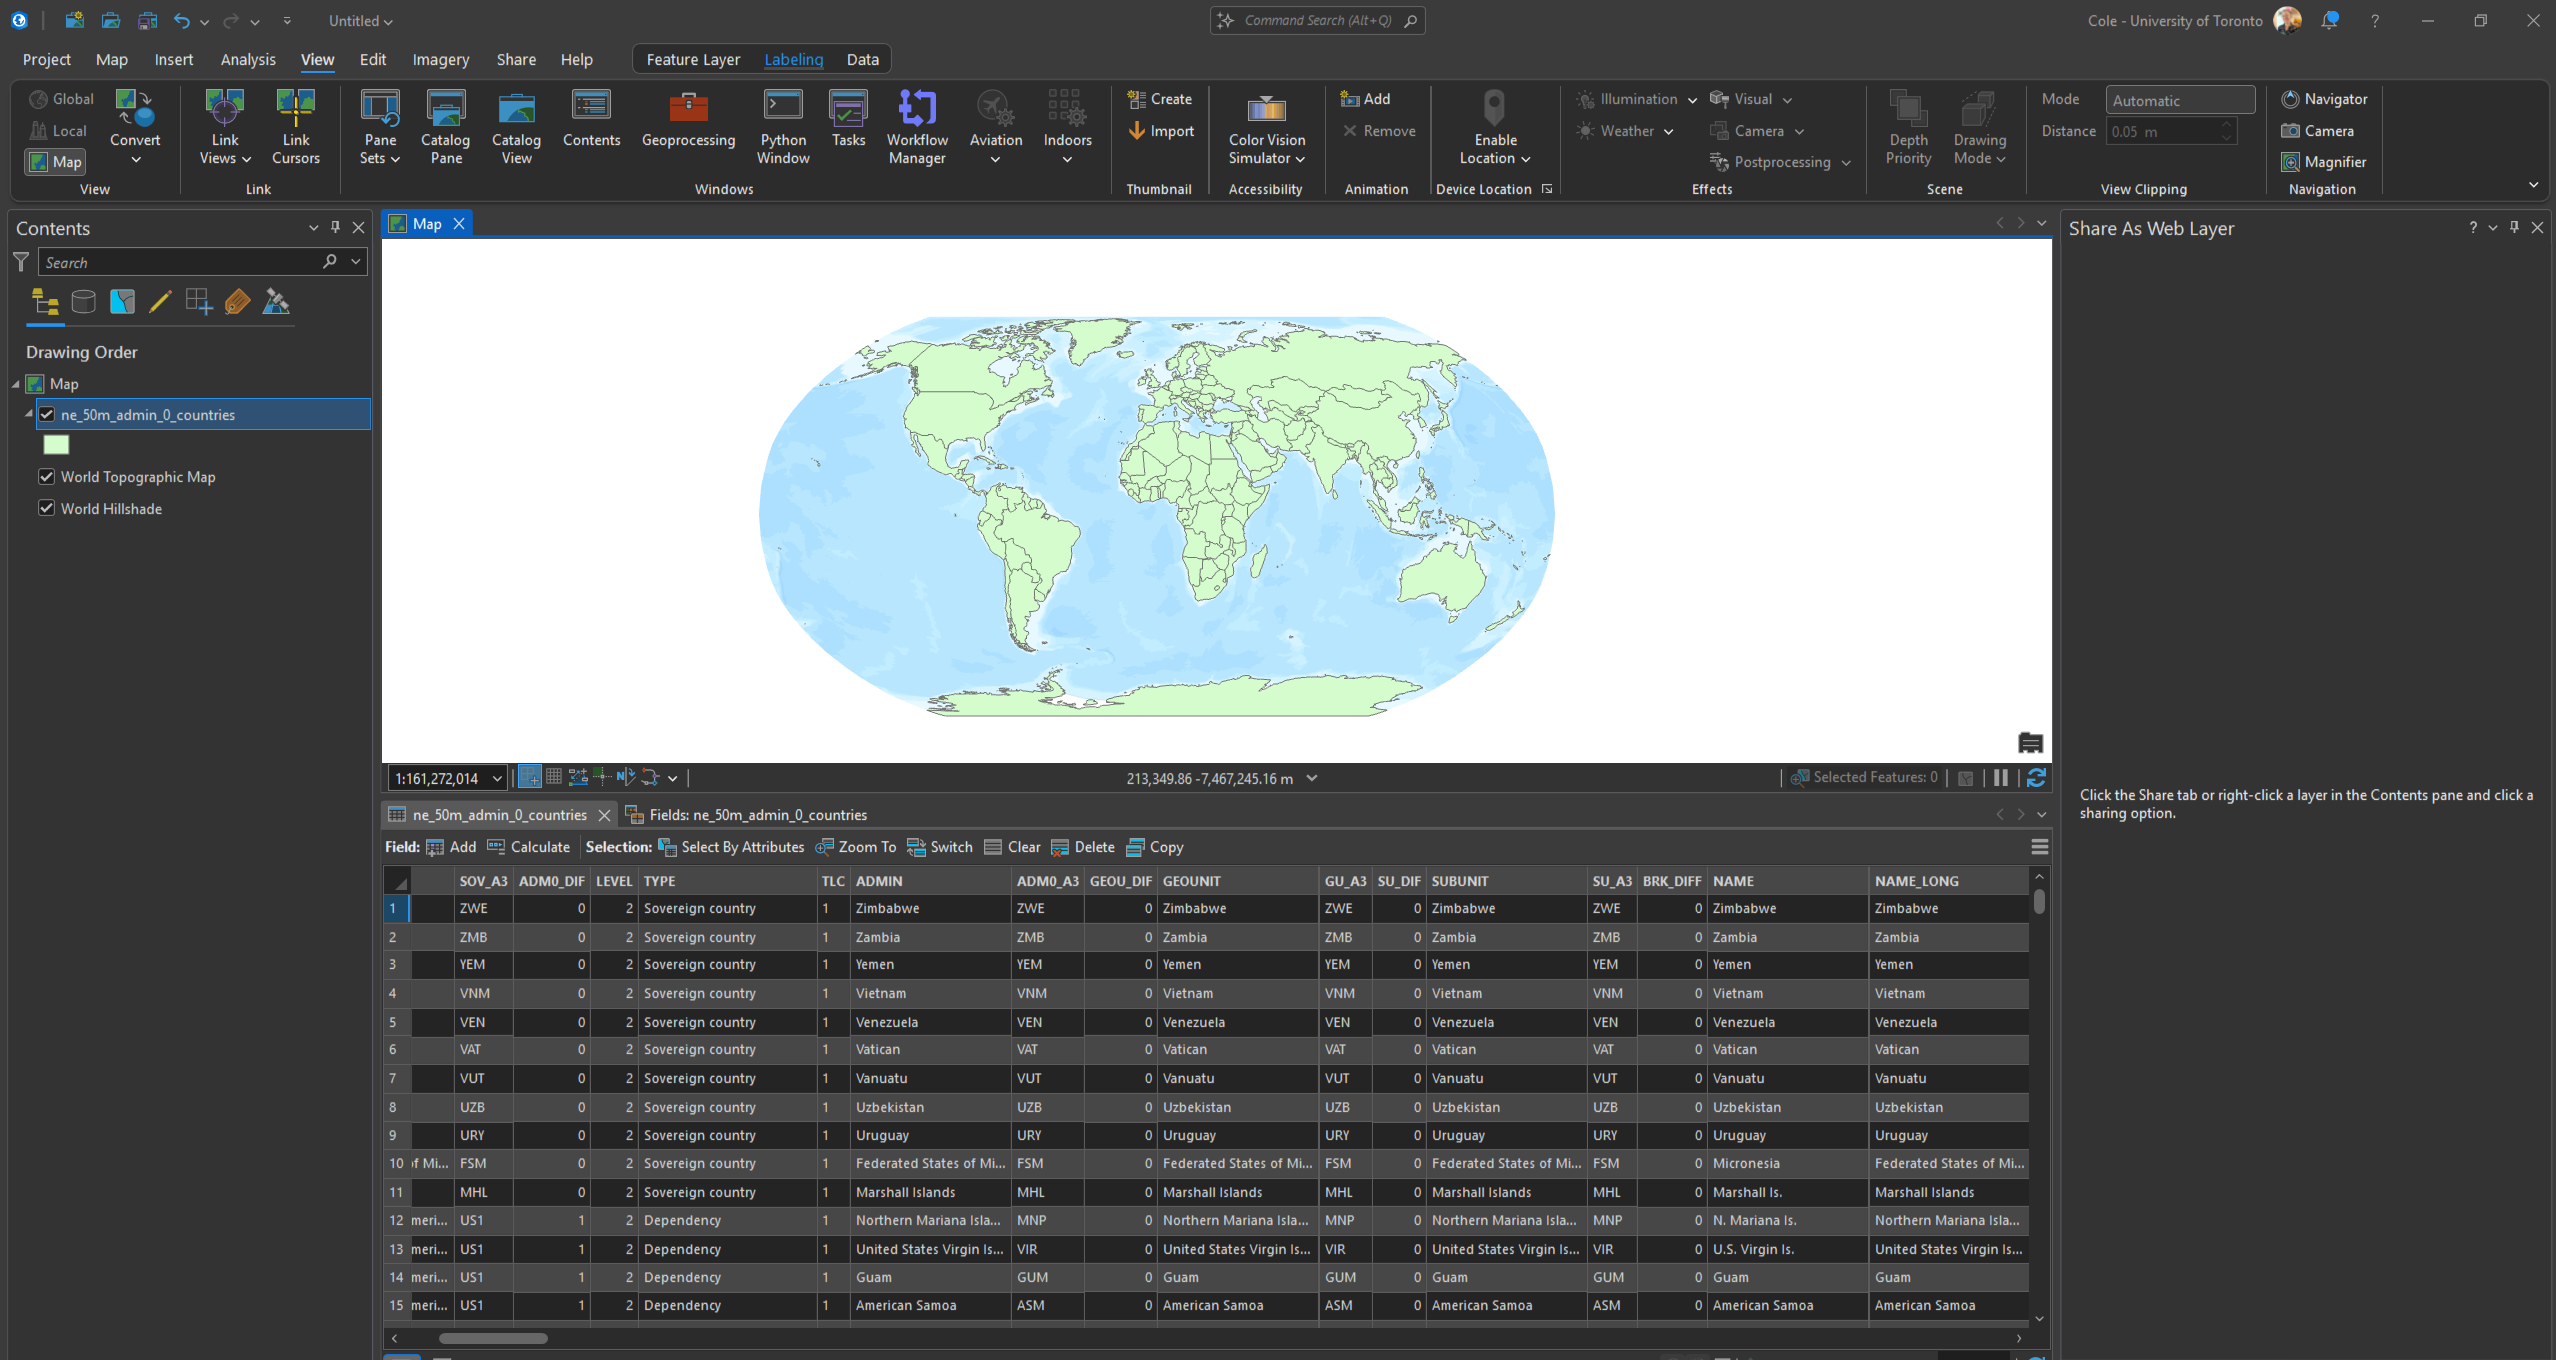
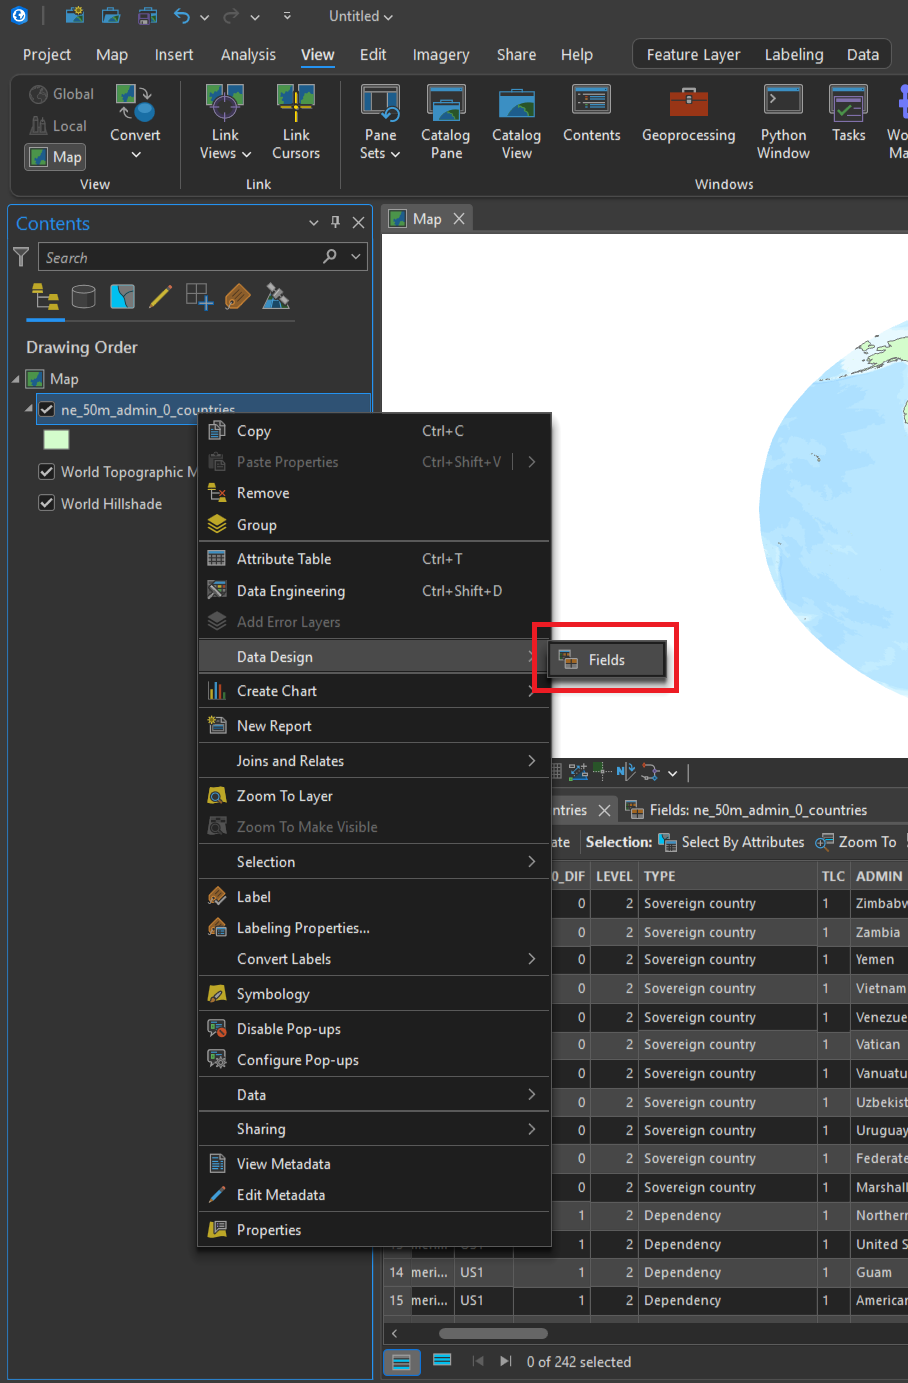
• Right-click the layer in the Contents pane and choose Data Design -> Fields.
• Select the fields you’d like to remove by left-clicking on their rows (Shift-click or Control-click to select multiple items).
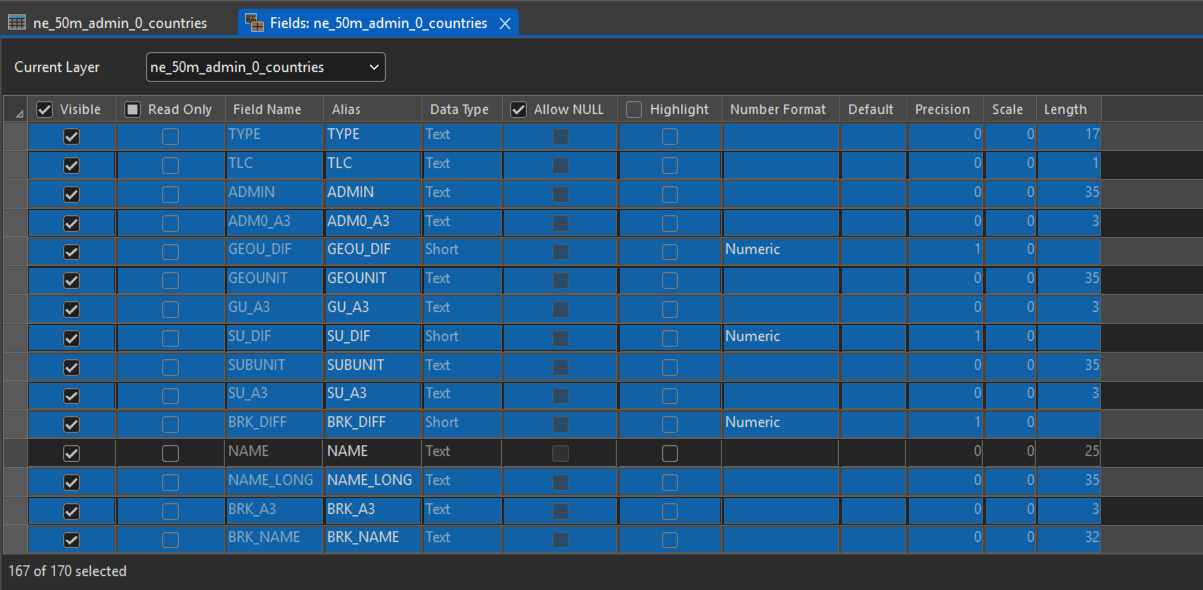
• Right-click on any of the selected rows and choose Delete.
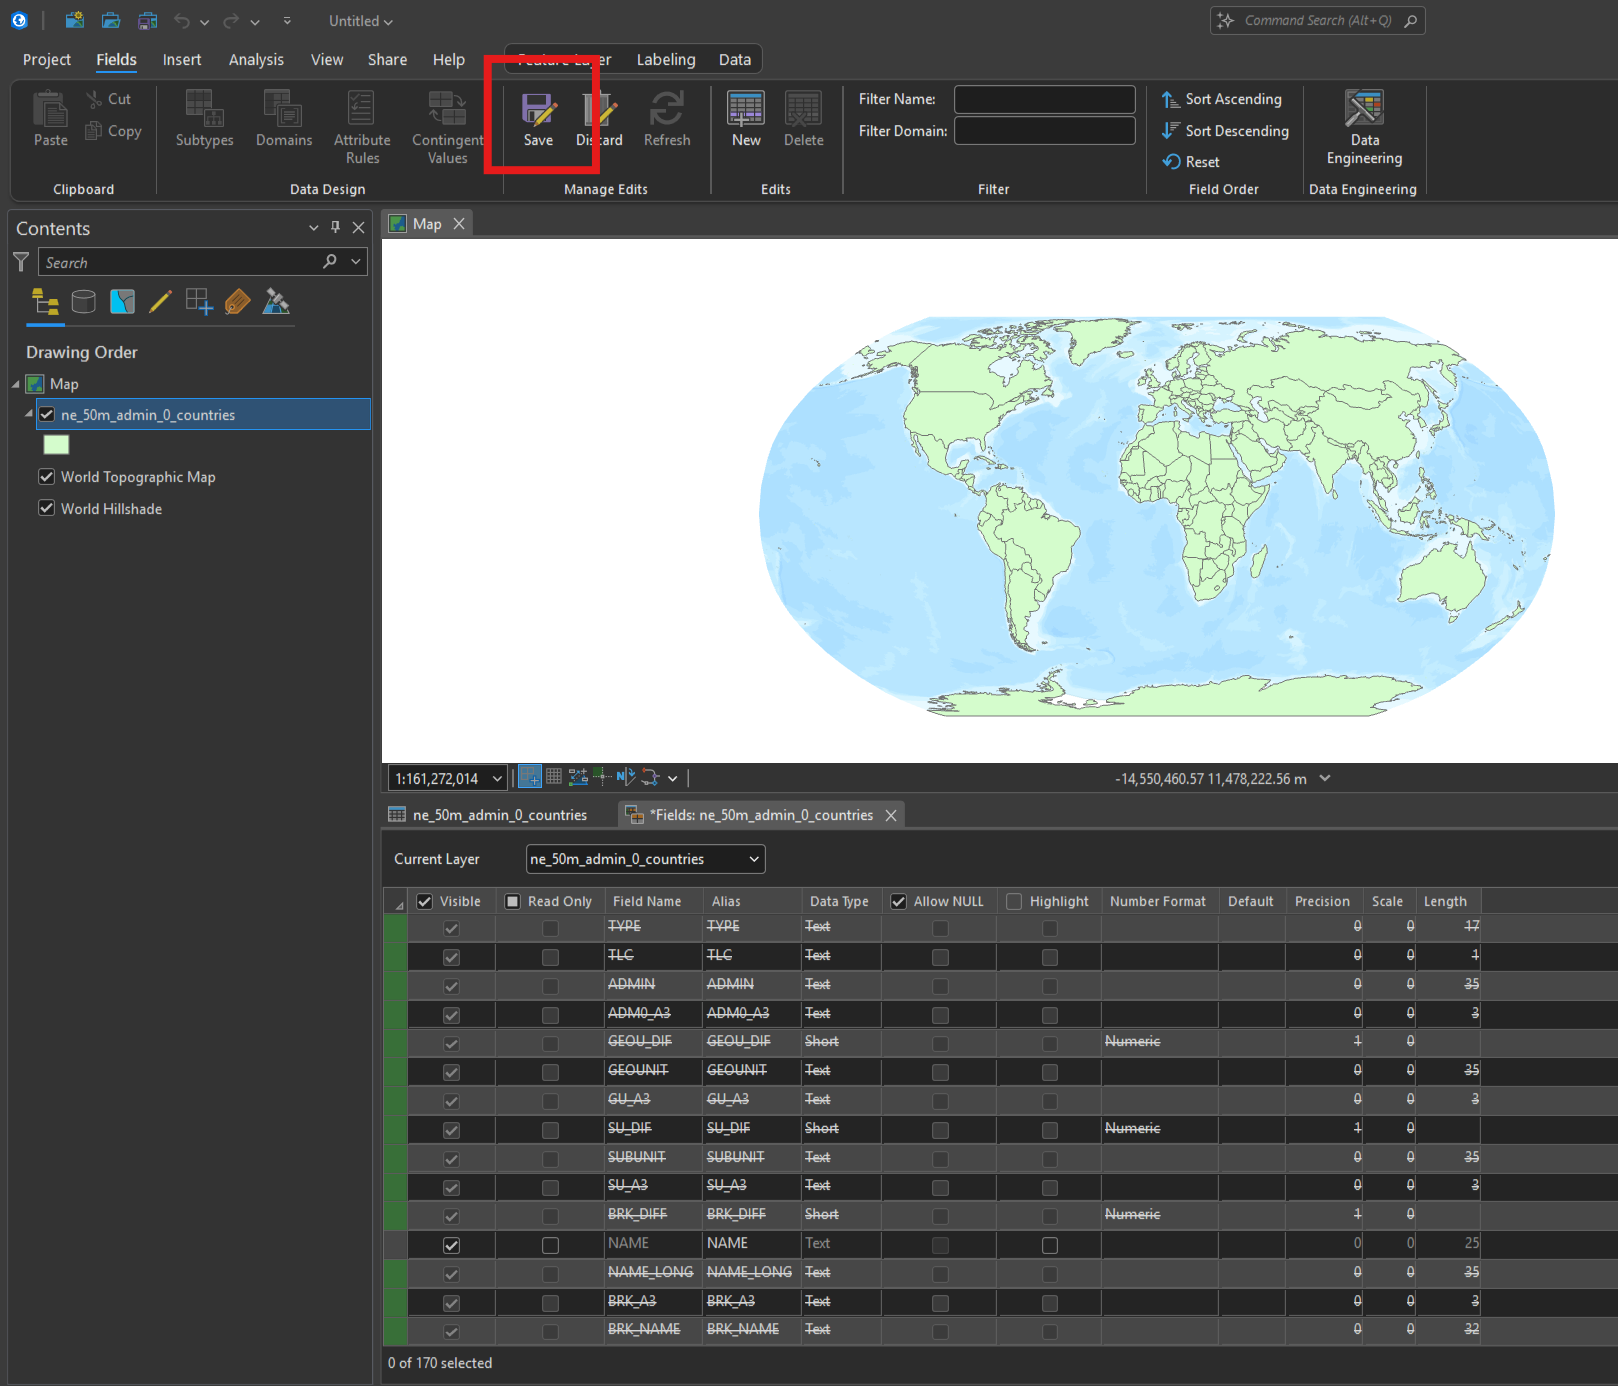
• Click the Save button on the ribbon to commit the changes.
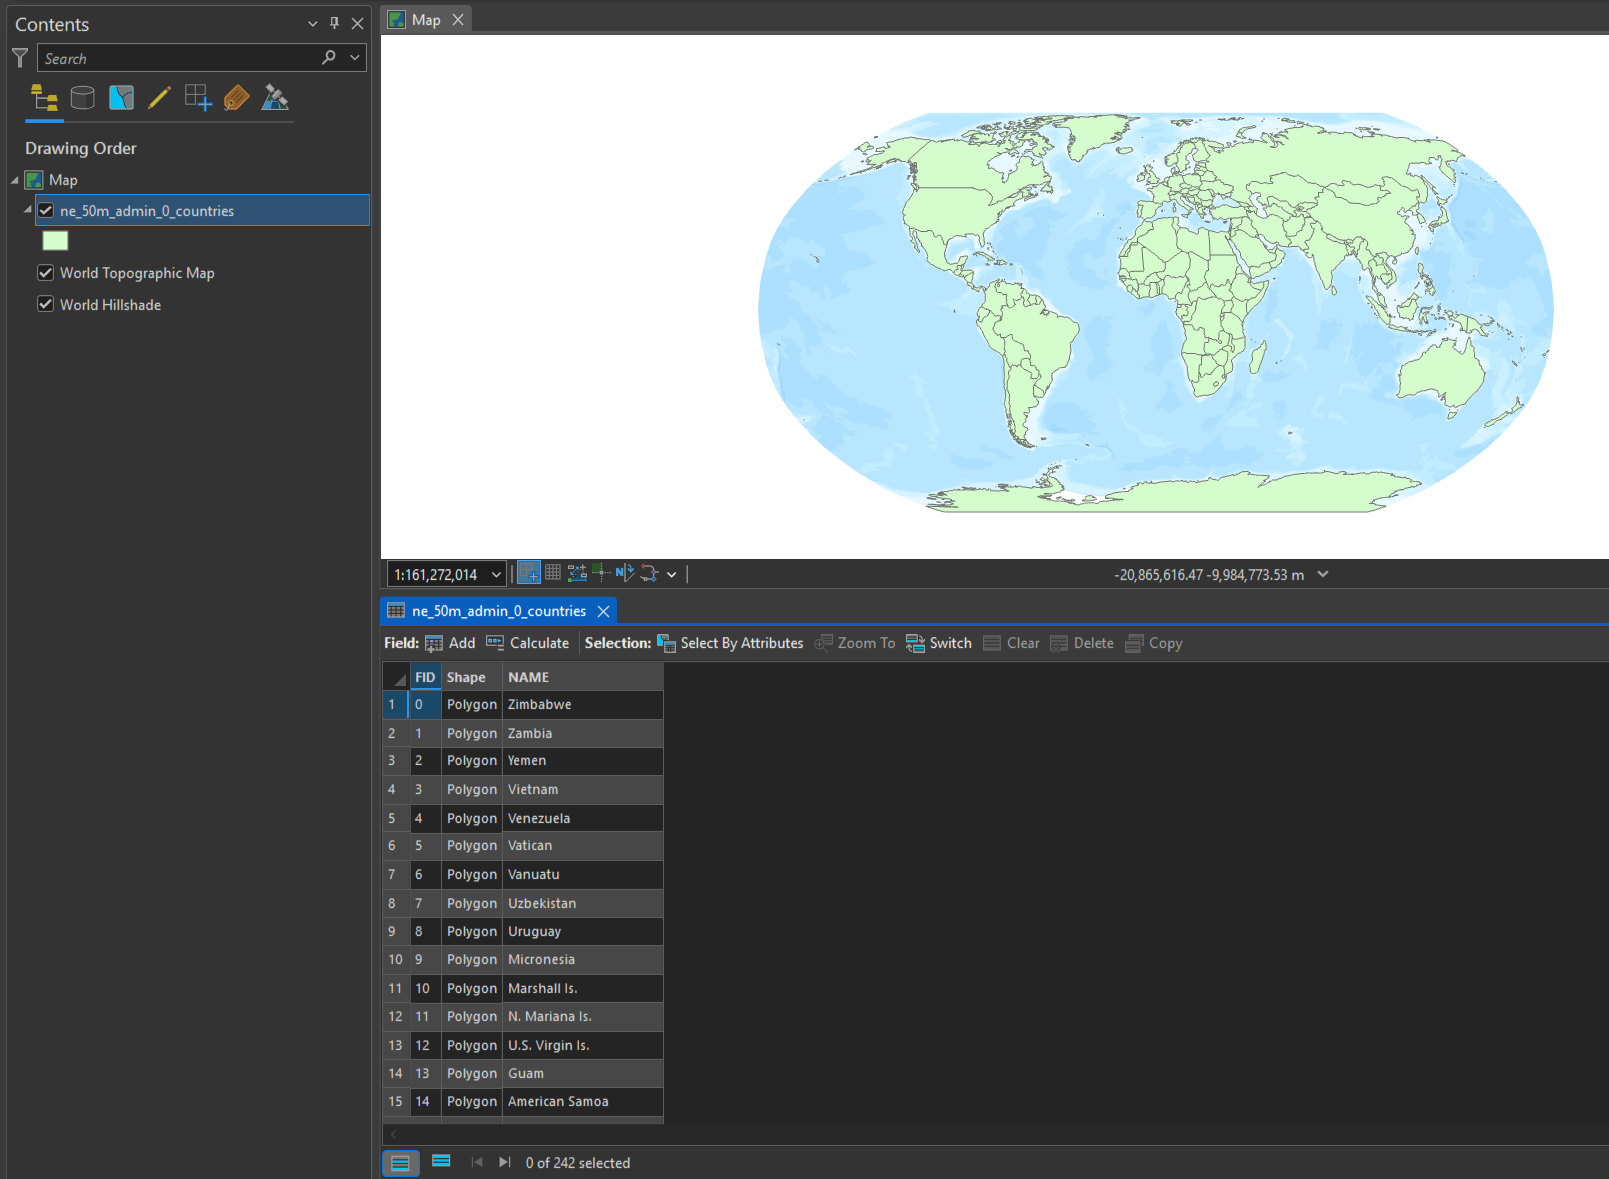
• You now have a dataset with a much smaller attribute table. From here, you can share it as a web layer directly from Pro to ArcGIS Online, or upload it as a shapefile.
Removing unneeded fields in QGIS
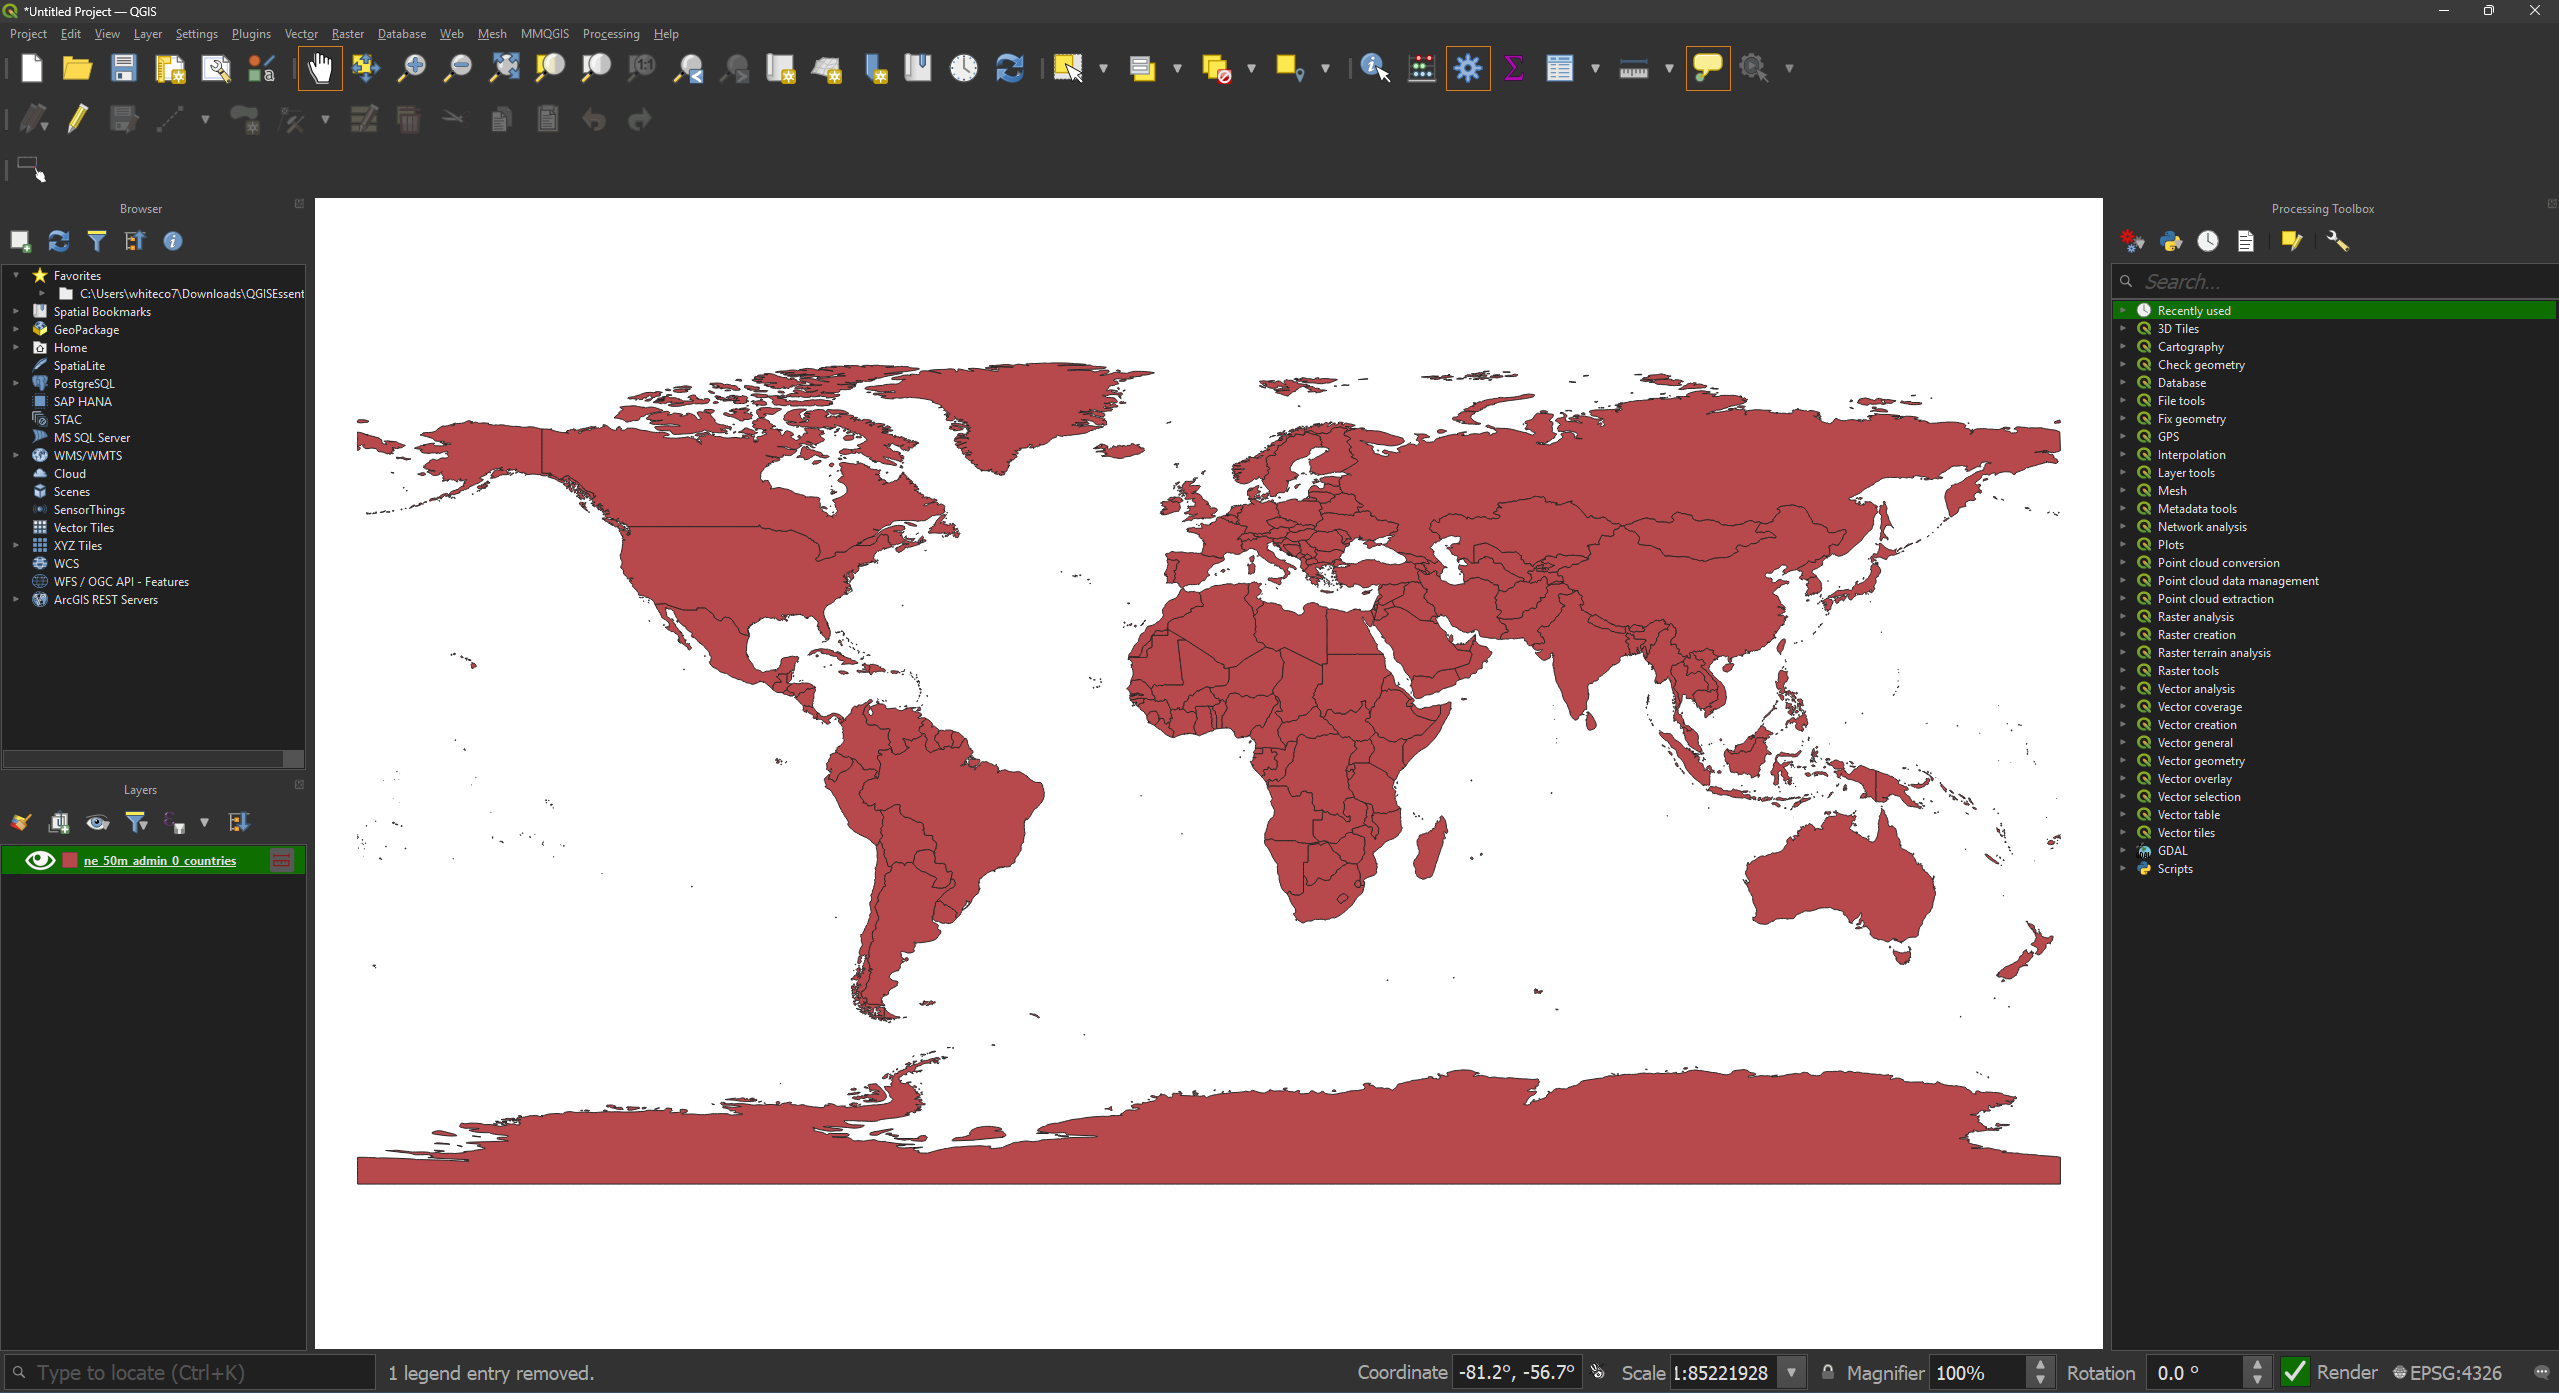
• Open QGIS and load your layer.
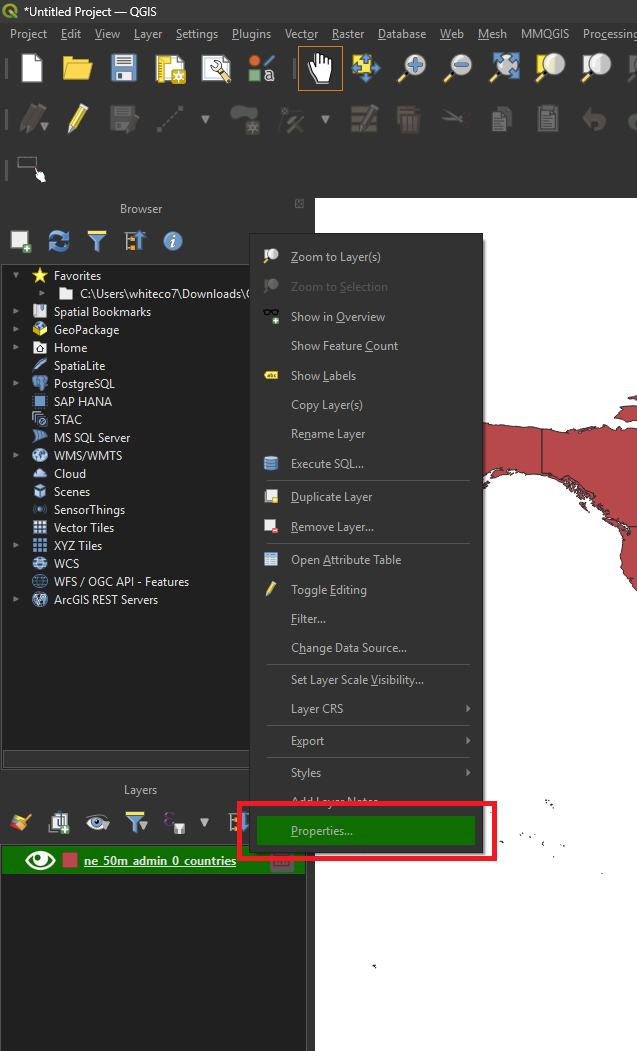
• Right-click (or Control-click on MacOS) the layer name in the Layers Panel and choose Properties.
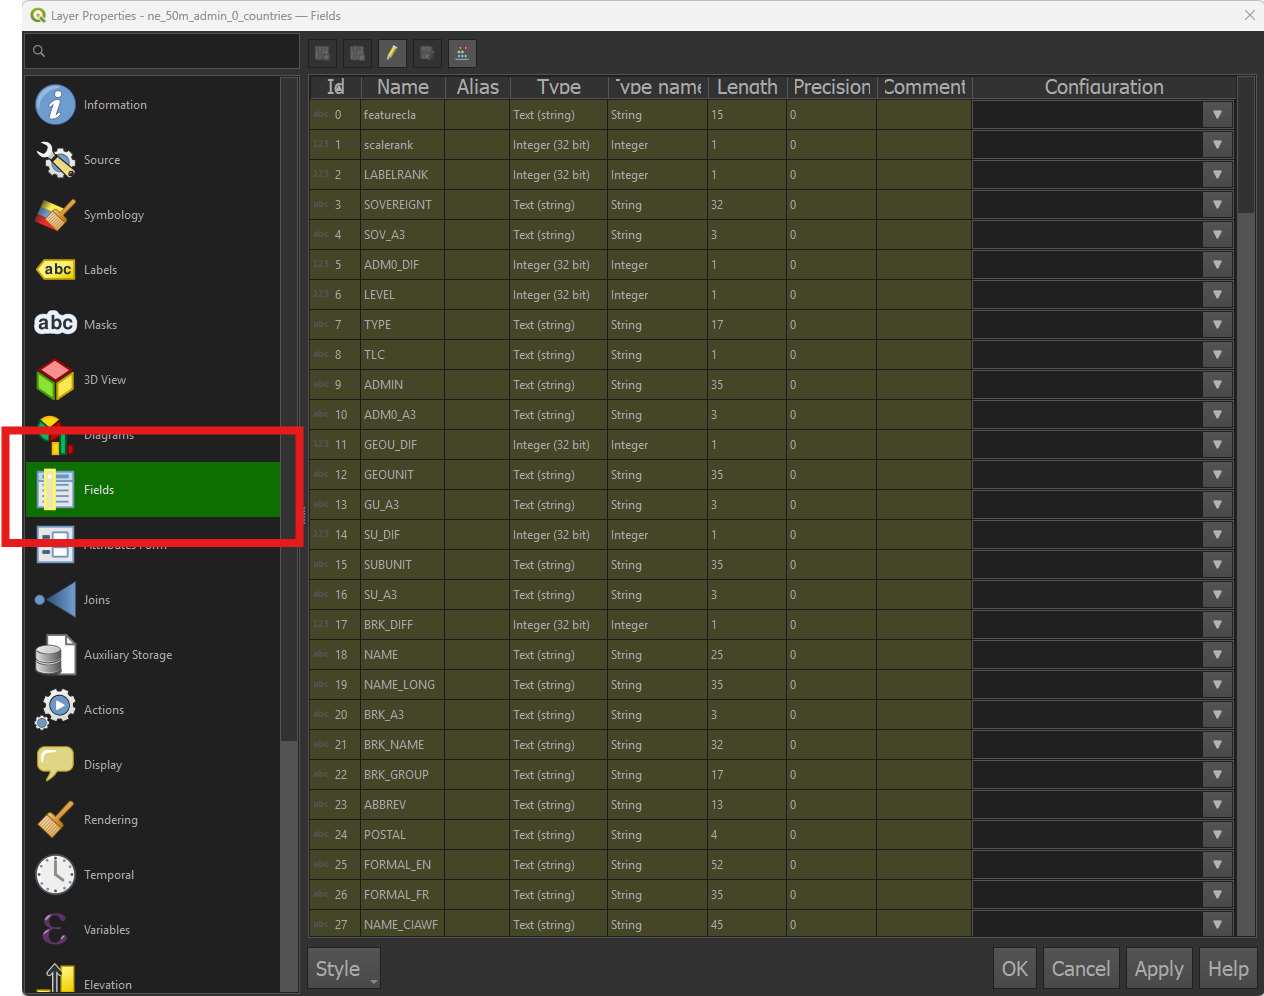
• Click the Fields tab.
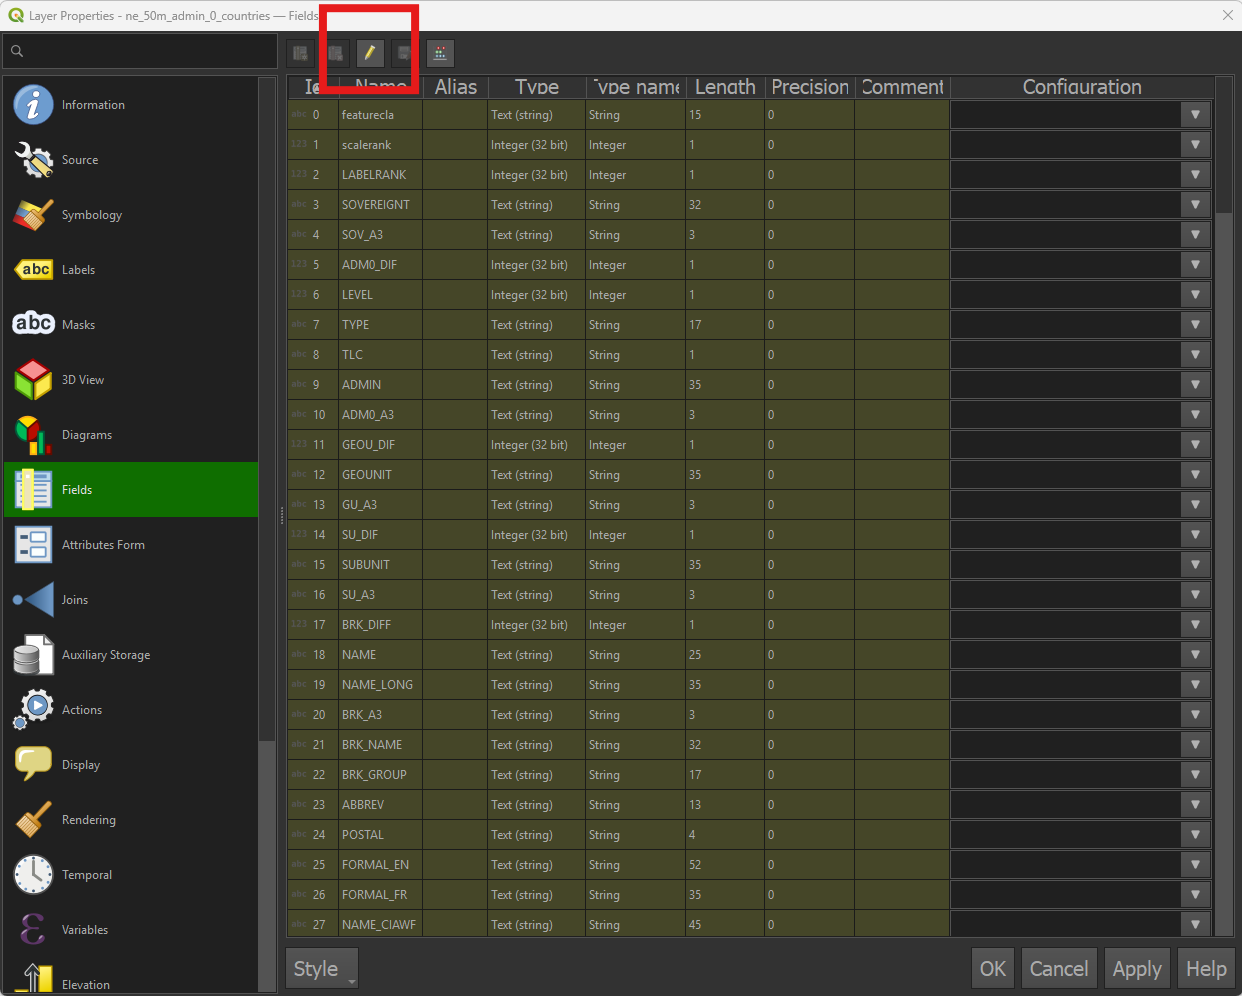
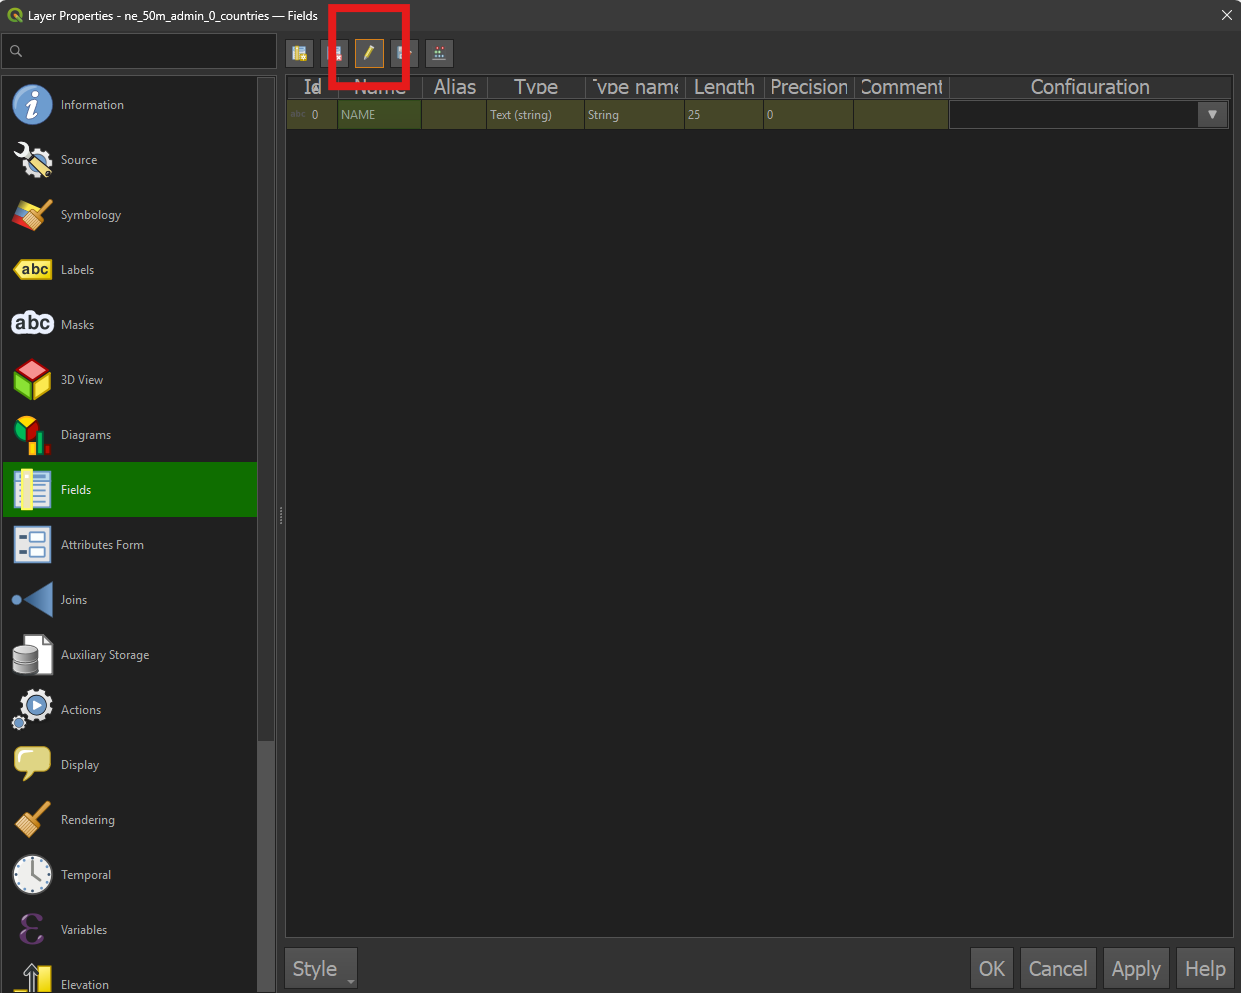
• Click the Pencil button to enable editing of fields.
• Select the fields you’d like to remove by left-clicking them (Shift-click to select multiple.)
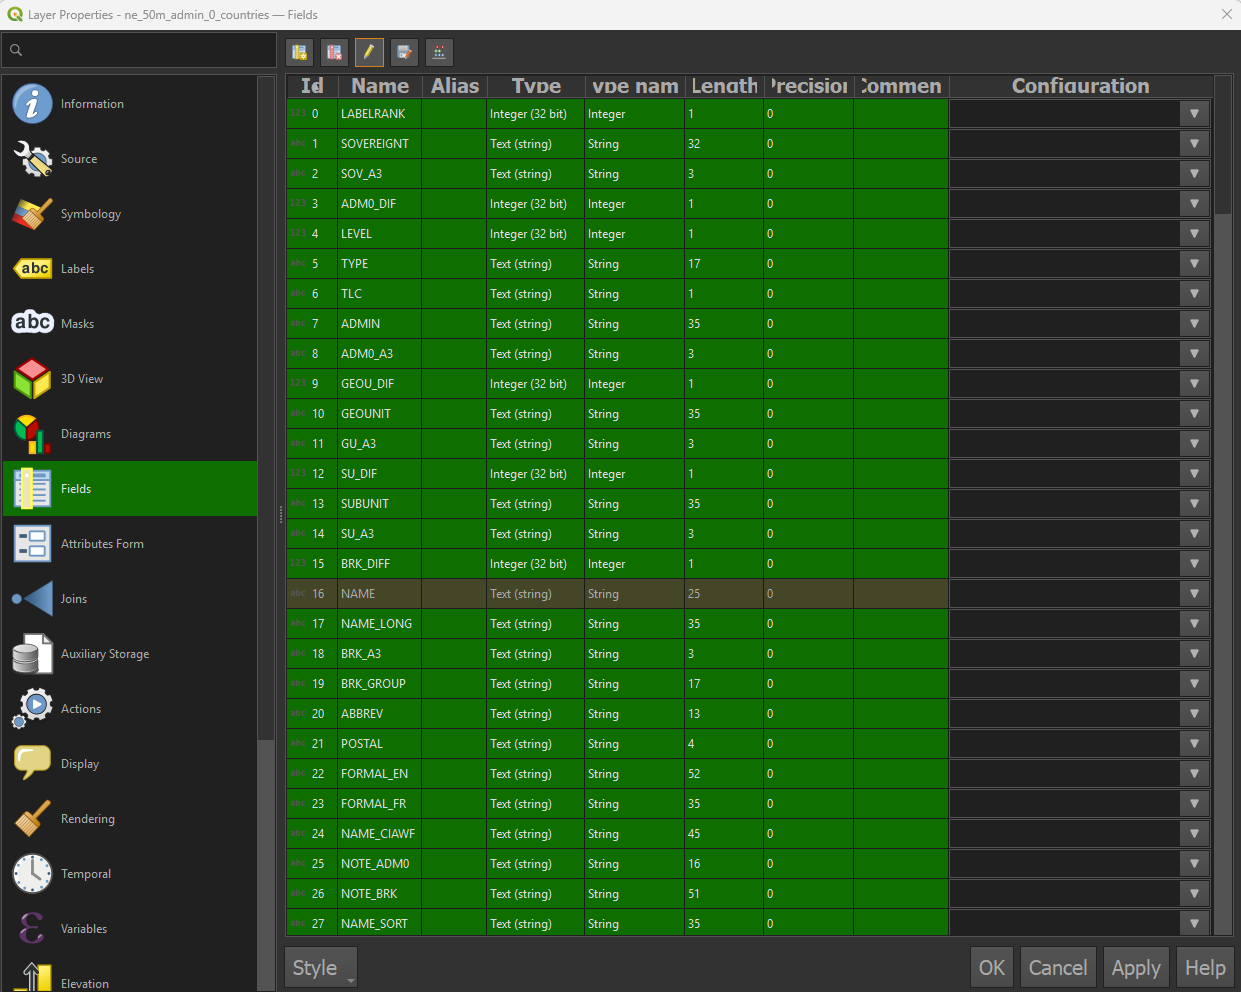
• Click the Delete field button.
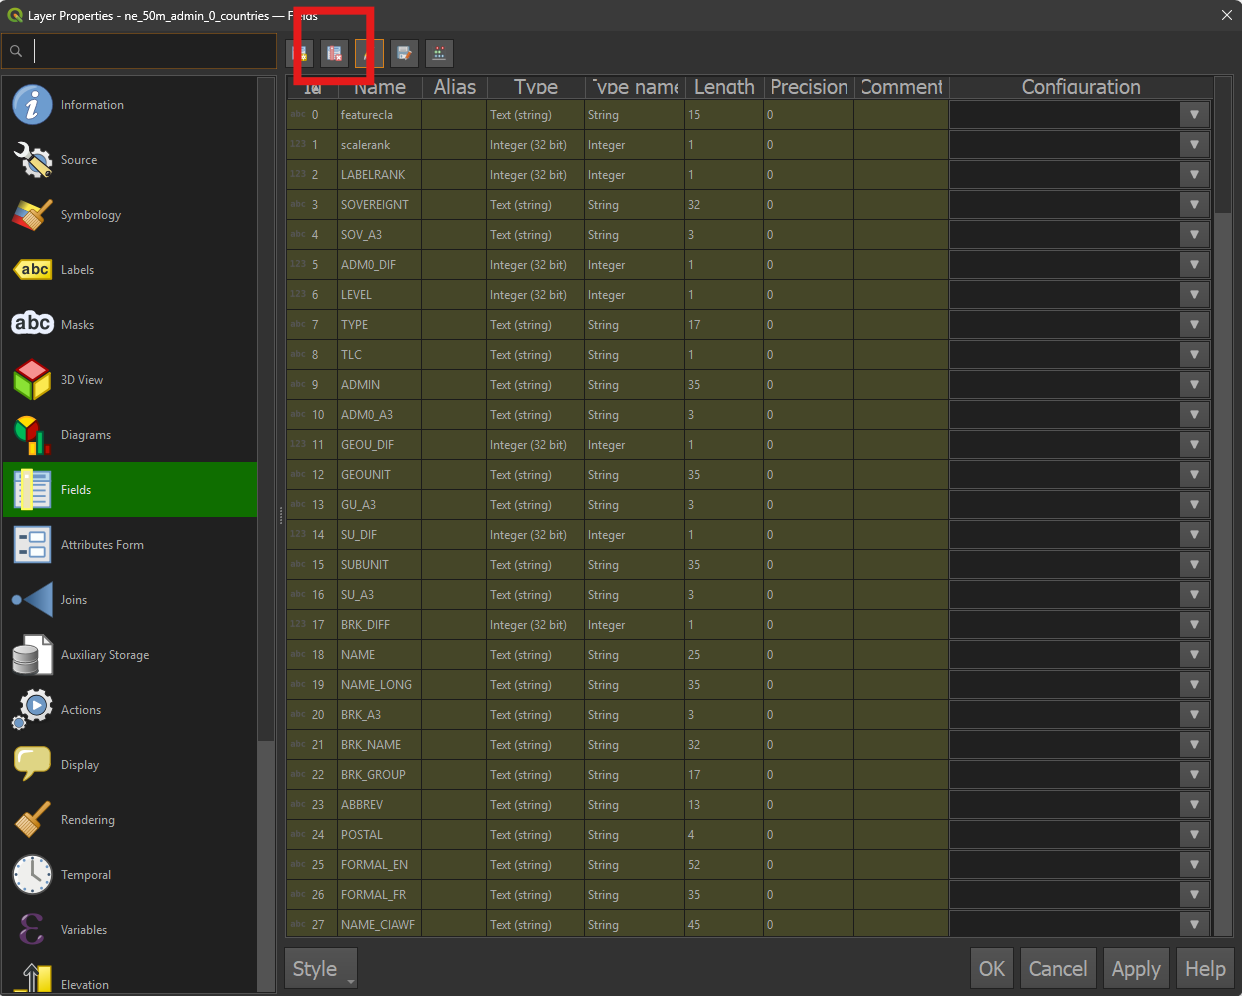
• All of the fields you’d selected will be removed. Click the Save button.
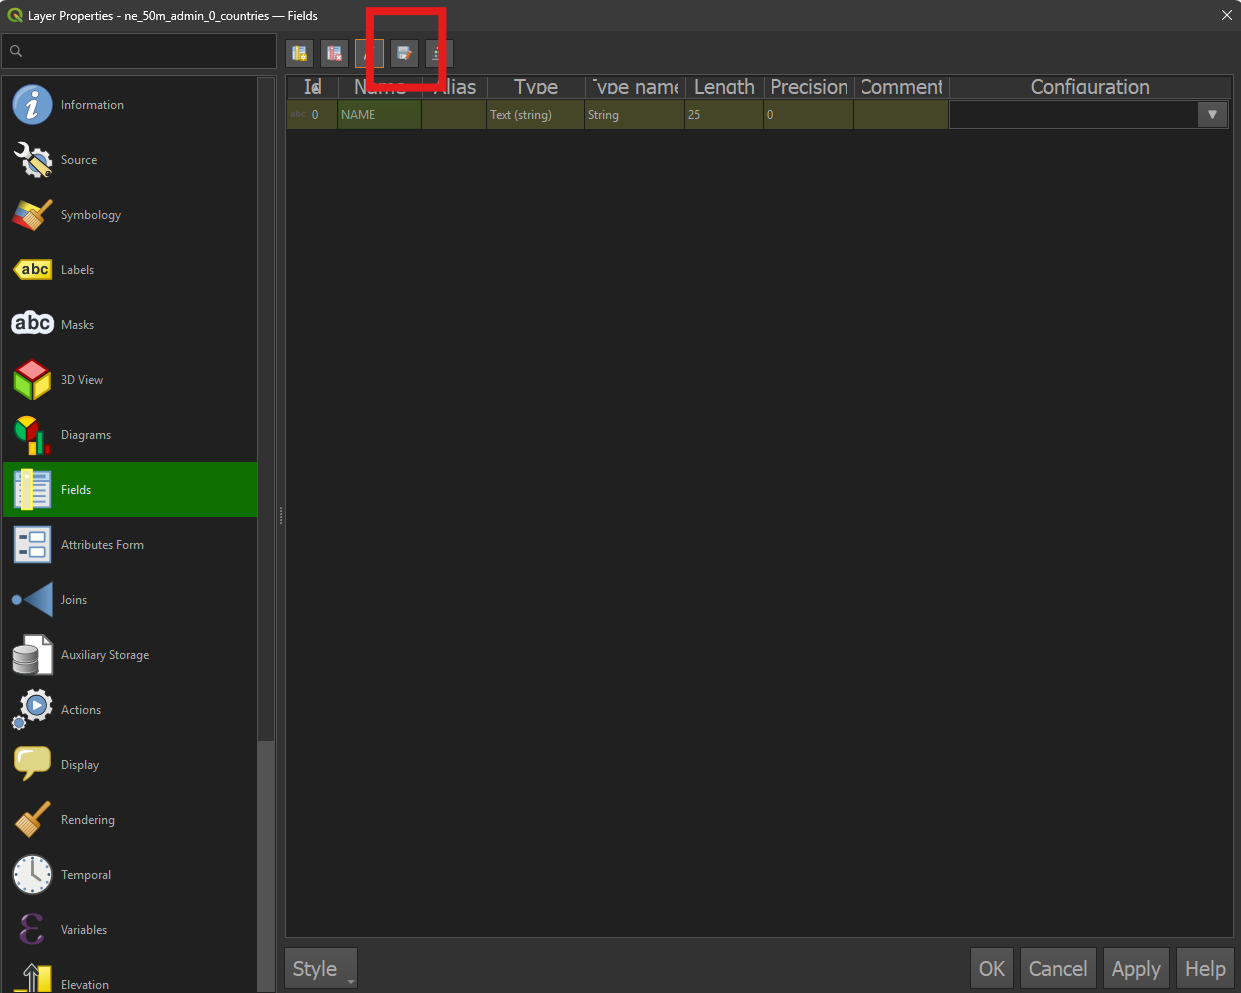
• Click the Pencil button again to toggle off edit mode. Click OK.
• You can now zip (compress) a shapefile of your layer and upload it to ArcGIS Online. More information on this is in Esri’s official documentation.
Removing unneeded fields in ArcGIS Online
• Log in to ArcGIS Online and navigate to the Item Details page of your hosted feature layer.
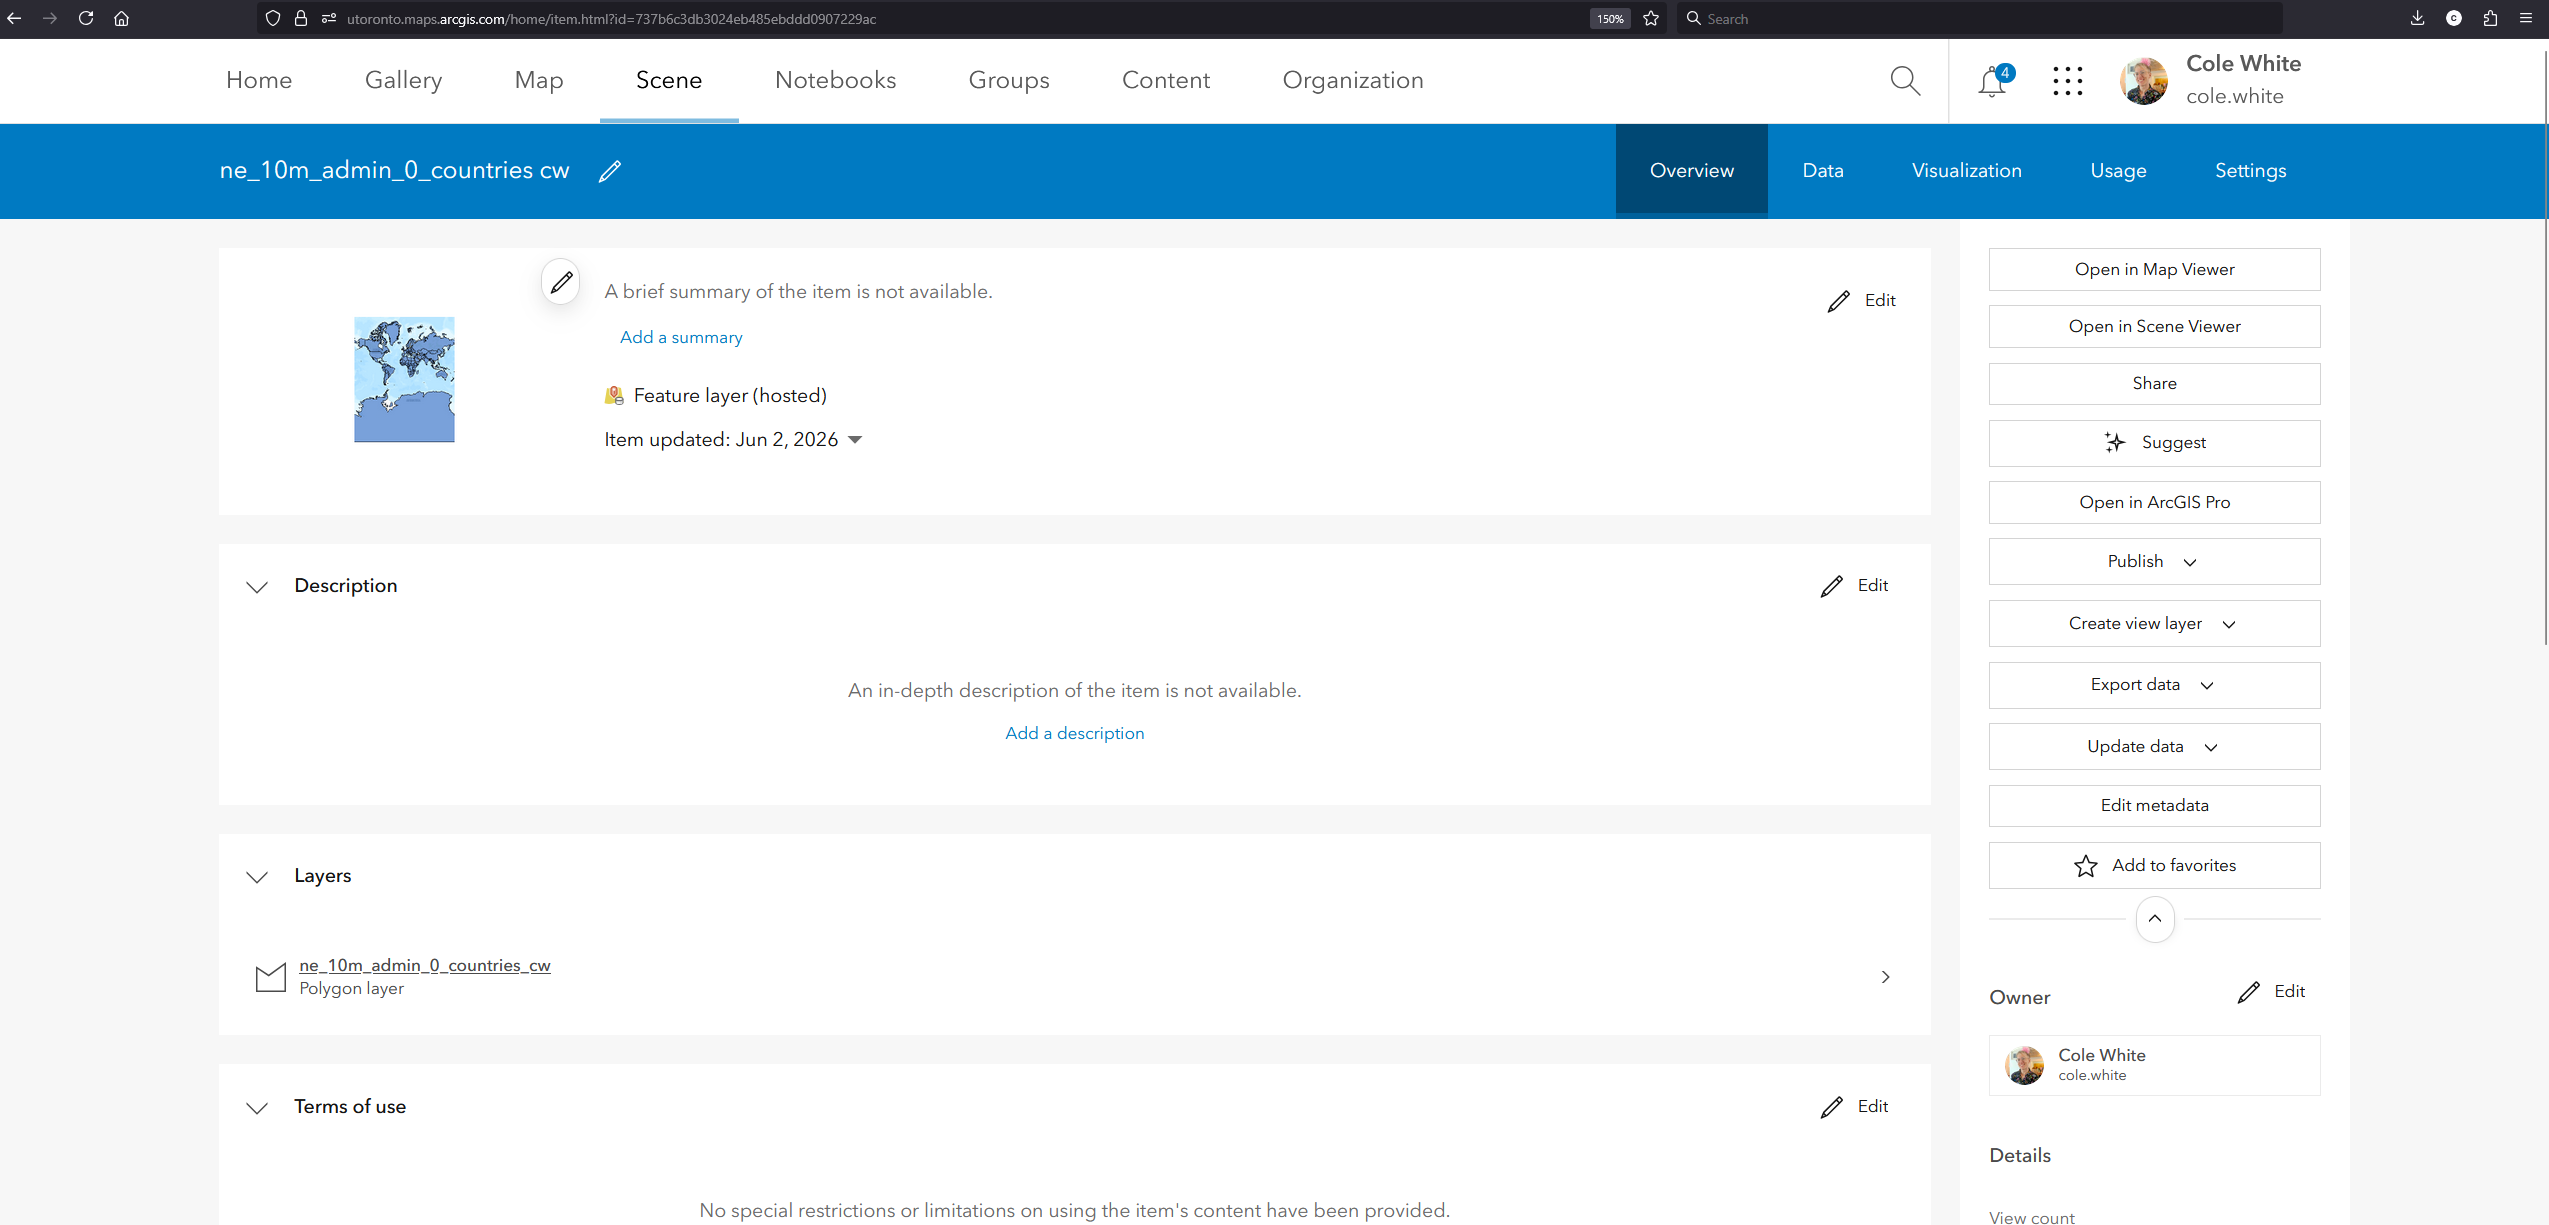
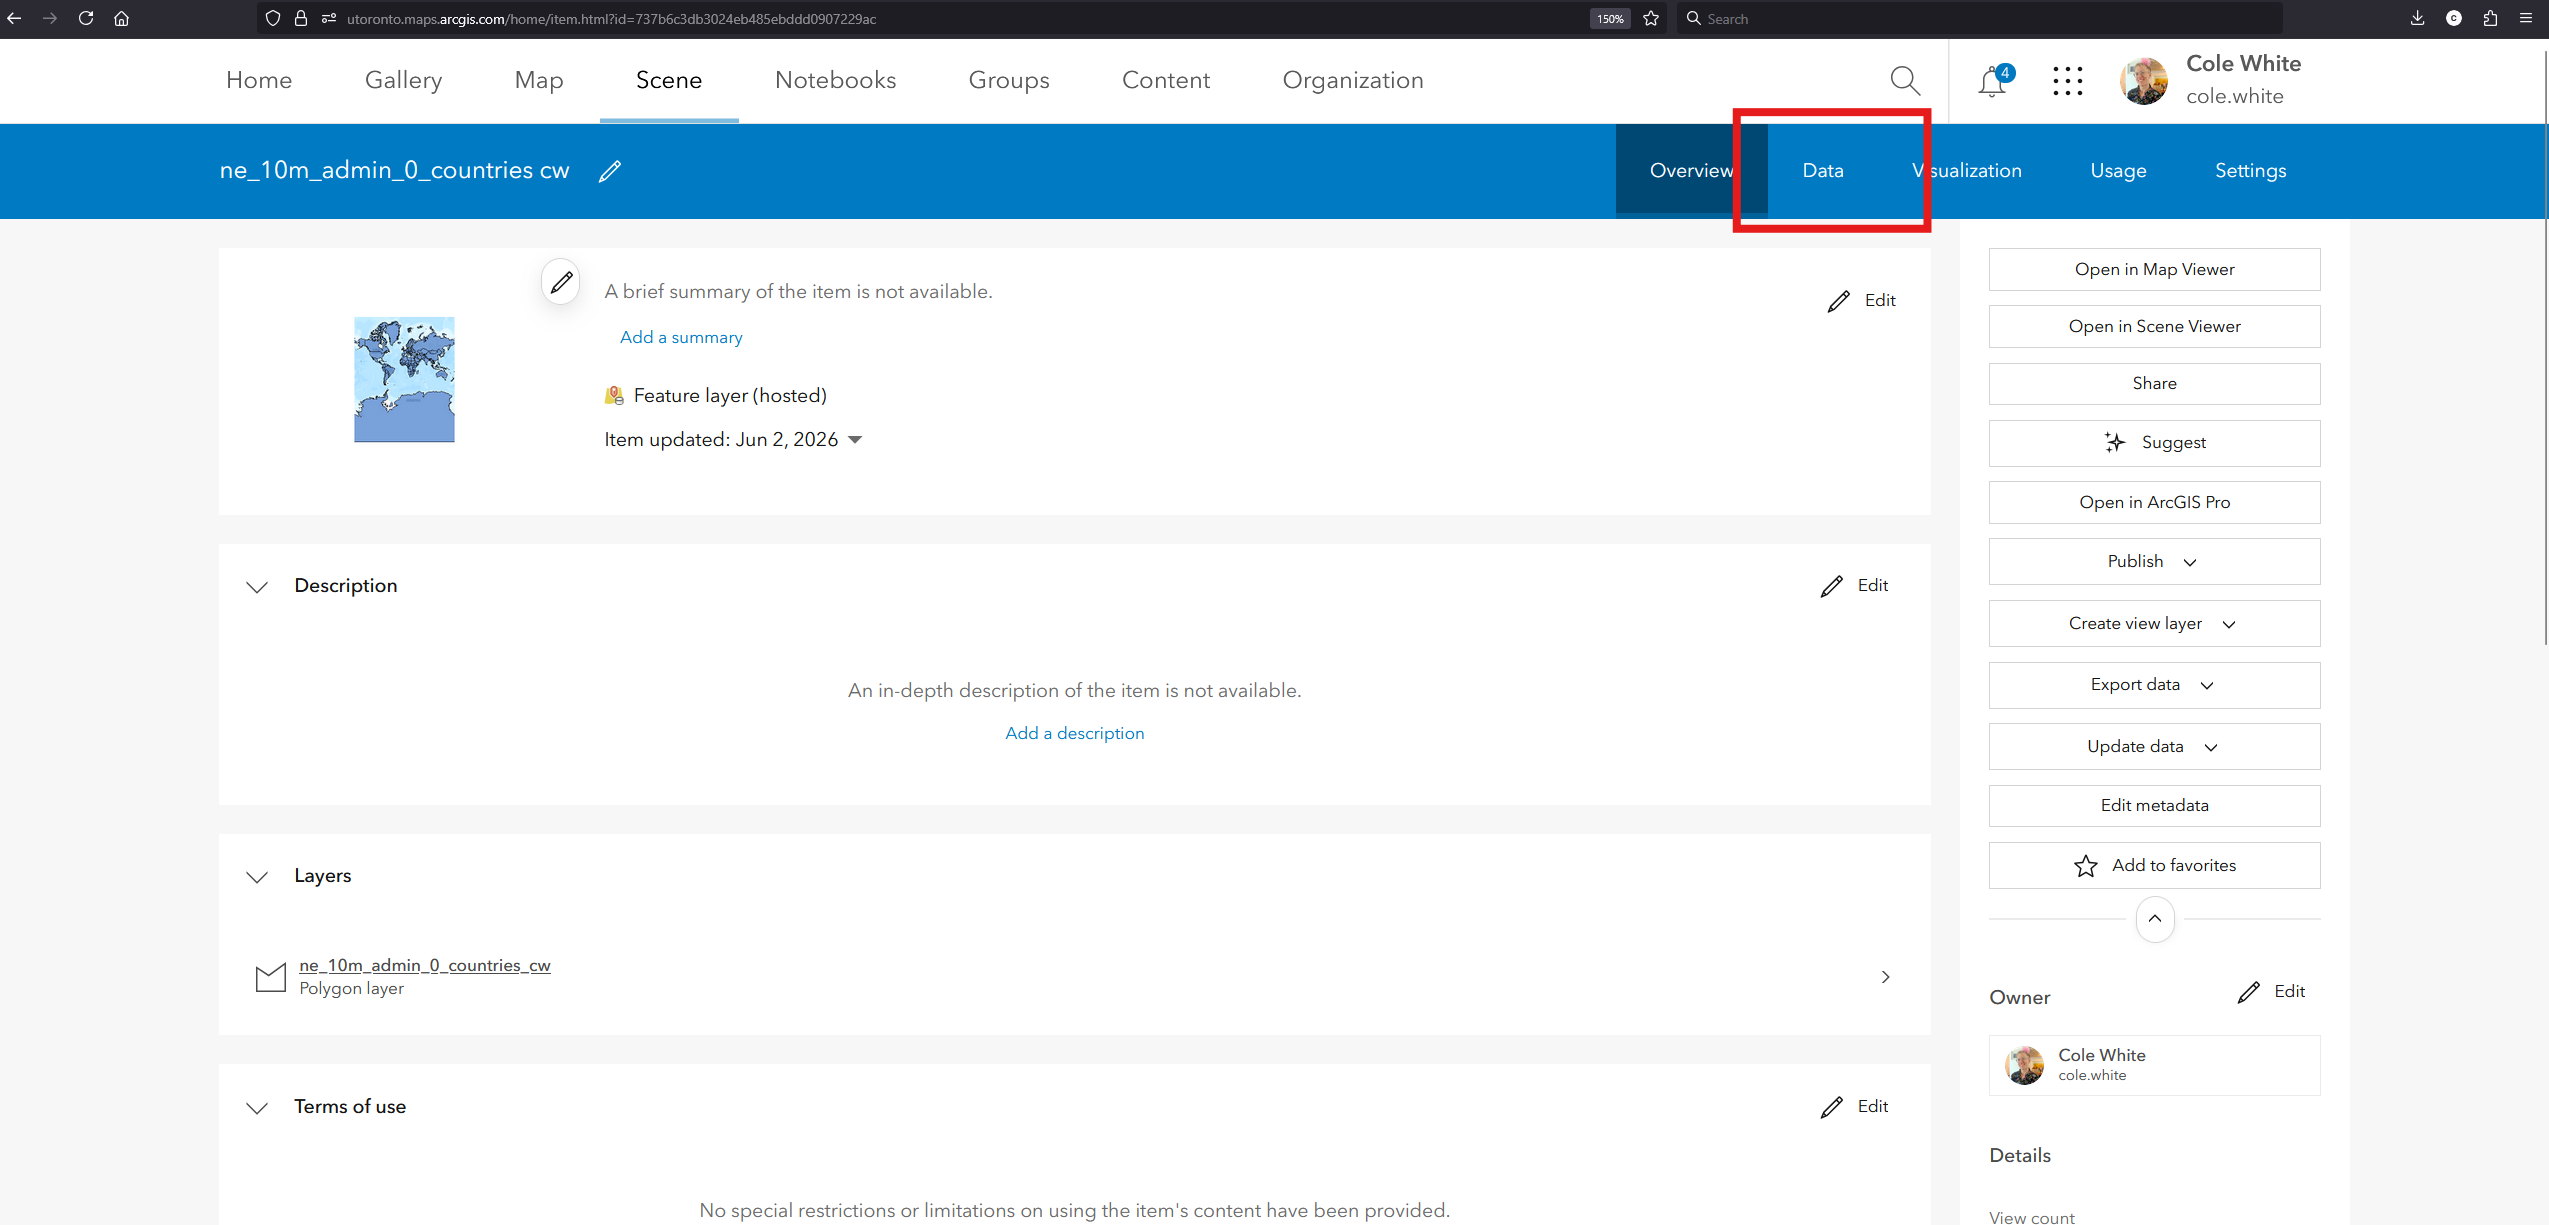
• Click the Data tab.
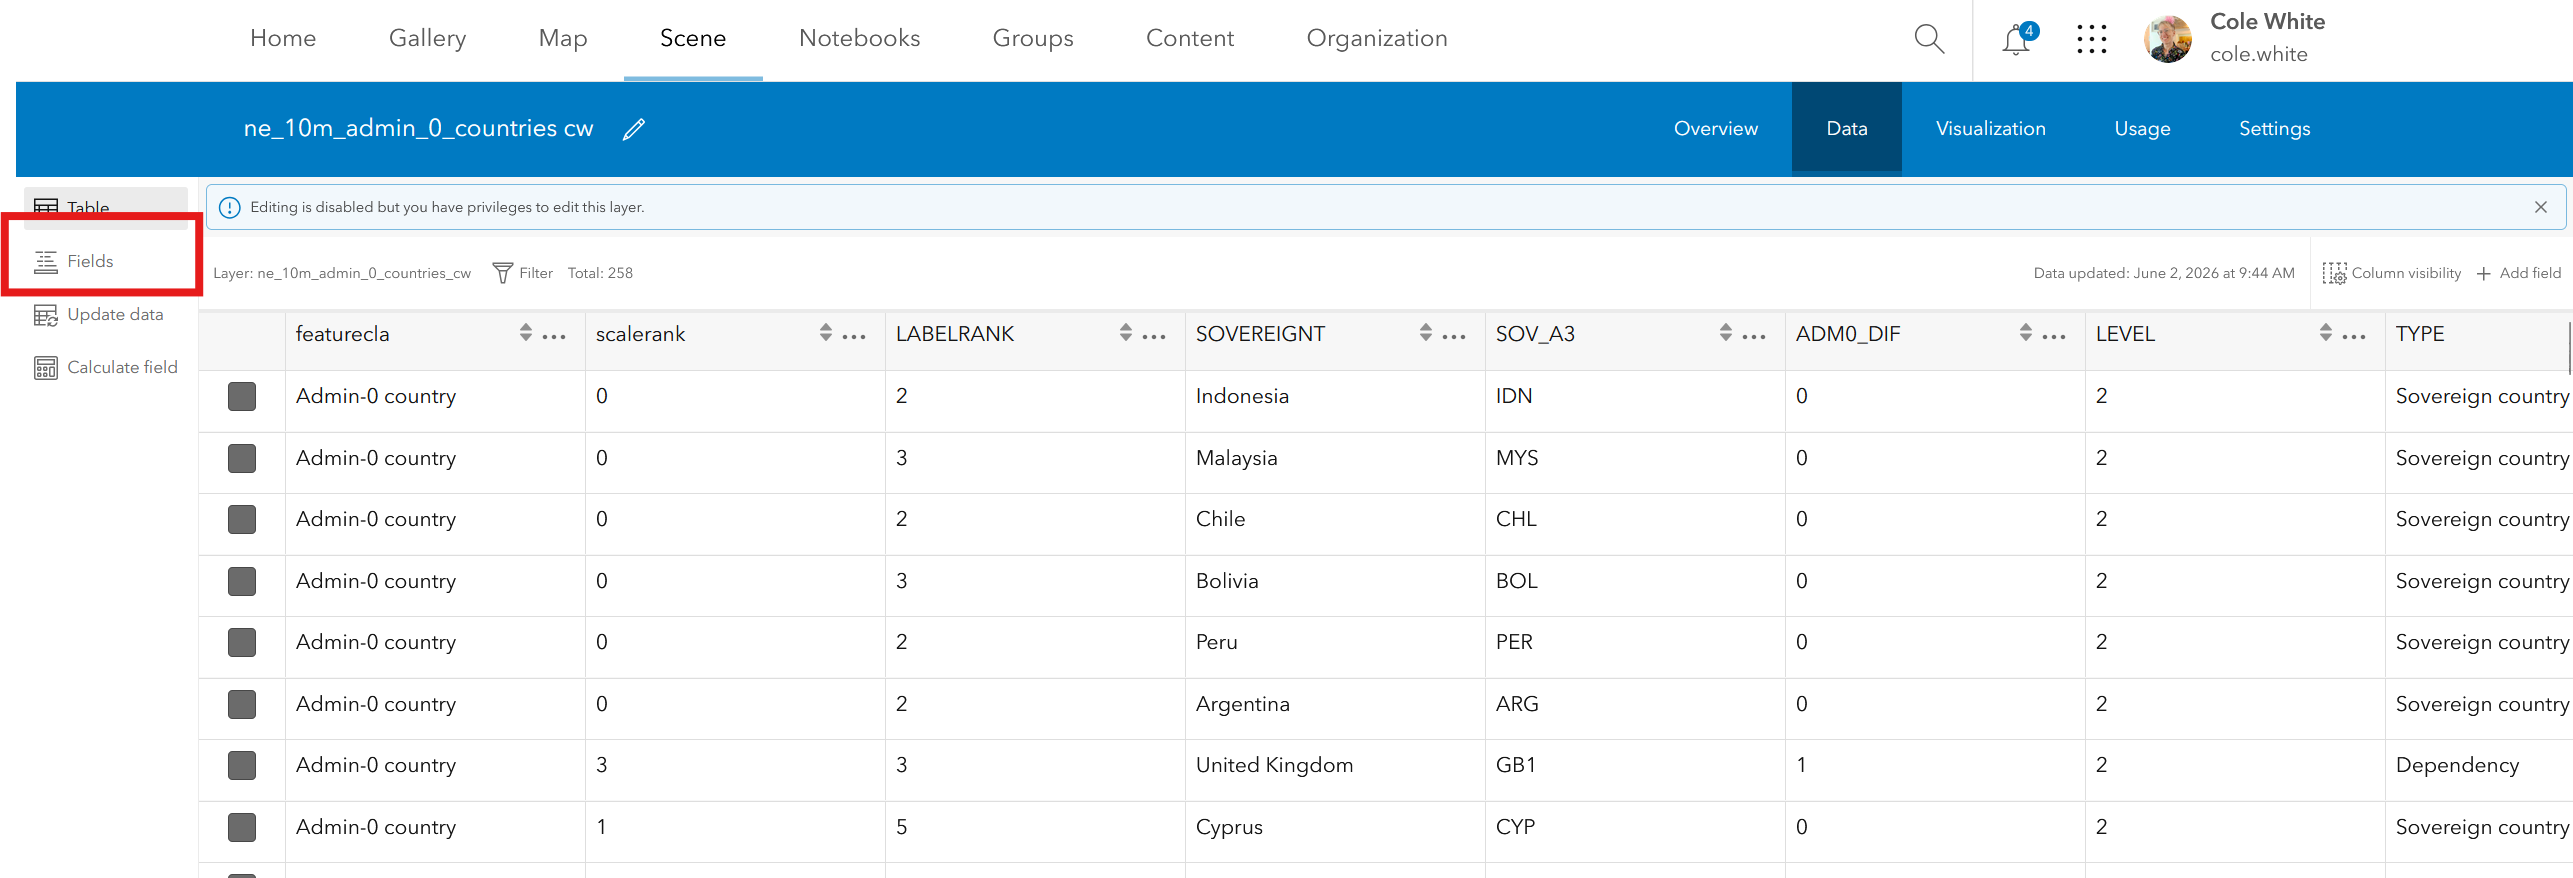
• Click Fields.
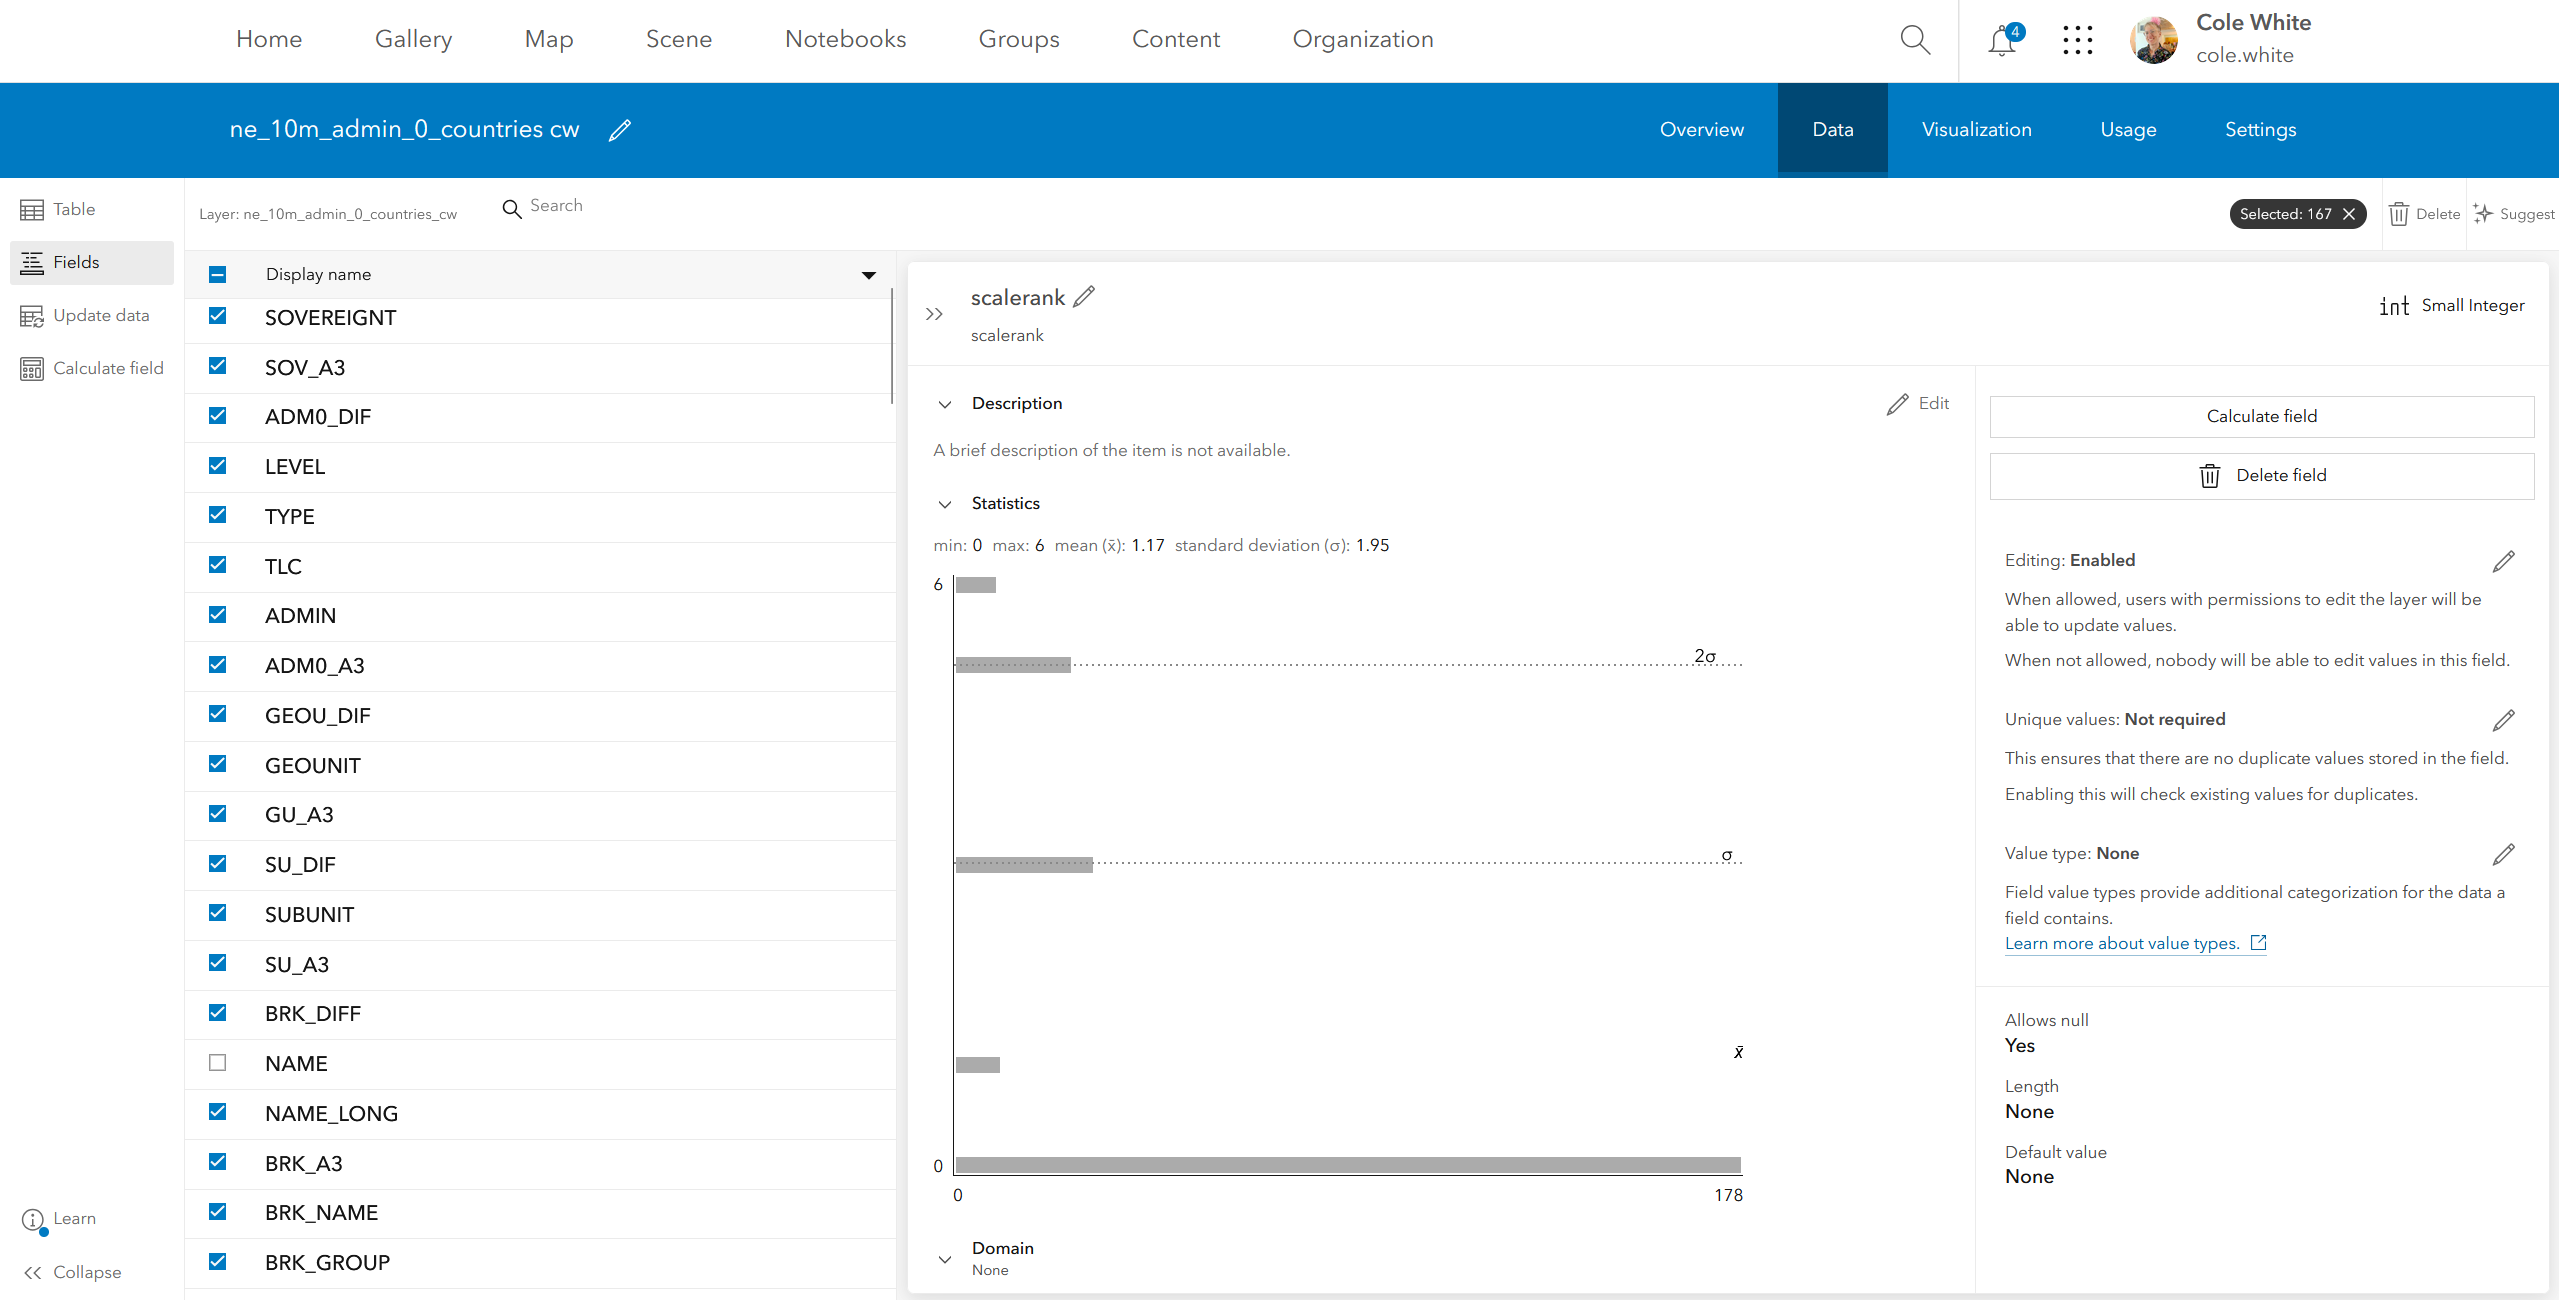
• Check the fields you wish to remove.
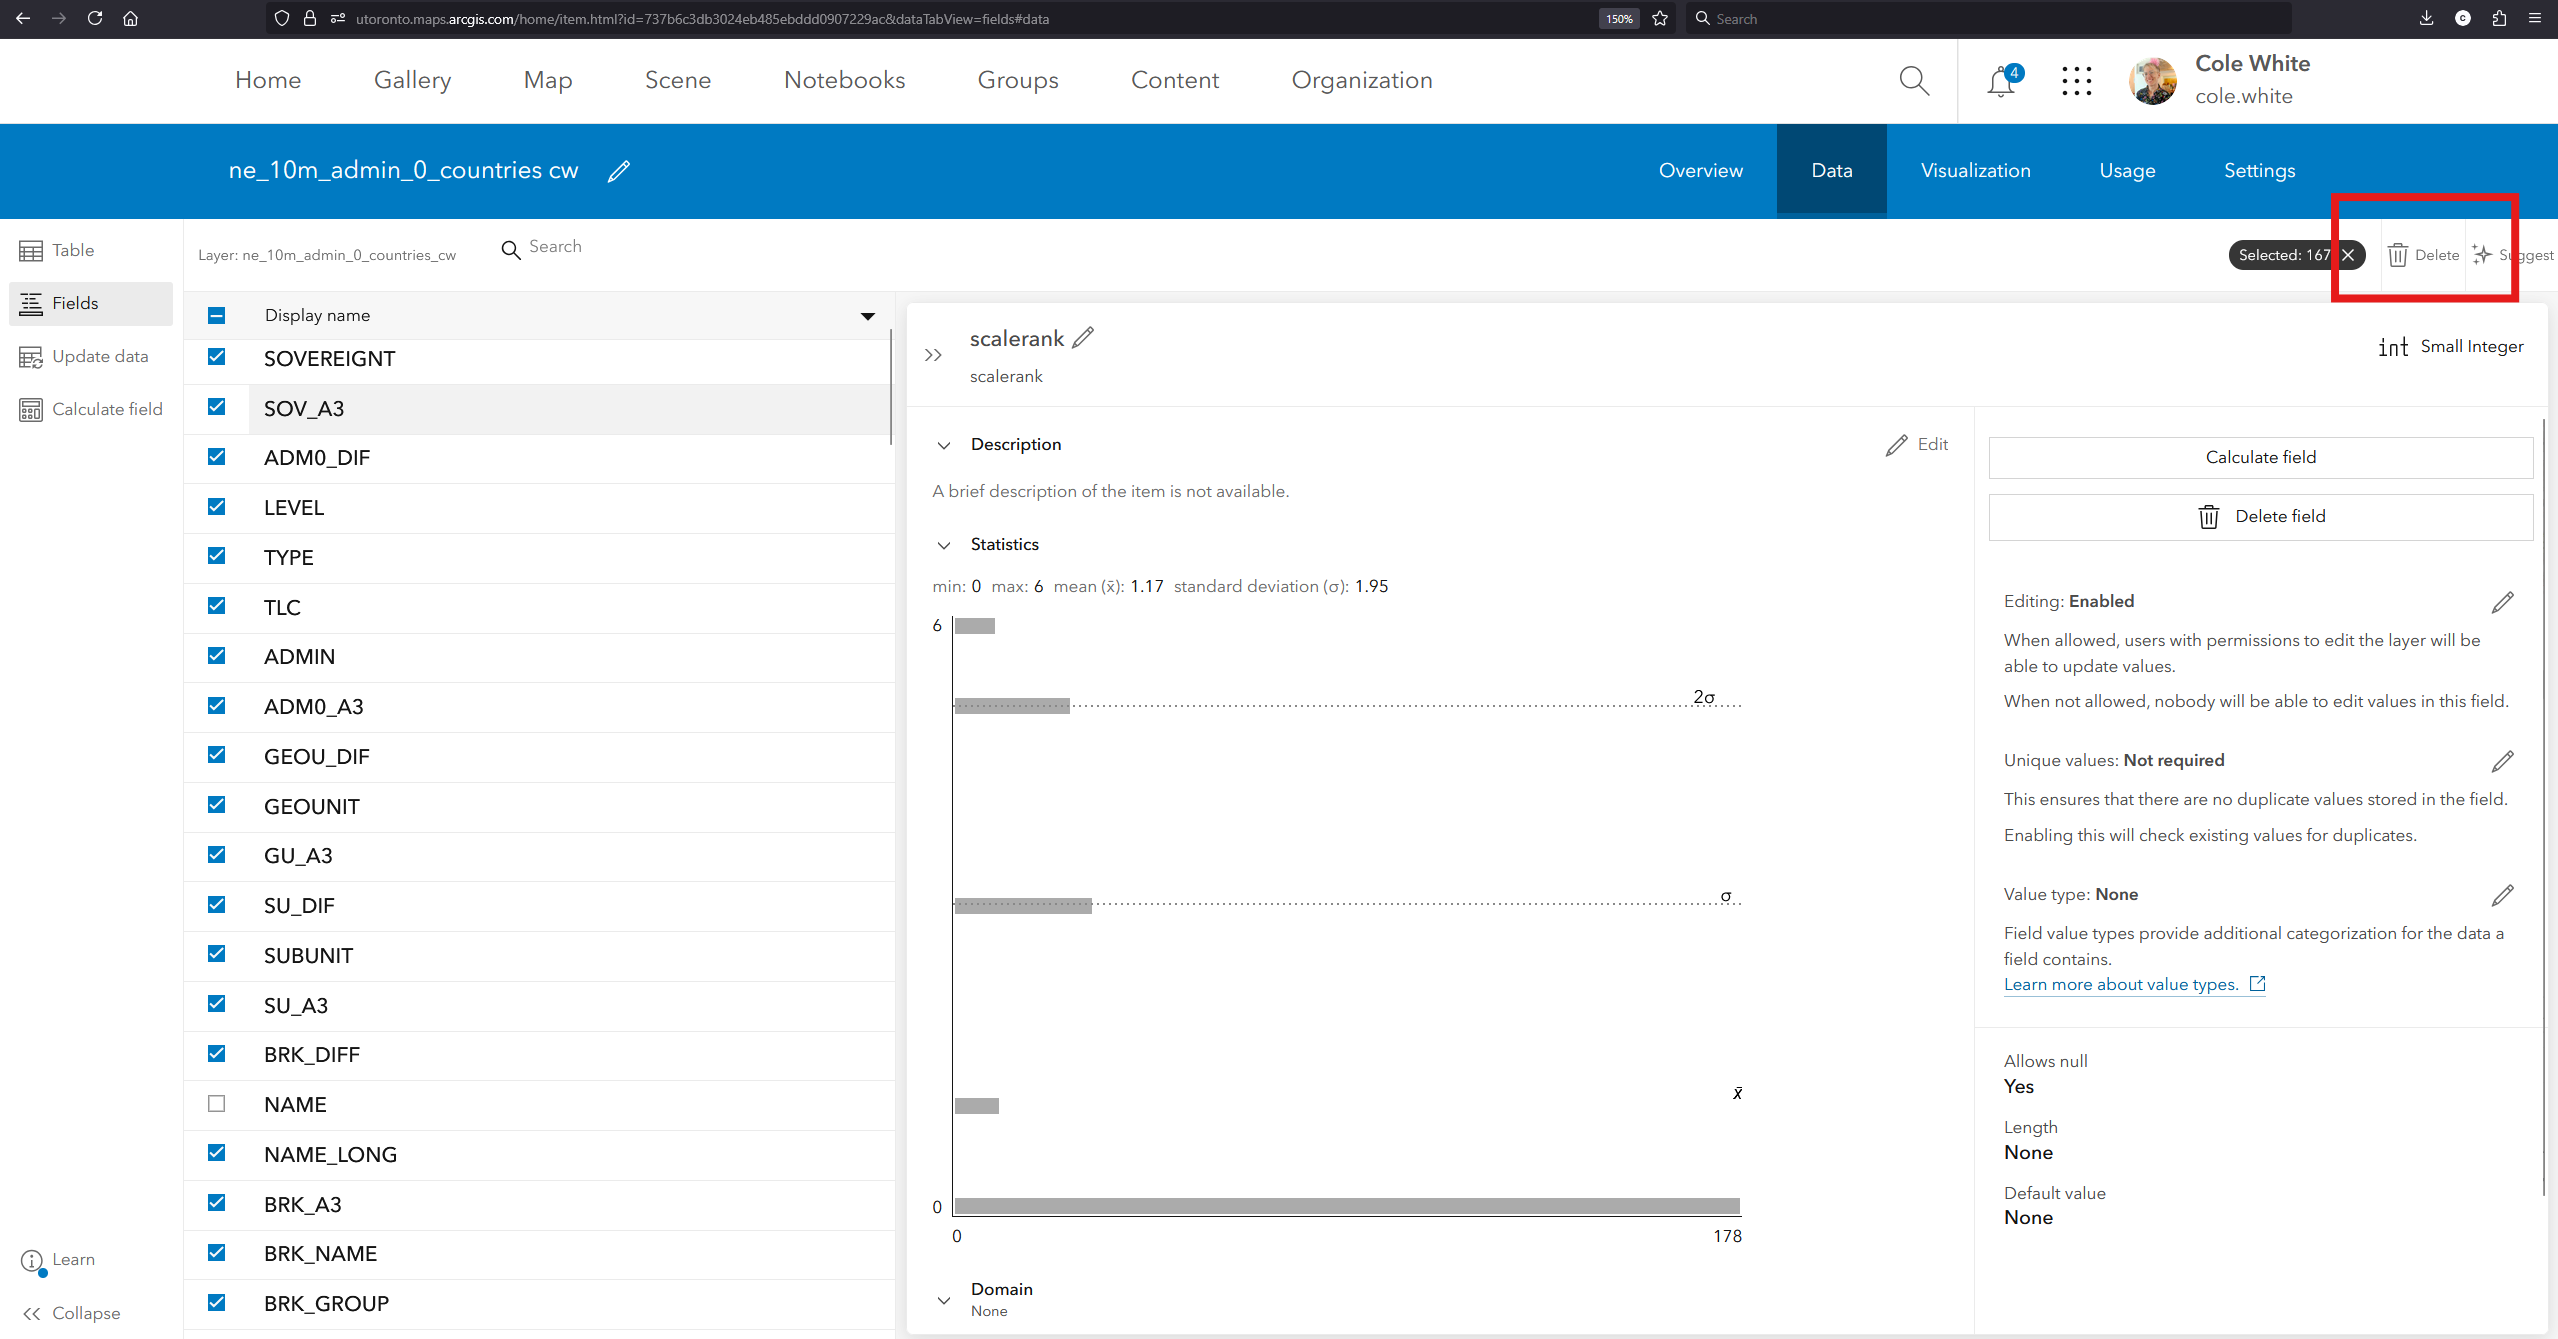
• Click the Delete button at the top right of the screen.
• Click the red Delete fields button to confirm that you actually want to do this.
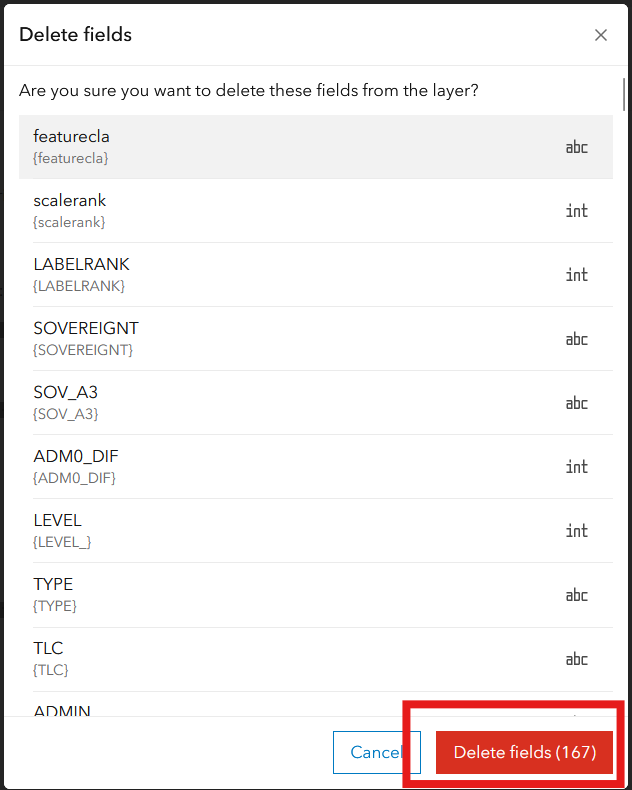
• You should now have a feature layer with a reduced number of fields.