Import Data
Okay let’s get started importing in some data so we can start using the tool. We will be using questionnaires and transcripts from interviews and focus groups run for a US data center study.
As I mentioned before, MAXQDA helps you get organized, so before we import in some data, let’s create some folders to organize our data. In MAXQDA, folders are called Document Groups.
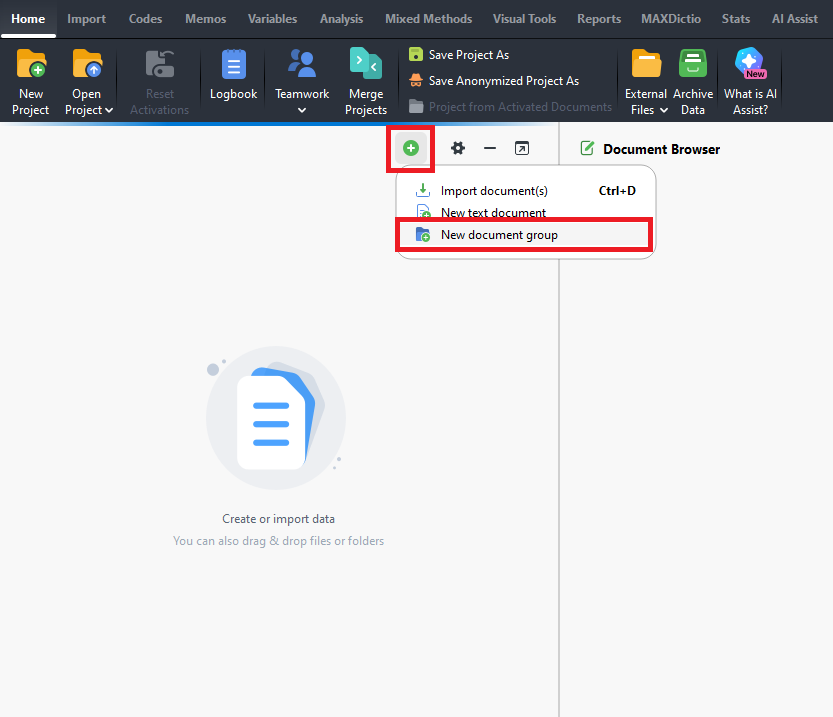
From the Document System panel, click on the green plus sign icon and select New document group. Change the name to “Interviews” by clicking on the folder named Group 1.
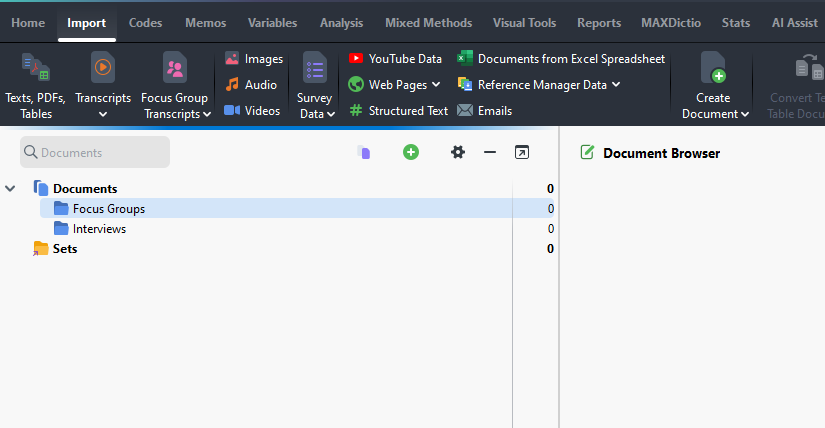
Highlight Documents again and then create one more document group called “Focus Groups”.
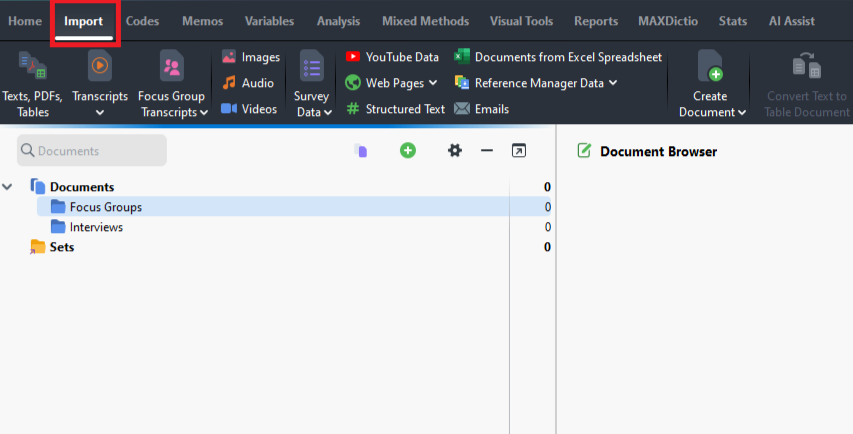
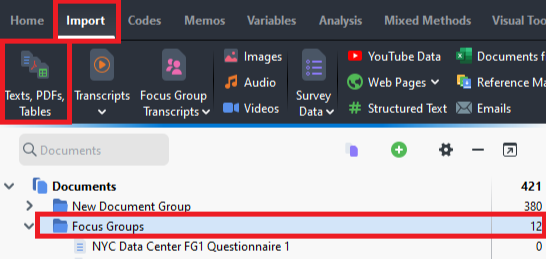
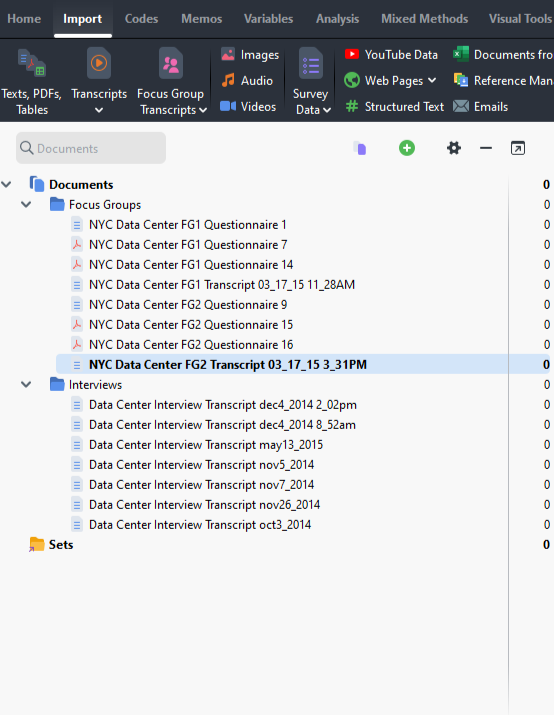
If we go to the Import menu, you can see a variety of data types that you can import into the tool. We’ll be looking at Word documents and PDFs today, but I encourage you to explore these other types on your own, if you’re interested.
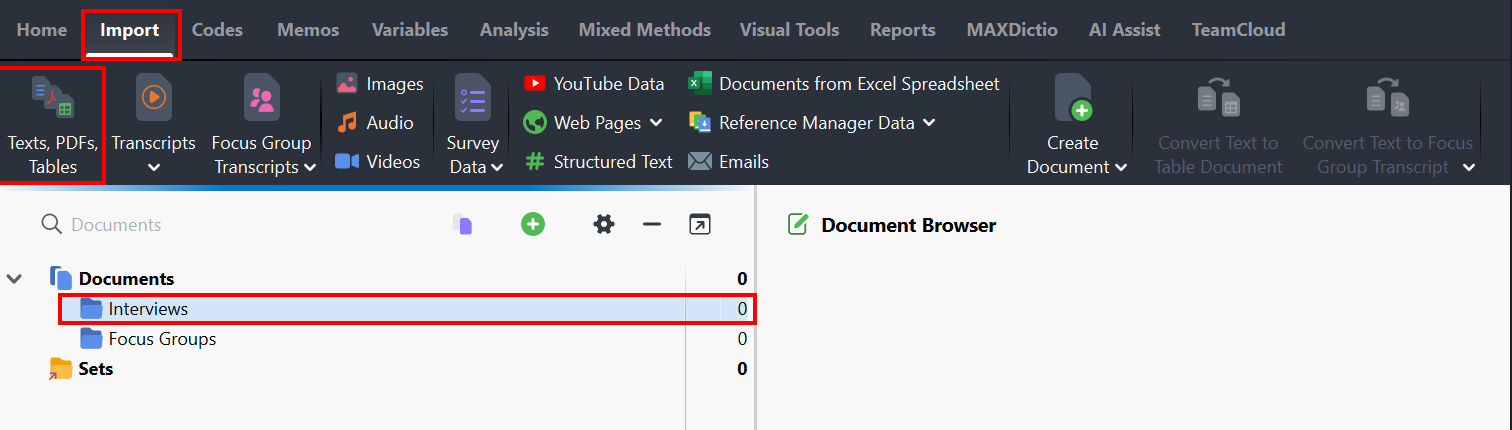
Click on the Interviews folder to highlight it, and then from the Import menu, select Texts, PDFs, Tables.
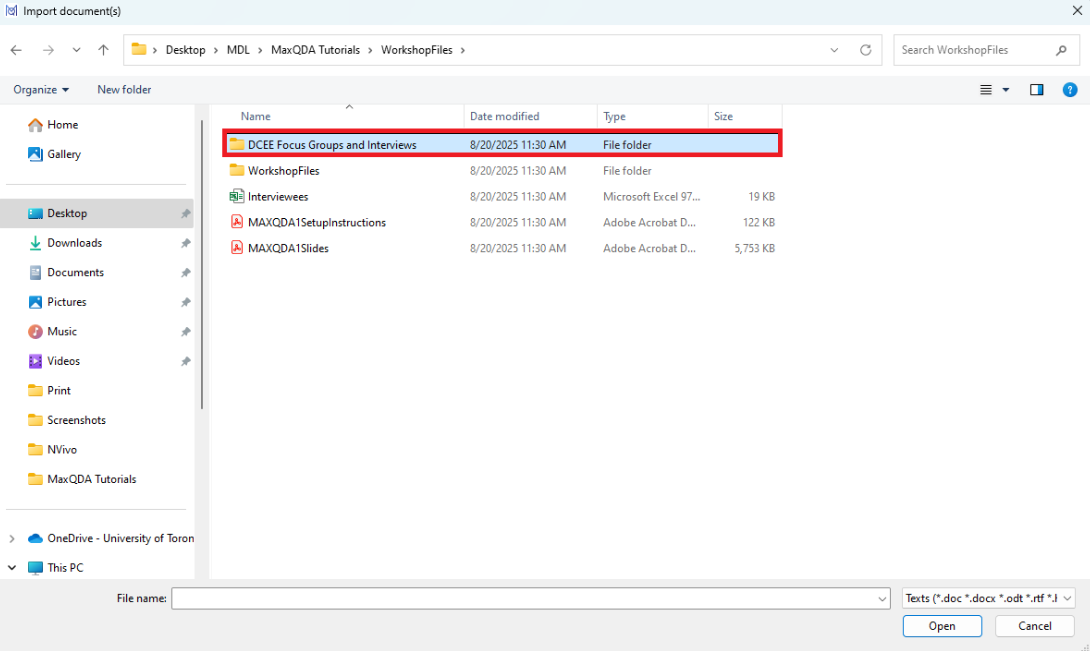
Browse to the folder called “DCEE Focus Groups and Interviews,” which has all the study files we will look at today.
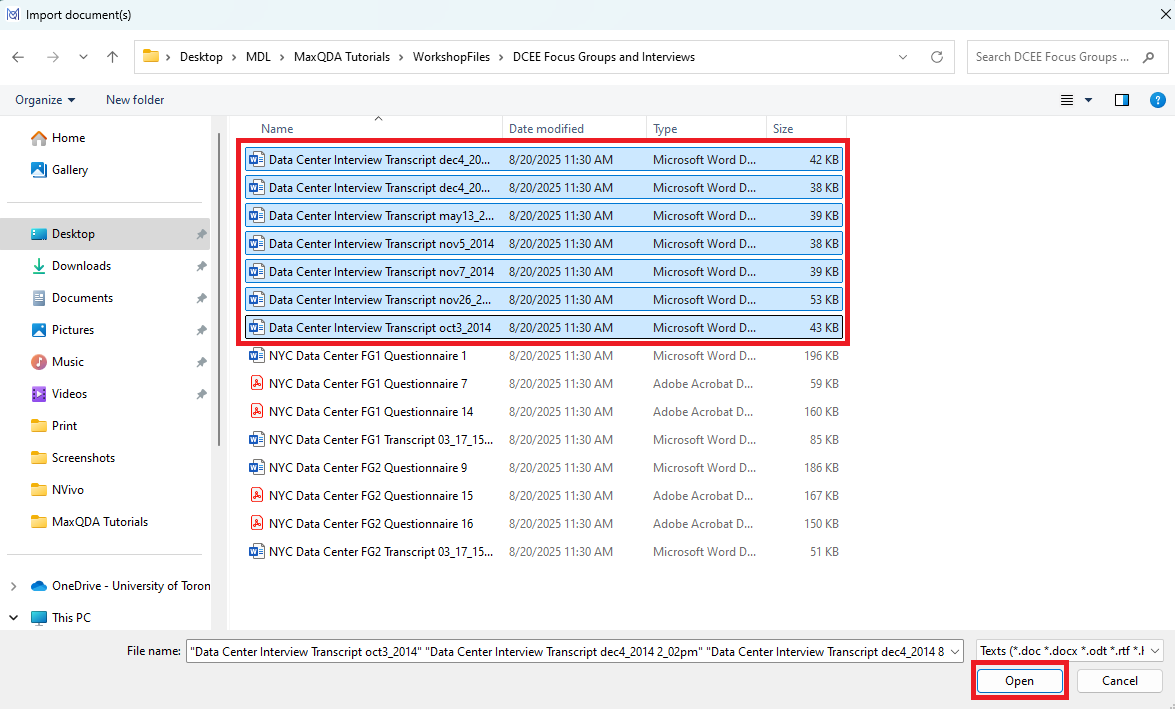
Highlight only the files starting with “Data Center Interview” in the title in our folder by selecting the first one, holding down the Shift key, and then selecting the last one. You should have 7 files highlighted. Then select Open.
Let’s do something similar to import in the focus group information. Select the Focus Groups document group on the left. Then select Texts, PDFs, Tables from the Import menu.
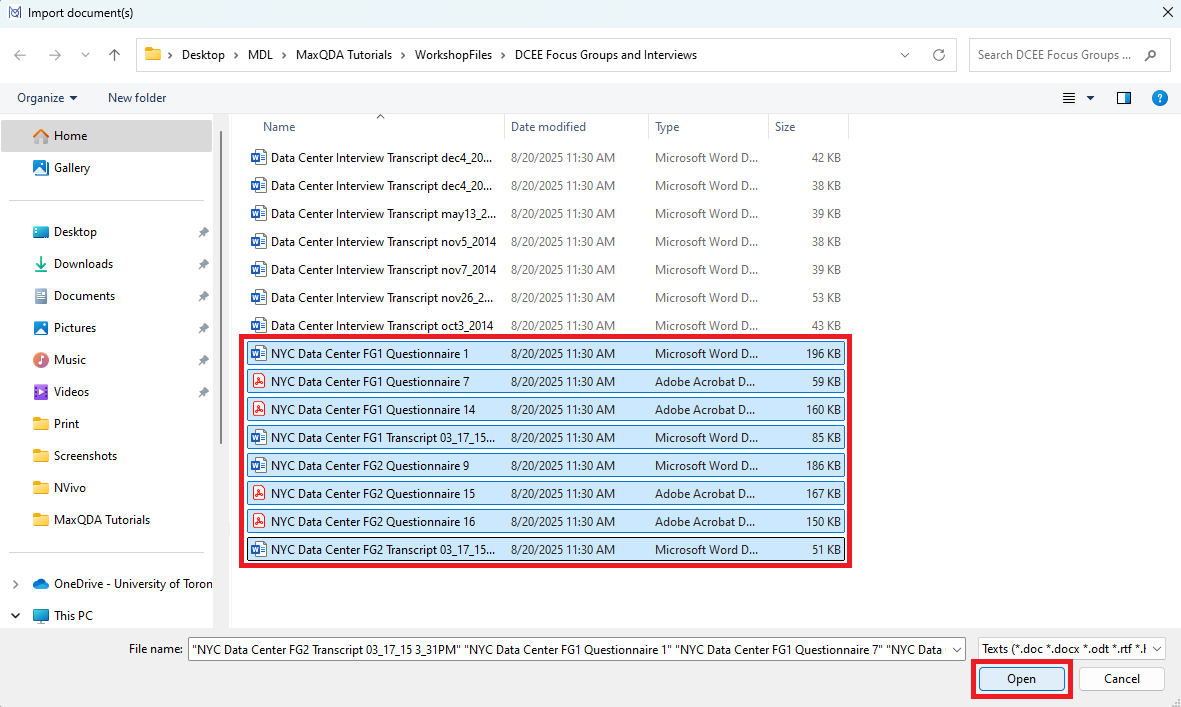
You should still be in the same folder when you select Browse. This time highlight the files that start with “NYC” in the title. You should have 8 files highlighted – a mix of Word documents and PDFs. Select Open.
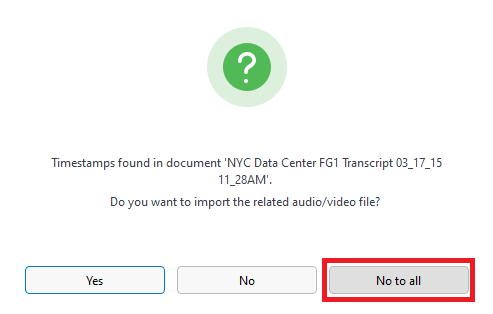
You will get a message that says that timestamps were found in a document, asking if we want to import the related audio/video file. We don’t have one in this case, but if we did, MAXQDA would then also import that and match the transcript to the audio or video file using the timestamps. For now, click No to all (so we don’t get this prompt for any of the files we’re importing).
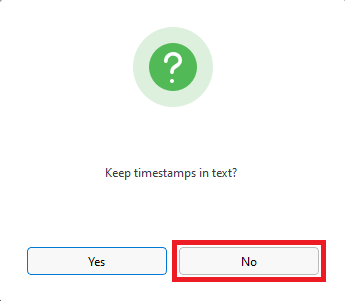
MAXQDA will also ask you if you want to keep the timestamps in the text. As we’re not matching it to audio or videos files, we can say No, and MAXQDA will automatically remove them.
These files are now all copied into your project file.
You might be wondering why we didn’t select the Transcripts or Focus Group Transcripts options from the Import menu. The Transcripts option would be used if we have audio or video files that go along with the transcripts, and we want MAXQDA to match them up. You noticed it asked us about that, even when we didn’t select that option because we had some timestamps in our files, so it isn’t missed. The Focus Group Transcripts option has some more advanced features that we will look at in Part 2 of this tutorial, so for now we will ignore it. These features can always be applied later after import, so again we aren’t missing anything.
Technique: Qualitative Data Analysis | Tools: MAXQDA